
Tiny cardigans can be surprisingly fussy when they leave you with several pieces to seam. That's exactly why I designed this Simple Crochet Baby Cardigan as a friendly one-piece project with basic stitches and very little finishing.

The shaping grows through clearly placed increases, then two chain spaces form the armholes. Once they're made, your hands can settle into the easy fan pattern for the body.
Jump to:
Why I Make These on Repeat
- One-piece construction: You work the main cardigan as one piece, so there aren't separate fronts, backs, and sleeves waiting to be joined.
- Familiar stitches: The fabric relies on hdc, dc, chains, and slip stitches. You don't need complicated shaping techniques or specialty tools.
- Small-yarn project: This baby size uses very little yarn, making it a practical choice for sport-weight cotton you already have set aside.
- Rhythmic lower rows: Once the armholes are established, the alternating fan rows give you a steady repeat that feels relaxed in your hands.
Pattern Details
- Skill Level: Beginner
- Finished Size: 0-6 months only
- Yarn Weight: Sport/Baby, 4ply
- Time to Make: about 5-8 hours
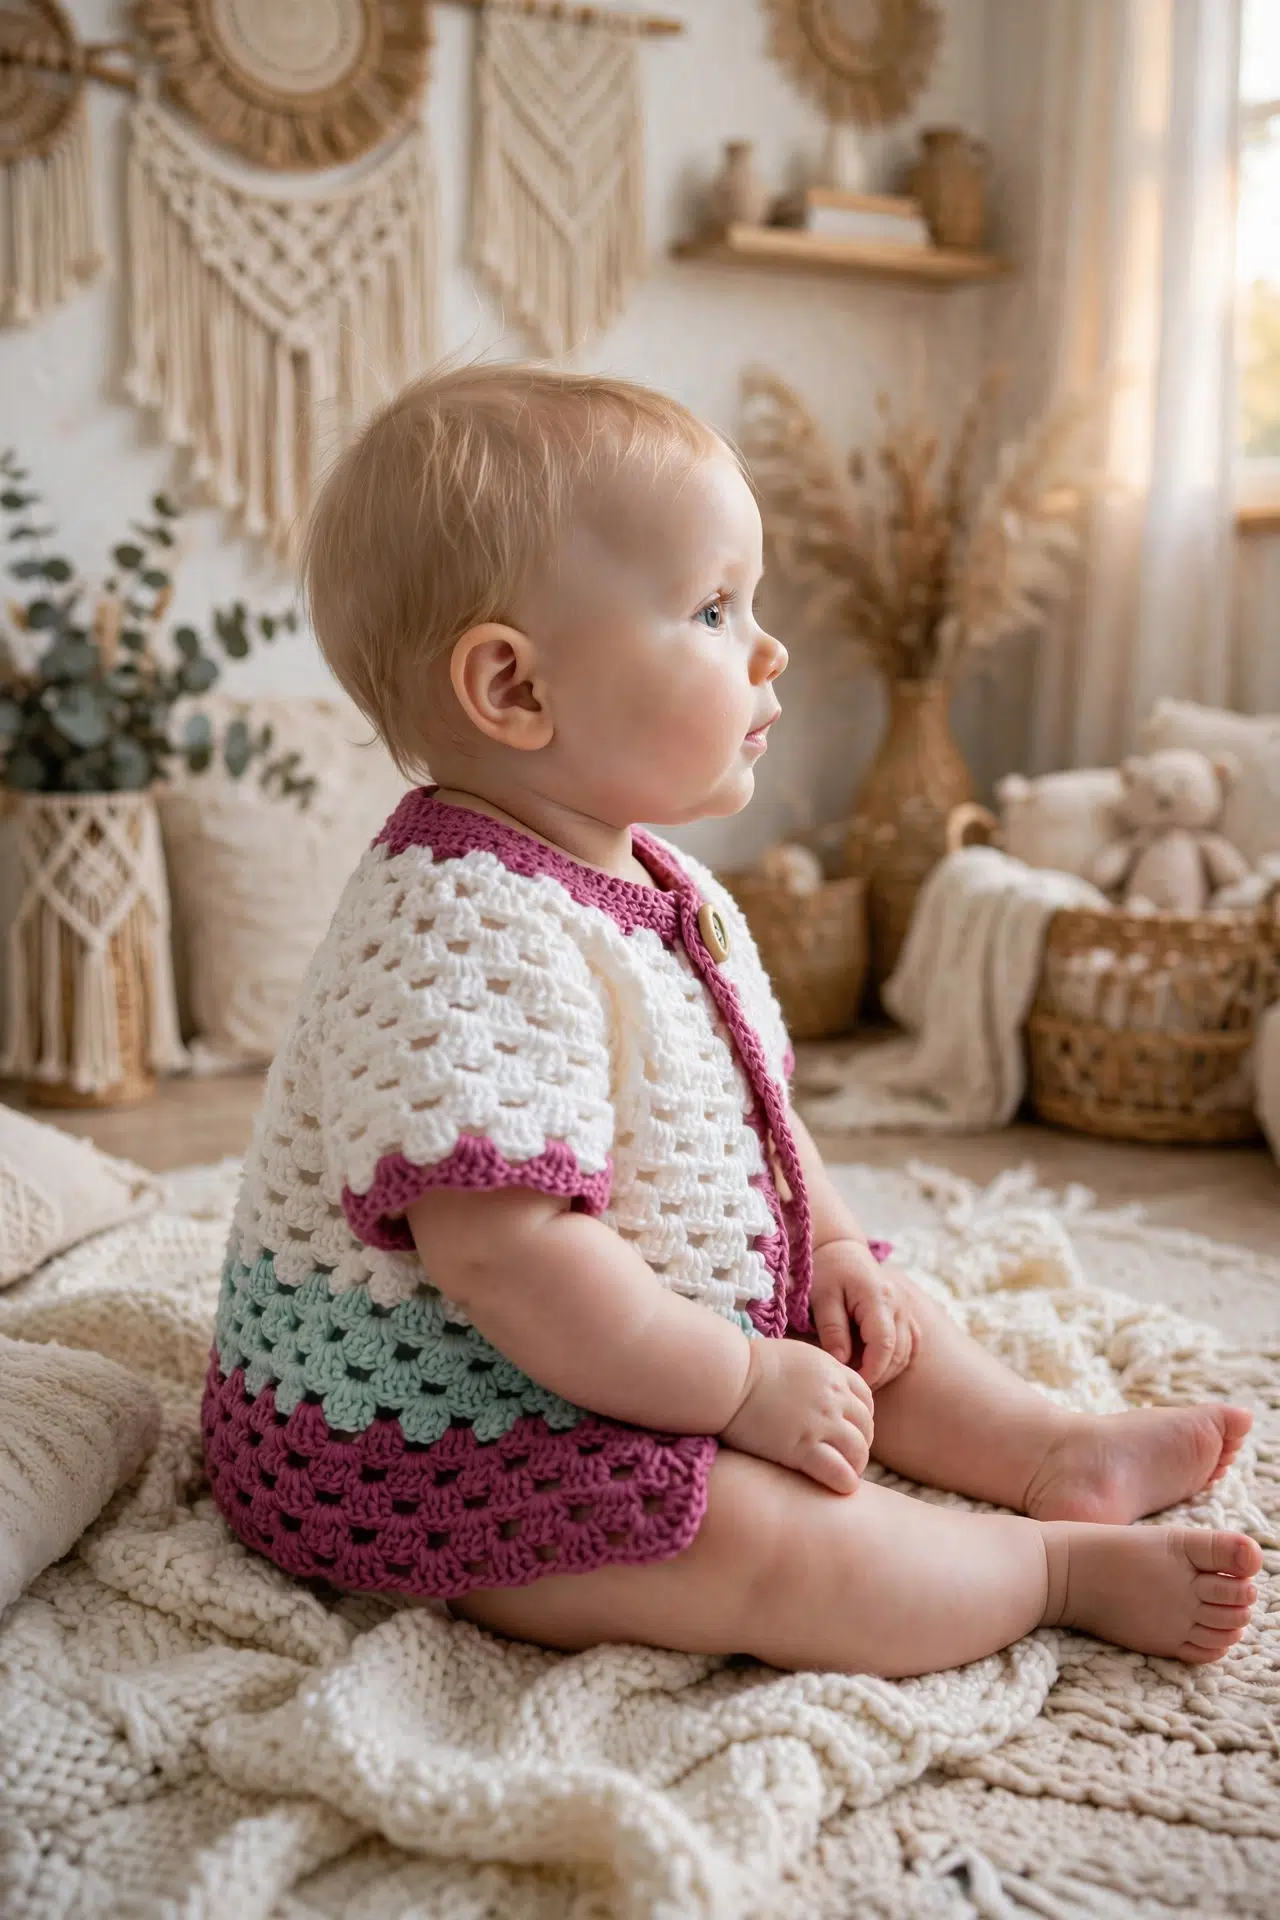
Materials for This Cardigan
Gather your sport-weight yarn, hook, basic finishing tools, and button before you begin so every color change stays easy.
- 1 x MillaMia Wonderfully Soft Cotton in Sweetpea, Pure White, and Bright Purple: The pattern uses three named colors, but any 4ply/Sport weight yarn may be substituted. With no stated gauge, compare the developing cardigan with a garment that fits the intended baby.
- Or any 4ply/Sport weight yarn
- 3.5 mm E/4 crochet hook
- Yarn needle
- Scissors
- 1 x 2 cm button: A button on baby clothing must be sewn on very securely. Check it regularly during use and replace it if the attachment loosens.
Stitches & Abbreviations
- ch - chain
- hdc - half double crochet
- dc - double crochet
- sl st - slip stitch
- st - stitch
- sk - skip
- sp - space
- rep - repeat
- P - Bright Purple
- B - Sweetpea Blue
- W - Pure White
fan: Work 4 dc in the indicated st or ch-1 sp.
How to Crochet the Simple Baby Cardigan
Work through the rows in order, paying close attention to the increase spaces, color changes, and two ch-8 armhole openings.
This pattern uses US terminology. The cardigan uses basic hdc and dc stitches. The ch 1 at the beginning of a row does not count as a st throughout. In Row 1, the first skipped chs count as 1 dc. Color key: P is Bright Purple, B is Sweetpea Blue, and W is Pure White.
Cardigan
Worked as one piece.
- Row 1: Using P and a 3.5 mm E/4 crochet hook, ch 61. Work 1 hdc in 3rd ch from hook and 1 hdc in each remaining ch to end. (60)
Count includes the first skipped chs as 1 dc.
- Row 2: Ch 1, turn. Work 1 hdc in first 2 sts, 2 hdc in next st, *1 hdc in next 5 sts, 2 hdc in next st; rep from * 8 more times, then work 1 hdc in last 3 sts. (70)
The last st is the top of the beginning chs.
- Row 3: Ch 1, turn. Work 1 hdc in first 3 sts, 2 hdc in next st, *1 hdc in next 6 sts, 2 hdc in next st; rep from * 8 more times, then work 1 hdc in last 3 sts. (80)
- Row 4: Join W in ch 1, turn. Work 2 dc in first st, ch 1, sk 2 sts, *4 dc in next st, ch 1, sk 3 sts; rep from * 18 more times, then work 2 dc in last st.
- Row 5: Ch 1, turn. Work (4 dc in next ch-1 sp, ch 1) 4 times, [4 dc, ch 1, 4 dc] in next ch-1 sp, ch 1, (4 dc in next ch-1 sp, ch 1) 10 times, [4 dc, ch 1, 4 dc] in next ch-1 sp, ch 1, then (4 dc in next ch-1 sp, ch 1) 4 times to end. (22)
22 fans total.
- Row 6: Ch 1, turn. Work 2 dc between first 2 dc of previous row, *ch 1, 4 dc in next ch-1 sp; rep from * around to the end, ch 1, then work 2 dc between last 2 dc of previous row.
Do not miss the ch-1 sp between the increases.
- Row 7: Ch 1, turn. Work (4 dc in next ch-1 sp, ch 1) 5 times, [4 dc, ch 1, 4 dc] in next ch-1 sp, ch 1, (4 dc in next ch-1 sp, ch 1) 10 times, [4 dc, ch 1, 4 dc] in next ch-1 sp, ch 1, then (4 dc in next ch-1 sp, ch 1) 5 times to end.
- Row 8: Rep Row 6.
- Row 9: Ch 1, turn. Work (4 dc in next ch-1 sp, ch 1) 6 times, [4 dc, ch 1, 4 dc] in next ch-1 sp, ch 1, (4 dc in next ch-1 sp, ch 1) 10 times, [4 dc, ch 1, 4 dc] in next ch-1 sp, ch 1, then (4 dc in next ch-1 sp, ch 1) 6 times to end.
- Row 10: Rep Row 6.
- Row 11: Ch 1, turn. Work (4 dc in next ch-1 sp, ch 1) 7 times, [4 dc, ch 1, 4 dc] in next ch-1 sp, ch 1, (4 dc in next ch-1 sp, ch 1) 10 times, [4 dc, ch 1, 4 dc] in next ch-1 sp, ch 1, then (4 dc in next ch-1 sp, ch 1) 7 times to end.
- Row 12: Rep Row 6.
- Row 13: Ch 1, turn. Work (4 dc in next ch-1 sp, ch 1) 8 times, [4 dc, ch 1, 4 dc] in next ch-1 sp, ch 1, (4 dc in next ch-1 sp, ch 1) 10 times, [4 dc, ch 1, 4 dc] in next ch-1 sp, ch 1, then (4 dc in next ch-1 sp, ch 1) 8 times to end.
- Row 14: Ch 1, turn. Work 2 dc between first 2 dc of previous row, *ch 1, 4 dc in next ch-1 sp; rep from * 2 more times, ch 1 and join P, *4 dc in next ch-1 sp, ch 1; rep from * 6 more times, rejoin W in the last ch 1, (4 dc in next ch-1 sp, ch 1) 9 times, rejoin P in the last ch 1, (4 dc in next ch-1 sp, ch 1) 7 times, rejoin W in the last ch 1, *4 dc in next ch-1 sp, ch 1; rep from * around to the end, then work 2 dc between last 2 dc of previous row.
- Row 15: Ch 1, turn. Work (4 dc in next ch-1 sp, ch 1) 4 times, ch 8, sk 7 fans, all the P fans, (4 dc in next ch-1 sp, ch 1) 10 times, ch 8, sk 7 fans, all the P fans again, then *4 dc in next ch-1 sp, ch 1; rep from * around to the end, ending with 4 dc in the last ch-1 sp.
- Row 16: Ch 1, turn. Work 2 dc between first 2 dc of previous row, *ch 1, 4 dc in next ch-1 sp; rep from * 2 more times, ch 1, 4 dc in first ch of ch-8, ch 1, sk 3 chs, 4 dc in next ch, ch 1, sk 3 chs, 4 dc in next dc st, (ch 1, 4 dc in next ch-1 sp) 9 times, ch 1, 4 dc in first ch of ch-8, ch 1, sk 3 chs, 4 dc in next ch, ch 1, sk 3 chs, 4 dc in next dc st, (ch 1, 4 dc in next ch-1 sp) 3 times, ch 1, then work 2 dc between last 2 dc of previous row.
- Row 17: Join B in ch 1, turn. Work 4 dc in first ch-1 sp, *ch 1, 4 dc in next ch-1 sp; rep from * around to the end.
- Row 18: Ch 1, turn. Work 2 dc between first 2 dc of previous row, *ch 1, 4 dc in next ch-1 sp; rep from * around to the end, ch 1, then work 2 dc between last 2 dc of previous row.
- Rows 19-25: Rep Rows 17 and 18, changing to P in ch 1 before turning on Row 21.
Finishing
- Step 1: Without fastening off, work 4 dc in each large gap up the side edge, using the gap before the last 2 dc on each alternate row. Start in the same ch-1 sp as the last st worked and continue back to the collar. Sl st in the last st of the collar and fasten off.
- Step 2: Rep for the other side edge, starting at the collar and working down.
- Step 3: Tie in all tails.
Crochet Tips
- Count the first shaping rows: Rows 1-3 establish the fit, ending with 60, 70, and 80 sts. Count these rows before moving into the fan pattern, since a missed increase changes every later placement.
- Mark the increase spaces: Place a removable marker in each ch-1 sp made between the two 4-dc groups in an increase. Row 6 specifically uses those spaces, and they're easy to overlook among the other fans.
- Track the color blocks: On Row 14, count each group before changing yarn. Those P sections identify the seven fans skipped for each armhole on Row 15.
- Check each ch-8 opening: Make both ch-8 spaces with relaxed, even tension. Row 16 works three dc groups across each chain area, so a tight chain can pull at the underarm.
Ways to Adapt Your Baby Cardigan
- Use another sport-weight yarn: Any 4ply/Sport weight yarn can work. Fiber and twist affect drape, so check the cardigan against a correctly sized baby garment as you crochet because no gauge is provided.
- Make a single-color version: You can omit every yarn join and work all rows in one color. Keep the Row 14 counts unchanged because the skipped seven-fan sections still determine the armholes.
- Choose your own three-color order: Assign new colors to P, W, and B before starting and write down the key. Following the same change points will keep Row 15's armhole placement easy to identify.
- Try another baby-friendly fiber: A soft acrylic or wool blend may replace cotton if it's comfortable against sensitive skin. Expect a change in stretch, warmth, and laundering needs, and compare the size as you work.
- Change the button carefully: A nearby button size may work if it passes through the opening without strain but can't slip out on its own. Sew it down firmly with repeated passes and secure the thread well.
Keeping the Fans and Armholes on Track
- The fan count drifts: Return to the last increase row and check every [4 dc, ch 1, 4 dc] group. Missing the center ch-1 sp removes a placement point from the following row and shifts all later fans.
- The armholes aren't even: Row 15 must skip seven P fans at each armhole. Count the fans rather than estimating the distance, and make both ch-8 sections with matching tension.
- The side edge puckers: Keep the finishing dc groups relaxed and place one group only in each stated large gap. Packing extra stitches into the smaller row-end spaces can make the edge flare or ripple.
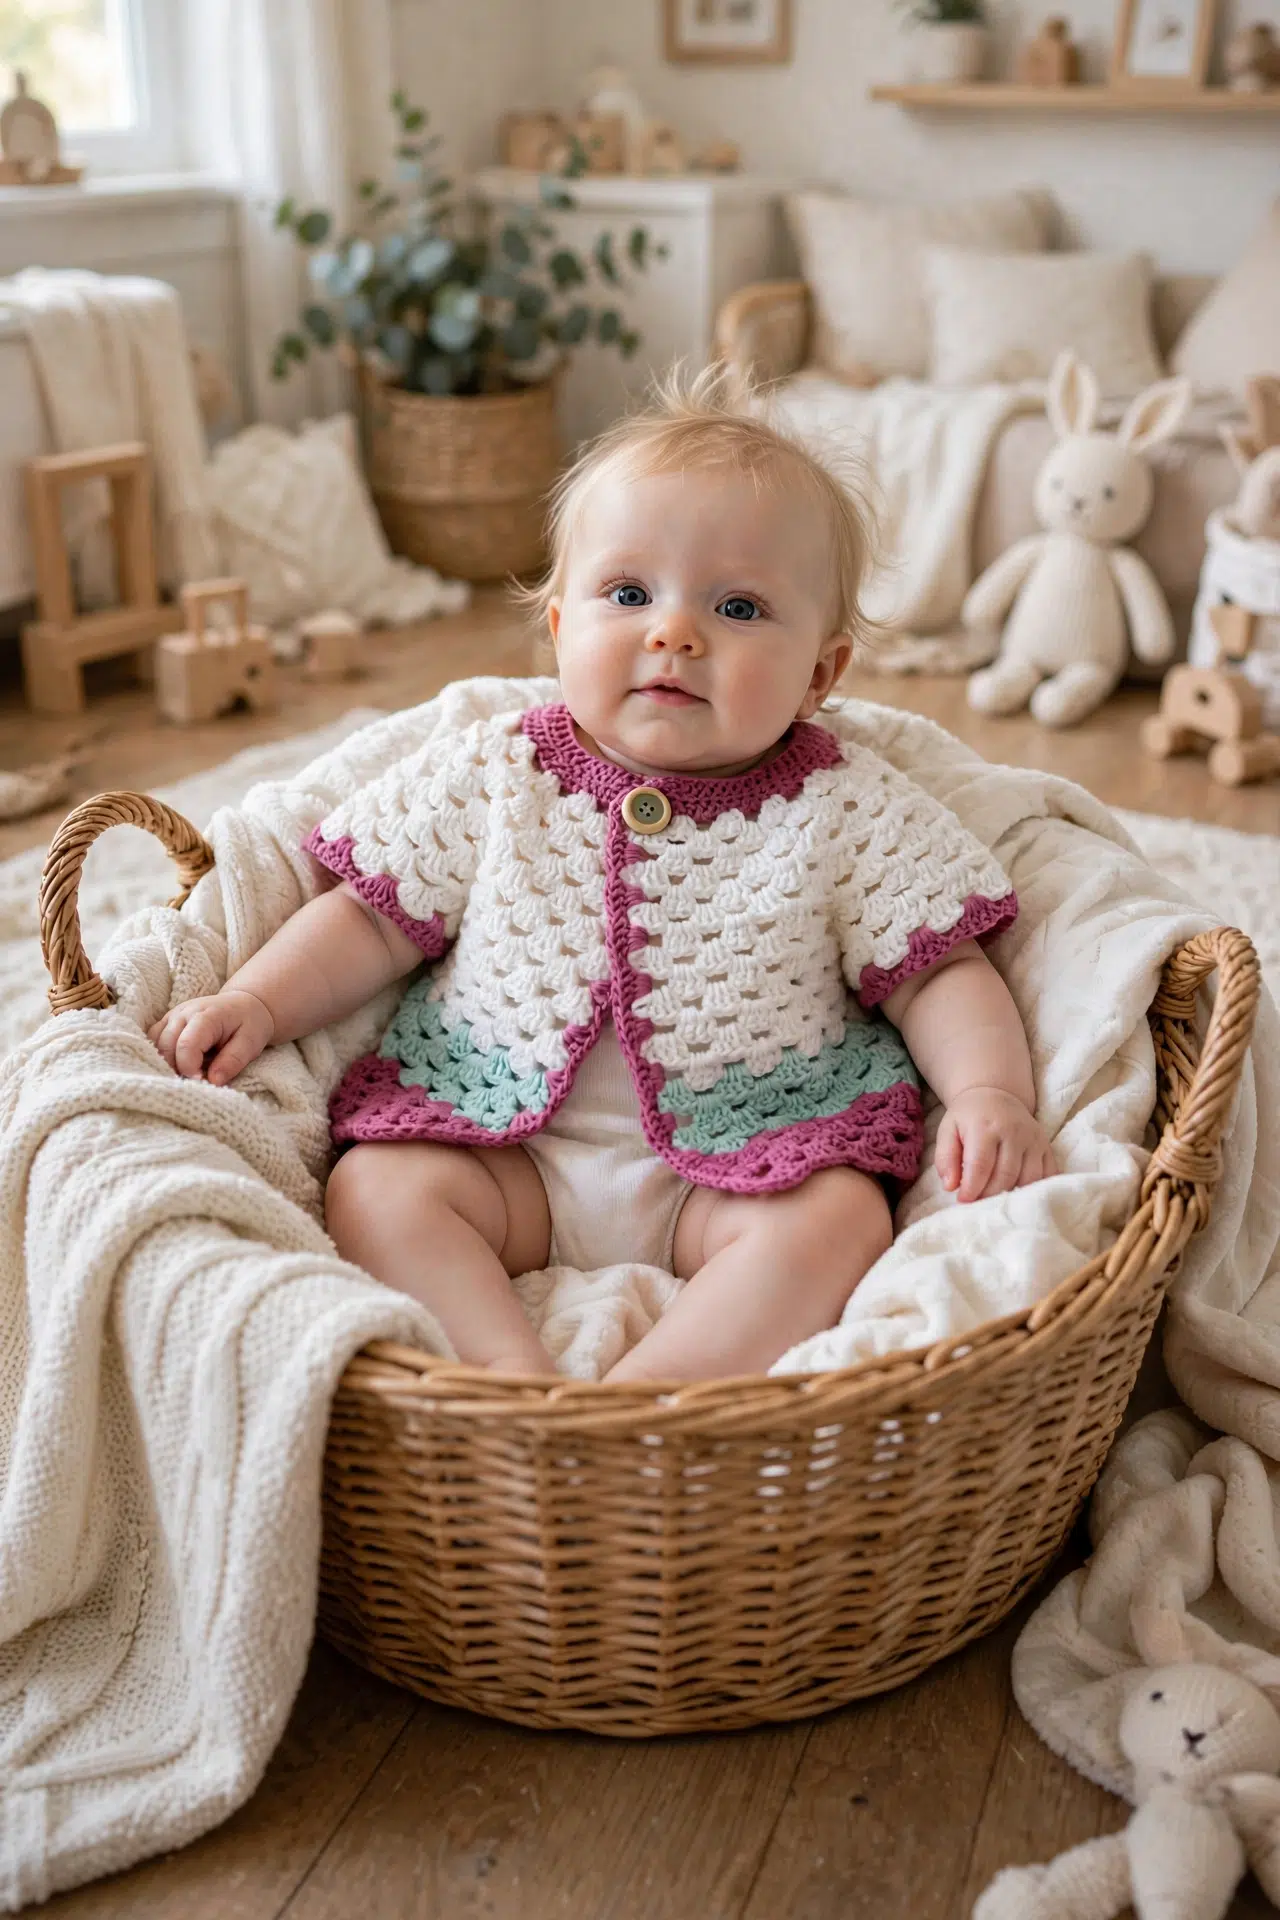
Caring for Your Cardigan
Follow the washing instructions on your chosen yarn label, since substitute fibers may need different treatment. Cotton can relax when wet, so reshape the cardigan gently and let it dry in the intended dimensions. Before each wear, check that the button remains firmly attached.
More Baby Crochet Patterns
- Parquet Crochet Baby Cardigan
- Bumblebee Baby Booties Crochet Pattern
- Baby Flipflop Sandals Crochet Pattern
- Baby Aviator Hat Crochet Pattern
Frequently Asked Questions
Is the cardigan really worked in one piece?
Yes, the main cardigan is worked as one piece from the foundation chain through the body. Row 15 creates the armholes by chaining across and skipping fans rather than making separate sleeve pieces. Only the second side edging requires you to start again at the collar.
Does the turning chain count as a stitch?
No, the ch 1 at the beginning of each row doesn't count as a st. Work the first actual stitch into the first indicated st or sp instead. Row 1 is the exception in its setup: the skipped foundation chs are included as 1 dc in the stated count of 60.
Where are the armholes formed?
The armholes are formed on Row 15 with two ch-8 spaces, each placed over seven skipped P fans. Row 16 then works across each chain by placing 4 dc in the first ch, skipping three chs, working 4 dc in the next ch, and continuing as instructed.
When do I change to Bright Purple for the lower body?
Change to P in the ch 1 before turning on Row 21. Rows 19-25 continue the Row 17 and Row 18 alternation, so making the change in that turning chain prepares the new color before the next row begins.
Can I use this pattern for a larger baby size?
Not without recalculating the shaping, because the written size is 0-6 months only. The foundation count, yoke increases, fan sections, and seven-fan armhole skips all work together. Simply adding chains would disrupt those placements, and no gauge is provided for dependable grading.
Share this pattern with a crocheter who enjoys small, low-seam baby projects. I'd love to hear how your cardigan went in the comments!



