
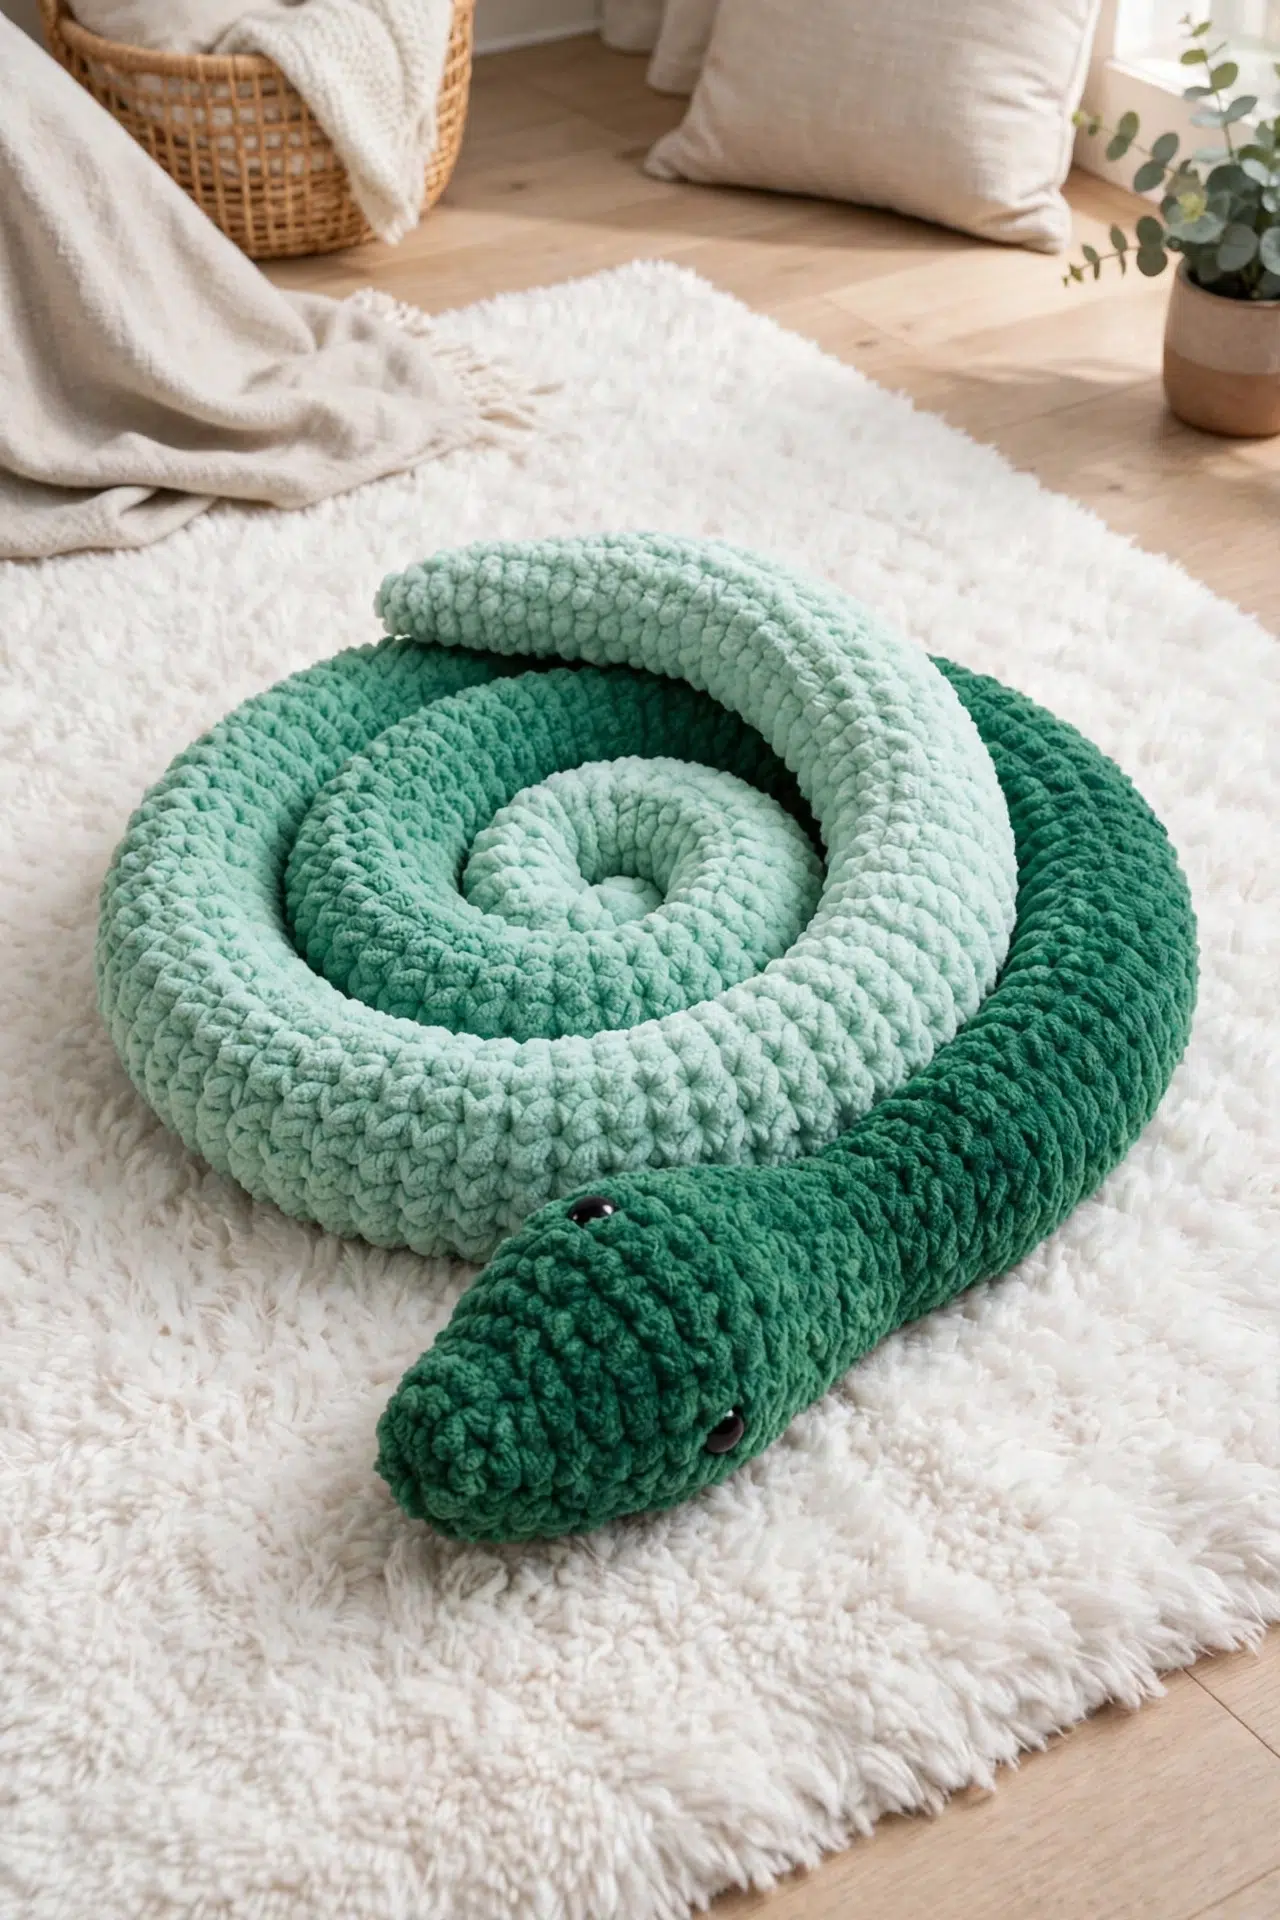
That ball of thick yarn waiting in your stash has a satisfying purpose in this Super Bulky Crochet Snake, especially when you want an easy project you can finish over a few relaxed evenings.

Once the ends are tucked away, you'll have a generously long stuffed companion that's fun to arrange, hold, or give to someone who appreciates a handmade surprise.
Jump to:
- Why This Pattern Is a Keeper
- Pattern Details
- Yarn and Supplies
- Stitches & Abbreviations
- How to Crochet the Super Bulky Snake
- Tips for Success
- Ways to Adapt Your Crochet Snake
- Keep Your Snake Shaping on Track
- Give Your Finished Snake a Place to Curl Up
- Caring for Your Snake
- More Crochet Animal Amigurumi
- Frequently Asked Questions
Why This Pattern Is a Keeper
- A steady rhythm: Most of the project is worked in single crochet rounds, so your hands can settle into a comfortable pace without complicated shaping.
- Very little assembly: The head, body, and tapered tail are worked continuously. You only need to attach the eyes, close the tail, and weave in the ends.
- Easy to pause: A marker tracks the beginning of each spiral round, making it simple to set the work down and return without searching for your place.
- Stuffing stays manageable: You add filling as the body grows instead of trying to push it through the entire finished length at the end.
Pattern Details
- Skill Level: Easy
- Finished Size: Approximately 54 in. [137 cm] long
- Gauge: 8 sc and 9 rows = 4 in. [10 cm]
- Yarn Weight: Super Bulky (6)
- Time to Make: about 7-10 hours
Yarn and Supplies
You'll need one ball of super bulky blanket yarn, a sturdy hook, and a few basic toy-making supplies. Check your gauge before settling in, since it controls both the finished length and how well the fabric contains the stuffing.
- Bernat Blanket Perfect Phasing, Forest (43010): 1 ball or 190 yds / 174 m. Each ball contains 10.5 oz / 300 g and 220 yds / 201 m.: Begin at the darkest end as directed. If you substitute another Super Bulky (6) yarn, choose one that creates a dense fabric at the listed gauge.
- Size U.S. K/10½ (6.5 mm) Susan Bates Silvalume crochet hook, or size needed to obtain gauge
- Susan Bates yarn needle
- Susan Bates stitch markers
- Polyester stuffing
- Two ¾ in. [2 cm] safety eyes: Install both eyes before the head is firmly stuffed. For a piece intended for a very young child, embroidered eyes avoid detachable components.
Stitches & Abbreviations
- approx - approximately
- beg - begin(ning)
- ch - chain(s)
- cont - continue(ity)
- PM - place marker
- rep - repeat
- rnd(s) - round(s)
- sc - single crochet
- sl st - slip stitch
- st(s) - stitch(es)
- yo - yarn over hook
sc2tog: Draw up a loop in each of next 2 stitches. Yo and draw through all loops on hook.
How to Crochet the Super Bulky Snake
Work the snake from the head through the tail in one continuous spiral, stuffing as you go.
Do not join at ends of rnds unless otherwise stated. Continue working in a continuous spiral, placing a stitch marker on the first stitch of each round to track your position. Begin working with the darkest end of the yarn.
Head
- Step 1: Ch 2.
- Round 1: 6 sc in 2nd ch from hook. Do not join. PM for beg of rnd. Move marker up on each rnd as work progresses. (6)
- Round 2: 2 sc in each sc around. (12)
- Rounds 3-4: 1 sc in each sc around. (12)
- Round 5: (2 sc in next sc, 1 sc in next sc, 2 sc in next sc) 2 times. 1 sc in each of last 6 sc. (16)
- Round 6: 1 sc in each sc around. (16)
- Round 7: (1 sc in next sc, 2 sc in next sc) 4 times. 1 sc in each of last 8 sc. (20)
- Round 8: 1 sc in each of first 3 sc. PM for first eye placement. 1 sc in each of next 7 sc. PM for second eye placement. 1 sc in each of last 10 sc. (20)
- Rounds 9-11: 1 sc in each sc around. (20)
- Round 12: 1 sc in each of first 2 sc. Sc2tog. 1 sc in each of next 4 sc. Sc2tog. 1 sc in each of last 10 sc. (18)
- Round 13: 1 sc in each of first 2 sc. Sc2tog. 1 sc in each of next 3 sc. Sc2tog. 1 sc in each of last 9 sc. (16)
- Round 14: 1 sc in each st around. (16)
- Round 15: (1 sc in each of next 2 sc, sc2tog) 4 times. (12)
- Step 2: With eye markers facing towards the top of the head, attach safety eyes just below the markers on each side according to the manufacturer's instructions. Stuff the head firmly. Continue stuffing the piece as work progresses.
Body
Proceed directly to the body as follows.
- Rounds 16-20: 1 sc in each st around. (12)
- Round 21: (1 sc in each of next 2 sc, 2 sc in next sc) 4 times. (16)
- Rounds 22-100: 1 sc in each sc around. (16)
- Round 101: (1 sc in each of next 6 sc, sc2tog) 2 times. (14)
- Rounds 102-106: 1 sc in each st around. (14)
- Round 107: (1 sc in each of next 5 sc, sc2tog) 2 times. (12)
- Rounds 108-112: 1 sc in each st around. (12)
- Round 113: (1 sc in each of next 4 sc, sc2tog) 2 times. (10)
- Rounds 114-118: 1 sc in each st around. (10)
- Round 119: (Sc2tog) 5 times. (5)
- Rounds 120-121: 1 sc in each st around. (5)
- Round 122: 1 sc in next sc. Sl st in next sc. Fasten off, leaving a long tail. (5)
Finishing
- Step 1: Weave the long yarn tail through the top loops of the remaining stitches and cinch tightly to close the tip of the tail. Fasten off securely and weave in any remaining yarn ends.
Tips for Success
- Move the marker every round: Because the rounds aren't joined, the start can become hard to spot. Move your marker into the first stitch of each new round before continuing.
- Check the eye direction first: Turn the head so both placement markers face toward its top, then install each eye just below its marker. This check matters because the body continues directly from the head.
- Stuff in small portions: Add stuffing regularly as the tube grows. Small amounts are easier to distribute evenly and help prevent firm lumps or hollow sections.
- Count the shaping rounds: Pause after each increase or decrease round to confirm the new stitch count. An error there will carry through several plain rounds and affect the tail shaping.
Ways to Adapt Your Crochet Snake
- Change the body length: Add or remove rounds within Rounds 22-100, where the stitch count stays at 16. Make the adjustment before Round 101 so the full tapered tail remains intact.
- Try another super bulky yarn: A different Super Bulky (6) yarn can work, but compare gauge and fabric density. A thinner or less lofty yarn may produce a shorter piece and allow stuffing to show between stitches.
- Use embroidered eyes: Replace the safety eyes with securely embroidered features when detachable pieces aren't suitable. Complete the embroidery before stuffing the head so you can reach the inside easily.
- Adjust the firmness: Use a little less stuffing if you'd like the long body to bend more easily, or add more for a firmer result. Avoid packing so tightly that the stitches spread apart.
- Change hook size carefully: Move to a smaller or larger hook only as needed to meet gauge and create a closed fabric. Hook changes affect the finished dimensions and may also change how much yarn you use.
Keep Your Snake Shaping on Track
- The round start keeps drifting: A spiral naturally shifts as it grows, so the marker won't form a straight seam. Keep moving it to the first stitch of every round and count from that point rather than trying to straighten its path.
- The eyes seem misaligned: Before securing the backs, face both placement markers toward the top of the head and confirm that each eye sits just below its marker. Once the backs are attached and the head is stuffed, repositioning them may not be possible.
- Stuffing shows between stitches: The fabric is either overfilled or too loose. Remove a little stuffing first; if gaps remain, check that your gauge is firm enough and switch to a smaller hook if you're restarting.
Give Your Finished Snake a Place to Curl Up
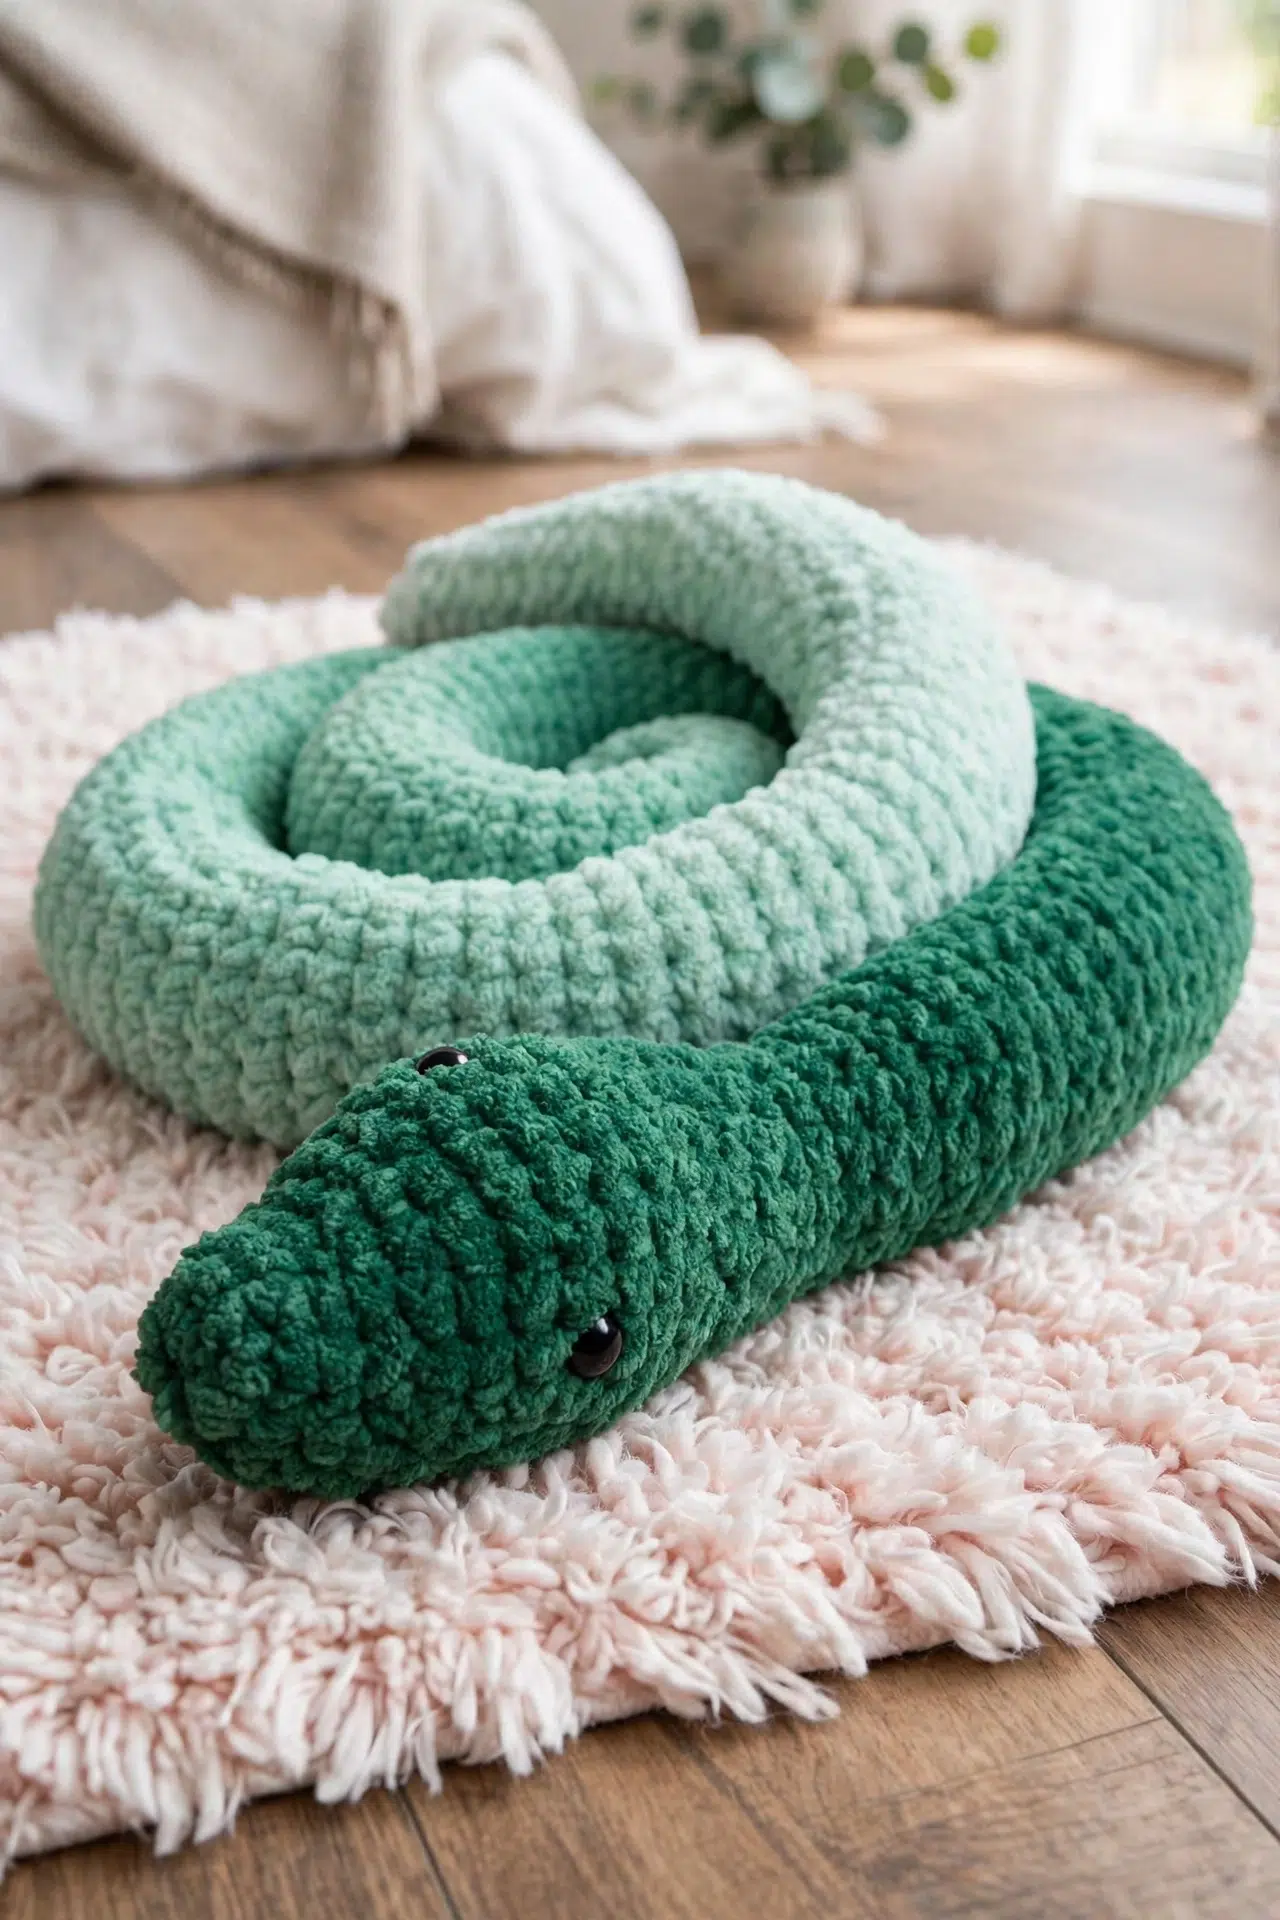
Coil your finished snake on a roomy shelf, place it in a reading corner, or let its long body rest across a bed. Its length gives you several options without requiring extra assembly.
If you're making it as a gift, include the yarn care information and choose embroidered eyes whenever detachable safety eyes aren't appropriate for the recipient.
Caring for Your Snake
Spot clean your snake gently unless the yarn label confirms that the finished piece can be washed another way. Avoid high heat, and let the polyester stuffing dry completely before using or storing the snake. Reshape the body while it dries.
More Crochet Animal Amigurumi
- How to Crochet a Super Soft Amigurumi Turtle
- Stuffed Crochet Snail
- Quick & Easy Crochet Octopus (A Perfect Beginner-Friendly Scrap Buster)
- Pocket Capybara Amigurumi: A No-Sew Crochet Pattern You Can Finish in Under 40 Minutes
Frequently Asked Questions
When should I attach the safety eyes?
Attach the eyes immediately after Round 15 and before firmly stuffing the head. The placement markers added in Round 8 identify their positions, with each eye installed just below its marker. Doing this before continuing the stuffed body leaves enough access inside the head to secure the eye backs correctly.
Can I make the snake shorter or longer?
Yes, change the number of plain rounds within Rounds 22-100. Those rounds all contain 16 stitches, so modifying them won't disrupt the later decreases. Once you're happy with the length, begin Round 101 and work the complete tail sequence as written. Any change will affect yarn and stuffing use.
Why do I begin with the darkest end of the yarn?
The head is designed to begin at that end of the Perfect Phasing yarn. Since the snake is worked continuously from head to tail, reversing the yarn changes the direction of its planned progression. With a non-phasing substitute, this instruction doesn't affect the construction.
How firmly should I stuff the body?
Stuff the head firmly, then fill the body evenly as your work progresses. Adding small portions every few inches is easier than forcing stuffing through a long, narrow tube later. Stop before the stitches stretch apart, and make sure the tail is filled before the final decreases make its opening too small.
Share this pattern with a crocheter who enjoys easy stuffed projects with plenty of relaxing rounds. I'd love to hear how you made your snake your own in the comments.



