
When you're ready for an evening project with plenty of personality, the Floral Crochet Horn Headband gives your hands a satisfying mix of shaping, texture, and assembly. Each part is made separately, so you can enjoy one manageable piece at a time.
Design credit: this guide follows the Bernat Crochet Floral Horn Headband pattern published by Yarnspirations. The underlying design is not a Croshly original. This page includes AI-assisted editorial explanations and imagery; the images do not document a physically tested Croshly sample.

You won't be making a large panel or working through long rows. The compact horns shift between short rows and rounds, while the rose strips settle into a steady sequence of increasing stitch heights.
Jump to:
- Why This Pattern Is a Keeper
- Pattern Details
- Yarn and Supplies
- Stitches & Abbreviations
- How to Crochet the Floral Horn Headband
- Tips for Success
- How to Keep the Horn Shaping on Track
- Ways to Adapt Your Floral Horn Headband
- Fixing Horn Shaping and Rose Assembly
- Washing & Care
- More Whimsical Crochet Patterns
- Frequently Asked Questions
Why This Pattern Is a Keeper
- Small, focused pieces: Each horn and rose is worked separately, which makes it easy to pause between components without losing your place.
- Shaping without stuffing: The horn structure comes from decreases, short rows, and joined rounds. There's no filling to measure or pack into narrow tips.
- Purposeful flower construction: The rose begins with shorter stitches and progresses to taller ones, giving you a strip that can be coiled into its final form.
- Simple final assembly: Once the crochet is complete, the horns and roses attach directly to a purchased headband with hot glue.
Pattern Details
- Skill Level: Intermediate
- Finished Size: Horn: approximately 5 in. [12.5 cm] tall × 2½ in. [6.5 cm] diameter at base. Rose: approximately 3½ in. [9 cm] in diameter.
- Gauge: 9 sc and 10 rows = 4 in. [10 cm]
- Yarn Weight: Super Bulky (6)
- Time to Make: about 5-7 hours
Yarn and Supplies
Gather both contrast shades, your gauge-matched hook, and the headband before you begin. Keep the glue gun aside until you've finished and arranged every crocheted component.
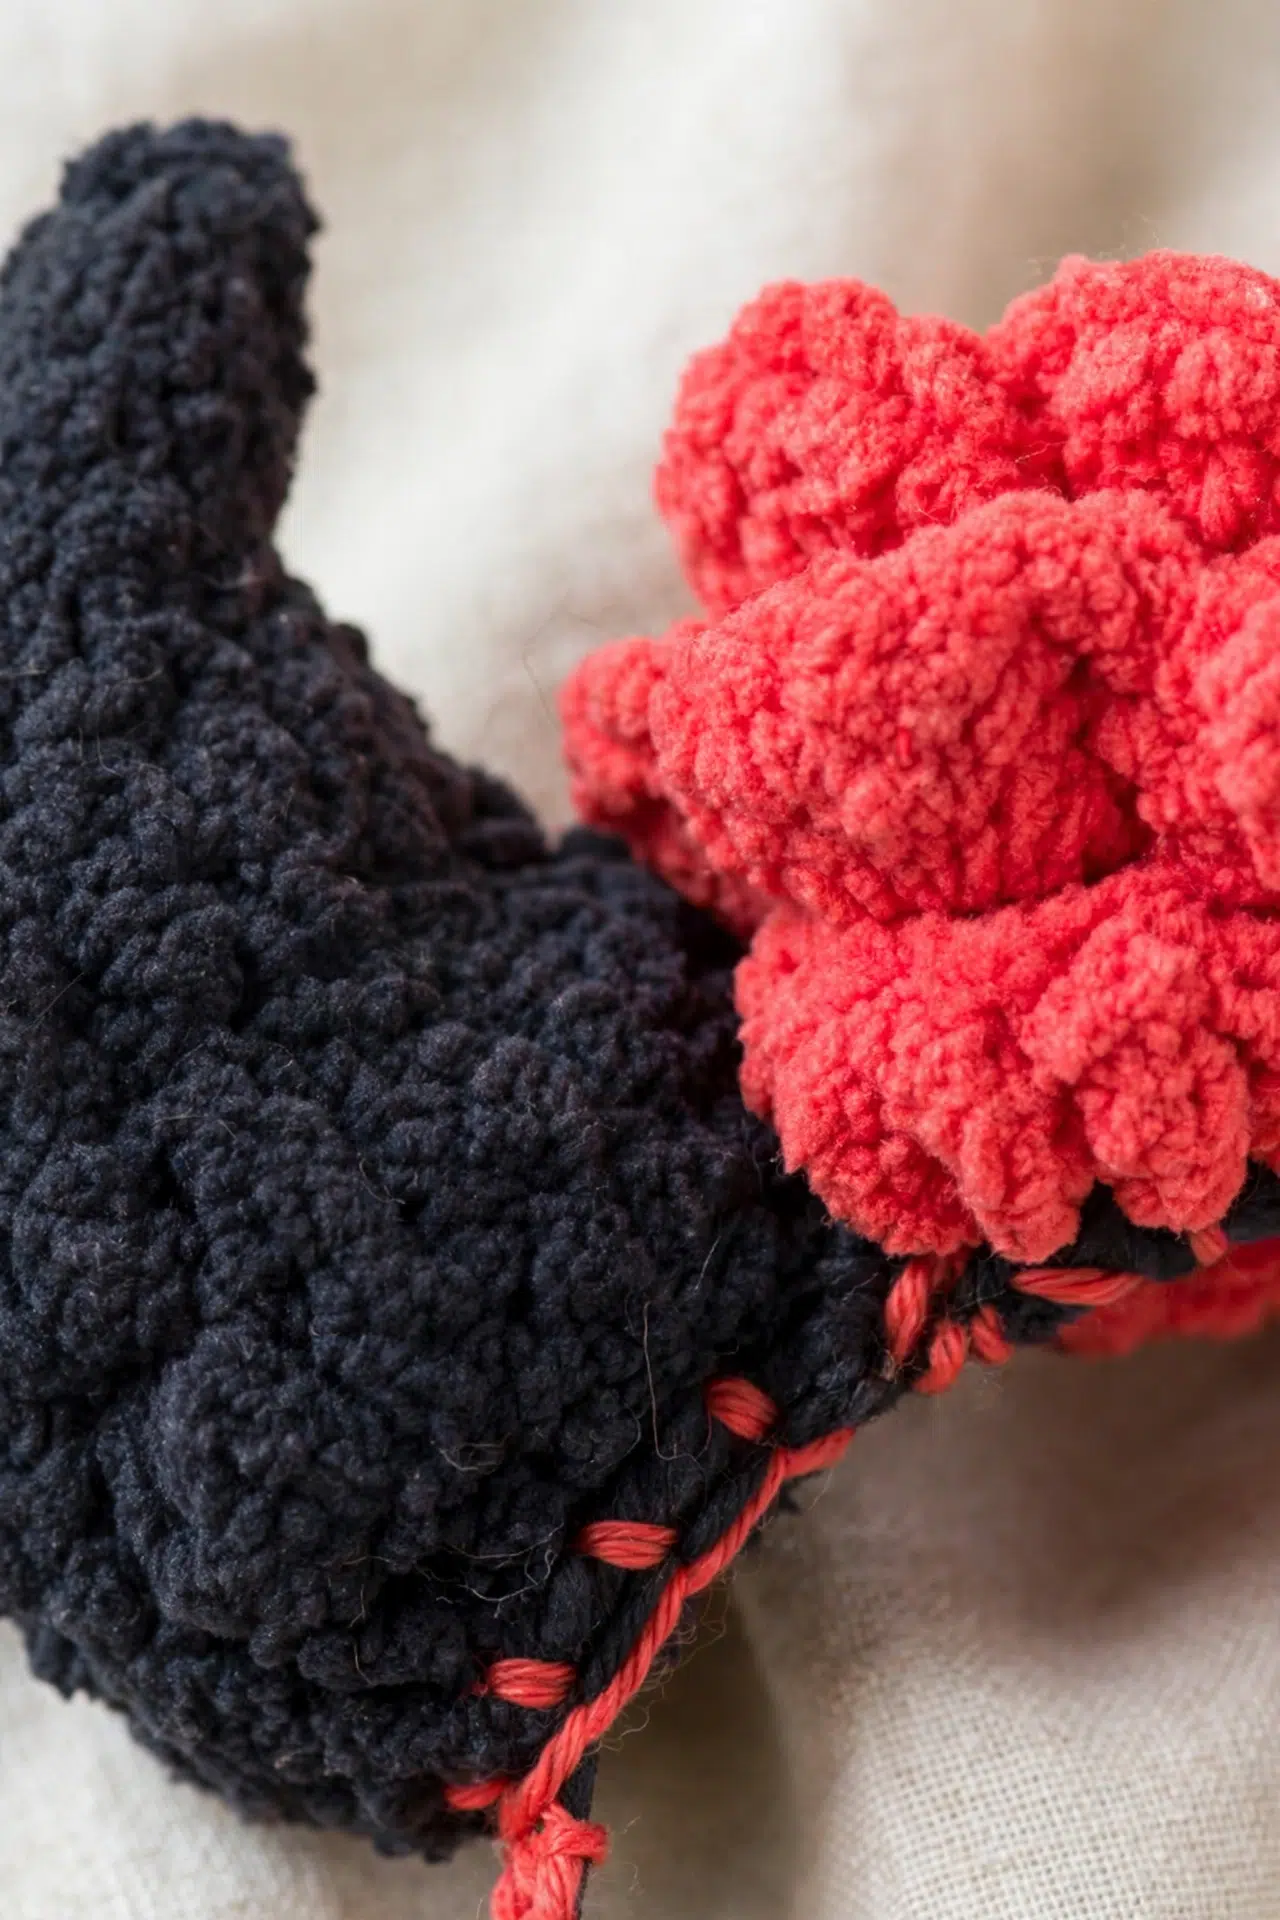
- Bernat Blanket Perfect Phasing, 10.5 oz / 300 g; 220 yds / 201 m per ball: Contrast A, Crimson (43002), 1 ball or 55 yds / 50 m: The super bulky yarn provides the gauge and structure used for both the horns and roses. If you substitute yarn, make a gauge check because a thinner or looser fabric will change the finished dimensions.
- Bernat Blanket Perfect Phasing, 10.5 oz / 300 g; 220 yds / 201 m per ball: Contrast B, Deep Black (43001), 1 ball or 62 yds / 57 m
- Size U.S. K/10½ (6.5 mm) Susan Bates Silvalume crochet hook, or size needed to obtain gauge
- Susan Bates yarn needle
- Purchased plain headband: Headband widths and coverings vary, so arrange both horns and roses on your band before applying glue. A fabric-covered base may also allow careful hand sewing.
- Hot glue gun and glue sticks: Hot glue sets quickly and makes repositioning difficult. Dry-fit all four pieces first, then attach them in stages while protecting your fingers from the heated glue.
Stitches & Abbreviations
- approx - approximately
- beg - beginning
- ch - chain(s)
- dc - double crochet
- hdc - half double crochet
- PM - place marker
- rem - remain(ing)
- rep - repeat
- rnd(s) - round(s)
- RS - right side
- sc - single crochet
- sl st - slip stitch
- sp(s) - space(s)
- st(s) - stitch(es)
- tr - treble crochet
- WS - wrong side
- yo - yarn over
dsc2tog: Downward single crochet 2 together: Working vertically, draw up a loop in side of next sc. Draw up a loop in next unworked sc of previous round. Yo and draw through all loops on hook.
sc2tog: Draw up a loop in each of next 2 stitches. Yo and draw through all loops on hook.
usc2tog: Upward single crochet 2 together: Draw up a loop in next sc. Working vertically, draw up a loop in side of next sc. Yo and draw through all loops on hook.
How to Crochet the Floral Horn Headband
Make the horns first, follow with the coiled roses, and complete the project by attaching all four pieces to the headband.
Make 2 horns and 2 roses. The horn shaping alternates between rows and rounds. Turn only where instructed.
Horns
The changes between rows and rounds create the horn shaping, so watch the turning directions and keep the marked decrease easy to find. Make 2. With B, begin using the magic ring method.
- Round 1: Ch 1. 7 sc in ring. Join with sl st to first sc.
- Round 2: Ch 1. 2 sc in each sc around. Join with sl st to first sc. (14)
- Round 3: Ch 1. *2 sc in next sc, 1 sc in next sc; rep from * around. Join with sl st to first sc. (21)
- Round 4: Ch 1. Working in back loops only, 1 sc in each sc around. Join with sl st to first sc.
- Row 5 (RS): Ch 1. 1 sc in first sc. 1 sc in each of next 13 sc. Turn. Leave remaining sts unworked.
- Row 6 (WS): Ch 1. 1 sc in first sc. Sc2tog. 1 sc in each of next 8 sc. Sc2tog. 1 sc in next sc. Do not turn.
- Round 7 (WS): Ch 1. Dsc2tog. PM on dsc2tog. Sc2tog. 1 sc in next st. Sc2tog. Usc2tog. Working into remaining sts of Row 6, 1 sc in each st to marked st. Join with sl st to marked st. Turn. (17)
- Row 8 (RS): Ch 1. Skip first st. 1 sc in each of next 12 sc. Turn.
- Row 9 (WS): Ch 1. 1 sc in first sc. Sc2tog. (1 sc in each of next 2 sc, sc2tog) 2 times. 1 sc in next sc. Dsc2tog. PM on dsc2tog. 1 sc in each of next 3 sc. Usc2tog. 1 sc in each sc to marked st. Join with sl st to marked st. Turn. (14)
- Row 10: Ch 1. Skip first st. 1 sc in each of next 9 sc. Turn. Leave rem sts unworked.
- Round 11: Ch 1. (Sc2tog, 1 sc in next sc) 3 times. Dsc2tog. PM on dsc2tog. 1 sc in next sc. Sc2tog. Usc2tog. 1 sc in each st to marked st. Join with sl st in marked st. Turn. (10)
- Row 12: Ch 1. Skip first st. 1 sc in each of next 6 sts. Turn.
- Round 13: Ch 1. (Sc2tog) 3 times. Dsc2tog. Sc2tog. Usc2tog. Join with sl st to first st. Turn. (6)
- Rounds 14-15: Ch 1. 1 sc in each st around. Join.
- Round 16: Ch 1. (Sc2tog, 1 sc in next st) 2 times. Fasten off.
Roses
The second row moves from hdc petals to dc and tr sections; keeping that order intact helps the strip coil as intended. Make 2. Work with A.
- Row 1: Ch 14. (1 dc, ch 2, 1 dc) all in 3rd ch from hook. (1 dc, ch 2, 1 dc) in each ch to end of ch. Turn.
- Row 2: Sl st in first ch-2 sp. Ch 1. (1 sc, 5 hdc, 1 sc) in same ch-2 sp. ((1 sc, 5 hdc, 1 sc) in next ch-2 sp) 3 times. ((1 hdc, 5 dc, 1 hdc) in next ch-2 sp) 4 times. ((1 dc, 5 tr, 1 dc) in next ch-2 sp) 4 times. Fasten off.
Assembly
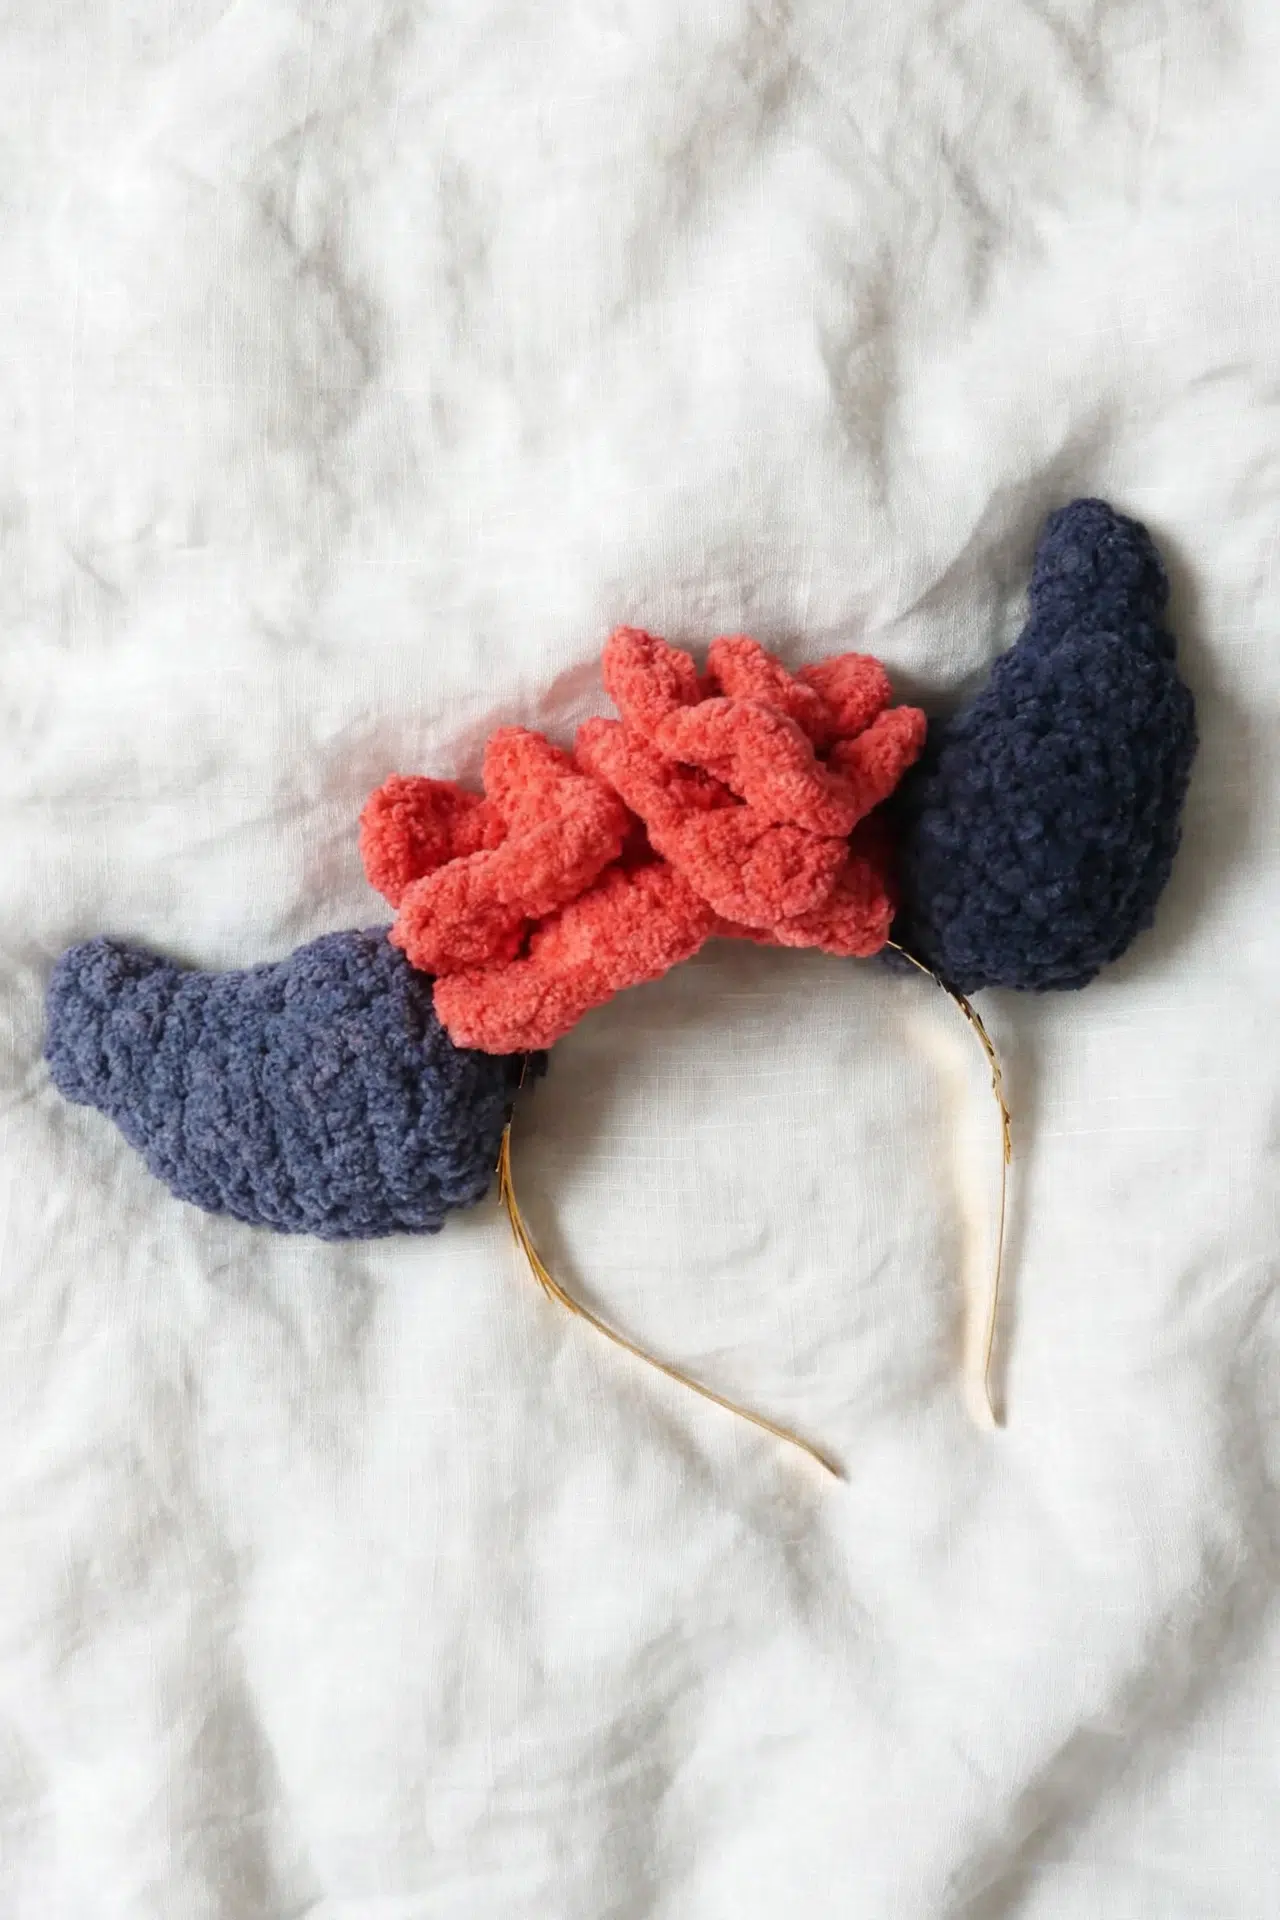
- Step 1: Using hot glue, attach the 2 horns securely to each side of the headband.
- Step 2: Coil the rose strips tightly into circular flower shapes and hot glue them to the center of the headband between the horns.
Tips for Success
- Keep the marker in place: Move or replace the marker exactly where the dsc2tog is identified. Later instructions use that marked stitch as the joining point, so losing it can shift the horn opening.
- Respect the partial rows: When a row tells you to leave stitches unworked, stop there even though stitches remain. Those gaps are intentional and become part of the next shaped round.
- Count the rose spaces: Row 1 creates 12 ch-2 spaces. Row 2 fills them with 4 smaller groups, 4 medium groups, and 4 taller groups, so pause after each set of four.
- Arrange before gluing: Place both horns and both coiled roses on the headband before attaching anything. This lets you check spacing and balance while every piece can still be moved.
How to Keep the Horn Shaping on Track
The dsc2tog and usc2tog cross vertical areas where ordinary decreases can't reach. For a dsc2tog, draw up one loop from the side of the next sc and another from the next unworked sc of the previous round before completing the decrease.
The usc2tog travels in the opposite direction. Draw up a loop in the next sc, then work vertically into the side of the next sc. These decreases close the transitions created by the partial rows, so insert the hook into the specified side stitches rather than the nearest convenient opening.
Ways to Adapt Your Floral Horn Headband
- Try another super bulky yarn: Choose a yarn that meets the stated gauge and produces a fabric firm enough to hold the horn shape. A softer substitute may make the horns less structured, while a thicker one can increase both component size and bulk at the headband.
- Change the contrast shades: You can choose any two shades while keeping the same division of yarn: Contrast B for the horns and Contrast A for the roses. Maintain the listed yardage for each so you don't run short during the shaped rounds or taller rose stitches.
- Use a different headband base: A wider band provides more attachment area, while a narrow band leaves less room for glue. Test the placement before assembly and make sure the crocheted pieces sit securely on the actual base you'll wear.
- Sew to a covered band: If your purchased headband has a fabric covering that can be pierced, you may stitch the components in place with matching yarn instead of using hot glue. Sewing takes longer but allows careful repositioning before the final knots are secured.
- Adjust the hook for gauge: The listed 6.5 mm hook is a starting point. Change hook size if needed to reach 9 sc and 10 rows over 4 in. [10 cm], since gauge affects both horn height and base diameter.
Fixing Horn Shaping and Rose Assembly
- The horn count starts drifting: Check the location of the marked dsc2tog before undoing a full section. The shaped rounds travel across regular stitches, row ends, and previously unworked stitches, so joining to the wrong point changes where the following row begins.
- There's a gap at a vertical decrease: Make sure one loop is drawn from the side of the specified sc rather than from a loose space beside it. Working into the actual side of the stitch anchors the decrease and closes the transition between the partial row and the round.
- The rose strip resists coiling: Confirm that the stitch groups progress in the listed order: 4 smaller groups, 4 medium groups, and 4 taller groups. Coil the strip tightly into a circle before gluing, keeping the lower edge together as the taller sections wrap around it.
Washing & Care
Because the finished headband includes a purchased base and hot-glued pieces, spot-clean it gently with cool water and mild detergent rather than soaking or machine washing it. Blot away moisture and let it air-dry flat. Keep it away from high heat, which may soften the glue or affect the headband base.
More Whimsical Crochet Patterns
- Crochet Curved Horn Headband
- Flower Chain Bracelet Crochet Pattern
- Spring Crochet Flower Chains
- Floral Crochet Rabbit Amigurumi
Frequently Asked Questions
Why does each horn switch between rows and rounds?
The changes create the horn's tapered shaping. Partial rows leave selected stitches unworked, and the following rounds cross those sections with ordinary and vertical decreases. If every section were worked continuously in rounds, the decreases wouldn't form the same structure or place the tip as directed.
Can I replace dsc2tog and usc2tog with regular sc2tog decreases?
No, not without changing the horn construction. The downward and upward decreases collect loops from vertical stitch sides as well as standard stitch tops. A regular sc2tog only joins two adjacent top loops, so it won't bridge the transitions created by the short rows in the same way.
Do the horns need to be stuffed?
No, the horns aren't stuffed. Their structure comes from super bulky yarn, gauge, back-loop work, partial rows, and repeated decreases. Adding filling isn't part of the construction and could distort the narrow tip or place extra strain on the glued base.
How many petal groups should the rose have?
Each rose has 12 groups in Row 2. The first 4 use sc and hdc, the next 4 use hdc and dc, and the final 4 use dc and tr. These groups correspond to the 12 ch-2 spaces created across Row 1.
Should I join Round 16 of the horn?
No join is specified for Round 16. Work the decrease-and-sc sequence 2 times, then fasten off. The round ends with the remaining stitches reduced at the tip, and the yarn tail can be secured neatly on the inside before assembly.
Set your finished headband in place when you're dressing for your next costume or playful gathering. Leave a comment if you make one.



