
Give that partial skein of medium-weight yarn a cheerful purpose with my Little Mouse Crochet Ornament, a satisfying small make to tuck between bigger projects or finish for a handmade gift.
Design credit: this guide follows the Red Heart Little Helper Crochet Mouse Ornament pattern published by Yarnspirations. The underlying design is not a Croshly original. This page includes AI-assisted editorial explanations and imagery; the images do not document a physically tested Croshly sample.

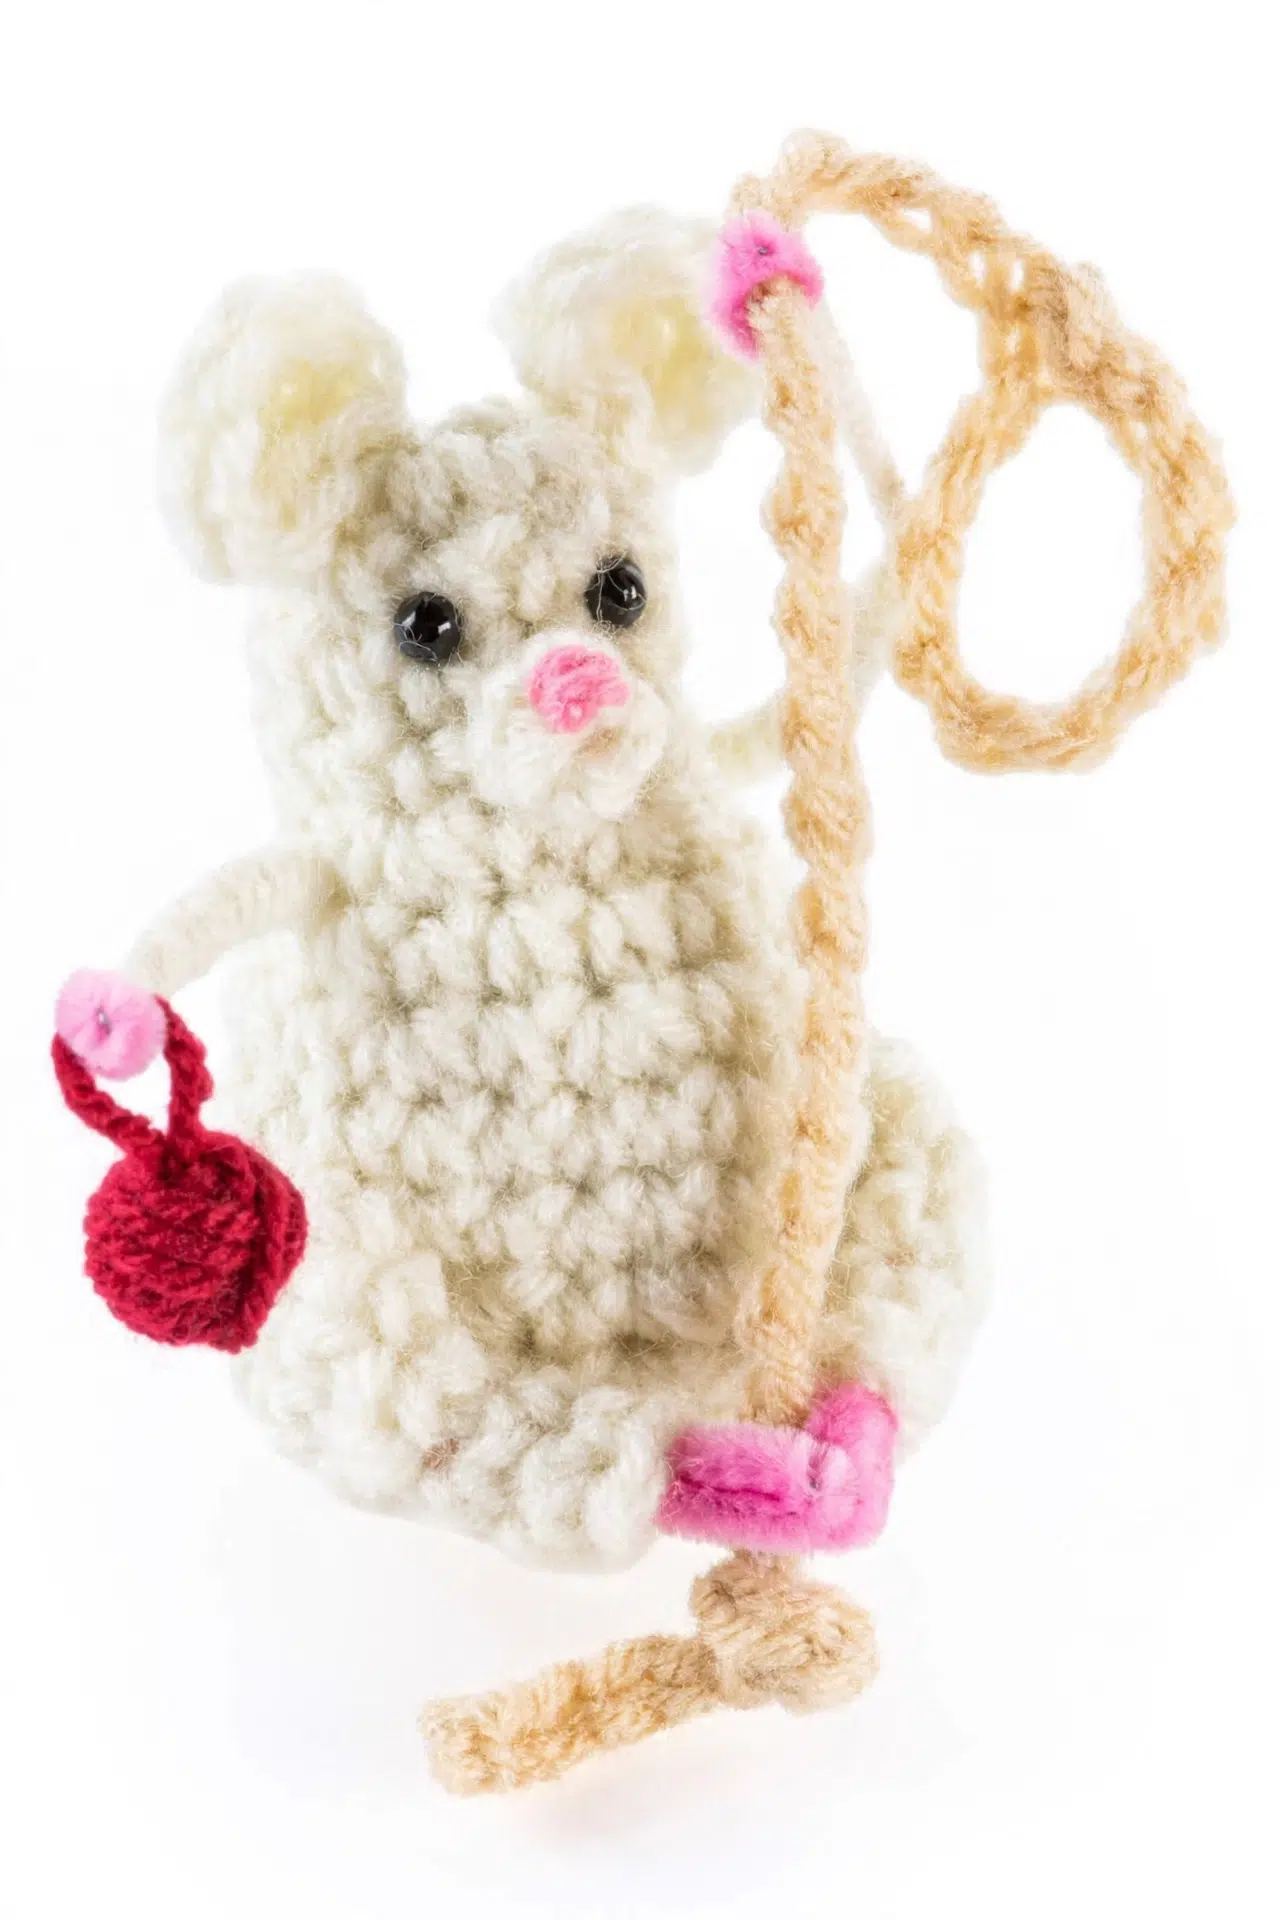
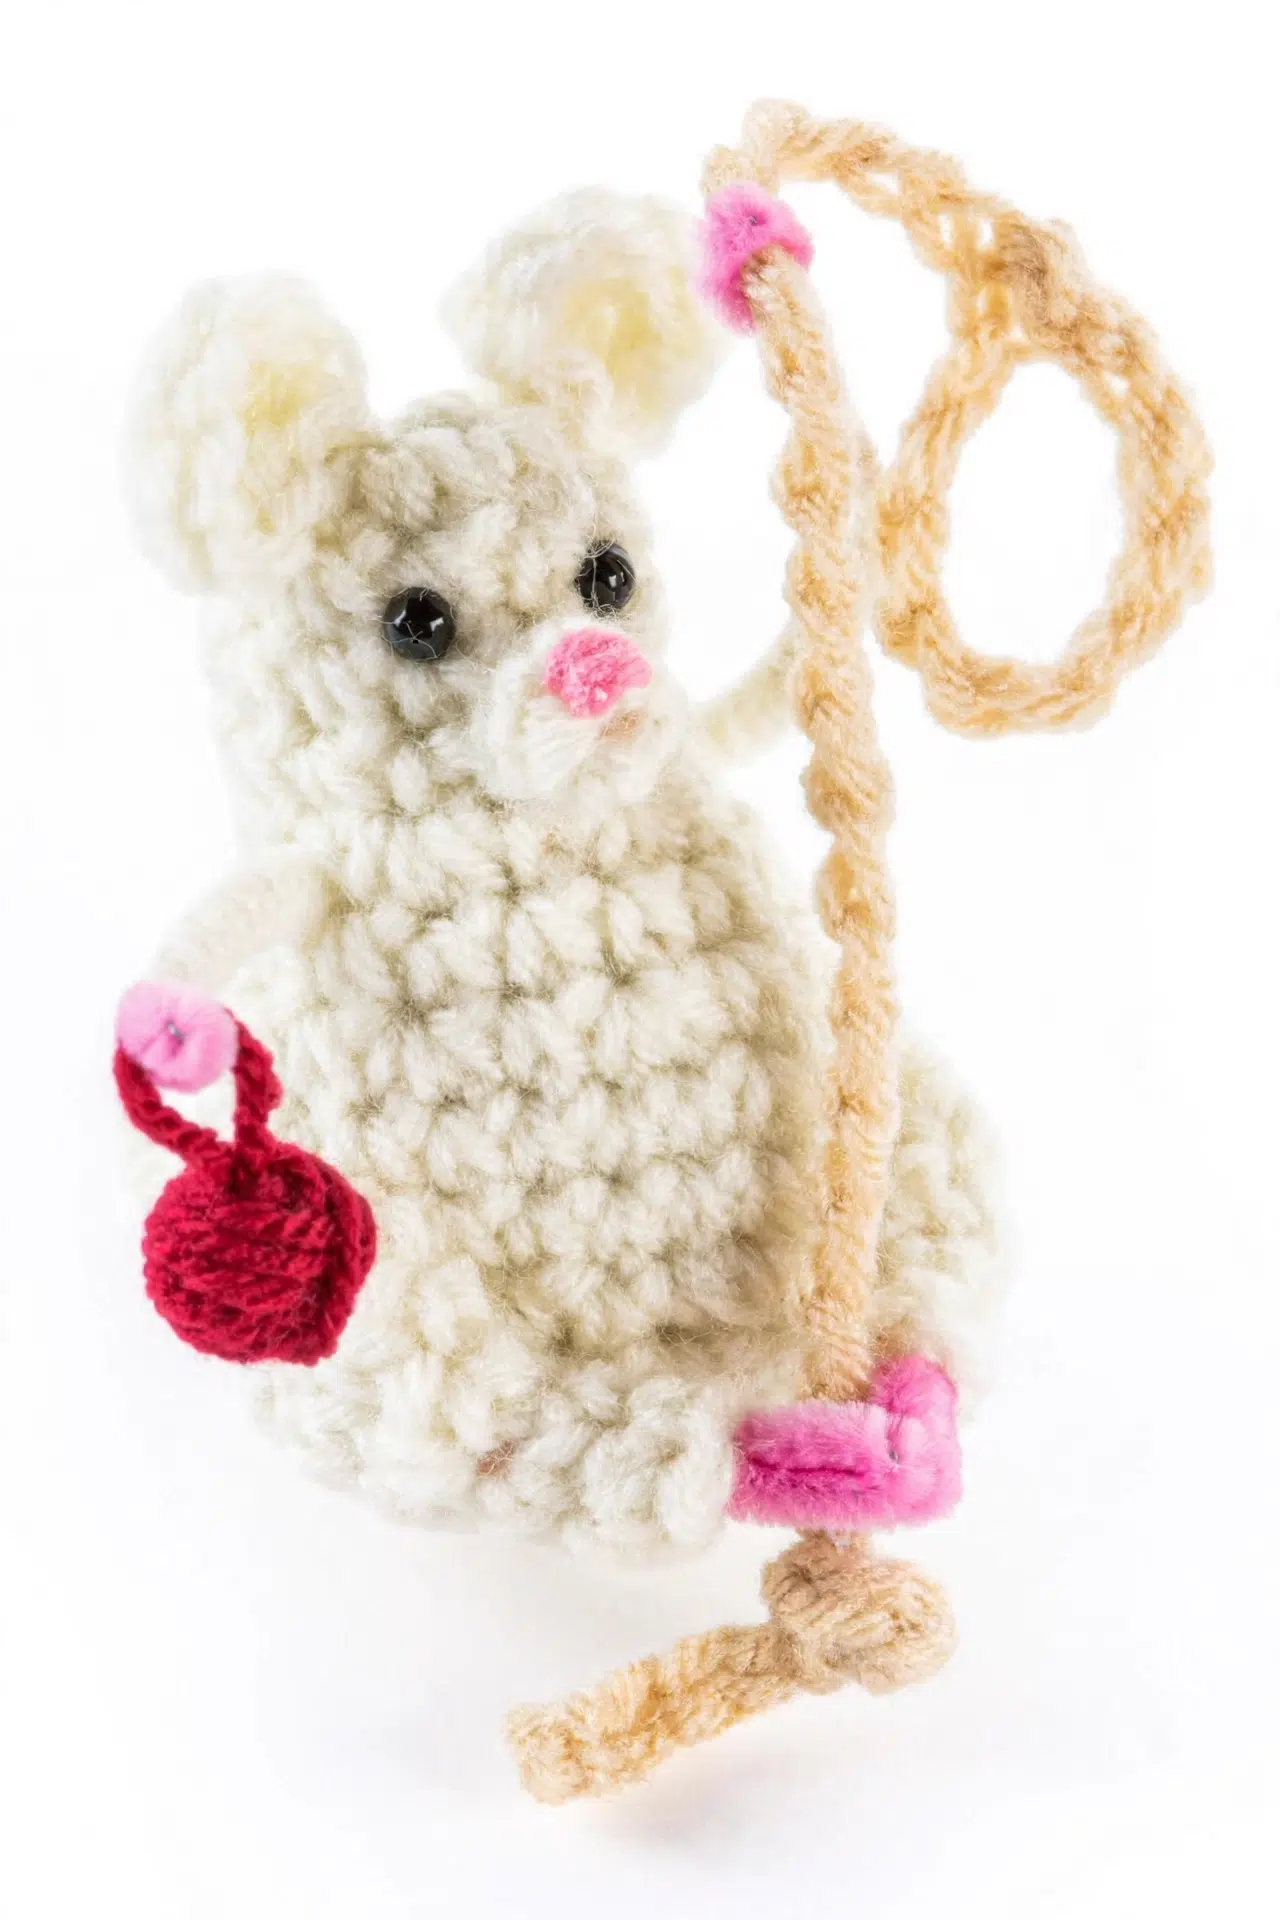
Once the ends are secured, you'll have a hanging mouse holding its rope and miniature yarn ball, with flexible details you can gently position before display.
Jump to:
Why You'll Love This Pattern
- A small yarn commitment: The body needs only 20 yds / 18.5 m of the main color, while the other details use small amounts from your leftovers.
- A smoothly worked body: The main piece is crocheted in a continuous spiral, so you won't stop to join every round or seam the body afterward.
- Plenty of character in the finishing: Pipe-cleaner arms, feet, and tail let your hands shape the final pose around the rope and yarn ball.
- Short, manageable components: The ears, nose, legs, rope, and yarn ball are compact sections, making it easy to pause between finishing tasks.
Pattern Details
- Skill Level: Intermediate
- Finished Size: Approximately 4.5 in. [11.5 cm] tall.
- Gauge: 12 sc and 15 rows = 4 in. [10 cm].
- Yarn Weight: Medium (4)
- Time to Make: About 3-5 hours
What You'll Need
Gather your medium-weight yarn and finishing supplies before you begin, since the safety eyes, stuffing, pipe cleaners, and glue are added at different stages.
- Red Heart Super Saver, 7 oz / 198 g; 364 yds / 333 m, Aran (0364), 1 ball or 20 yds / 18.5 m for MC
- Small amount of pink yarn, Pretty N' Pink (0722) shown
- Small amount of beige yarn, Buff (0334) shown
- Small amount of red yarn, Cherry Red (0319) shown
- Size U.S. I/9 (5.5 mm) Susan Bates Silvalume crochet hook, or size needed to obtain gauge
- Susan Bates yarn needle
- Susan Bates stitch marker
- Two pink pipe cleaners
- Pair of 0.25 in. [0.5 cm] safety eyes: Install these before the body is stuffed and closed. If the ornament may be handled by a young child, embroidered eyes avoid detachable plastic parts.
- Fiberfill stuffing
- Craft glue: Choose flexible stems without sharp exposed ends, and use only enough glue to secure each piece without soaking the yarn.
Stitches & Abbreviations
- approx - approximately
- beg - beginning
- ch - chain(s)
- MC - main color
- rem - remaining
- rep - repeat
- rnd(s) - round(s)
- sc - single crochet
- sl st - slip stitch
- st(s) - stitch(es)
- tog - together
- yo - yarn over
sc2tog: Draw up a loop in each of the next 2 stitches, yo and draw through all loops on hook.
How to Crochet the Little Mouse Ornament
Keep your stitch marker in the first stitch of each spiral round and move it up as you work.
Do not join at the end of rounds unless instructed. Work in a continuous spiral, placing a stitch marker on the first stitch of each round to track your progress. The project photo guides the exact ear placement, embroidered nose-tip placement, and final positioning of the feet around the hanging rope.
Body
- Foundation chain: With MC, ch 2.
- Round 1: 6 sc in 2nd ch from hook. (6)
- Round 2: 2 sc in each sc around. (12)
- Rounds 3-5: 1 sc in each sc around.
- Eye placement: Secure safety eyes between Rounds 3 and 4.
- Round 6: *1 sc in next sc, 2 sc in next sc; rep from * around. (18)
- Round 7: 1 sc in each sc around.
- Round 8: (2 sc in next sc, 1 sc in next sc) 4 times. 1 sc in each of last 10 sc. (22)
- Rounds 9-10: 1 sc in each sc around.
- Round 11: (1 sc in next sc, sc2tog) 4 times. 1 sc in each of last 10 sc. (18)
- Round 12: 1 sc in each st around.
- Stuffing: Stuff the Body firmly with fiberfill.
- Round 13: *1 sc in next sc, sc2tog; rep from * around. (12)
- Round 14: (Sc2tog) 6 times. (6)
- Finishing: Fasten off, leaving a long yarn end. Draw the end tightly through the remaining stitches to cinch closed.
Ears (Make 2)
- Foundation chain: With MC, ch 2.
- Row 1: 4 sc in 2nd ch from hook.
- Step 1: Fasten off, leaving a long end.
- Step 2: Sew the first and last sc together to form the curved ear shape, then sew the Ears onto the Body as shown in the project photo.
Nose
- Foundation chain: With MC, ch 2.
- Round 1: 3 sc in 2nd ch from hook. Join with sl st to first sc. Fasten off.
- Step 1: With pink yarn, embroider the tip of the nose as shown in the project photo.
- Step 2: Sew the assembled Nose to the Body.
Legs (Make 2)
- Foundation chain: Leaving a long tail for sewing, with MC, ch 6. Join with sl st to first ch, being careful not to twist.
- Round 1: Ch 1. 1 sc in each ch around. (6)
- Round 2: 1 sc in each sc around.
- Round 3: (1 sc in next sc, sc2tog) 2 times. (4)
- Rounds 4-5: 1 sc in each sc around.
- Finishing: Fasten off.
Foot Assembly
- Step 1: Cut a length of pink pipe cleaner long enough to form the foot inside the Leg.
- Step 2: Insert the pipe cleaner into the opening of Round 5, leaving approx 1 in. [2.5 cm] extending out.
- Step 3: Fold the extending pipe cleaner back over itself 3 times to create a small foot.
- Step 4: Apply a small amount of glue around the ankle opening to secure the pipe cleaner in place.
- Step 5: Repeat for the second Leg.
- Step 6: Using the long tail left at the foundation chain, sew both Legs to the bottom sides of the Body.
Hanging Rope
- Step 1: With beige yarn, ch 40. Sl st in 10th ch from hook to create the top hanging loop. Fasten off.
- Step 2: Tie an overhand knot approx 1 in. [2.5 cm] from the bottom end of the rope.
- Step 3: Glue the mouse's feet firmly in place around the rope just above the knot as shown in the project photo.
Yarn Ball Ornament
- Step 1: With red yarn, make a loop approximately 1 in. [2.5 cm] long.
- Step 2: Wrap yarn around the bottom 0.5 in. [1.25 cm] of the loop to build up a neat miniature yarn ball, leaving the top 0.5 in. [1.25 cm] of the loop exposed to act as a handle.
- Step 3: Secure the yarn end with glue so it will not unravel.
Arms and Finishing
- Step 1: Push a pink pipe cleaner straight through the upper chest and Body of the mouse so that 3 in. [7.5 cm] extends evenly from each side.
Arm Core
- Step 2: Starting flush against the Body, wrap MC yarn tightly around the pipe cleaner toward the hand. Wrap extra layers near the shoulder to make the top of the arm thicker, keeping the wraps tight and smooth so no pipe cleaner shows. Stop wrapping when 0.75 in. [2 cm] of bare pipe cleaner remains at the tip for the hand. Repeat for both arms.
Yarn Wrapping
- Step 3: Bend the left hand's bare pipe cleaner securely around the Hanging Rope. Bend the right hand's bare pipe cleaner through the loop of the miniature red Yarn Ball Ornament.
Posing
- Step 4: Cut a piece of pink pipe cleaner to your desired tail length, apply glue to one end, insert it into the lower back of the Body, and bend it into a gentle wavy shape.
Tail
My Best Tips
- Place the eyes on time: Pause after Round 5 to secure the eyes between Rounds 3 and 4. Once the body is firmly stuffed and cinched, you won't have access to their backs.
- Count at the shaping rounds: Check your totals after Rounds 6, 8, 11, 13, and 14. These increases and decreases establish the body shape, and catching one missed stitch early saves a great deal of recounting.
- Stuff before the final decreases: Fill the body firmly after Round 12, pressing small amounts of fiberfill into place rather than adding one large clump. Leave enough room near the opening to work the final rounds comfortably.
- Test each pose before gluing: Wrap the feet around the rope and bend the hands into position before applying glue. A quick dry fit helps you balance the ornament and confirms that each pipe-cleaner end is safely covered or folded.
Ways to Adapt Your Mouse Ornament
- Try another medium-weight yarn: A comparable medium-weight acrylic is the closest substitution. Match the stated gauge if you want to keep the finished height near the listed measurement, since a thicker or thinner strand will change both the body and the fitted details.
- Use cotton for firmer stitches: Medium-weight cotton can replace the acrylic, but it has less stretch. Check that the leg tubes still accommodate the pipe cleaners and take extra care not to overstuff the body.
- Embroider the eyes: Small yarn stitches can replace the safety eyes. Add them between Rounds 3 and 4 before closing the body, and secure the yarn ends inside so the face details remain tidy.
- Change the miniature yarn ball: Use any small scrap for the ball ornament as long as you wrap and glue it securely. A very slick yarn may need an extra dab of glue to prevent the wraps from sliding.
- Adjust the hanging rope: You can change the chain length to alter the ornament's drop. Keep enough chains at the hook end to form a secure top loop, and test the mouse's position before tying the lower knot.
Fixing the Fiddly Parts
- The body looks uneven: Redistribute the stuffing before cinching Round 14 completely. Small pieces of fiberfill settle more evenly than one large wad, and the firm spiral fabric needs the filling pushed gently into the shaped areas.
- The pipe cleaner shows through: Add more tight yarn wraps, especially near the shoulders where the arms are meant to be thicker. Keep each wrap beside the previous one and avoid bending the arm sharply until the covering is complete.
- The feet slide on the rope: Check that the cleaner is folded securely inside each foot and that the feet sit just above the knot. Hold the glued pieces in position until the adhesive begins to set rather than letting the ornament hang immediately.
Mouse Ornament Places to Hang It
Hang the mouse from a sturdy tree branch, wall hook, or seasonal display where the rope can fall freely and the miniature yarn ball won't catch on nearby items.
For a crochet-loving recipient, it can accompany a skein of yarn or a set of hooks as a small handmade extra. Keep it intended for decorative use because the design contains pipe cleaners, glue, and safety eyes.
Care Instructions
Spot clean the ornament gently with a damp cloth and mild soap. Don't soak or machine wash it, since the pipe cleaners, glue, stuffing, and wrapped details may shift or deteriorate. Let it dry fully in a supported position before hanging it again.
More Christmas Crochet Amigurumi
Frequently Asked Questions
When should I attach the safety eyes?
Attach them after Round 5, placing them between Rounds 3 and 4. At that stage, the opening is still wide enough for your fingers to secure the backs. Waiting until after stuffing or the final decreases makes the inside difficult to reach and may prevent the washers from locking properly.
How firmly should I stuff the body?
Stuff it firmly enough to support the attached legs, arms, and tail without stretching the stitches apart. Add small pieces after Round 12 and press them into the shaped areas. Overstuffing can expose fiberfill between stitches, while too little filling may let the body collapse when the pipe cleaner is pushed through the chest.
Why is the hanging loop made in the 10th chain from the hook?
The first 10 chains at the hook end create the top loop when you join with a sl st. The remaining chain length becomes the rope below it, giving the mouse room to sit above the lower knot. If you adjust the total chain count, preserve enough chains for a secure hanging loop.
Can I reposition the arms after wrapping them?
Yes, you can make gentle adjustments after the yarn wrapping is complete and the bare hand sections are attached. Bend the cleaner gradually so it doesn't kink or break through the covering. The left hand closes around the rope, while the right passes through the yarn ball's exposed loop.
Hang your finished mouse where you can enjoy its tiny yarn ball, or fasten it to a crocheter's gift for a handmade finishing touch. Leave a comment if you make one!



