
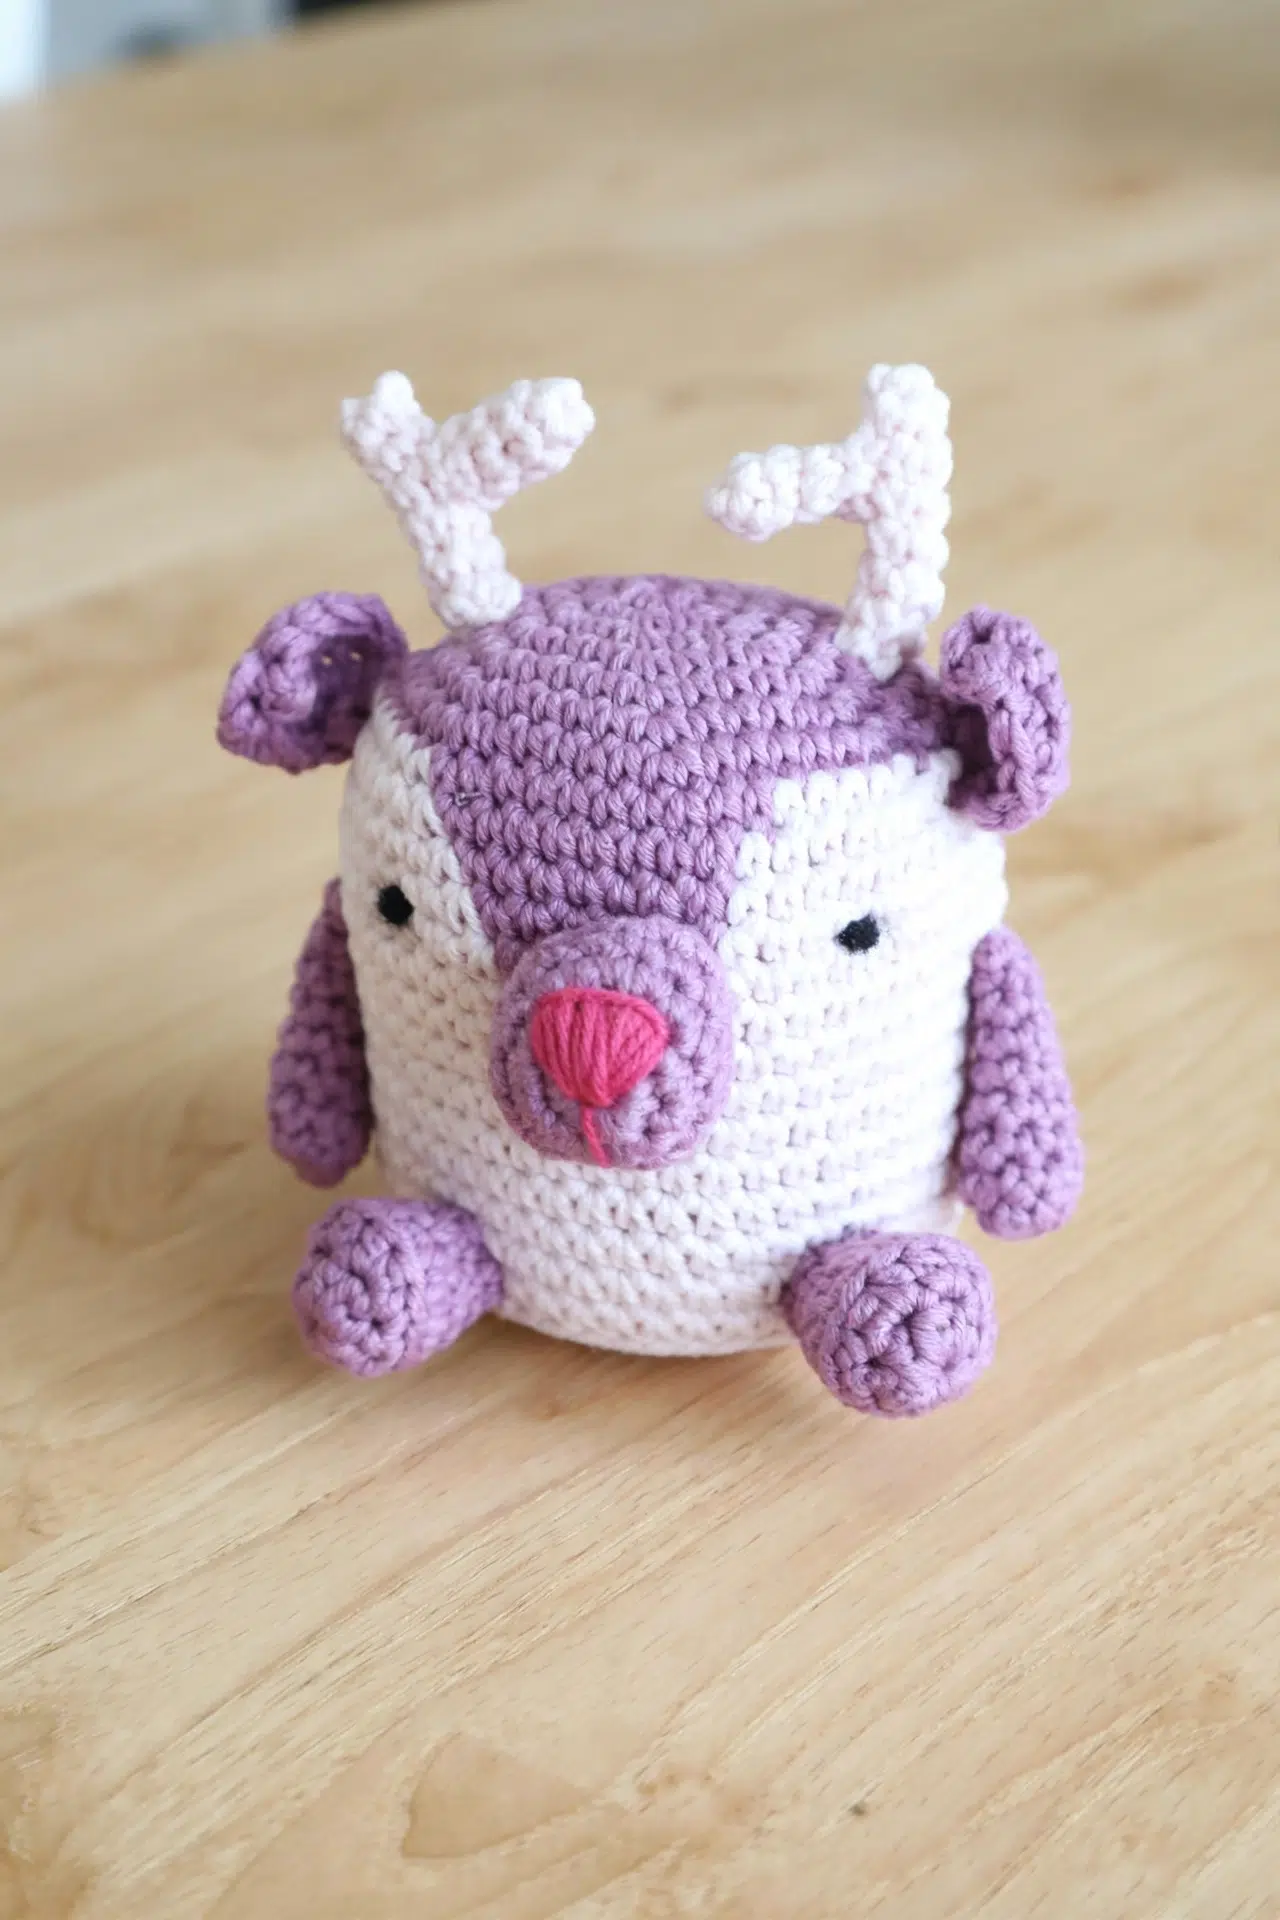
A seasonal project can have plenty of personality while keeping the stitches friendly, and my Festive Crochet Amigurumi Reindeer is built from approachable rounds, basic shaping, and small crocheted pieces. If you're a beginner learning amigurumi or an experienced maker in the mood for a relaxed project, you'll feel right at home.

I especially love the counted yarn changes through the body and the freedom to choose how firmly you stuff the smaller parts. Pick the yarn and hook combination that feels good in your hands, then decide whether you want soft arms and antlers or a little more structure. It's time to make your reindeer!
Jump to:
- Why I Make These on Repeat
- Pattern Details
- What You'll Need
- Abbreviations
- How to Crochet the Festive Amigurumi Reindeer
- Tips for Success
- Keep Each Yarn Change in the Correct Stitch
- Ways to Adapt Your Crochet Reindeer
- Fixing Common Amigurumi Reindeer Problems
- Where Your Reindeer Can Join the Season
- Caring for Your Reindeer
- More Crochet Amigurumi Patterns to Make Next
- Frequently Asked Questions
Why I Make These on Repeat
- Beginner-friendly shaping: The body grows through regular increases and closes with equally steady decreases. You won't need complicated shaping or unfamiliar construction methods.
- Simple embroidered details: The eyes, nose, and mouth are sewn with yarn, so the pattern doesn't require safety eyes or other facial hardware.
- Flexible stuffing choices: Toy filling and yarn scraps both work. Only the body needs full stuffing, while the smaller pieces give you room to choose the firmness you prefer.
- Portable pieces: The feet, arms, nose, ears, and antler sections are worked separately in short rounds or around a foundation chain. They're manageable pieces when you want to crochet in smaller sessions.
Pattern Details
- Skill Level: Beginner
- Yarn Weight: DK / Light Worsted
- Time to Make: about 7-10 hours
What You'll Need
Gather your yarn colors before you begin because the body changes between purple and pink over several counted sections. A marker isn't required, but I find it useful for keeping continuous rounds easy to follow.
- DK/light worsted weight cotton or bamboo yarn in purple and pink: Cotton or bamboo in DK/light worsted weight gives the recommended pairing with the listed hooks. Another yarn can work, but it will change the finished size and may change how firmly the fabric holds stuffing.
- Dark pink or red yarn for the nose and mouth
- Black yarn for the eyes
- 3.5 mm or 4 mm crochet hook
- Toy stuffing or yarn scraps for stuffing: Yarn scraps are a practical alternative to toy stuffing. Add either filling in small amounts so you can shape the body without creating firm lumps.
- Yarn needle
- Scissors
- Stitch marker, optional: The rounds aren't joined, so placing a marker in the first stitch saves you from searching for the start after a long section of single crochet.
Abbreviations
- ch - chain
- dc - double crochet
- hdc - half double crochet
- rep - repeat
- sc - single crochet
- sc2tog - single crochet 2 stitches together
- sl st - slip stitch
- st(s) - stitch(es)
How to Crochet the Festive Amigurumi Reindeer
Read through the body color changes and finishing order, then keep your stitch marker and stuffing within reach.
This pattern is worked in US terminology. You can use a magic circle instead of the ch-4 loop method at any point in the pattern. The body and small pieces are worked in continuous rounds without joining where instructed. An optional stitch marker can help identify the beginning of each round.
Main Body
The body is worked continuously, with each color section counted stitch by stitch, so move your round marker before beginning each new round.
- Round 1: Using purple yarn, ch 4, sl st in first ch to form a loop, and crochet 7 sc into loop. Do not join rounds. (7)
- Round 2: 2 sc in each st around. (14)
- Round 3: *1 sc in next st, 2 sc in next st; rep from * around. (21)
- Round 4: *1 sc in next 2 sts, 2 sc in next st; rep from * around. (28)
- Round 5: *1 sc in next 3 sts, 2 sc in next st; rep from * around. (35)
- Round 6: *1 sc in next 4 sts, 2 sc in next st; rep from * around. (42)
- Round 7: *1 sc in next 5 sts, 2 sc in next st; rep from * around. (49)
- Round 8: 1 sc in first 14 sts, joining pink in end of last st; 1 sc in next 6 sts, joining purple in end of last st; 1 sc in next 10 sts, joining pink in end of last st; 1 sc in next 6 sts, joining purple in end of last st; 1 sc in last 13 sts. (49)
- Round 9: 1 sc in first 13 sts, joining pink in end of last st; 1 sc in next 8 sts, joining purple in end of last st; 1 sc in next 8 sts, joining pink in end of last st; 1 sc in next 8 sts, joining purple in end of last st; 1 sc in last 12 sts. (49)
- Round 10: 1 sc in first 12 sts, joining pink in end of last st; 1 sc in next 10 sts, joining purple in end of last st; 1 sc in next 7 sts, joining pink in end of last st; 1 sc in next 10 sts, joining purple in end of last st; 1 sc in last 10 sts. (49)
- Round 11: 1 sc in first 12 sts, joining pink in end of last st; 1 sc in next 11 sts, joining purple in end of last st; 1 sc in next 5 sts, joining pink in end of last st; 1 sc in next 12 sts, joining purple in end of last st; 1 sc in last 9 sts. (49)
- Rounds 12-13: 1 sc in first 12 sts, joining pink in end of last st; 1 sc in next 29 sts, joining purple in end of last st; 1 sc in last 8 sts. (49)
- Round 14: 1 sc in first 12 sts, joining pink in end of last st; 1 sc in next 30 sts, joining purple in end of last st; 1 sc in last 7 sts. (49)
- Rounds 15-17: Rep Round 14. (49)
- Round 18: 1 sc in first 12 sts, joining pink in end of last st; 1 sc in next 31 sts, joining purple in end of last st; 1 sc in last 6 sts. (49)
- Rounds 19-21: Rep Round 18. (49)
- Round 22: 1 sc in first 12 sts, joining pink in end of last st; 1 sc in last 37 sts. (49)
- Round 23: *1 sc in next 5 sts, sc2tog; rep from * around. (42)
- Round 24: *1 sc in next 4 sts, sc2tog; rep from * around. (35)
- Round 25: *1 sc in next 3 sts, sc2tog; rep from * around. (28)
- Round 26: *1 sc in next 2 sts, sc2tog; rep from * around. (21)
- Round 27: *1 sc in next st, sc2tog; rep from * around. (14)
Stuff at this point.
- Round 28: (Sc2tog) 7 times. Drawstring sew the remaining hole closed, fasten off, and tie in all tails. (7)
Feet (make 2)
- Round 1: Using pink yarn, crochet 8 hdc into a 4-ch loop. Do not join round. (8)
- Round 2: 2 sc in next st, 2 hdc in next 2 sts, 2 sc in next st, 1 sc in last 4 sts. (12)
- Round 3: Working in back loops only, crochet 1 sc in each st around. (12)
- Round 4: (Sc2tog) 4 times, 1 sc in last 4 sts. (8)
- Round 5: 1 sc in each st around. Fasten off. (8)
Arms (make 2)
- Round 1: Using pink yarn, crochet 8 sc into a 4-ch loop. Do not join round. (8)
- Rounds 2-7: 1 sc in each st around. Fasten off. (8)
Nose
- Round 1: Using purple yarn, crochet 8 sc into a 4-ch loop. Do not join round. (8)
- Round 2: 2 sc in each st around. (16)
- Rounds 3-4: 1 sc in each st around. Fasten off. (16)
Ears (make 2)
- Round 1: Using purple yarn, ch 6, 1 sc in second ch from hook, 1 hdc in next ch, 2 dc in next ch, 1 hdc in next ch, and 1 sc in next ch. Crochet back into the chains in the opposite direction with 1 sc in first ch just used, 1 hdc in next ch, 2 dc in next ch, 1 hdc in next ch, and 1 sc in last ch. (12)
- Round 2: Sl st in next st, 1 sc in next 5 sts, ch 2, sl st in top of previous sc, 1 sc in next 5 sts, and sl st in last st. Fasten off.
Antlers (make 2)
- Large, Round 1: Using pink yarn, crochet 5 sc into a 4-ch loop. Do not join round. (5)
- Large, Rounds 2-6: 1 sc in each st around. Fasten off. (5)
- Small, Round 1: Using pink yarn, crochet 5 sc into a 4-ch loop. Do not join round. (5)
- Small, Rounds 2-4: 1 sc in each st around. Fasten off. (5)
Finishing
- Step 1: Stuff each foot slightly at the base and sew it onto the body.
- Step 2: Sew the arms onto the body. Stuffing the arms is optional.
- Step 3: Using dark pink or red yarn, sew a nose and mouth onto the crocheted nose piece. Sew the nose onto the body, stuffing it slightly as you go.
- Step 4: Sew the ears onto the head.
- Step 5: Stuff the large antler pieces if desired and sew them onto the body.
- Step 6: Stuff the small antler pieces if desired and sew each one onto a larger antler at an angle.
- Step 7: Using black yarn, sew on the eyes. Tiny knots can be used for the eyes.
Yarn and hook options
You can use any yarn and hook for this pattern, but DK/light worsted weight cotton or bamboo yarn works best with a 3.5 mm or 4 mm crochet hook.
Stuffing options
Use toy stuffing or yarn scraps. The body is stuffed before the final decrease round, while the feet and nose are lightly stuffed and the arms and antlers may be left unstuffed.
Tips for Success
- Mark every round: Move a stitch marker into the first stitch as soon as you make it. This matters most on the body, where one misplaced round start shifts every later color change.
- Check the body in groups: The body has 49 stitches from Round 7 through Round 22. Add each set of stitches in a color-change round before moving on so you can catch a missed stitch immediately.
- Stuff before the last decrease: Add the body filling after Round 27, while 14 stitches remain. The opening becomes much smaller in Round 28, so waiting will make it difficult to distribute the stuffing evenly.
- Position pieces before sewing: Pin or hold the feet, arms, nose, ears, and antlers in place before securing them. Once you're happy with their placement, use several small sewing passes rather than one tight stitch.
Keep Each Yarn Change in the Correct Stitch
When an instruction says to join the next color in the end of the last stitch, begin that final stitch with the current yarn and complete its last yarn over with the new yarn. The next stitch is then ready to be worked in the new color.
Count the full section before changing yarn. If the section calls for 14 stitches, the color change happens while completing stitch 14, not after beginning stitch 15.
Ways to Adapt Your Crochet Reindeer
- Try another fiber: The pattern allows any yarn, although cotton or bamboo is recommended. Acrylic can also work, but a stretchier yarn may need a smaller hook or lighter stuffing to keep gaps from opening.
- Change the hook size: A 3.5 mm hook usually produces a denser amigurumi fabric, while a 4 mm hook may feel more relaxed in your hands. Check that the spaces between stitches don't expose the filling before committing to the larger hook.
- Start with magic circles: Every ch-4 loop can be replaced with a magic circle. This gives you an adjustable center, but either method works as long as the starting stitch count is correct.
- Use yarn scraps as filling: Clean yarn scraps can replace toy stuffing. Cut or separate long strands so they distribute more evenly, especially in the lightly filled nose and feet.
- Adjust the smaller pieces: Leave the arms and antlers unstuffed for flexibility, or add a small amount of filling for firmness. Don't overfill the narrow antler pieces because that can make them harder to sew in place.
- Choose the embroidered details: Use dark pink or red yarn for the nose and mouth as written. The eyes are made with black yarn, and tiny embroidered knots are an option.
Fixing Common Amigurumi Reindeer Problems
- The color sections no longer add up: Return to the round marker and recount each section separately. Rounds 8-22 should always finish with 49 stitches, so a missing or extra stitch in one section affects every change that follows.
- Stuffing shows between stitches: Use less filling, adjust it away from the gap, or move to the smaller recommended hook. Amigurumi fabric needs firm stitches, but pulling each stitch excessively tight can make your hands sore without fixing an unsuitable yarn and hook pairing.
- The attached pieces wobble: Add several sewing passes through the base of each piece and neighboring body stitches. A single tight pass can act like a hinge, while multiple smaller passes spread the support around the attachment.
- The ears curl after crocheting: Gently shape each ear before sewing and make sure both sides of the foundation chain contain the full six stitches. Missing a stitch on either side changes the balance of the piece.
Where Your Reindeer Can Join the Season
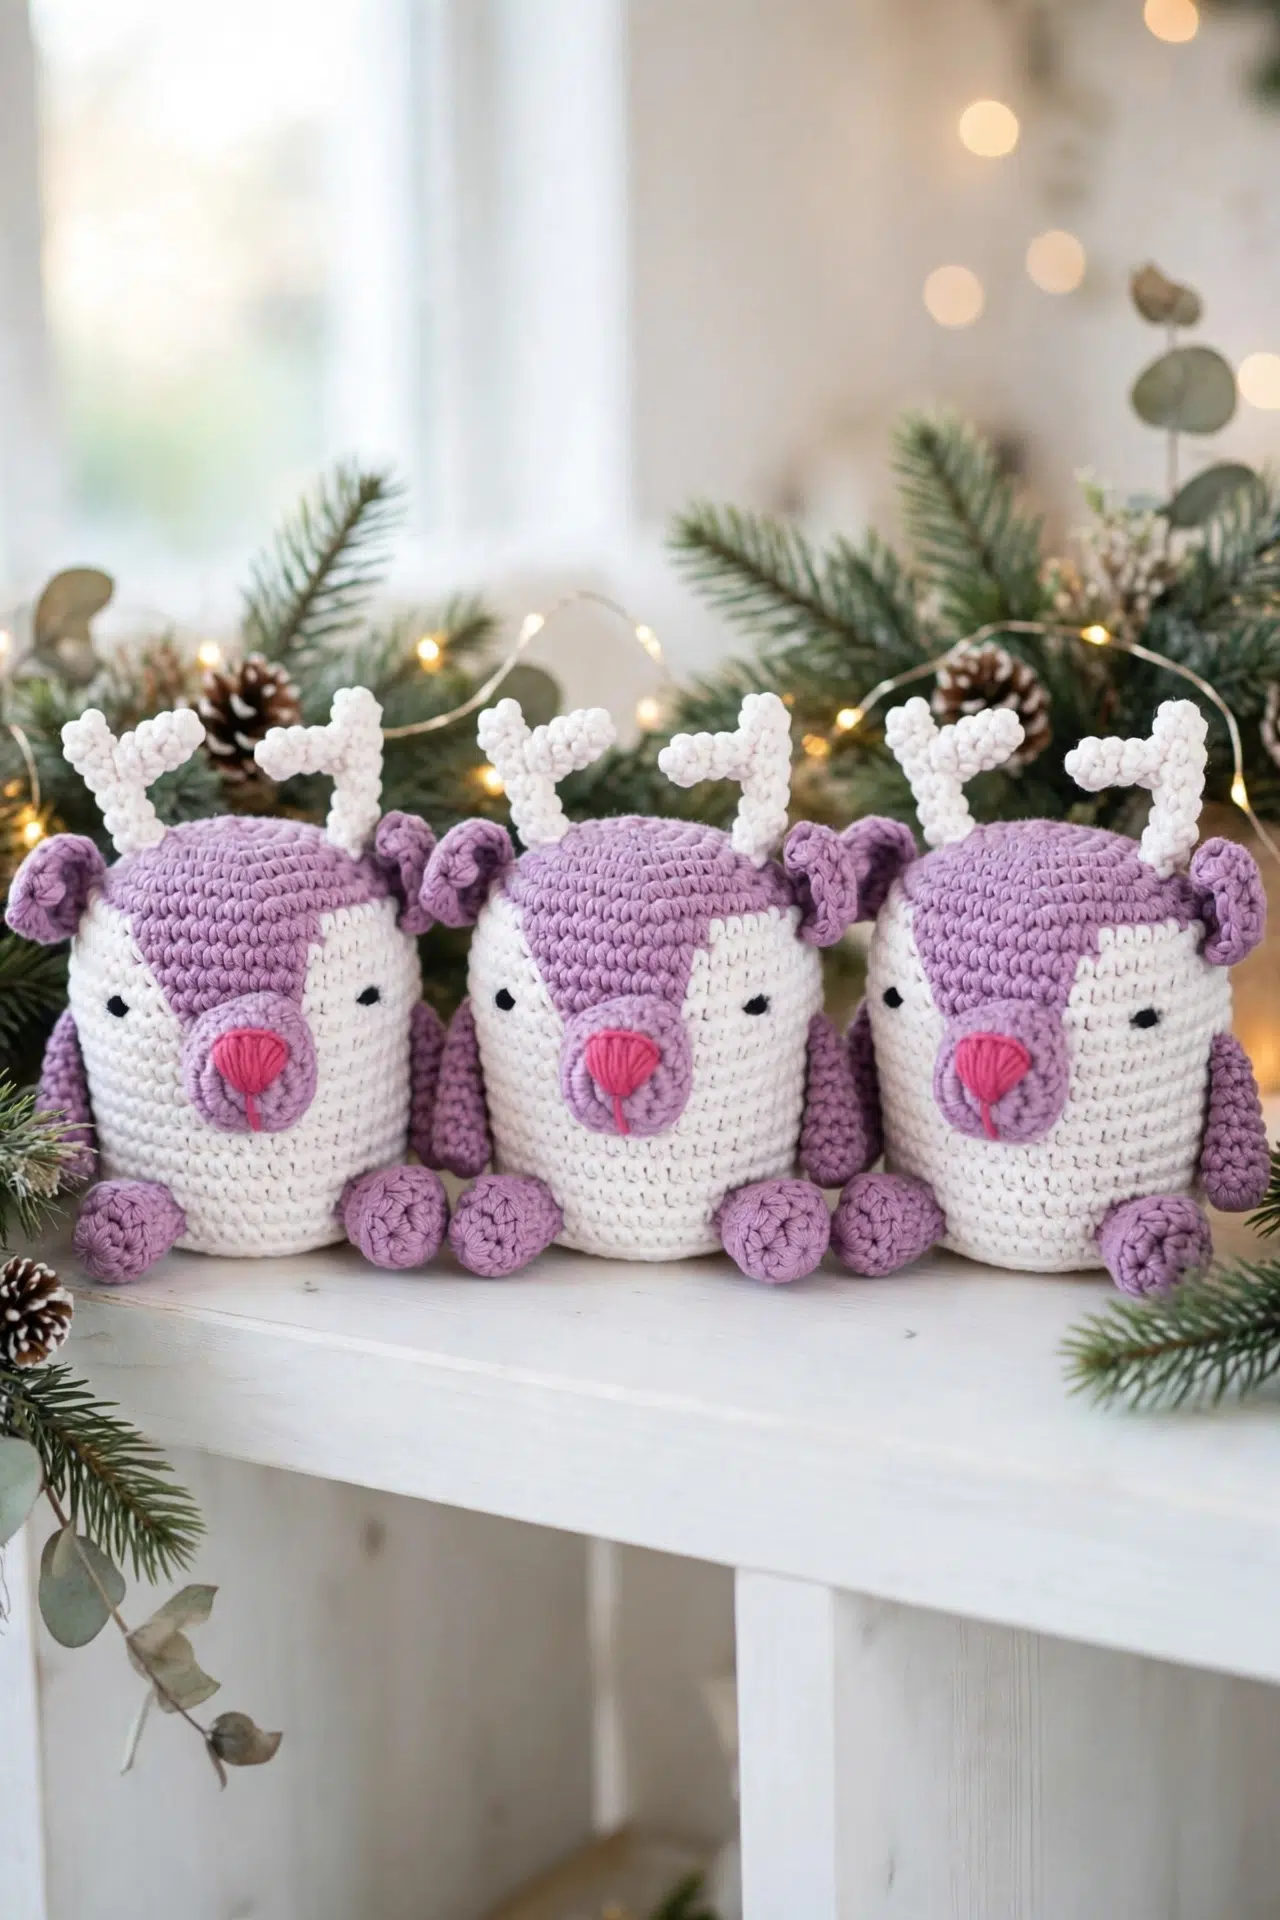
Set your finished reindeer on a seasonal shelf, mantel, or holiday table where the stuffed body can rest securely. Since its facial details are embroidered with yarn, it also makes a thoughtful handmade companion for someone who appreciates soft Christmas decor.
Caring for Your Reindeer
Follow the care instructions for your chosen yarn first. Because the reindeer is stuffed and has several sewn-on pieces, spot-cleaning is the gentlest option. If both the yarn and filling are washable, use cool water and mild soap without twisting, then reshape and air-dry completely.
More Crochet Amigurumi Patterns to Make Next
- Christmas Crochet Yeti Amigurumi
- Black Cat Amigurumi Crochet Pattern
- Floral Crochet Rabbit Amigurumi
Frequently Asked Questions
Can I use a magic circle instead of every ch-4 loop?
Yes, every ch-4 loop in this pattern can be replaced with a magic circle. Place the stated number of stitches into the circle, pull it closed, and continue without joining. The starting stitch count matters more than which center method you choose.
Exactly when should I stuff the body?
Stuff the body after Round 27, when 14 stitches remain. Round 28 reduces that opening to seven stitches, so filling it later would be awkward. Add the stuffing gradually, distribute it through the earlier rounds, and check the firmness before making the final decreases.
Which pieces need stuffing?
The body is stuffed, while the feet and nose are stuffed only slightly. Filling the arms and antlers is optional, and the ears aren't stuffed. Keeping the optional pieces lightly filled makes their narrow openings easier to sew without distorting their bases.
Do I need to cut the yarn at every body color change?
No, cutting at every change isn't required. You can carry yarn across short sections on the inside or work from separate yarn strands, but avoid pulling carried yarn tightly because it can draw in the body fabric. Keep any floats controlled so they don't interfere when you add stuffing.
Why does the ear begin with 12 stitches around a chain?
The first ear round places six stitches along one side of the foundation chain and six along the opposite side. Working back into the chain creates both sides of the ear in one round. Count each of the two dc stitches separately when checking the total.
Share this pattern with a crochet friend who loves making handmade Christmas decorations. I'd love to hear which yarn and stuffing choices you used in the comments.



