
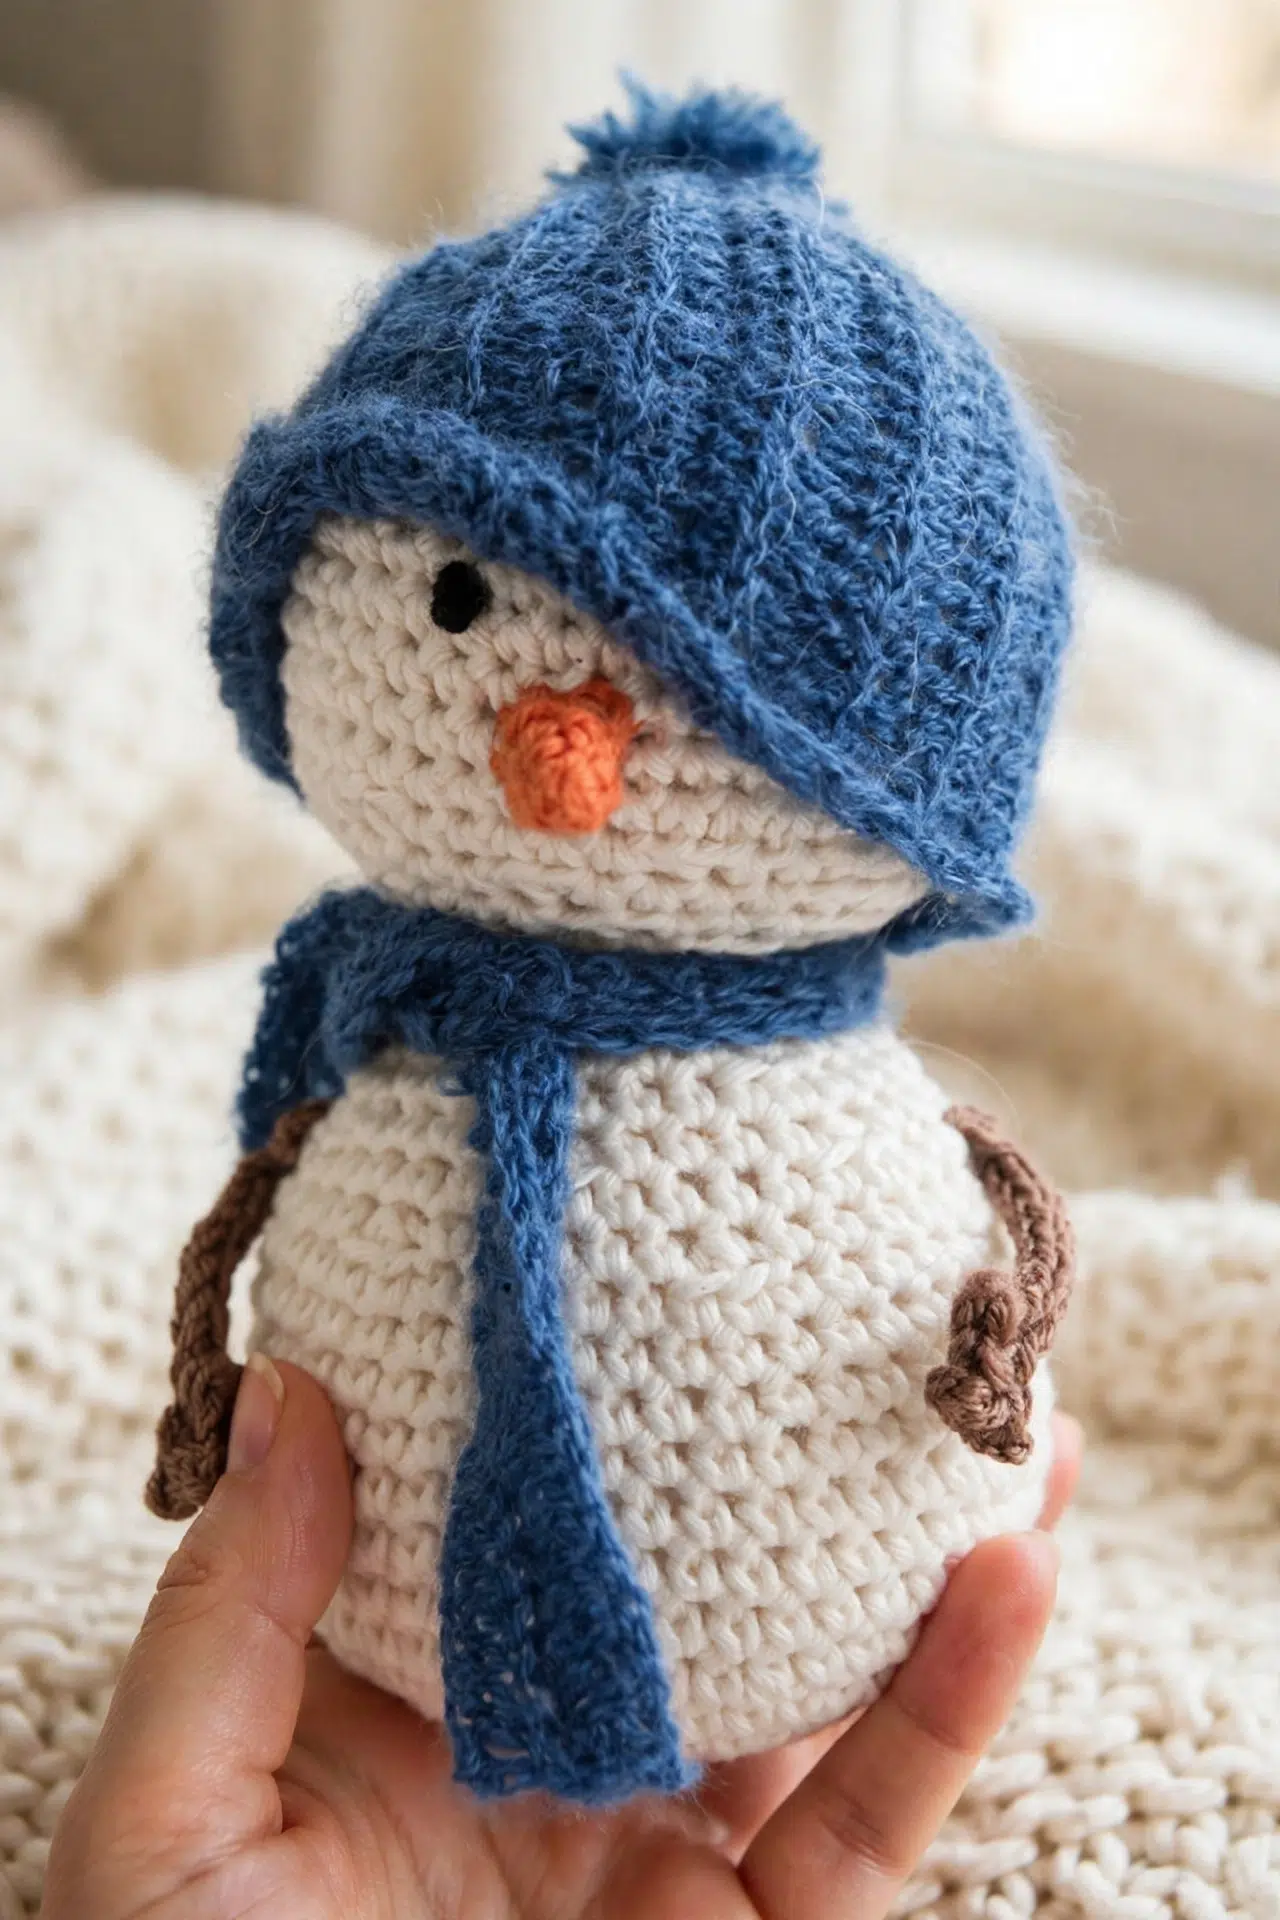
Few things are more discouraging than finishing a stuffed crochet toy only to find loose stitches, visible filling, or a body that won't stay firm. I designed this Festive Crochet Snowman with a tight gauge and simple spiral shaping to help you avoid exactly that frustration.

The compact sc fabric supports the stuffing, while the separate head and body let you shape each piece before joining them. Small embroidered and crocheted details finish the project without complicated construction.
Jump to:
- Why This Pattern Is a Keeper
- Pattern Details
- Materials You'll Need
- Stitches & Abbreviations
- How to Crochet the Festive Snowman
- Tips for the Best Results
- Neat Eyes Without Adding Hard Pieces
- Yarn and Accessory Ideas for Your Snowman
- Keeping Your Snowman Firm and Even
- A Handmade Touch for Christmas
- Care Instructions
- More Festive Crochet Patterns
- Frequently Asked Questions
Why This Pattern Is a Keeper
- Firm fabric: The small hook and tight sc gauge help the stuffed pieces keep their shape instead of becoming floppy.
- Manageable shaping: The head and body use steady increase rounds, plain rounds, and matching decrease sequences, so you can settle into an easy rhythm.
- Soft facial details: The eyes are embroidered with French knots, and the nose is crocheted separately before being sewn in place.
- Changeable accessories: You can choose a different yarn texture for the hat and scarf while keeping the main snowman in DK cotton.
Pattern Details
- Finished Size: With Circulo Charme yarn and a 2.5 mm hook: 15 cm tall and 7 cm across.
- Gauge: 28 sts x 24 rows in sc over 10 x 10 cm.
- Yarn Weight: DK cotton for the snowman; fingering or another chosen yarn for the hat and scarf.
- Time to Make: about 7-10 hours
Materials You'll Need
Gather your main DK cotton colors first, then choose a yarn and matching hook for the hat and scarf. You'll also need enough stuffing to fill the head and body firmly.
- 100 meters DK cotton yarn in white
- 2 meters DK cotton yarn in brown
- 1 meter DK cotton yarn in orange
- 1 meter DK cotton yarn in black
- 20 meters of yarn of your choosing for the hat and scarf: The accessory yarn can differ from the DK cotton used for the body. A change in weight will alter the measurements, so compare the hat strip with the finished head before seaming.
- 2.5 mm US C crochet hook: A tight fabric matters more than matching the hook label exactly. If stuffing shows between your stitches, move down to a smaller hook while keeping the fabric comfortable to work.
- Crochet hook matched to the yarn chosen for the hat and scarf
- Yarn needle or tapestry needle
- Scissors
- Stuffing
- Stitch marker, recommended
Stitches & Abbreviations
- ch - chain
- sc - single crochet
- hdc - half double crochet
- sl st - slip stitch
- st - stitch
- sts - stitches
- rep - repeat
Magic circle: Form an adjustable yarn loop, work the specified stitches into the loop, then pull the yarn tail to close the center.
sc inc.: Work 2 sc in the same stitch.
sc dec.: Single crochet the next 2 stitches together.
Picot: Ch 3 and sl st in the 3rd ch from the hook.
French knot: Wrap the yarn around the tapestry needle, insert the needle close to where it emerged, and pull the wrapped yarn into a compact knot on the surface.
How to Crochet the Festive Snowman
Work the stuffed pieces first, then add the face, arms, hat, scarf, and pompom.
The head, body, and nose are worked continuously in a spiral without joining at the end of each round. Place a stitch marker at the beginning of each spiral round to help keep count. Turn the hat and scarf after every row. Use the smallest hook you comfortably can with your chosen yarn to create tight stitches. This helps the stuffed snowman hold its form. A contrasting yarn texture such as wool, alpaca, or mohair can give the hat and scarf a knit-like texture.
Head
- Round 1: With white yarn, start with a magic circle. Ch 1, work 6 sc into the magic circle, and pull the circle shut. (6)
- Round 2: Sc inc. in each st around. (12)
- Round 3: *Sc, sc inc.; rep from * 5 more times. (18)
- Round 4: *Sc, sc inc., sc; rep from * 5 more times. (24)
- Round 5: *3 sc, sc inc.; rep from * 5 more times. (30)
- Round 6: *2 sc, sc inc., 2 sc; rep from * 5 more times. (36)
- Round 7: *5 sc, sc inc.; rep from * 5 more times. (42)
- Rounds 8-14: Sc in each st around. (42)
- Round 15: *5 sc, sc dec.; rep from * 5 more times. (36)
- Round 16: *2 sc, sc dec., 2 sc; rep from * 5 more times. (30)
- Round 17: *3 sc, sc dec.; rep from * 5 more times. (24)
- Round 18: *Sc, sc dec., sc; rep from * 5 more times. (18)
- Round 19: *Sc, sc dec.; rep from * 5 more times. (12)
- Round 20: Stuff the head with filling. Sc dec. around. Fasten off and leave a long tail. Thread the tail onto the tapestry needle, weave it in and out of the last 6 sts, and pull to close the head. Fasten off and weave in the end. (6)
Stuff the head before working the final round.
Body
- Round 1: Start with a magic circle. Ch 1, work 6 sc into the magic circle, and pull the circle shut. (6)
- Round 2: Sc inc. in each st around. (12)
- Round 3: *Sc, sc inc.; rep from * 5 more times. (18)
- Round 4: *Sc, sc inc., sc; rep from * 5 more times. (24)
- Round 5: *3 sc, sc inc.; rep from * 5 more times. (30)
- Round 6: *2 sc, sc inc., 2 sc; rep from * 5 more times. (36)
- Round 7: *5 sc, sc inc.; rep from * 5 more times. (42)
- Rounds 8-15: Sc in each st around. (42)
- Round 16: *5 sc, sc dec.; rep from * 5 more times. (36)
- Round 17: Sc in each st around. (36)
- Round 18: *2 sc, sc dec., 2 sc; rep from * 5 more times. (30)
- Round 19: Sc in each st around. (30)
- Round 20: *3 sc, sc dec.; rep from * 5 more times. (24)
- Round 21: *Sc, sc dec., sc; rep from * 5 more times. (18)
- Round 22: *Sc, sc dec.; rep from * 5 more times. (12)
- Round 23: Stuff the body with filling. Sc dec. around. Fasten off, leaving a 30 cm tail. Thread the tail onto the tapestry needle, weave it in and out of the last 6 sts, and pull to close the body. Use the remaining tail to attach the head to the body. Fasten off securely and weave in the end. (6)
Stuff the body before working the final round.
Face
- Step 1: Thread black yarn onto a tapestry needle. Insert the needle about one-third of the way up from the bottom of the head, then bring it out 2 rounds higher on a 45-degree angle. Make a French knot and bring the needle out 4 sts to the right. Make a second French knot, return the needle to the starting point, fasten off, and weave in the ends.
Nose
- Round 1: With orange yarn, make a magic circle. Ch 1, work 3 sc in the center, and pull the circle tight. (3)
- Round 2: Sc in each st around. (3)
- Round 3: Sc, sc inc., sc. (4)
- Round 4: Sc in each st around. Fasten off and leave a long tail. (4)
- Assembly, Step 1: Attach the nose to the face, covering the central knot at the back of the embroidery.
Arms
- Step 1: With brown yarn, ch 12. Sl st in the 3rd ch from the hook to create the first picot. Ch 3 and sl st in the 3rd ch from the hook to create the second picot. Ch 3 and sl st in the 3rd ch from the hook to create the third picot. Sl st into the first picot to close the hand, then sl st down the 9 remaining chains of the foundation chain. Fasten off and leave a long tail to attach the arm to the body. Repeat the entire step to make a second arm.
Hat
The hat begins as a back-loop hdc rectangle, which is folded and seamed into a tube before the top is gathered closed.
- Row 1: With the chosen fingering yarn, ch 24. Hdc in the 3rd ch from the hook and hdc in each of the remaining 21 ch. Turn. (22)
The row measures 8 cm in length.
- Row 2: Ch 1, hdc in the back loop only of the first st, then hdc in the back loop only of each remaining st. Turn. (22)
- Rows 3 onward: Rep Row 2 until the crochet measures 19 cm long. (22)
- Seaming, Step 1: Fold the hat in half and join the 2 sides with a sc seam, working each sc through both layers. This creates a tube. (22)
- Finishing, Step 1: Fasten off, leaving a 30 cm tail. Thread the tail onto a tapestry needle and weave it in and out around the top of the tube. Pull tightly to close the top, then repeat through the gathered stitches to secure them. Fasten off, weave in the end, and turn the hat so the closing stitches are hidden inside.
Pompom
- Step 1: Wrap the hat yarn around your first 2 fingers 30 times. Wrap a separate length of yarn around the middle 2 times to form a bow shape. Wrap once more to secure it and tie a tight knot, leaving a long tail before cutting.
- Step 2: Cut the loops and trim the strands to your desired pompom size. Use the long tail to attach the pompom to the top of the hat, then fasten off and weave in the end.
Scarf
- Row 1: With fingering yarn, ch 62. Hdc in the 3rd ch from the hook and hdc in each of the remaining 59 ch. Turn. (60)
The row measures 30 cm in length.
- Row 2: Ch 1, hdc in the back loop only of the first st, then hdc in the back loop only of each remaining st. Turn. (60)
- Row 3: Ch 1, hdc in the back loop only of the first st, then hdc in the back loop only of each remaining st. Turn. Fasten off and weave in the ends. (60)
Tips for the Best Results
- Mark every round: Move your stitch marker after the first stitch of each spiral round. Since the rounds aren't joined, this prevents the start from drifting unnoticed.
- Count the shaping repeats: Each increase or decrease sequence in the head and body is worked 6 times. Pause at the end of these rounds and confirm the stitch count before continuing.
- Stuff before the last decrease: Fill the head and body while each opening still has 12 stitches. Add the stuffing in small portions so you can shape the pieces without stretching gaps between the stitches.
- Check the hat before seaming: Wrap the 19 cm edge around the head before joining it. Yarn texture and hook choice can change the fit even when the stitch count stays the same.
Neat Eyes Without Adding Hard Pieces
Bring the black yarn out about one-third of the way up the head and place the second French knot 4 stitches from the first. Keeping both knots at the same round helps them sit evenly.
Pull each knot snug, but don't tighten so much that the head fabric puckers. The crocheted nose covers the central knot at the back of this embroidery path.
Yarn and Accessory Ideas for Your Snowman
- Acrylic for the main pieces: DK acrylic can replace the DK cotton, but it may stretch more as you stuff. Use a hook that keeps the fabric dense and check your finished measurements as you work.
- Textured accessory yarn: Wool, alpaca, or mohair adds texture to the hat and scarf. Fuzzy fibers can hide stitches, so count each row carefully and use a hook that moves easily through the yarn.
- A lighter hat yarn: A finer yarn makes a thinner, more flexible hat and scarf. You may need extra rows in the hat strip to reach 19 cm before seaming.
- A heavier hat yarn: A thicker yarn creates bulkier accessories and can make the stated stitch counts too large. Check the hat against the head and shorten the foundation chain if needed.
- A smaller pompom: Use fewer than 30 wraps for a lighter pompom, or trim the finished strands more closely. Leave a long securing tail regardless of size so you can stitch it firmly to the gathered hat.
Keeping Your Snowman Firm and Even
- Stuffing shows through: Move down to a smaller hook or relax the amount of stuffing in that area. The stitches should sit close together without being so tight that your hook is difficult to insert.
- The spiral count drifts: Return to the last round with the correct count and check each 6-part repeat. A missed increase or decrease changes every following shaping round, so correcting it early saves time.
- The hat opening is too loose: Check that every hdc after Row 1 was worked through the back loop only and compare the strip with the head before seaming. If your yarn stretches, stop short of 19 cm when the strip already closes comfortably around the head.
A Handmade Touch for Christmas
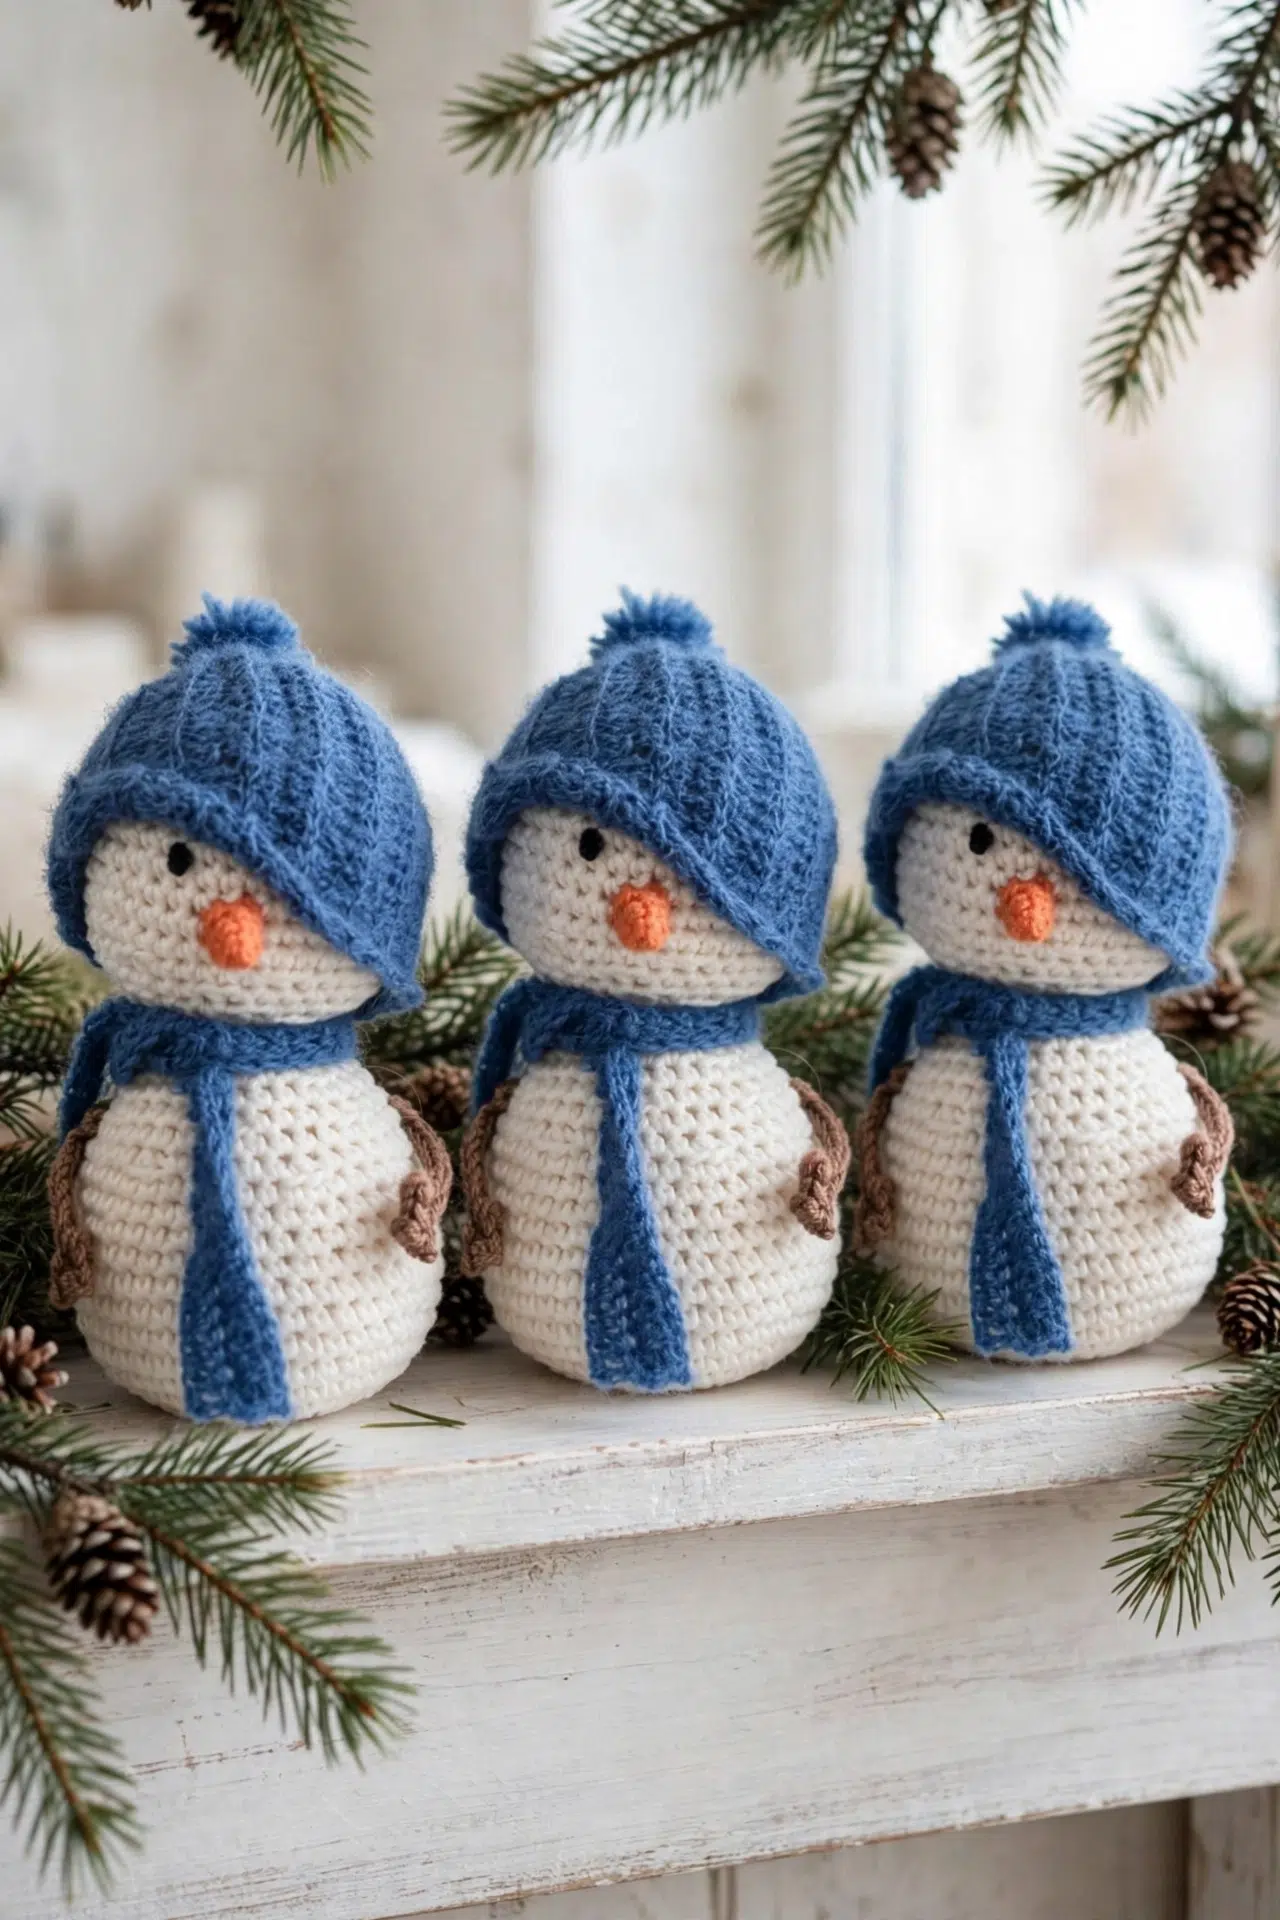
Place the finished snowman with your Christmas decorations, or tuck it into a seasonal gift for someone who'll enjoy a handmade soft figure. If it's going to a child, check the pompom, arms, and other sewn pieces regularly to make sure they remain firmly attached.
Care Instructions
Hand wash the snowman gently in cool water with a mild detergent, taking the care requirements of the chosen hat and scarf yarn into account. Press out moisture without twisting, reshape the stuffing, and air dry thoroughly. Check the pompom, arms, and embroidered features after washing and secure any loosened ends before use.
More Festive Crochet Patterns
- Festive Crochet Amigurumi Reindeer
- Christmas Crochet Yeti Amigurumi
- Textured Crochet Christmas Stocking
Frequently Asked Questions
Are the head and body rounds joined?
No, the head and body are worked continuously in a spiral. Don't sl st or ch between rounds because either action creates a visible join and can alter the height. Place a marker in the first stitch, move it at the start of every new round, and use the listed stitch counts to confirm your position.
When should I stuff the head and body?
Stuff each piece after its 12-stitch round and before working the final decrease round. The opening is still large enough to distribute filling at that point, but the main shaping is complete. Add small amounts gradually, paying particular attention to the outer curves, then work the final 6 stitches and gather them closed.
Can I use a different yarn for the whole snowman?
Yes, provided you choose a hook that produces tight stitches and accept a different finished size. Thicker yarn creates a larger snowman and needs more than the listed meterage, while thinner yarn creates a smaller one. Make a gauge sample if the 15 cm finished height matters to you.
Why is the hat worked as a rectangle?
The rectangle creates a simple ribbed tube once its short sides are joined. Working hdc through the back loop forms flexible rows, while the 22-stitch width sets the hat height. The 19 cm length wraps around the head, and gathering one end closes the crown without separate decrease shaping.
Which pieces are turned after each row?
Only the hat and scarf are turned after each row. The head, body, and nose remain in continuous spirals, while the arms are made along foundation chains. Turning a spiral piece would interrupt its construction, and failing to turn the accessory rows would change the back-loop texture and edge alignment.
Set your finished snowman among the Christmas decorations or place it in waiting hands as a soft handmade gift. Leave a comment if you make one.



