
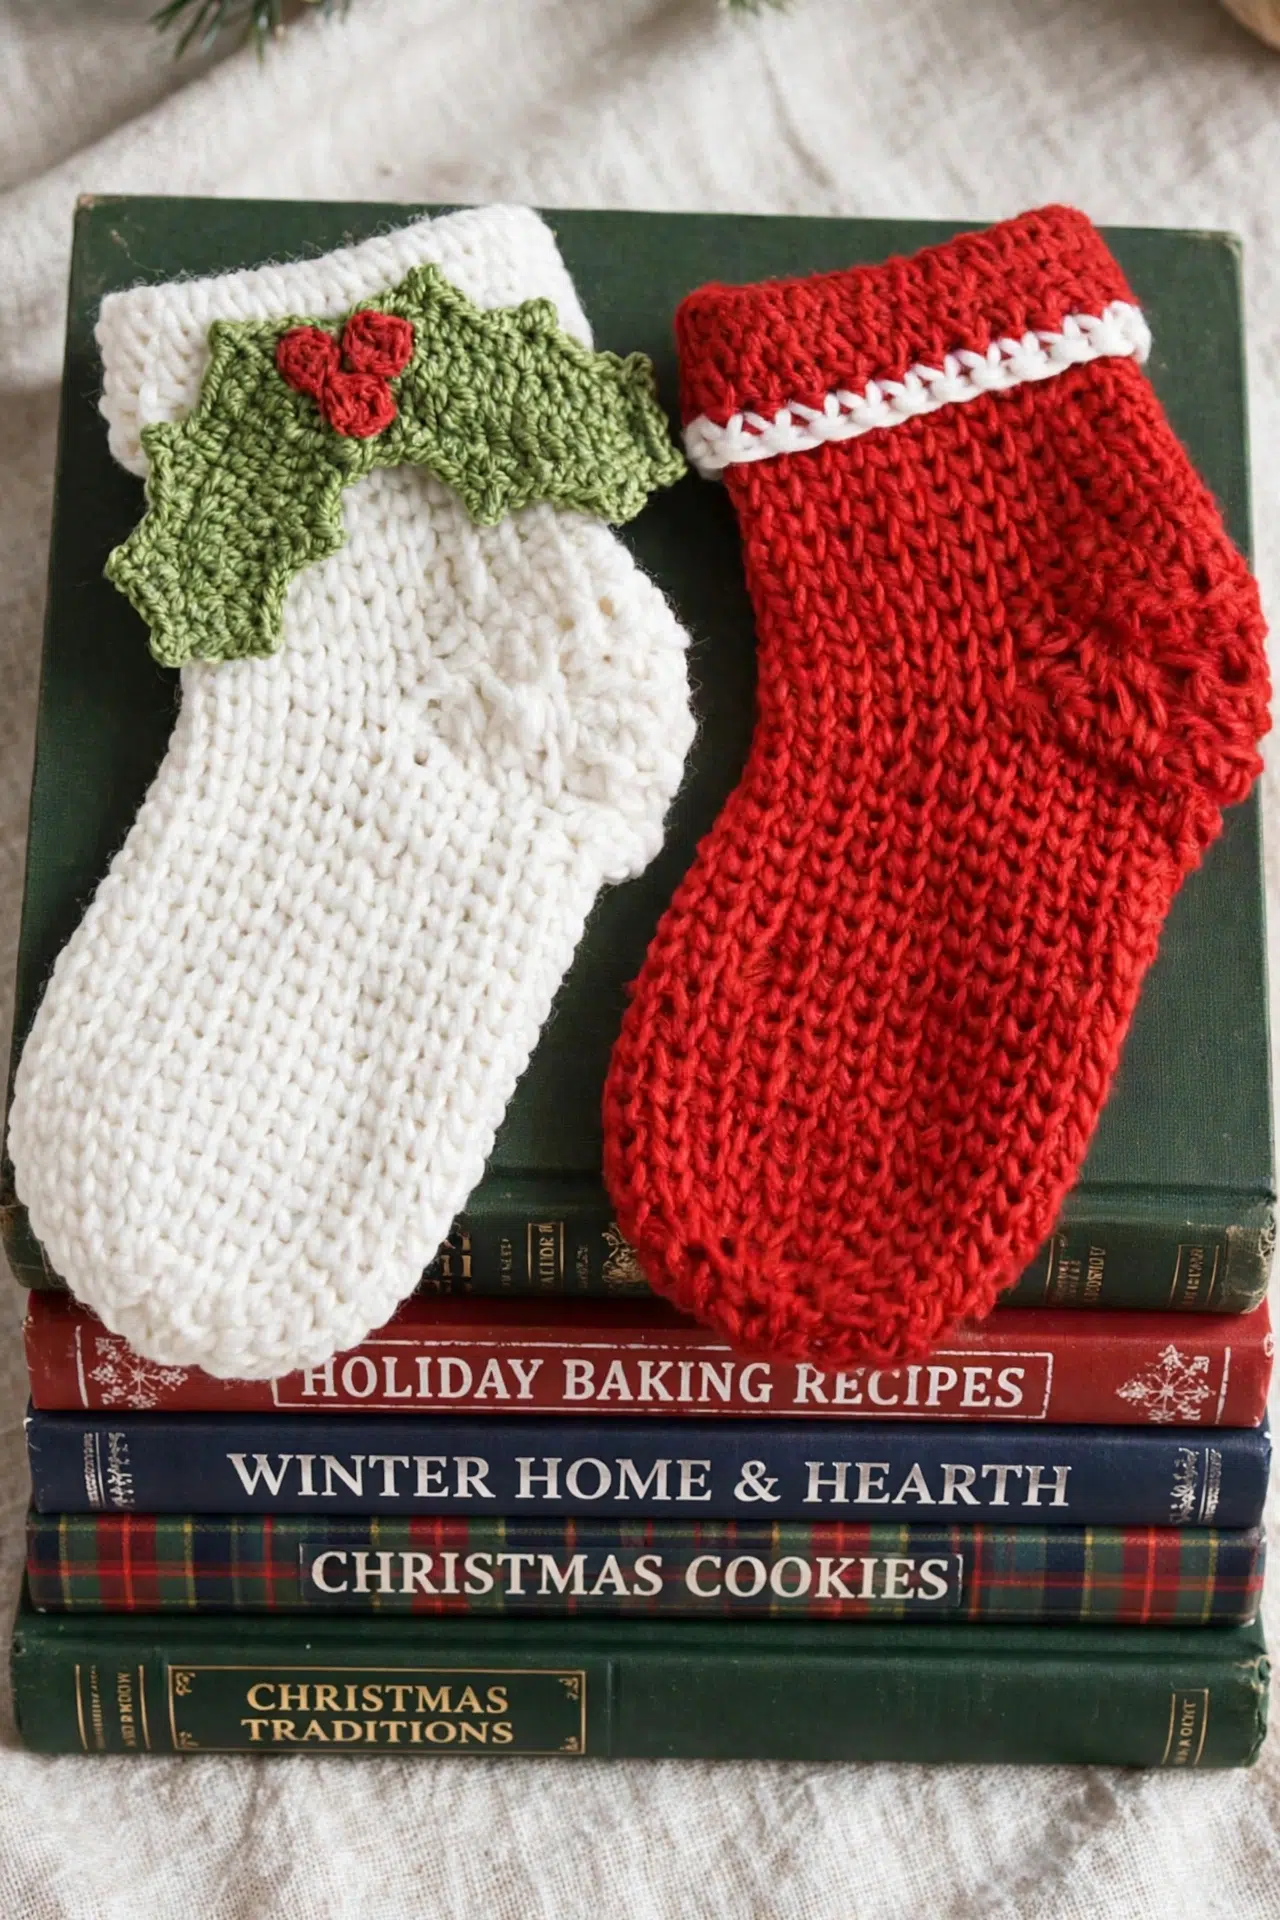
Few projects give you such a pleasing mix of enjoyable stitching and everyday usefulness. My Textured Crochet Christmas Stocking can become part of an advent calendar, hang from the tree, or add a handmade finishing touch to a wrapped present.

The making is satisfying too. Standard single crochet establishes the toe, waistcoat stitch carries the foot and leg, and a short sequence of half double crochet and decreases shapes the heel without complicated construction. Once your hands settle into the spiral rhythm, the rows move along nicely!
Jump to:
- Why You'll Love This Pattern
- Pattern Details
- Supplies
- Stitches & Abbreviations
- How to Crochet the Textured Christmas Stocking
- Crochet Tips
- Make Waistcoat Stitch Easier on Your Hands
- Ways to Adapt Your Crochet Stocking
- Fix Common Stocking Stitch Problems
- Put Your Crochet Stockings to Work
- Washing & Care
- More Christmas Crochet Patterns
- Frequently Asked Questions
Why You'll Love This Pattern
- A practical stash project: The stocking uses fingering-weight yarn and needs 150 meters, so it gives smaller yarn supplies a clear purpose.
- Minimal joining: Most of the stocking is crocheted continuously in a spiral. Only the heel switches to turned rows before you return to spiral crochet for the leg.
- Flexible heel stitching: If waistcoat stitch feels awkward while you're shaping the heel, you can use standard single crochet in that section instead.
- A simple cuff option: Keep the stocking in one yarn throughout or change color at Row 46 to separate the cuff section.
Pattern Details
- Finished Size: 15 cm long with cuff unfolded and 5 cm wide at the widest point
- Gauge: 32 stitches x 22 rows = 10 x 10 cm in waistcoat sc
- Yarn Weight: Fingering
- Time to Make: about 3-5 hours
Supplies
Gather your fingering-weight yarn, hook, and a stitch marker before you begin. The marker matters here because the spiral rows aren't joined.
- 150 meters fingering weight yarn (Charme, Circulo used): Choose a yarn that lets you see and enter the center of each single crochet easily. A different fiber may change the firmness and finished measurements, so check the listed gauge.
- 3 mm (US D) crochet hook: Waistcoat stitch is dense and can be hard on your hands when worked tightly. If necessary, move up one or two hook sizes, keeping in mind that the stocking may finish larger.
- Yarn needle
- Scissors
- Stitch marker
Stitches & Abbreviations
- ch - chain
- sc - single crochet
- hdc - half double crochet
- sl st - slip stitch
- sc2tog - single crochet 2 stitches together
- rep - repeat
Magic circle: Form an adjustable yarn loop, work the required stitches into the loop, then pull the yarn tail to close the center.
sc inc: Work 2 sc in the same stitch.
Waistcoat sc: Insert the hook between the 2 vertical bars of the sc below, yarn over and draw up a loop, then yarn over and draw through both loops on the hook.
How to Crochet the Textured Christmas Stocking
Begin at the toe, work through the turned heel, and then continue upward in a spiral to finish the leg and trim.
The stocking is worked in a spiral, so place a stitch marker to identify the beginning of each row. Rows 1-2 use standard sc. Beginning with Row 3, the sc stitches are worked in waistcoat stitch unless otherwise specified. Waistcoat stitch can be tight. Using a hook one or two sizes larger than the size recommended for your yarn can make it easier to work. The first few rows may feel slow while you become accustomed to the waistcoat stitch, but the work becomes quicker with practice. The heel is worked in turned rows. After the heel, the stocking continues in a spiral. A final row of standard sc forms the trim.
Foot
- Row 1: Make a magic circle. Ch 1, work 6 sc into the center of the magic circle, then pull the circle tightly closed. (6)
You may crochet over the magic circle tail as you work to reduce finishing later.
- Row 2: Sc inc in each stitch. (12)
- Row 3: Work all sc as waistcoat sc from this point. *Sc, sc inc; rep from * 5 more times. (18)
- Row 4: *Sc, sc inc, sc; rep from * 5 more times. (24)
- Rows 5-23: Work 24 sc. (24)
Heel
- Row 24: Right side: 4 sc, 4 hdc, 4 sc, ch 1, turn. (12)
You may use standard sc instead of waistcoat sc throughout the heel.
- Row 25: Wrong side: 4 sc, 4 hdc, 4 sc, ch 1, turn. (12)
- Row 26: Right side: sc2tog, 2 sc, 4 hdc, 2 sc, sc2tog, ch 1, turn. (10)
- Row 27: Wrong side: 3 sc, 4 hdc, 3 sc, ch 1, turn. (10)
- Row 28: Right side: sc2tog, sc, 4 hdc, sc, sc2tog, ch 1, turn. (8)
- Row 29: Wrong side: 2 sc, 4 hdc, 2 sc, ch 1, turn. (8)
- Row 30: Right side: sc2tog, 4 hdc, sc2tog, ch 1, turn. (6)
- Row 31: Wrong side: sc, 4 hdc, sc, ch 1, turn. Turn to work down the side of the heel and work 6 sl st evenly along Rows 24-30. Ch 1 and turn. (6)
Leg
- Row 32: Right side: Continue in a spiral from this point. Work 3 sc2tog across the 6 slip stitches, 6 sc across the heel, work 3 sc2tog evenly down the other side of the heel, then work 12 waistcoat sc across the unworked area of the stocking. (24)
- Rows 33-50: Work 24 waistcoat sc. (24)
For a contrasting cuff, change yarn color at Row 46.
- Row 51: Sl st into the next stitch to close the spiral, ch 1, work 24 standard sc, then sl st into the first sc. Fasten off and weave in the ends. (24)
Ways to use the stockings
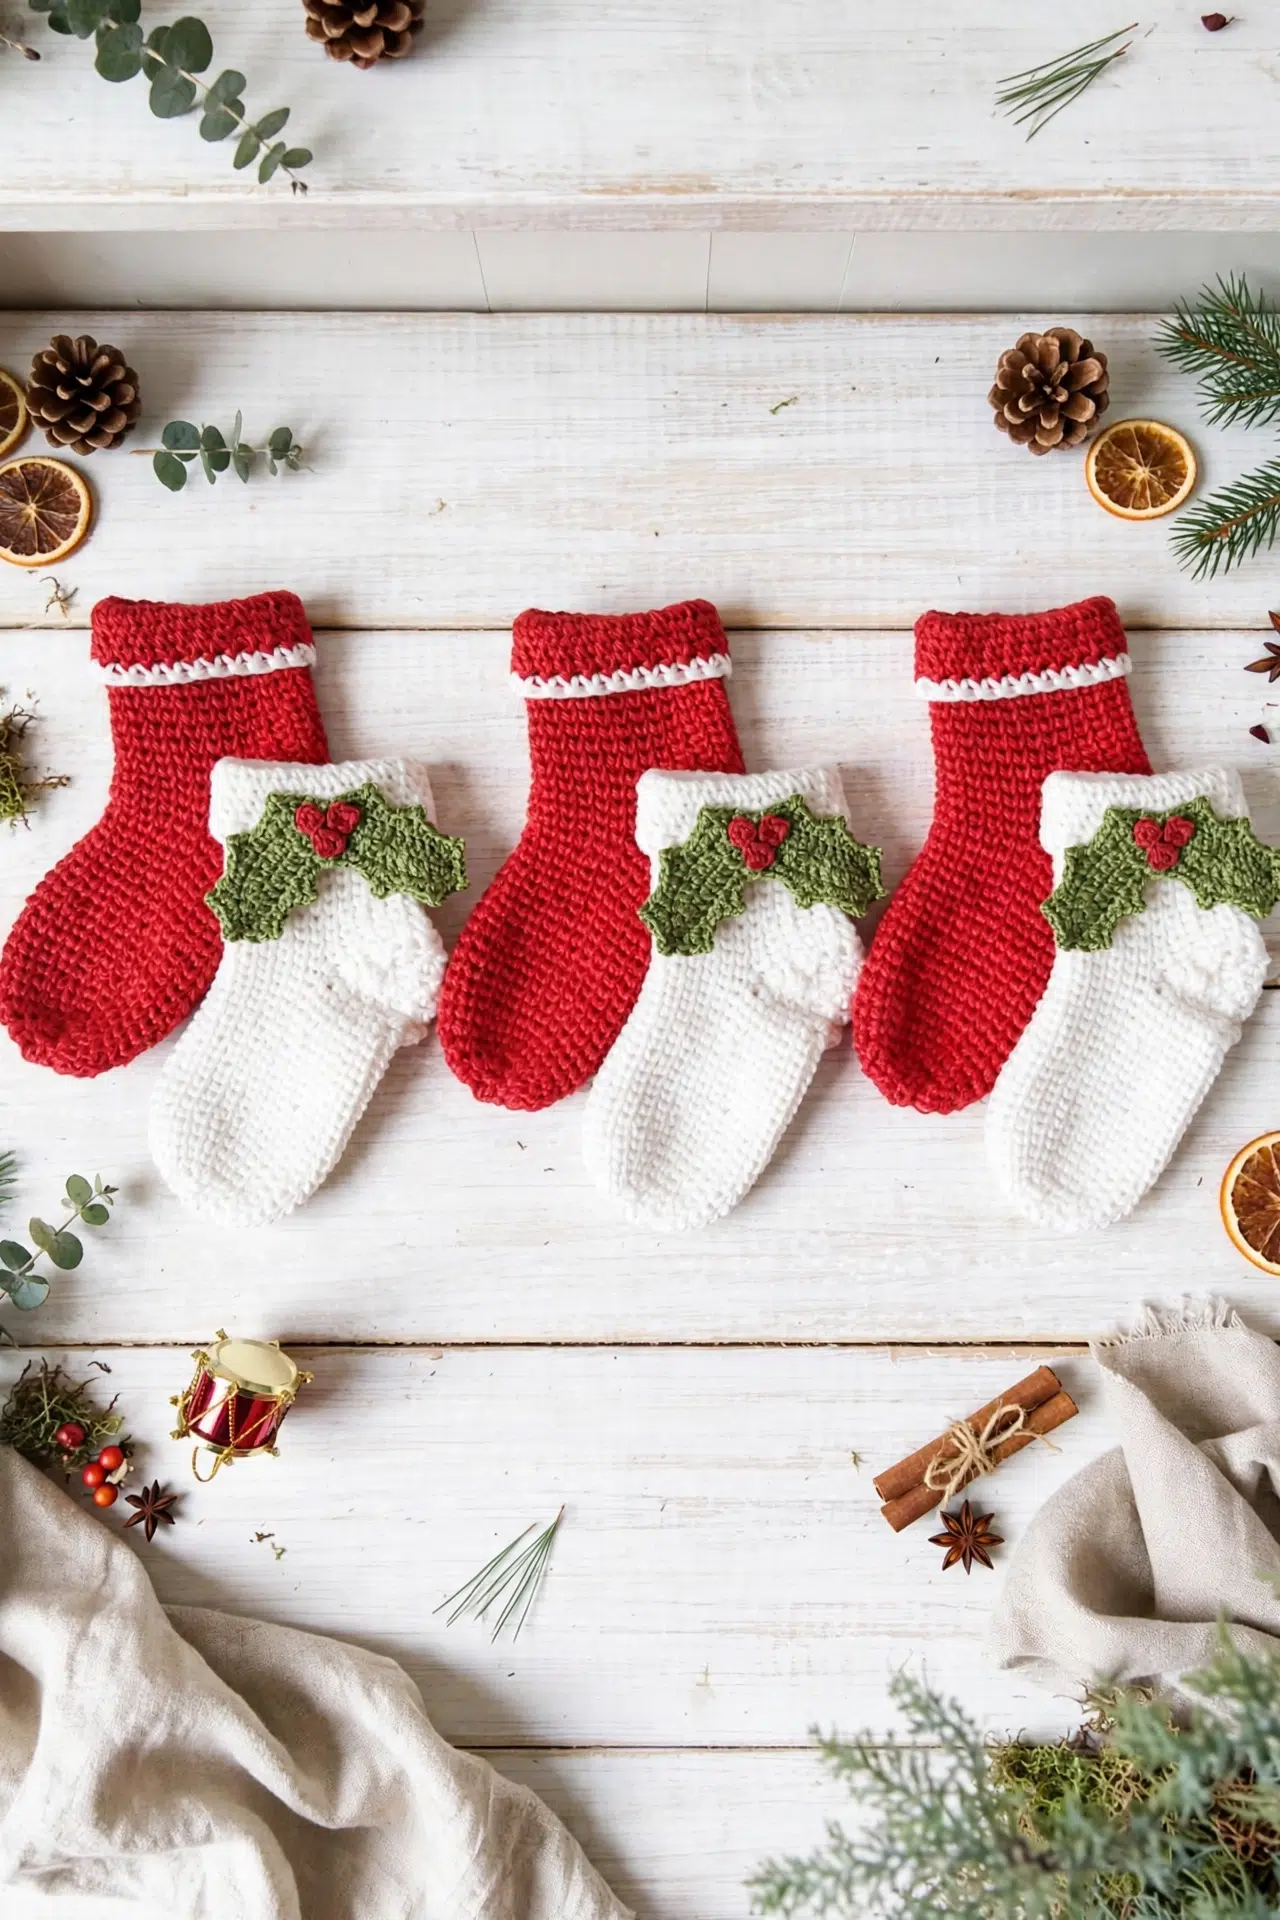
Make the stockings for a Christmas stocking advent calendar, hang them as tree decorations, or add them to wrapped gifts. They also make a useful fingering-weight yarn stash project and can be worked in any color.
Crochet Tips
- Mark the first stitch: Move your stitch marker at the start of every spiral row. This is especially important through the long stretches of 24 stitches, where the beginning can quickly become hard to identify.
- Keep the stitch centers open: Don't pull each waistcoat sc tightly against the hook. Leaving the stitch relaxed makes it much easier to insert the hook between the vertical bars on the next row.
- Check the heel after every row: The heel narrows from 12 stitches to 6 stitches over the right-side decrease rows. Counting before you turn prevents a missed decrease from affecting the leg join.
- Distribute the join evenly: On Row 32, each set of 3 sc2tog uses 6 stitch positions along a heel side. Spreading those decreases evenly helps you return to the required 24 stitches.
Make Waistcoat Stitch Easier on Your Hands
Instead of inserting the hook beneath the usual top loops, aim between the 2 vertical bars on the front of the single crochet below. Keep the working loop comfortably tall so the hook can pass through without forcing it.
If the stitch remains difficult, try a hook one or two sizes larger than your yarn normally calls for. Check your gauge after changing hooks because looser stitches can increase the finished size.
Ways to Adapt Your Crochet Stocking
- Try another fingering-weight yarn: You can replace the listed yarn with another fingering-weight option. Fiber and twist affect how easily you can enter the waistcoat stitches, so work a gauge sample before committing to the full stocking.
- Use a larger hook: A larger hook creates more room between the vertical bars and may feel better in your hands. It can also produce a larger, softer stocking, so compare your sample with the listed gauge.
- Simplify the heel: Work standard sc instead of waistcoat sc in Rows 24-31 if you want easier turning and decreasing. Keep the hdc stitches and all stitch counts unchanged.
- Add the cuff color at Row 46: Join a second yarn at Row 46 and continue through the cuff section. Secure the yarn ends carefully because the stocking is small and loose ends can be noticeable in use.
- Use standard sc throughout: You can replace the waistcoat sc with standard sc for an easier variation, but the fabric and gauge will change. Check the measurements as you work because standard sc may not match the listed row and stitch gauge.
Fix Common Stocking Stitch Problems
- The hook won't enter the stitch: Your waistcoat sc is probably being pulled too tightly. Relax the working loop, use the shaft of the hook to size each stitch, or move up a hook size rather than forcing the hook through.
- The spiral count keeps shifting: Place the marker in the first stitch as soon as you make it and move it after every row. Each foot and leg row should end with 24 stitches once the toe increases are complete.
- Row 32 doesn't total 24 stitches: Check the row in 4 groups: 3 sc2tog along the first heel side, 6 sc across the heel, 3 sc2tog along the second side, and 12 waistcoat sc across the unworked foot stitches. Those groups total 24.
Put Your Crochet Stockings to Work
Use several stockings as an advent calendar or hang individual stockings from your Christmas tree. Their compact size also makes them easy to place where a full-size stocking wouldn't fit.
Tuck one beneath ribbon or tie it onto a wrapped package as a reusable finishing detail. The recipient can later move it to the tree or include it with other seasonal decorations.
Washing & Care
The exact fiber content isn't specified, so follow the washing directions on your yarn label. When in doubt, hand wash gently in cool water, avoid wringing, and reshape the stocking before laying it flat to dry.
More Christmas Crochet Patterns
- Christmas Crochet Yeti Amigurumi
- Christmas Wreath Charm Crochet Pattern
- Festive Crochet Amigurumi Reindeer
Frequently Asked Questions
Do the turning chains count as heel stitches?
No, the ch 1 at the end of each heel row doesn't count as a stitch. The listed totals come only from the sc, hdc, and sc2tog stitches. Counting the chain would shift the side edges and make it harder to distribute the slip stitches and decreases correctly when you begin Row 32.
Why does Row 32 use 3 sc2tog along each heel side?
Each set of 3 sc2tog reduces 6 heel-side stitch positions to 3 stitches. Together with 6 stitches across the heel and 12 unworked stitches from the foot, the 2 decrease groups restore the full 24-stitch spiral needed for the leg.
Can I use standard single crochet for the heel?
Yes, standard sc can replace waistcoat sc throughout the heel section. The heel still relies on the same hdc placement, decreases, turning chains, and row counts, so don't alter those instructions. Standard sc is often easier to enter when you're turning and shaping short rows.
When should I change yarn for a contrasting cuff?
Change yarn at Row 46 if you want the final portion of the leg to form the contrasting cuff. Continue with 24 waistcoat sc through Row 50, then complete the standard sc trim in Row 51. Keep using the cuff yarn for the trim unless you intentionally want another change.
Share this pattern with a crocheter who enjoys small Christmas projects and clever ways to use yarn leftovers. I'd love to hear how you're planning to use your finished stocking.



