
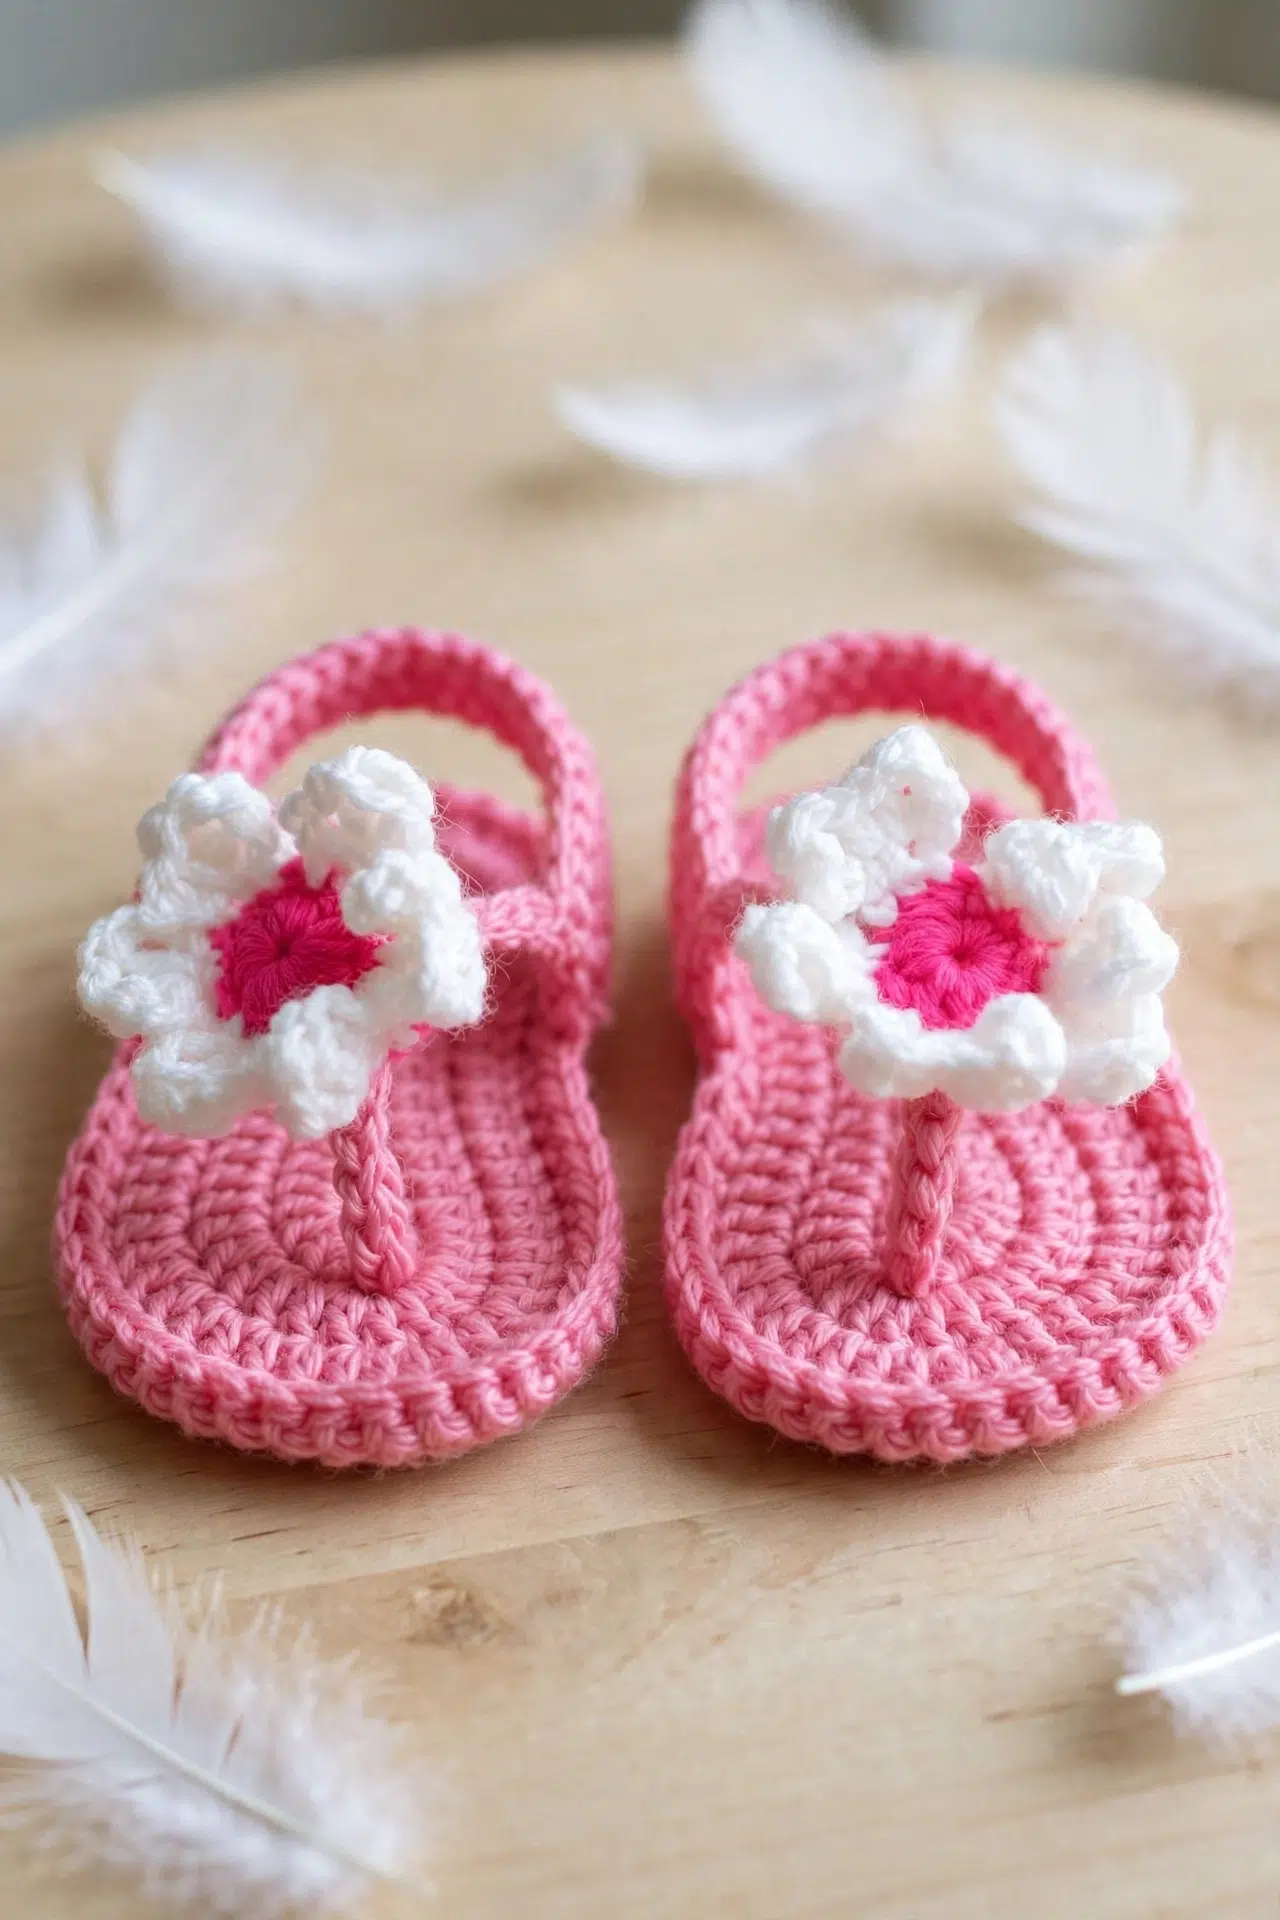
Summer is basically an excuse to make tiny adorable things, and this Baby Flipflop Sandals Crochet Pattern is exactly that. I made these for a baby shower gift and honestly had so much fun with them. They're one of those projects that feels a little more involved than your average baby bootie, but in the best possible way.

Jump to:
The Inspiration
I kept seeing the cutest baby sandals at boutique shops and thinking, I could just make those. So I did. What I really love about this design is the construction. It's not just a flat sole with a strap thrown on top. There's actual structure to it, which makes the finished sandal feel like a real little shoe rather than a novelty item. That part really does make a difference when you're gifting something.
These are the kind of thing you make for a newborn photo shoot, a summer baby shower, or honestly just because you want to. They're small, they're quick enough to hold your attention, and they feel genuinely special when you're done.
Why This Pattern Stands Out
These tiny sandals deliver real construction technique in a surprisingly satisfying small-scale project.
- Skill Level: Intermediate There are a few technique layers here, so this is a great next step if you've mastered basic baby booties.
- Perfect Gift Size: Small enough to finish in one sitting, which makes them an easy go-to for baby showers or newborn gifts.
- Technique Value: The construction method is actually a fun one to learn and carries over to other footwear-style projects down the road.
- Seasonal Appeal: These are made for summer, which means they're a nice change of pace from the usual booties and socks patterns.
- Gifting Potential: They photograph beautifully for handmade gift presentation, no trouble at all pairing them with a little outfit set.
Gather Your Supplies
Two hook sizes are in play here, so grab both before you sit down.
- Worsted Weight Yarn (Color: Soft Pink): This is the main sandal color, so you want something with a little body to it. Worsted weight holds its shape well in small construction projects like this, and the tighter stitch definition makes those foundation chain rows look clean. For a 3–6 month sandal, you're really not using much. A small amount from your stash, somewhere in the range of 20–30 yards, should be plenty.
- DK Weight Yarn (Colors: White and Bright Pink): The flower appliqué uses DK weight, and that lighter weight is what keeps the rose from looking chunky sitting on top of the sandal. You only need a small amount of each color. Bright pink goes into the magic circle and the first part of Round 2, then you switch to white for the petals. Maybe 5–10 yards of each color at most.
- H/8 (5.0 mm) Crochet Hook: This is the hook for the sandal body. It pairs well with worsted weight and gives you a firm enough fabric that the sandal holds its structure without being stiff.
- C/2 (2.75 mm) Crochet Hook: The smaller hook is for the wild rose flower. DK weight on a C hook keeps those petals tight and tidy, which matters when you're attaching a small appliqué to baby footwear.
- Also needed: yarn needle, scissors
Color Sequence & Yarn Changes
The color order for the flower is specific: start with bright pink for the magic circle and the beginning of Round 2, then join with a slip stitch and continue the rest of Round 2 in white. Keep both ends accessible when you start the flower so the switch mid-round doesn't catch you off guard. The soft pink for the sandal itself is one continuous color with no changes needed.
Essential Info
These little sandals are sized for 3–6 months and include a wild rose flower appliqué worked separately in DK weight yarn.
| Skill Level | Intermediate |
| Pattern Gauge | First 11 chains should measure 2 in. Aim to finish sandal measuring 4 in. Gauge is not important for flower. |
| Finished Size | Aim to finish sandal measuring 4 in. |
| Yarn Weight | 4 Medium / Worsted; 3 Light / DK |
| Terminology | US |
Abbreviations & Stitches Used
Short list — most of these you already know.
- BP = bright pink (DK yarn)
- ch = chain
- ch sp(s) = chain space(s)
- dc = double crochet
- RS = right side
- sc = single crochet
- sl st = slip stitch
- SP = soft pink (worsted-weight/aran yarn)
- st(s) = stitch(es)
- tr = triple crochet
- W = white (DK yarn)
- * * = repeat instructions between asterisks for as long as stated
- ( ) = total stitches
Special Stitches
- Make a slip ring (magic circle): Make a slip ring (magic circle), ch 2, 9 sc in ring, pull end to close ring.
Before You Begin
This pattern is sized for 3–6 months only. There's no resizing built in, so gauge actually matters here. Check that your first 11 chains measure 2 inches before you go further. The finished sandal sole should land right at 4 inches. For the flower, gauge isn't a concern.
The sandals are crocheted in rounds, but not the continuous spiral kind. You turn your work clockwise and crochet into the foundation chains as you go. It's a specific construction method, so read through the sandal instructions once before you start. The wild rose flower is worked separately using a slip ring start, then attached to the sandal once both pieces are done.
How to Make the Baby Flipflop Sandals Crochet Pattern
Here's how I work through each piece of this Baby Flipflop Sandals Crochet Pattern, from the sole up to the little rose embellishment.
Flipflop Sandal (Make Two)
This is the sole and base of the sandal, worked in the round from a foundation chain. Use SP and an H/8 (5.0 mm) crochet hook for this section. You'll make two of these, so I keep the first one nearby as a reference when I start the second.
Step 1: Using SP and an H/8 (5.0 mm) crochet hook, ch 11.
Step 2: Round 1: 2 sc in 1st st, 1 sc in next 8 sts, 4 sc in last st. [14 sc]
Step 3: Round 2: Turn your work clockwise and crochet 1 sc in and along the 8 foundation ch sps, 2 sc in last ch sp. [24 sc] You're now working back along the other side of the foundation chain to close the oval shape.
Step 4: Round 3: 1 sc in next st, 2 sc in next st, 1 sc in next 9 sts, 2 sc in next st, 1 sc in next st, 2 sc in next st, 1 sc in next 9 sts, 2 sc in next st. [28 sc]
Step 5: Round 4: 1 sc in next 2 sts, 2 sc in next st, 1 sc in next 10 sts, 2 sc in next st, 1 sc in next 2 sts, 2 sc in next st, 1 sc in next 10 sts, 2 sc in next st. [32 sc]
Step 6: Round 5: 1 sc in next 3 sts, 2 sc in next st, 1 sc in next 11 sts, 2 sc in next st, 1 sc in next 3 sts, 2 sc in next st, 1 sc in next 11 sts, 2 sc in next st. [36 sc]
Step 7: Round 6: 1 sc in next 4 sts, 2 sc in next st, 1 sc in next 12 sts, 2 sc in next st, 1 sc in next 4 sts, 2 sc in next st, 1 sc in next 12 sts, 2 sc in next st. [40 sc]
Step 8: Round 7: 1 sc in next 5 sts, 2 sc in next st, 1 sc in next 13 sts, 2 sc in next st, 1 sc in next 5 sts, 2 sc in next st, 1 sc in next 13 sts, 2 sc in next st. [44 sc]
Step 9: Round 8: 1 sc in next 6 sts, 2 sc in next st, 1 sc in next 14 sts, 2 sc in next st, 1 sc in next 6 sts, 2 sc in next st, 1 sc in next 14 sts, 2 sc in next st. [48 sc] The increases are staggered one stitch further out each round, which is what builds the oval evenly.
Step 10: Fasten off and weave in ends.
Step 11: Ch 15 and fasten off to make your first strap. Ch another 12 and fasten off to make your second strap.
Step 12: Using a yarn needle, sew your first strap about 1 in from the end of the sandal at the side and sew the other end onto the other side of the sandal.
Step 13: Sew your second strap about 1 in from the front of the sandal, just slightly to the right or left depending on what foot it is for, and sew it into the first strap in the middle so the strap runs up the middle of the foot. This is the step where the two sandals become mirror images of each other, so pay attention to which direction you offset the strap.
Wild Rose (Make Two)
This is the center of the rose embellishment, worked in the round. Use BP and a C/2 (2.75 mm) crochet hook for this section. The hook size drops significantly here, so set the larger hook aside before you start.
Step 1: Using BP and a C/2 (2.75 mm) crochet hook, make a slip ring (magic circle), ch 2, 9 sc in ring, pull end to close ring, sl st in top of ch-2. [10 sc]
Step 2: Round 2: Ch 1, [2 sc in next st, 1 sc in next st] repeat 4 times, 2 sc in next st, using W sl st in 1st ch. [15 sc] Fasten off BP and continue with W. The color change happens right at the slip stitch here, so have W ready to pull through before you close the round.
First Petal
The petals are worked in rows directly off the rose center, building outward from the stitches you just made. Each petal is its own small piece, so I find it easiest to work all five before I start thinking about placement.
Row 1 (RS): Ch 1, 1 sc in each of next 2 sts. [3 sc]
Row 2: Ch 1, turn, 1 sc in next st, 1 sc in 1st ch.
Row 3: Ch 4, turn, (1 tr, 1 dc) in st below chains, 1 dc in next st, (1 dc, 1 tr, 1 dc) in 1st ch. [7 sts] The taller stitches at the edges and the chain-4 turn give the petal its curved, rounded shape.
Fasten off and weave in ends.
Second Petal (RS)
The remaining petals are worked the same way as the first, each one joined into the next available stitch around the rose center. Make 3 more petals in this way, for 5 petals total per rose.
Step 1: Join W in next st of Round 2 and then work as First Petal. Make 3 more petals in this way.
Finishing & Assembly
Once both sandals and both roses are complete, I sew each rose onto the front of a sandal, positioning it over the point where the two straps meet. A few secure stitches through the back of the rose center and into the sandal base is all it takes. Weave in any remaining ends and the sandals are done.
Care Instructions
Because these are baby sandals, they WILL get dirty, so you want them to hold up to washing. Check your yarn label before tossing them in the machine. Hand washing in cool water is the safest bet for keeping the straps intact and the flower appliqué from distorting. Lay them flat to dry so the sole keeps its shape. The crocheted chains used for the straps can stretch a bit if they get wet and are handled roughly, so gentle is the word here.
Baby & Child Safety Notes
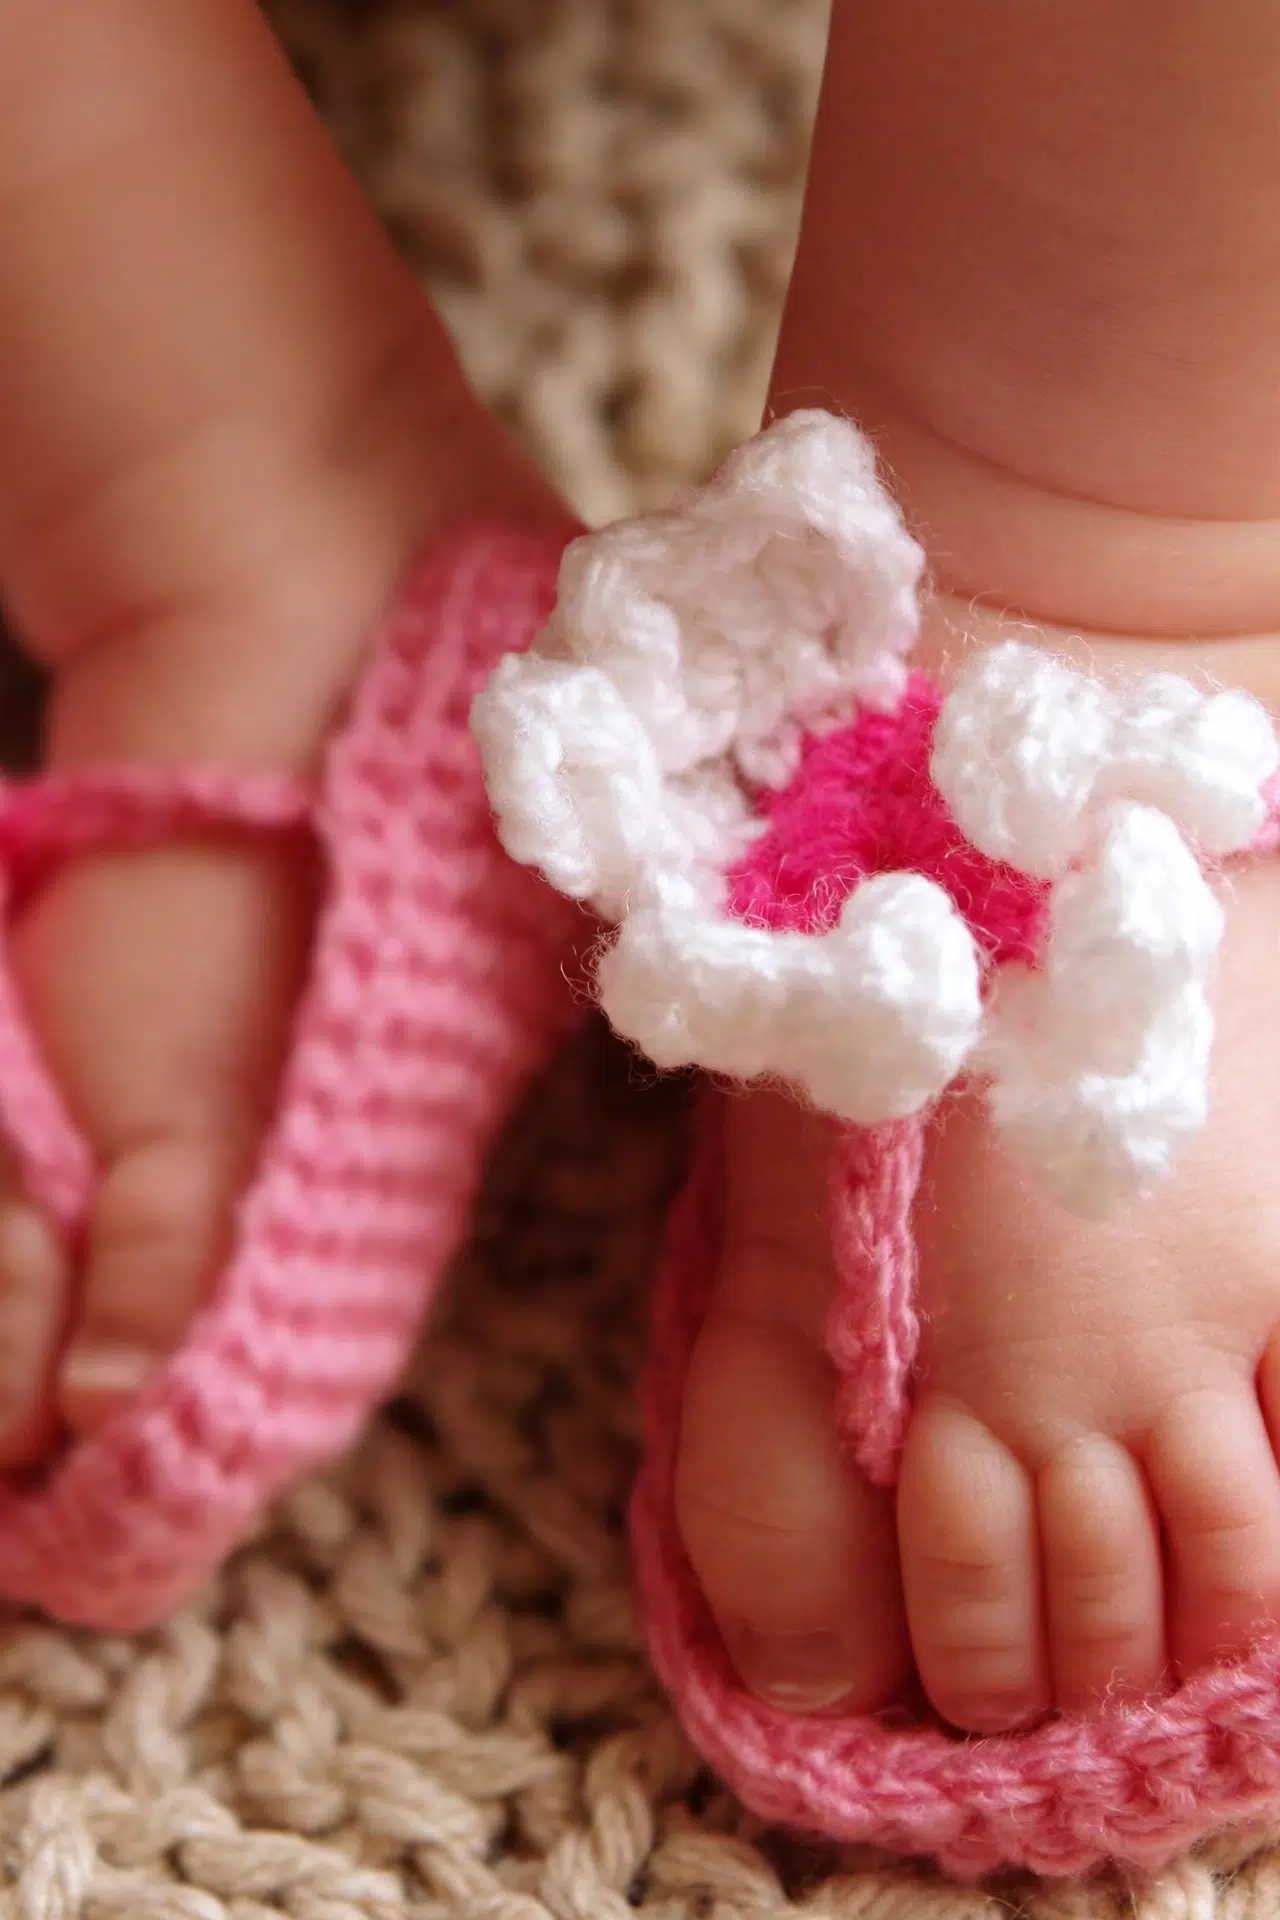
These sandals are sized for a 3 to 6 month old, so the wild rose flower is worth a close look before gifting. Make sure the flower is sewn down very securely with your yarn needle. Loose ends or a petal that catches on a tiny finger and pulls free is a hazard. Give the flower a firm tug after sewing it on. If anything feels like it could come loose, sew it again. The straps should also be checked periodically since repeated wear can loosen sewn joins over time.
Frequently Asked Questions
The sandal sole and straps are worked with an H/8 (5.0 mm) hook using worsted weight yarn, and the wild rose flower is worked separately with a C/2 (2.75 mm) hook using DK weight yarn. The smaller hook and lighter yarn keep the flower petals neat and tight so they hold their shape when sewn onto the sandal. Switching hooks mid-project sounds fussy, but it genuinely makes a difference in how the flower looks.
The sole starts with a foundation chain of 11, and then you work in rounds around both sides of that chain. The key is that you turn your work clockwise and crochet into the foundation chain spaces on the return pass. It feels a little awkward the first time, but once you get through Round 2 the oval shape starts making sense. Your first 11 chains should measure about 2 inches, and the finished sandal should come out to 4 inches.
The difference comes down to where you sew the second strap. The toe strap gets sewn slightly to the right or left of center depending on which foot it is for, so it sits naturally on the foot rather than pulling to one side. The pattern notes this in the assembly step. Make both sandals identical up to that point, then position the toe strap accordingly before sewing it down.
Round 2 of the rose starts in bright pink. You work the increases around, and at the end of the round you join with a slip stitch using white instead of bright pink. From that point you fasten off the bright pink and continue everything else in white. The color change lands right at the join, so it stays clean. The petals are all worked in white after that.
This pattern is written for 3 to 6 months only, and there are no size variations included. If you want to size up, you could try going up in hook size and yarn weight, but that would require swatching and adjusting the stitch counts yourself. The finished sandal should measure 4 inches, so that is your target to work from if you experiment.
Before You Go
These little sandals are one of those projects that look SO much more complicated than they actually are, and that is half the fun of gifting them. If you make a pair, I would love to see them. Tag me on social media or drop a photo in the comments below. And if you are saving this for a baby shower coming up, pin it now so you can find it when you need it. Baby showers have a way of sneaking up on you.



