
It’s satisfying when a project is enjoyable in your hands and useful every week, and this Zippered Crochet Pencil Case delivers both. Tuck it into a backpack for pens, keep it on your desk for loose stationery, or use it to gather your crochet hooks in one easy-to-grab place.

The body settles into a steady rhythm of sc clusters and ch-2 spaces, so you can relax into the rows without complicated shaping. Back post sc shapes the ends, while the zip attachment gives you a small, interesting finishing challenge!
Jump to:
Why I Love This Pattern
- A steady main section: Once you’ve completed the first cluster row, the body repeats the same simple row through Row 38. Your hands can settle into the placement without an ever-changing sequence.
- Useful shaping without complex construction: The ends are shaped by turning before the end of each round and leaving stitches unworked. You don’t need separate gussets or a long assembly process.
- A secure closure: The 20 cm zip keeps pens, hooks, and other narrow supplies contained. The preliminary sewn stitches also give your crochet a practical place to anchor.
- A manageable stitch mix: Most of the case uses sc and ch stitches. The back post section adds texture and structure without requiring a large collection of specialty stitches.
Pattern Details
- Skill Level: Intermediate
- Yarn Weight: DK / light worsted weight, weight 3
- Time to Make: about 5-8 hours
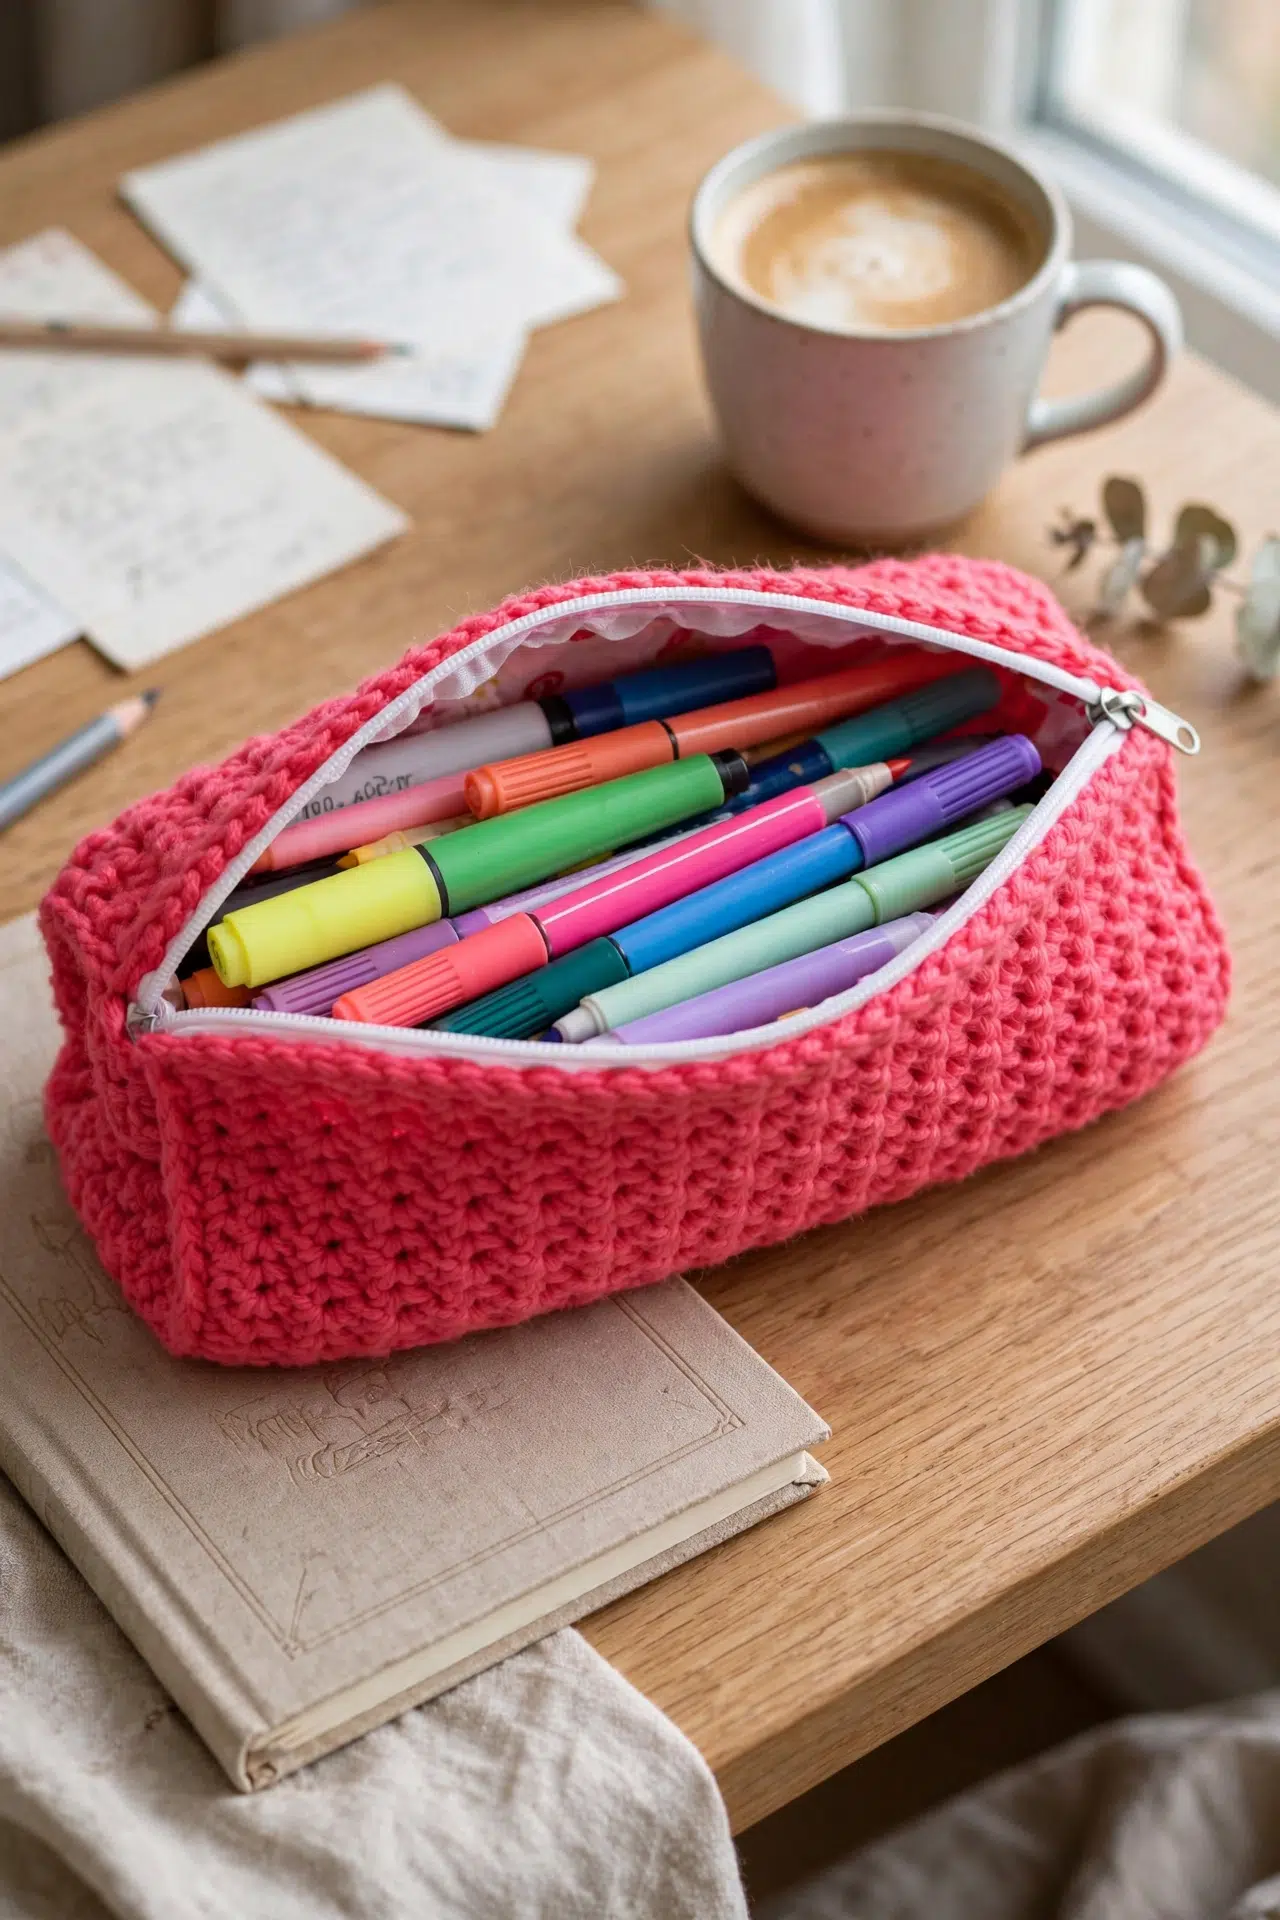
Supplies
Gather your yarn, hook, zip, and basic finishing tools before you begin so you can check the crochet against the zip as you work.
- DK/light worsted weight yarn, weight 3; amount not specified: Fiber content isn’t specified, so choose a yarn that can handle regular use. A firm yarn will help the case hold its shape, while a softer yarn will make it more flexible.
- 3.5 mm crochet hook
- Yarn needle
- Scissors
- 20 cm zip: Keep the zip nearby while crocheting the body. Differences in yarn, hook style, and tension can affect how comfortably the 37-stitch edge fits it.
- Stitch markers, optional
Stitches & Abbreviations
- ch - chain
- st(s) - stitch(es)
- sl st - slip stitch
- sc - single crochet
- ch-2 sp - chain-2 space
sc foundation st: Work a foundation single crochet so the foundation chain and sc are formed together.
cluster: Work [1 sc, ch 2, 1 sc] in the indicated stitch or ch-2 space.
single crochet back post stitch: Insert the hook from back to front and then to the back around the post of the indicated sc, yarn over, pull up a loop, yarn over, and pull through both loops.
How to Crochet the Zippered Pencil Case
Crochet the rectangular bag body first, attach it around the zip, and then shape and close both end openings.
This pattern uses US terminology. Knowledge of the single crochet back post stitch is required. Repeat instructions between asterisks for as long as stated.
Bag
- Row 1: Ch 37 sc foundation sts, or ch 38 and work 1 sc in second ch from hook and in each ch across. Ch 1, turn. (37)
- Row 2: Work 1 sc in first st, skip next st, *[1 sc, ch 2, 1 sc] in next st, skip next st; rep from * 15 more times, 1 sc in last st. Ch 1, turn. (17)
17 clusters.
- Row 3: Work 1 sc in first st, *[1 sc, ch 2, 1 sc] in next ch-2 sp; rep from * 16 more times, 1 sc in last st. Ch 1, turn. (17)
17 clusters.
- Rows 4-38: Repeat Row 3. Fasten off and tie in all ends. (17)
Adding a Zip
Take your time spacing the sewn anchor stitches because they guide the sl sts that secure the crochet to the zip.
- Step 1: Using the same yarn, sew stitches around the zip opening. Fasten off.
- Step 2: Fold the project in half and join the short edges to the zip by working sl sts into the stitches made in Step 1. Work in the round, spacing the stitches evenly and joining securely at the edges.
Stitch markers can help with spacing. You may need to work more than one sl st into the same stitch.
Sides, make 2 times
Each end begins with 39 sts around the opening and is narrowed with short turned sections before the remaining gap is sewn closed.
- Round 1: Work sc neatly around one end opening until there are 39 sts. Sl st to join and form a complete circle. (39)
- Round 2: Work 1 sc back post stitch around each of the next 36 sc posts, skip the last 3 sts, turn. (36)
- Round 3: Work 1 sc in each of the next 30 sts, skip the last 6 sts, turn. (30)
- Round 4: Work 1 sc in each of the next 27 sts, skip the last 3 sts, turn. (27)
- Round 5: Work 1 sc in each of the next 24 sts, skip the last 3 sts, turn. (24)
- Round 6: Work 1 sc in each of the next 10 sts to the bottom of the bag. Fasten off and sew up the remaining opening. Push the end piece inside. Repeat for the opposite opening.
Crochet Tips
- Count the first cluster row: Row 2 establishes 17 clusters across the body. Confirm that count before continuing because every later body row places one cluster in each ch-2 space.
- Keep the ch-2 spaces open: Avoid pulling the chains too tightly. You’ll insert the full [1 sc, ch 2, 1 sc] cluster into each space on the following row.
- Check the zip before fastening off: Lay the finished body against the 20 cm zip before completing the attachment. The crochet should meet the zip without being stretched hard or pushed into gathers.
- Mark the end-round join: Place a marker at the Round 1 join and around the turning points if needed. This makes the skipped stitches much easier to identify during the shaping rounds.
Ways to Adapt Your Crochet Pencil Case
- Try another weight 3 yarn: Another DK or light worsted yarn is the safest substitution. Even within the same weight category, check the edge against the zip because yarn density can change the finished length.
- Choose fiber for the feel you want: Cotton or a firm blend can make the case more structured. Acrylic or another springy fiber may produce a softer case and can require extra attention when spacing stitches along the zip.
- Adjust the hook carefully: Move up a hook size if your fabric is too tight or down if the clusters are too loose. A hook change also changes the length of the zip edge, so test the fit before working all 38 rows.
- Add a lining: A fabric lining can keep narrow objects from catching in the ch-2 spaces. Sew it to fit the completed case and attach it without closing over the zip tape or teeth.
- Change the zip pull: You can add a small cord or purchased pull after construction. Keep it light enough that it doesn’t tug the zip open when the case is carried.
Fixing Uneven Rows, Ends, and Zip Seams
- The body is getting wider: Count 17 clusters and make sure every cluster from Row 3 onward goes into a ch-2 space. Accidentally working into an edge sc or adding a cluster at the end will increase the width.
- The zip edge is rippling: Remove the affected sl sts and redistribute them more evenly. Some sewn anchor stitches may need more than one sl st, but concentrating too many in one area can gather the edge.
- The shaped end won’t sit inside: Recheck the counts of 39, 36, 30, 27, and 24 through the shaping rounds. Missing a skipped stitch or turning in the wrong place changes the depth and makes the end harder to push inside.
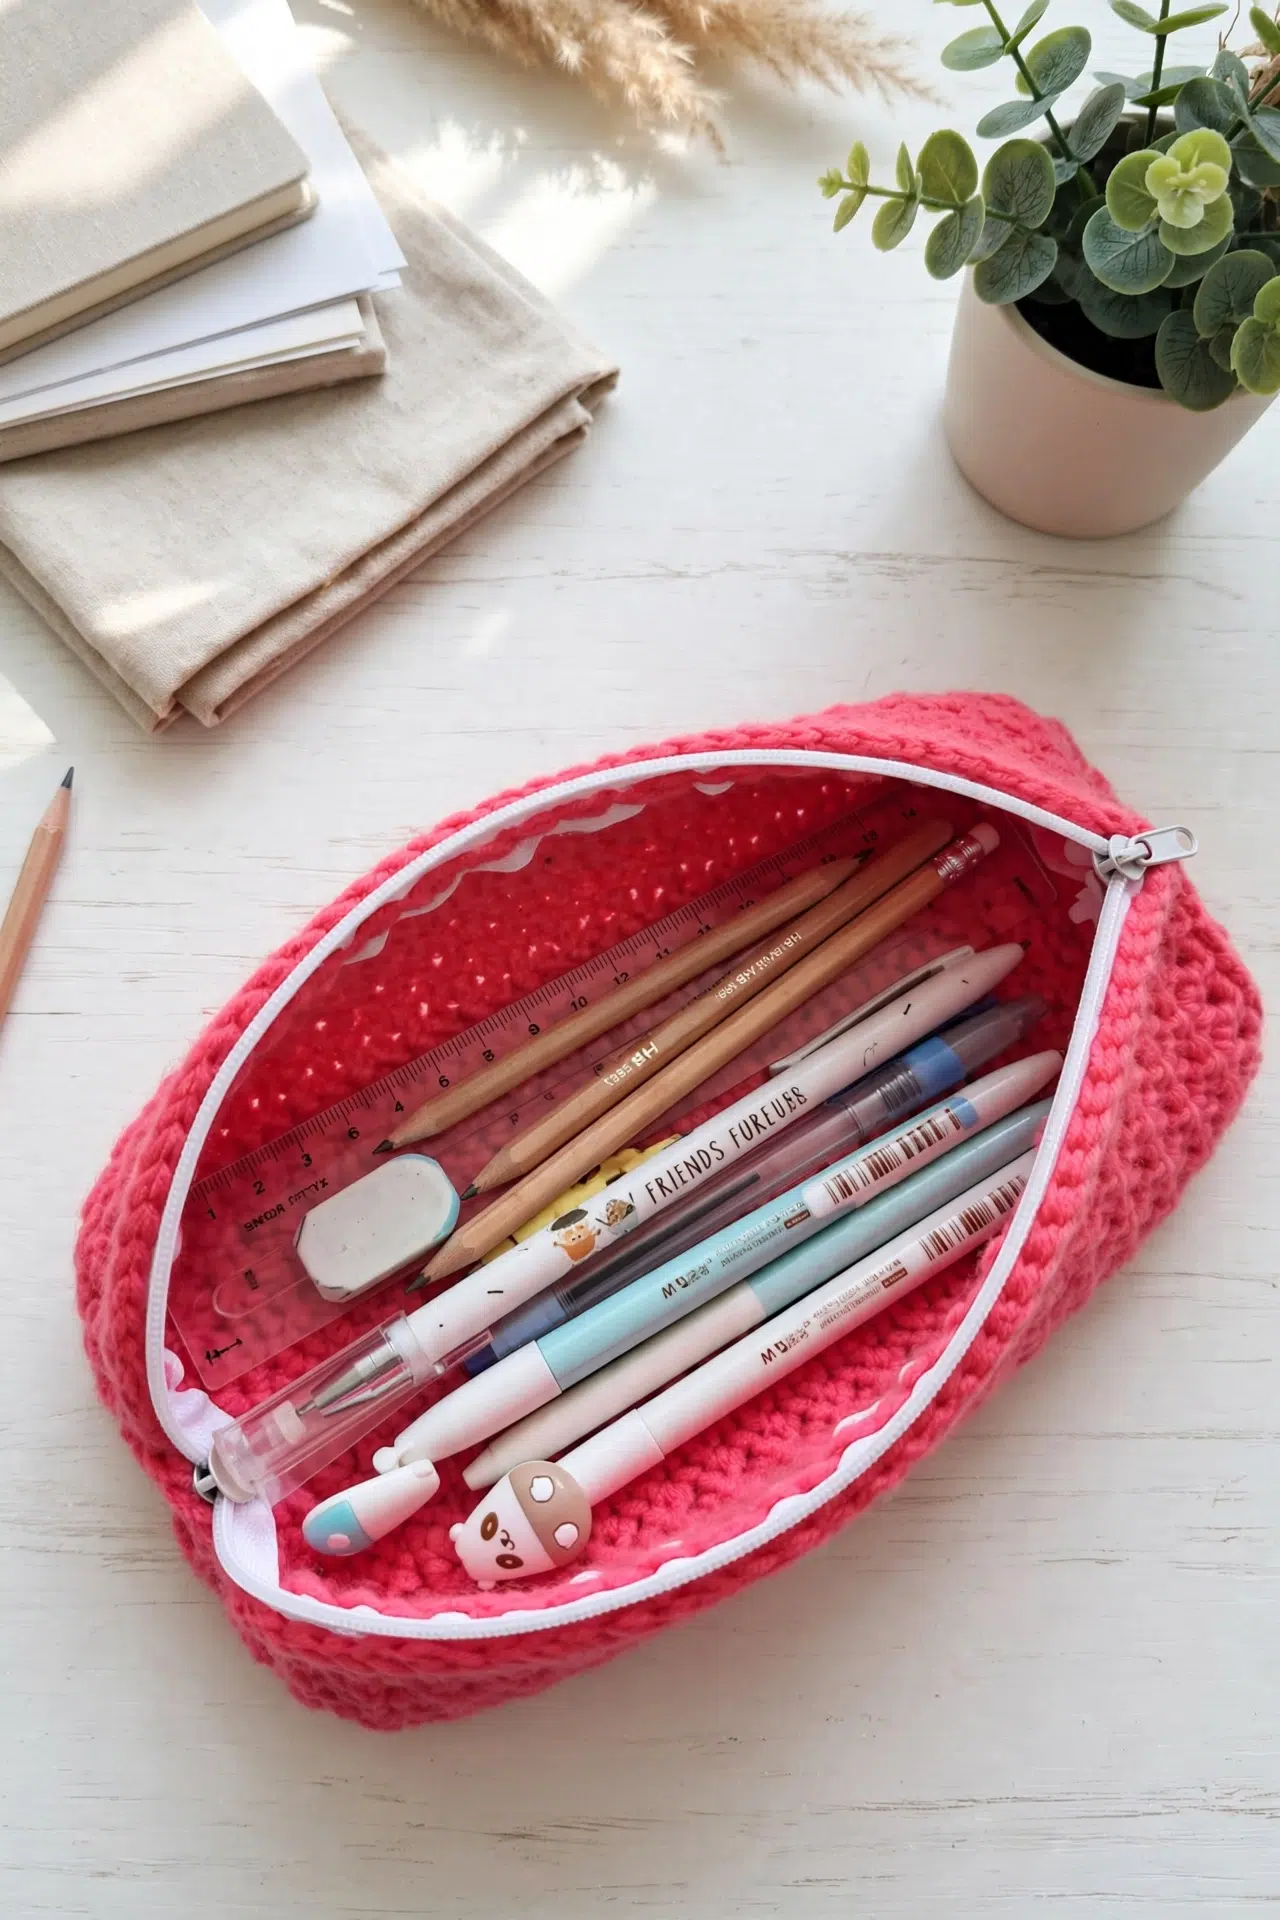
Washing & Care
Check the yarn label before washing because the fiber content isn’t specified. Hand washing in cool water with mild detergent is the safest choice, then reshape the empty case and dry it flat with the zip open. Avoid high heat, which may affect either the yarn or the zip.
More Crochet Bags and Cases
- Watermelon Glasses Case Crochet Pattern
- Sunflower Granny Stitch Phone Bag Crochet Pattern
- Mushroom House Bag Crochet Pattern
- Chevron Fall Bag Crochet Pattern
Frequently Asked Questions
Where do I place the clusters after Row 2?
Work every cluster into the next ch-2 space from Row 3 onward. Those spaces sit between the two sc stitches of each previous cluster and keep the pattern aligned. If you work into an sc instead, the spacing can shift and the body may begin to widen or lose its established stitch rhythm.
Why are stitches skipped at the ends of the side rounds?
The skipped stitches shape each end so it can be pushed inside the case. Round 2 leaves 3 stitches unworked, Round 3 leaves 6, and Rounds 4 and 5 each leave 3. Turning at those points creates progressively shorter sections rather than continuing as a full tube.
Do I need exactly one slip stitch in every sewn zip stitch?
No, some anchor stitches may need more than one sl st to keep the join secure and evenly spaced. The important point is to avoid stretching the crochet or gathering the zip tape. Use markers to divide the edge into sections, then distribute the sl sts within each section before judging the overall fit.
Can I change the length to fit another zip?
Yes, but the foundation and cluster count must change together. Use an odd foundation stitch count that allows one edge sc at each side and evenly spaced clusters between them. Make a small swatch first, compare the foundation edge with your chosen zip, and recalculate the number of Row 2 clusters before continuing.
What did you change or add to your case, whether it was the fiber, size, lining, or zip pull? Tell me about your version in the comments.



