
Fall is the season that makes me want to carry everything in something cozy and intentional, and this Chevron Fall Bag Crochet Pattern really does scratch that itch perfectly. It's the kind of project that comes together faster than you'd expect, works up beautifully with autumn-toned yarns, and ends up being something you actually want to use every single day.

Jump to:
About This Project
I love a project that feels purposeful, and this bag is exactly that. The chevron construction gives it a really satisfying rhythm to work up. Once you get into the pattern repeat, it just flows. I made mine thinking about fall farmers markets and weekend errands, and honestly it's become one of those things I reach for constantly.
It's a great one to make for yourself or as a gift. The kind of thing that looks like you put in way more effort than you actually did.
Why You'll Want to Make This
A stylish, functional fall bag you'll actually use, made in a weekend.
- Beginner-friendly build: The easy skill level means you can focus on enjoying the process without getting stuck on complicated techniques.
- Quick, satisfying make: This is a project you can realistically finish in a sitting or two, which makes it great when you want results fast.
- Perfect gifting project: Bags are one of those gifts people genuinely use, and the chevron detail makes it feel thoughtful and intentional.
- Great technique practice: If you want to get comfortable with chevron stitch patterns, working them into a functional project like this really does make the learning stick.
- Seasonal versatility: It's designed with fall in mind, but the style works well enough year-round that it won't just sit in a drawer after November.
Materials You'll Need
Four colors, one hook, and 250g per color is really the whole shopping list for this one.
- Fine Weight Cotton Yarn (Weight 2): Cotton is the right call here. It holds its structure well for a bag, doesn't stretch out of shape the way acrylic tends to, and gives the granny square base that clean, crisp look. You'll need 250g of each color, so orange, green, pastel orange, and white, and all four are used for the main bag body with color changes throughout.
- 5/0 Crochet Hook (3.00mm): A 3.00mm hook keeps the fabric tight enough that the bag actually holds its shape. Fine weight cotton on a larger hook can go limp pretty fast, so stick with this size.
- Also needed: yarn needle, scissors
Color Sequence & Yarn Changes
The color sequence isn't locked in, which is one of the better things about this pattern. Orange, green, pastel orange, and white are the Halloween-leaning combination, but the notes make it clear you can swap those out for whatever fall palette you're working with. Color changes happen throughout the main bag in single crochet rows, so just make sure your joins are tidy on the wrong side and you'll be fine.
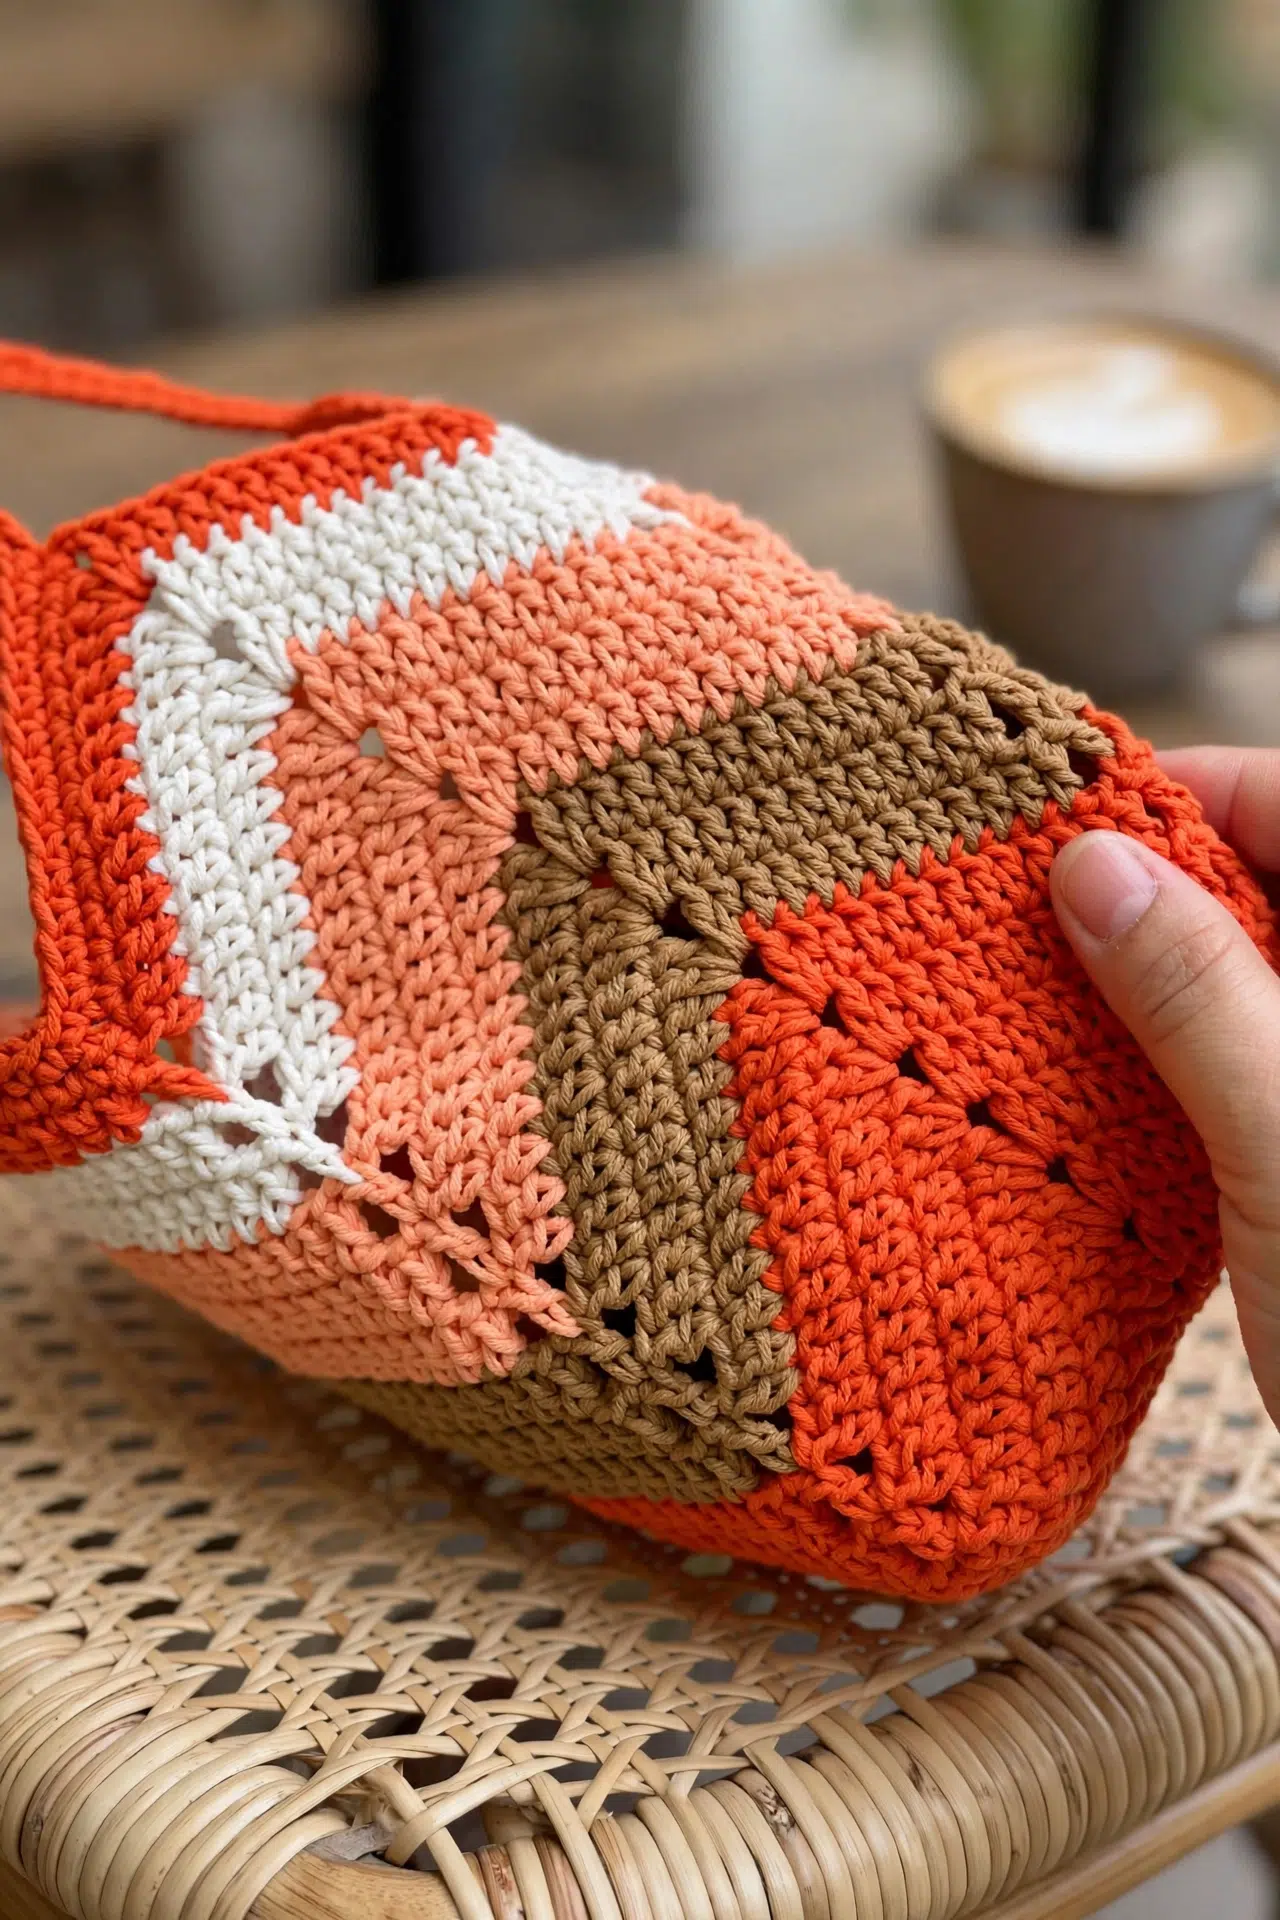
At a Glance
A Halloween-ready granny square bag worked in cotton, with color changes and a solid square base that sets the whole shape.
| Skill Level | Easy |
| Pattern Gauge | Gauge is not critical for this project. Use a hook size that creates a firm fabric suitable for a bag and prevents gaps between stitches. |
| Finished Size | Approx. 250g |
| Yarn Weight | 2 Fine |
| Fiber | Cotton |
| Terminology | US |
Customizing the Size
The solid granny square base is worked first over 2 rounds, and the bag body builds around it from there. If you want a larger bag, add rounds to the granny square before starting the main body. The sc rounds that form the bag walls will adjust naturally to whatever base size you land on.
Abbreviations & Stitches Used
Short list, all familiar stitches.
- ch = chain
- sc = single crochet
- dc = double crochet
- hdc = half double crochet
Special Stitches
- Color change: Complete the final yarn over of the last stitch with the new color.
- dc cluster: Yarn over, insert hook in indicated stitch, yarn over, pull up a loop, yarn over, pull through 2 loops (partial dc made). Repeat partial dc in same stitch as indicated, leaving the last loop of each partial dc on the hook. Yarn over and pull through all loops on hook to complete the cluster.
Important Notes
The bag is built in two distinct parts. The solid granny square comes first: it uses chain skipping, hdc, dc clusters, dc, and ch, and it takes 2 full rounds to complete. That square becomes the base, and the main bag body is worked around it from there using sc and color changes. The color changes are what give this its Halloween look. Orange, green, pastel orange, and white are the colors used in the original, but swap them out for any fall palette you like.
The straps are sewn on rather than crocheted directly onto the bag, so you'll need a yarn needle at the finishing stage. A 3.00mm hook (5/0) is used with the fine cotton yarn to keep the fabric firm. That's the goal with gauge here: not a specific stitch count, just a fabric with no gaps and enough structure to hold its shape as a bag.
How to Make the Chevron Fall Bag Crochet Pattern
Follow these steps to work through each technique and construction detail of the Chevron Fall Bag.
Building the Bag
These steps walk through the core techniques used throughout the bag, from working the chevron stitch structure to attaching the finished straps. Getting comfortable with each one before diving in makes the whole project go more smoothly.
Step 1: Step 1: Chain skipping: Skip the indicated number of ch and work into the next stitch to create spaces between clusters. Pay attention to the exact number of chains to skip at each point — this is what creates the chevron rhythm, and skipping one too many or too few will throw off the pattern alignment.
Step 2: Step 2: hdc: Yarn over, insert hook into stitch, yarn over, pull up a loop, yarn over, pull through all 3 loops on hook.
Step 3: Step 3: dc cluster: Work dc cluster as defined in ABBREVIATIONS. Refer back to the abbreviations section each time until the motion feels natural — dc clusters have a specific construction that affects how the chevron points form.
Step 4: Step 4: dc: Yarn over, insert hook into stitch, yarn over, pull up a loop, yarn over, pull through 2 loops, yarn over, pull through last 2 loops.
Step 5: Step 5: Chains in bulk: Work the required number of ch. Count your chains before continuing — it's easy to lose track mid-chain, and an off count here affects the stitch spacing in the next row.
Step 6: Step 6: Color changes: Work color change as defined in ABBREVIATIONS. Complete the last yarn over of the stitch before the color change with the new color so the transition sits cleanly at the top of that stitch.
Step 7: Step 7: sc: Insert hook into stitch, yarn over, pull up a loop, yarn over, pull through 2 loops.
Step 8: Step 8: Sewing straps: Use a yarn needle to whipstitch or backstitch the straps to the bag securely for strength and durability. Backstitch tends to hold up better under the weight and daily use of a bag, so I go over the attachment area at least twice before fastening off the sewing yarn.
Care Instructions
Cotton holds up really well to regular use, but I'd spot-clean this bag first before throwing it in the wash. If the whole thing needs a refresh, hand wash it in cool water and reshape it while it's still damp so the base keeps its structure. The straps are sewn on, so avoid wringing or twisting the bag when it's wet. That puts stress right at the attachment points. Lay it flat or hang it to dry.
Frequently Asked Questions
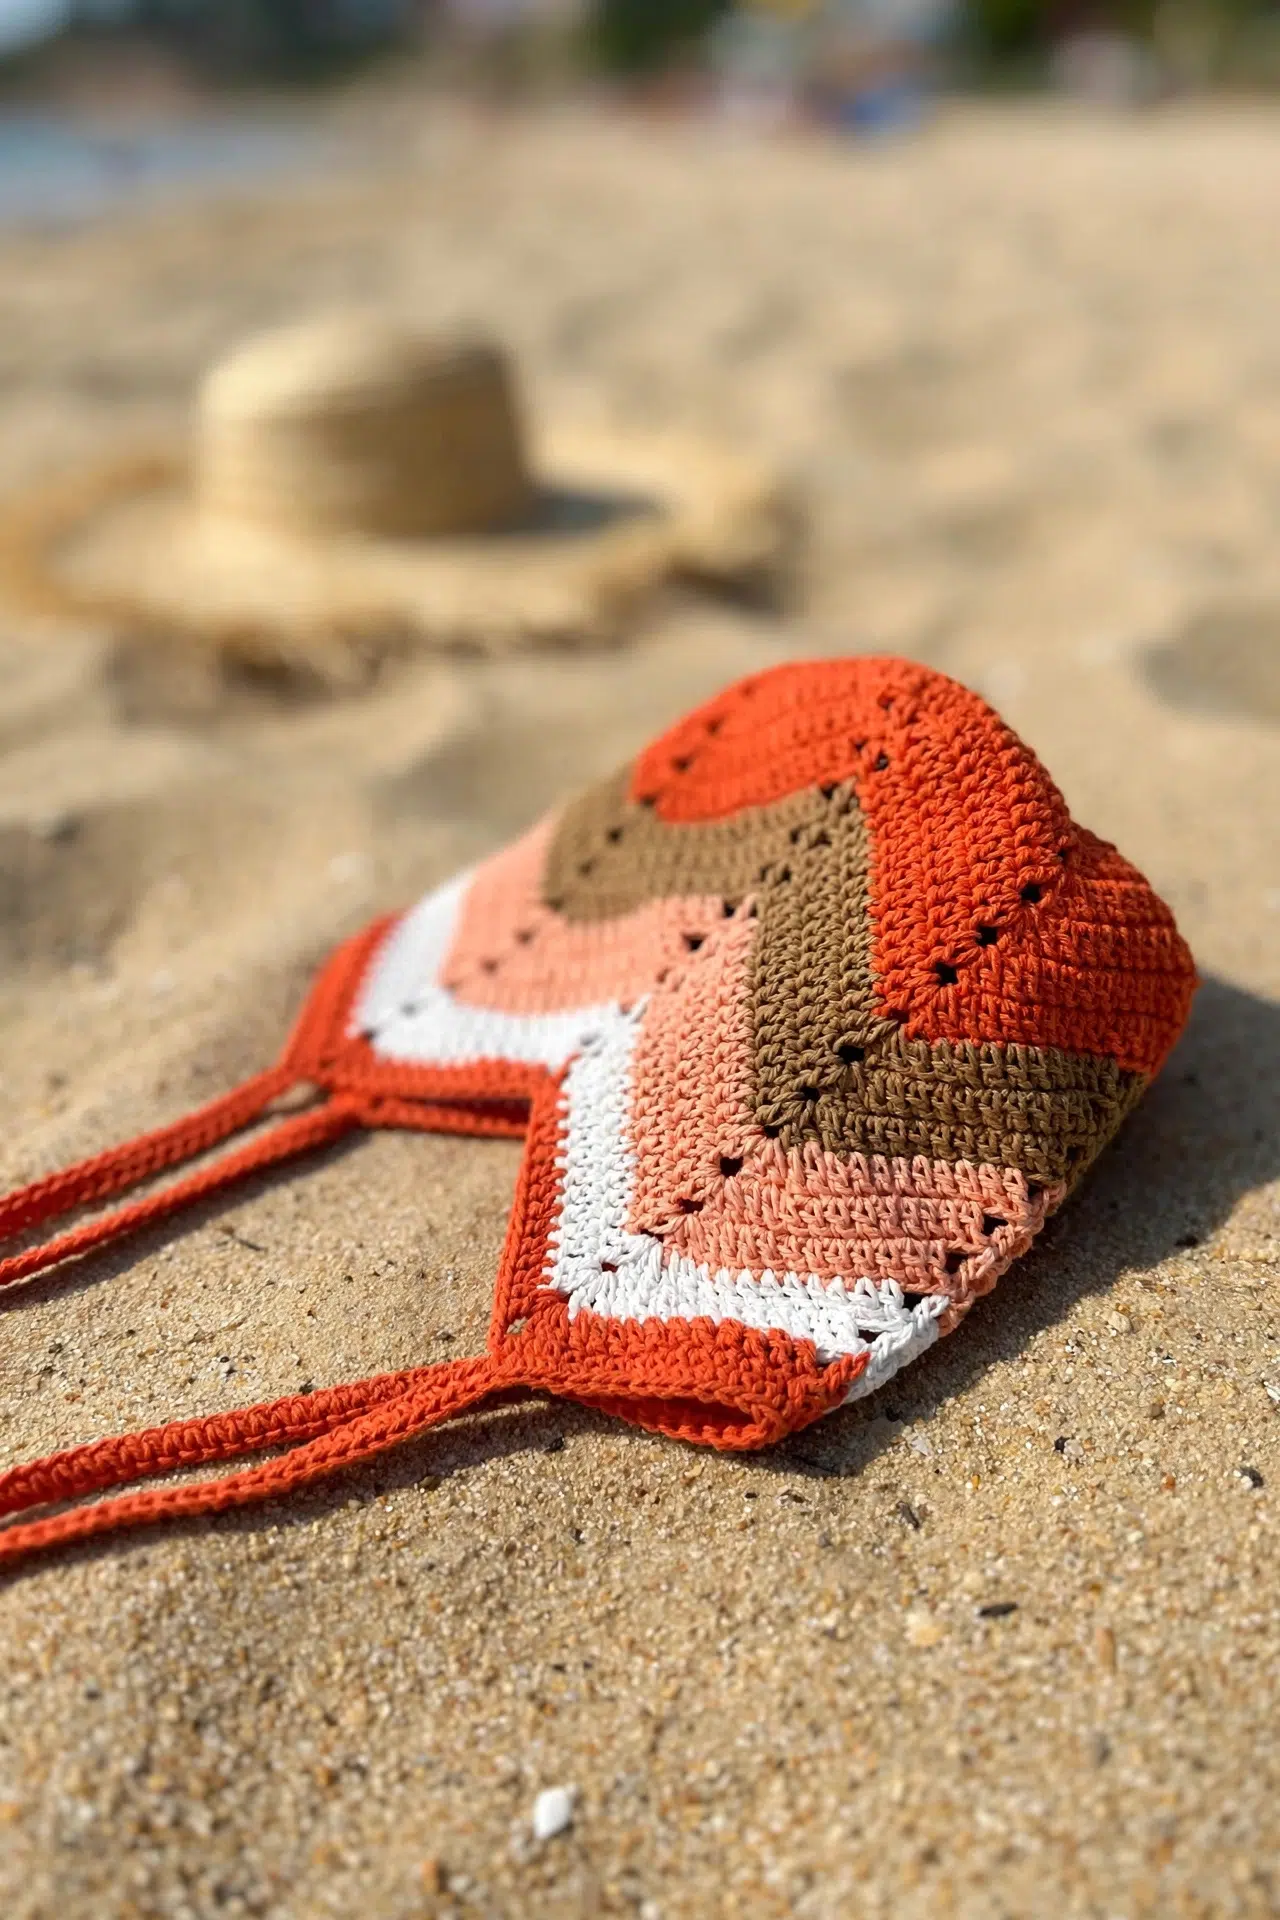
That's actually built into the pattern. The orange, green, pastel orange, and white are just the fall/Halloween version. You can swap in any colors you like since the main bag is worked in sc with color changes, and nothing about the construction is tied to those specific shades. A neutral palette or a bright summer combo would work just as well.
Use a yarn needle and either whipstitch or backstitch the straps to the bag. Backstitch gives a stronger hold if you're planning to carry anything with real weight in this bag. Go around the attachment point more than once, and weave your ends in well before trimming. Cotton doesn't grip knots as tightly as wool, so that extra reinforcement matters.
The base is a solid granny square worked in two initial rounds using chain skipping, hdc, dc clusters, and dc. What I like about this construction is that size adjustments are easy. The main bag body is worked up around the granny square, so if you want a bigger or smaller bag, you adjust the base and the rest follows naturally from there.
Plan on about 250g per color. The pattern uses four colors total: orange, green, pastel orange, and white. You won't necessarily use a full 250g of every single one depending on how you distribute the color changes, but having that amount on hand for each keeps you from running short mid-project.
The dc cluster is defined in the abbreviations section, so you'll have the exact steps in front of you. If you can work a regular double crochet, the cluster is just a variation on that. The granny square base is where you'll use it most, and since that's only two rounds, you get a chance to get comfortable with it before moving into the main bag body.
Final Thoughts
This bag is one of those projects I keep coming back to because the color change possibilities are genuinely endless. The Halloween version is fun, but I've been thinking about making one in dusty rose and cream for spring, and honestly the construction lends itself to just about any palette you throw at it. If you make one, I'd love to see it. Tag me on social or drop a photo in the comments below. And if you're saving this for later, go ahead and pin it so it doesn't get buried.



