
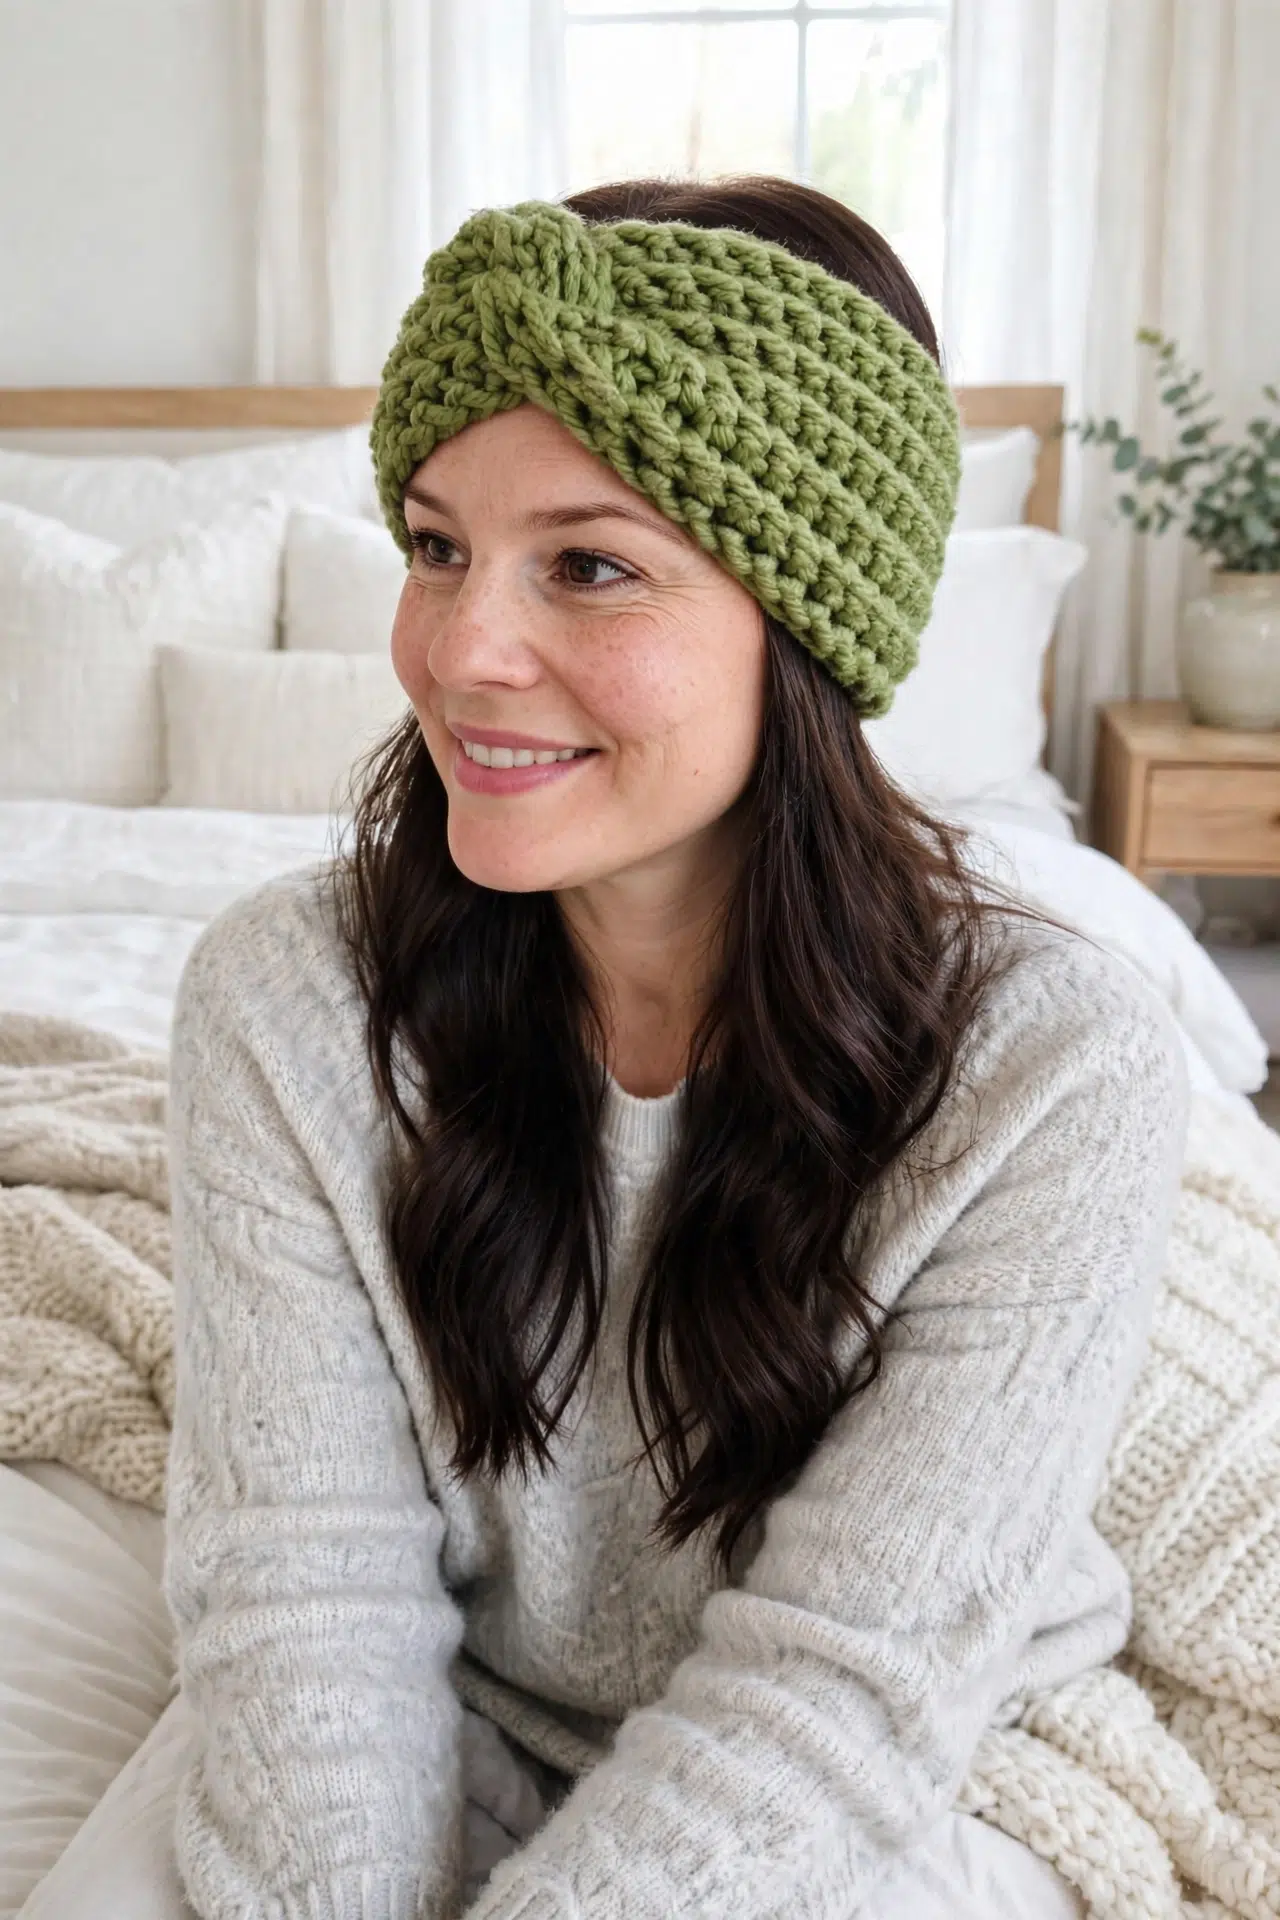
If you’ve ever finished an earwarmer only to find the starting edge stiff and snug, you’re not alone; I made this Super Chunky Crochet Earwarmer Headband to solve that exact annoyance.

The foundation sc edge gives your hands a softer, stretchier place to begin. There’s also a regular chain option if that technique feels more comfortable to you.
Jump to:
Why This Pattern Is a Keeper
- Simple construction: You’ll crochet one straightforward rectangle before folding and sewing the ends. There’s no complicated shaping to manage.
- Easy to resize: The first row controls the circumference, while the number of rows controls the width. You can adjust either one without changing the basic construction.
- A flexible starting edge: Foundation sc sts let the edge move more freely than a standard chain, which matters when the finished piece needs to stretch around your head.
- Beginner-friendly texture: After the first row, you’ll use the same back-loop sc across every row. That steady rhythm makes the stitch count easy to check as you work.
Pattern Details
- Skill Level: Beginner
- Finished Size: Average female adult; adjustable for alternative sizes
- Yarn Weight: Super Chunky / Super Bulky (6)
- Time to Make: about 2-3 hours
What You'll Need
You only need Super Bulky yarn, a large hook, and basic finishing tools for this quick, focused project.
- Super Chunky/Super Bulky weight yarn (6): Thickness can vary within this yarn category, so test the foundation row around your head before continuing. A denser yarn may feel firmer, while a loftier yarn may stretch more.
- 10.0 mm crochet hook
- Yarn needle: Choose a needle with an eye large enough for your bulky yarn. You’ll use it to secure the folded S-shaped join.
- Scissors
Abbreviations
- ch - chain
- st(s) - stitch(es)
- sc - single crochet
How to Crochet the Super Chunky Earwarmer Headband
Start by setting the circumference, build the width with back-loop sc rows, and finish with the folded seam.
Foundation sc sts are strongly recommended because they create a softer, stretchier edge than a normal foundation chain. The foundation row determines the circumference, and the total number of rows determines the width. This pattern uses US terminology.
Body
- Row 1: Crochet 40 sc foundation sts. Ch 1, turn. Alternatively, ch 41, crochet 1 sc in second ch from hook and in each ch along. Ch 1, turn. (40)
Row 1 needs to measure around your head, so crochet more or fewer foundation sts as needed.
- Rows 2-14: In back loops only, work 1 sc in each back loop along. Ch 1, turn. Fasten off and tie in all ends. (40)
These rows determine the width of your headband, so crochet more or fewer rows as needed.
Finishing
- Step 1: Fold your headband in half lengthways. Pick up both ends and fold them into each other to create an S shape.
- Step 2: Sew the S shape into place to secure it.
- Step 3: Turn your headband inside out to finish.
Alternative sizes
For a different head circumference, work more or fewer foundation sc sts in Row 1. If using the chain alternative, adjust the starting chain so you can still work 1 sc in the second ch from the hook and every remaining ch. To change the headband width, work more or fewer back-loop rows.
My Best Tips
- Check the fit after Row 1: Wrap the foundation row around your head before you begin the body. It should close comfortably without feeling rigid, since every later row keeps the same stitch count.
- Use the same back loop each time: Turn the work before locating the back loop for the next row. Staying consistent prevents the fabric structure from changing partway through.
- Count the first few rows: Keep 40 sts across unless you intentionally changed the foundation count for sizing. Catching a missed edge stitch early saves you from a tapered headband.
- Pinch the seam before sewing: Hold the two folded ends in their S shape and check that all layers are nested correctly. A couple of secure passes through every layer will keep the join from pulling apart.
A Softer Edge Without Extra Fuss
A foundation sc creates the base and the first row together, so you don’t have a separate chain running along one edge. That’s why I prefer it here: the starting edge can flex with the rest of the headband.
If you’d rather begin with chains, use the written ch 41 alternative. You’ll still finish with 40 sc, so the remaining rows work exactly the same way.
Ways to Adjust Your Earwarmer
- Use the chain alternative: Begin with ch 41 and work back across for 40 sc if you don’t want to use foundation sts. The edge may be less stretchy, so check it around your head before moving on.
- Change the circumference: Add or remove foundation sc sts until Row 1 fits around your head. There’s no stitch multiple to preserve because every body row places one sc in each st.
- Choose a different width: Work more than 14 total rows for a wider band or stop sooner for a narrower one. Remember that the rows run across the width, not around the head.
- Try another Super Bulky yarn: A different yarn in weight category 6 can work, but compare the actual thickness and flexibility. Keep adjusting Row 1 until the fit is comfortable rather than relying on the original stitch count.
- Adjust the hook if needed: If your chosen yarn feels too stiff with the 10.0 mm hook, a larger hook can loosen the fabric. A smaller hook creates a denser result, but either change can alter the circumference, so recheck Row 1.
Fixing Fit and Seam Problems
- The headband feels too tight: Redo Row 1 with more sts or use the foundation sc option if you began with chains. The circumference is fixed once you start the back-loop rows.
- The sides are narrowing: Count your sts and check both row edges. It’s easy to miss the first or last back loop, especially when working with thick yarn.
- The join feels uneven: Refold both short ends into a clear S shape and make sure the layers sit fully inside one another before sewing. Pass the needle through every layer so the folded join opens evenly when turned.
Washing & Care
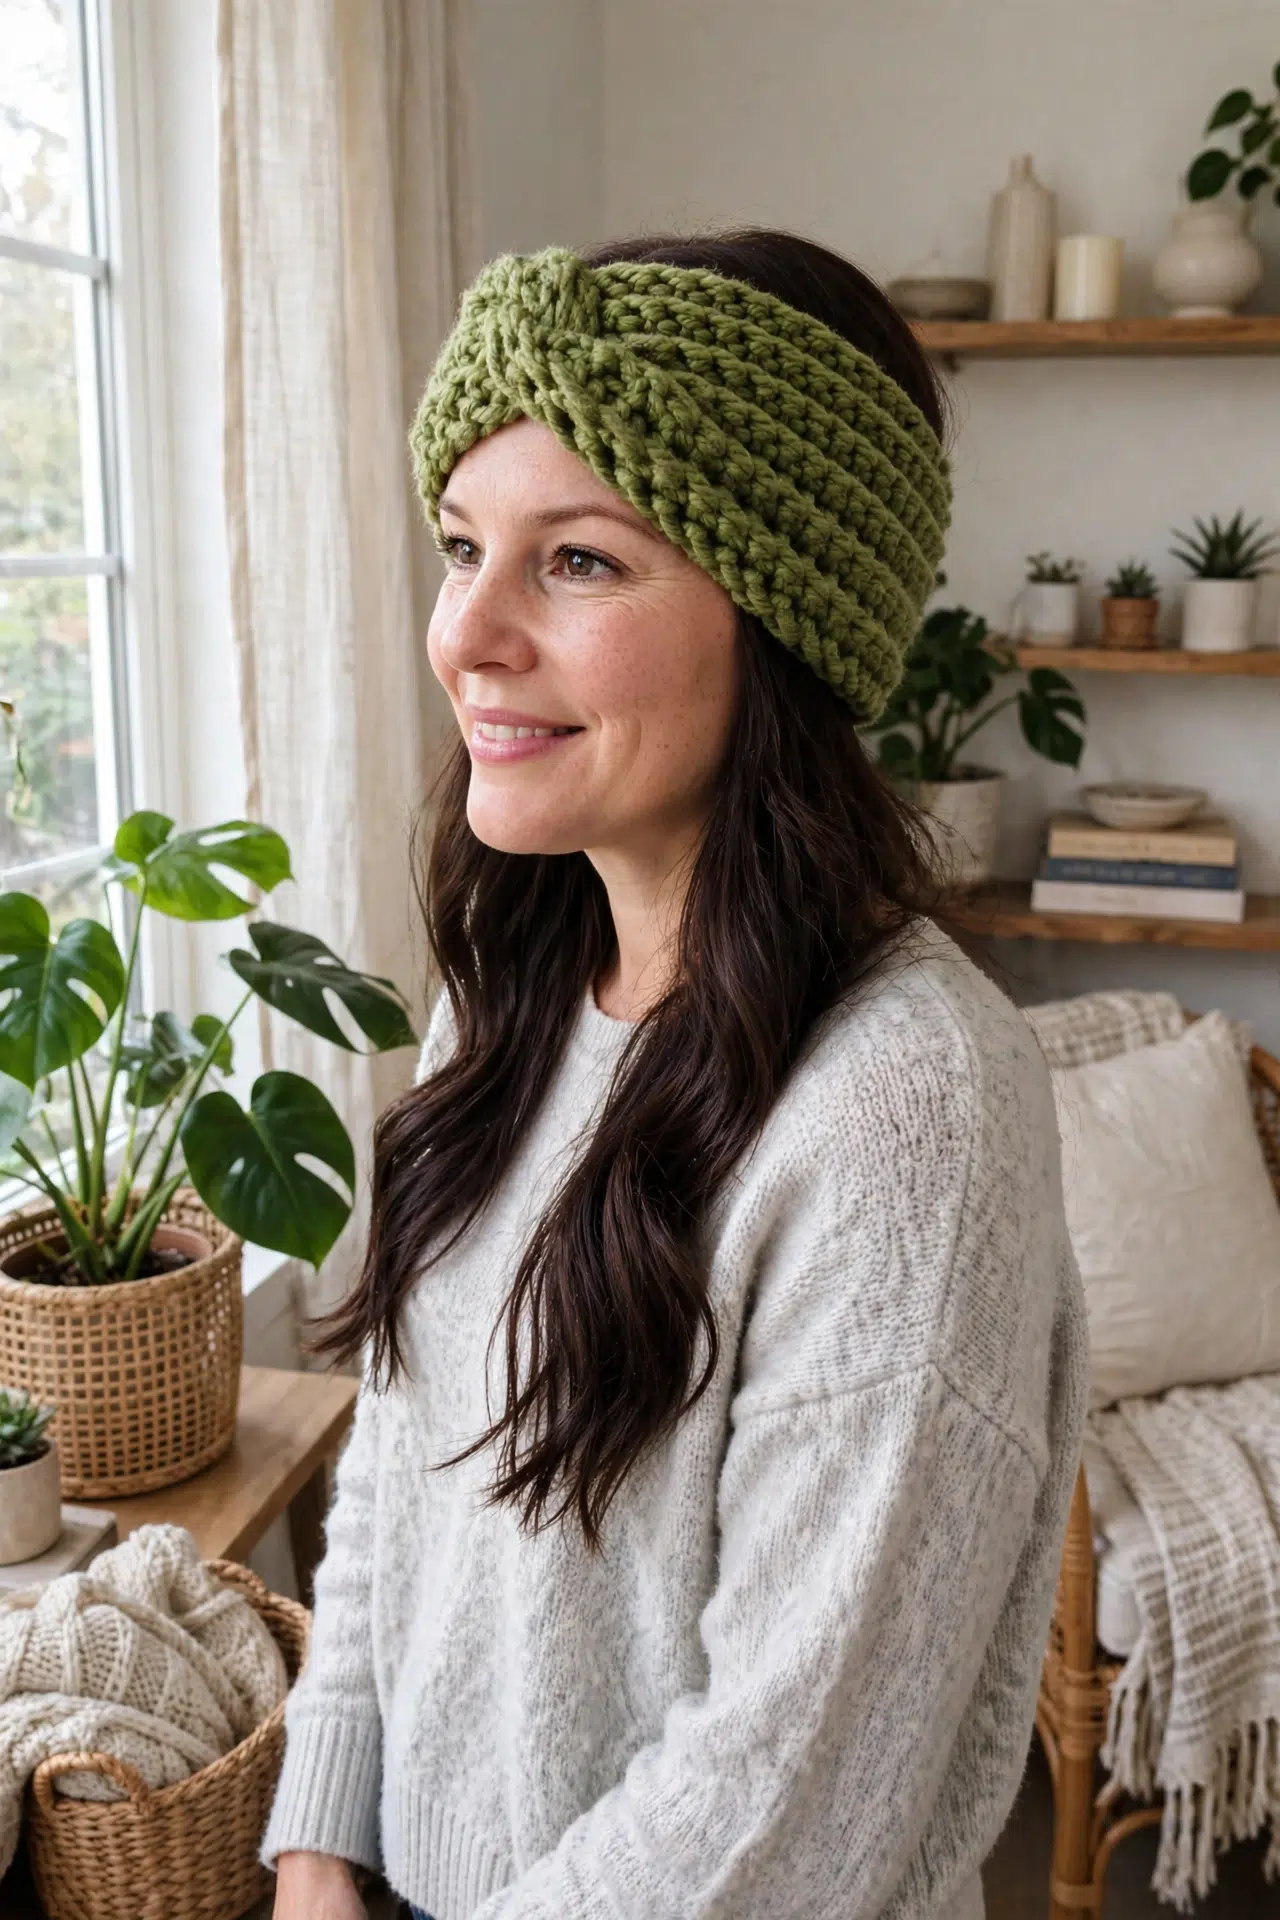
Because the fiber content isn’t specified, follow the washing directions on your yarn label. Hand washing in cool water and laying the headband flat to dry is the cautious choice when you’re unsure. Avoid stretching the folded seam while the piece is wet.
More Cozy Crochet Accessories
- Chunky Slippers Crochet Pattern
- Low-Sew Fox (or Wolf) Scarf: A Cozy Crochet Pattern With a Built-In Chin Strap
- Baby Aviator Hat Crochet Pattern
Frequently Asked Questions
Can I begin with a regular chain instead of foundation sc?
Yes, begin with ch 41 and work 1 sc in the second ch from the hook and each remaining ch for 40 sc. The rest of the pattern stays the same. A chain edge usually has less give than foundation sc, so test the row around your head before continuing.
Can I change the 40-st circumference?
Use as many foundation sc sts as you need for a comfortable fit around your head. No repeat multiple is required because each later row simply places one sc in every st. Once you’re happy with Row 1, keep that new stitch count consistent across all remaining rows.
How do I make the headband wider or narrower?
Work more or fewer back-loop rows to change the width. The written version has 14 rows in total, with Rows 2-14 forming the back-loop body. Changing the row total won’t affect the circumference because each row still contains the same number of sts as Row 1.
How do I form the final seam?
Fold the headband in half lengthways, then nest the two short ends into each other so their layers form an S shape. Sew through all the folded layers to secure them. Turning the headband inside out afterward places the sewn area in its finished position.
Slip your finished earwarmer on when you want a little extra warmth, and enjoy the fit you made for yourself. Leave a comment if you make it.



