
Cold floors are no joke, and honestly, that's exactly how this Chunky Slippers Crochet Pattern came to be a staple in my project rotation. I made my first pair for myself on a whim one evening, and by the next morning I was already planning who else needed a pair. They work up fast, they're genuinely satisfying to finish, and they're the kind of project you'll come back to again and again.

Jump to:
Behind the Pattern
What I really love about this one is how the construction just makes sense. There's no weird seaming, no confusing shaping that leaves you second-guessing yourself. You build the slipper in a way that feels logical as you go, and when it comes together at the end, it's genuinely satisfying. I've made a lot of slipper patterns over the years and this is the one I keep reaching for.
These are great for gifting, too. Pretty much everyone appreciates cozy house slippers, and because the construction is straightforward, you can knock out a pair without a huge time commitment. I've made them for family members, for housewarming gifts, for holiday baskets. They always land well.
Why You Need This on Your Hook
These chunky slippers are the fast, cozy make your project queue has been missing.
- Beginner-friendly build: The skill level is easy, so newer crocheters can jump in without stress.
- Quick turnaround: A pair works up in a single sitting, which makes this a great last-minute gift option.
- Gifting goldmine: Slippers are one of those universally appreciated gifts, and handmade ones really do feel special.
- Practical every day: These aren't a novelty, they're something people will actually reach for and wear regularly.
- Great stash buster: This is a solid project for using up chunky yarn you've been holding onto.
What You'll Need
The supply list here is refreshingly short, which is part of what makes these slippers such a good quick project.
- Bulky Weight Yarn (Weight 5 / Chunky): A chunky weight yarn is the right call for slippers. It works up fast and gives you enough thickness underfoot to actually feel substantial. Fiber isn't specified in the pattern, so check your label and go with whatever feels soft against skin. For a single pair of adult slippers, plan on roughly 100 to 150 yards as a starting estimate, though sizing will affect that.
- 5 mm (H/8) Crochet Hook: This size pairs well with chunky yarn without pulling the fabric too tight or leaving it so loose it gaps. It keeps the stitches firm enough that the slippers hold their shape with wear.
- Also needed: scissors, yarn needle, stitch markers
Alternative Yarns
Since the fiber isn't locked in, there's a fair amount of room to work with what you have or what's on sale. Soft acrylics and cotton blends both perform well here, just for different reasons.
- Soft Chunky Acrylic: Weight 5, typically around 100 to 130 yards per 100 g skein. Acrylic holds up to washing well, which matters for slippers, and the softer varieties won't feel scratchy against bare feet.
- Cotton Blend Chunky: Weight 5, usually around 90 to 120 yards per 100 g. Cotton adds a bit of breathability and a slightly firmer stitch definition. It can be a little less stretchy than acrylic, so your gauge swatch is worth doing if you go this route.
At a Glance
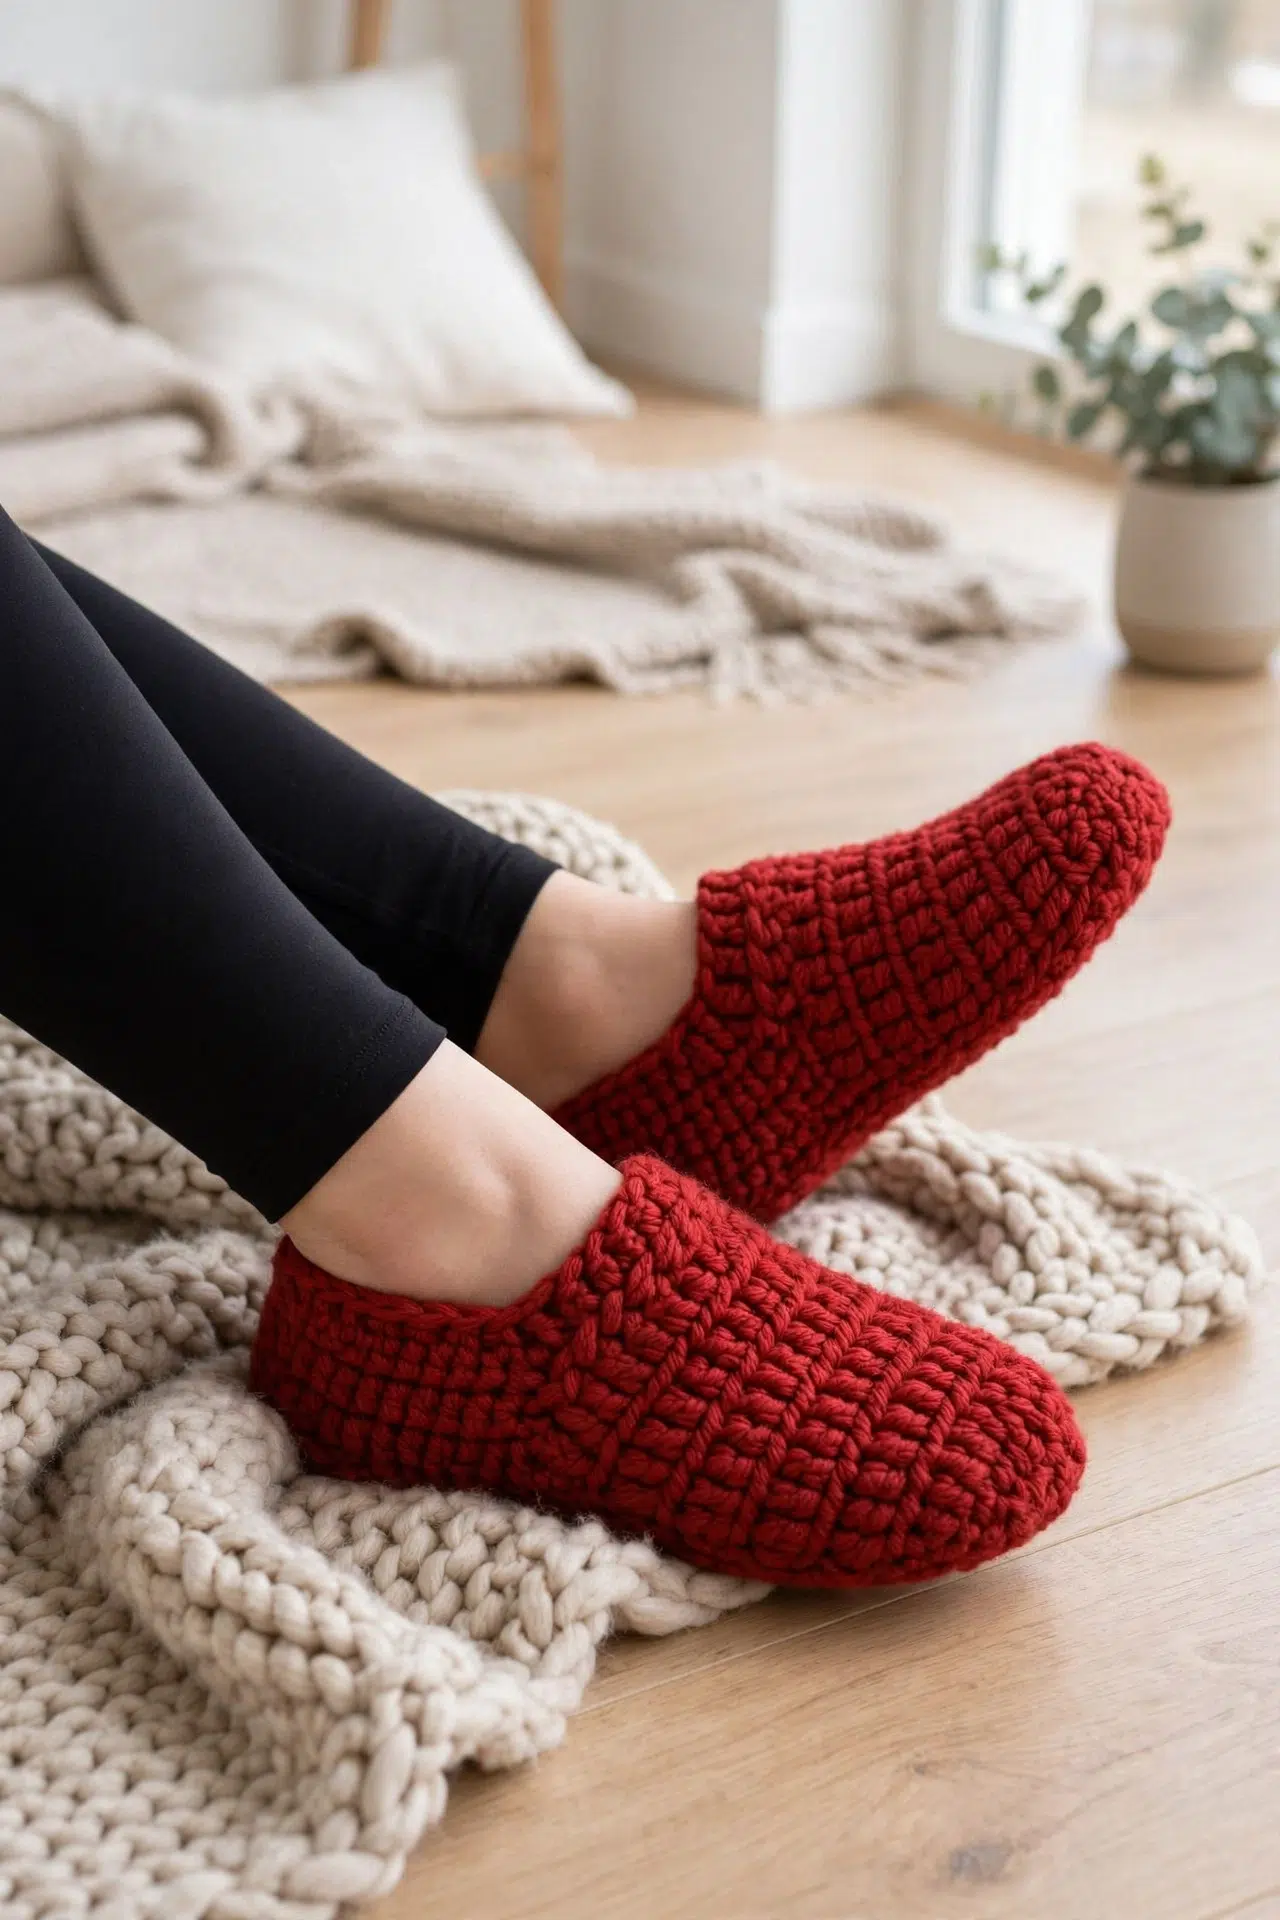
These chunky slippers work up fast and fit a range of adult sizes with just a few simple adjustments to your starting chain.
| Skill Level | Easy |
| Pattern Gauge | 7 dc x 4 rows = 2" square |
| Finished Size | Finished size: approx. 9.5 inches long |
| Yarn Weight | 5 Bulky / Chunky |
| Fiber | Not specified — check the yarn label (sample shown: Cascade Yarns Pacific Chunky; substitutions mention soft acrylics or cotton blends). |
| Terminology | US |
Customizing the Size
The pattern as written is sized for Women's 7–9 (Medium), starting with a ch 30 and working 18 body rows. To go smaller or larger, adjust the starting chain and row count using the chart below. For Women's 5–6, start with ch 26 and work 16 rows. For Women's 10–11 or Men's 8–9, use ch 34 and 20 rows. Men's 10–12 calls for ch 38 and 22 rows. You might also consider a 6 mm hook with a slightly heavier yarn at that size to get enough width. For foot width, add or subtract 1–2 stitches from the starting chain as needed. These slippers stretch up to about half an inch with wear, so err on the snug side when in doubt. Before you seam anything, wrap the flat piece around your foot. The sides should overlap slightly at the toe.
Abbreviations & Stitches Used
Short list here — all standard stitches you've probably used a hundred times.
- ch = chain
- dc = double crochet
- dc2tog = double crochet 2 stitches together (yo, insert hook in next st, yo, pull up a loop, yo, pull through 2 loops; yo, insert hook in next st, yo, pull up a loop, yo, pull through 2 loops; yo, pull through all 3 loops on hook)
- sl st = slip stitch
- st(s) = stitch(es)
Pattern Notes
The starting ch 2 at the beginning of each round does not count as a stitch. Keep that in mind when you're counting — it's easy to accidentally treat it as one. When joining rounds, always join to the first actual stitch, not the chain. That's what keeps the join from looking like a visible seam. When you're working rows, place your final stitch into the space beside the turning chain to keep those edges tidy and even.
For yarn, the sample uses Cascade Yarns Pacific Chunky, but soft acrylics like Red Heart Soft or Caron Simply Soft work well too, as do cotton blends. Whatever you use, check your gauge before diving in. Seven double crochets across four rows should give you a 2-inch square. Slipper fit depends on it more than you'd think.
The Chunky Slippers Crochet Pattern Steps
Here's how I work through these slippers from the toe up, shaping the heel with flat rows before finishing with an edging round.
Building the Toe
The toe starts in the round from a foundation chain, building out into a flat disc before becoming a tube. This is the front of the slipper, so getting a firm, even tension here sets up the rest of the piece.
Round 1: Work 10 dc into the first chain. Join with a sl st to the first dc. [10 dc] Working all stitches into a single chain like this creates a tight center point — pull the starting tail snug once you join to close any gap.
Round 2: Ch 2, work 2 dc in each st around. Join to first dc. [20 dc]
Round 3: Ch 2, dc in next 3 sts, 2 dc in next st; repeat around. Join. [25 dc]
Rounds 4–11: Ch 2, dc in each st around. Join. [25 dc each round] These eight even rounds form the body of the toe and foot. No shaping here, just working the tube up to where the heel begins.
Shaping the Heel
Here's where the construction shifts from rounds to flat rows. I leave the remaining stitches unworked and turn back and forth across just part of the round to shape the back of the heel.
Row 12: Ch 2, dc in next 18 sts. [18 dc] I don't join here — just stop at 18 and leave the remaining stitches for the edging later.
Rows 13–15: Ch 2, turn, dc across. [18 dc each row]
Row 16: Ch 2, turn, dc 5, dc2tog four times, dc 5. [14 dc] The decreases start pulling the heel in. Keep your tension consistent through the dc2tog stitches so the shaping stays even.
Row 17: Ch 2, turn, dc 3, dc2tog four times, dc 3. [10 dc]
Row 18: Turn; sl st to first st of Row 17. This slip stitch connects the two edges of the heel so it can be seamed closed in the finishing step.
Working the Edging
The edging rounds travel around the entire opening of the slipper, picking up stitches along the row ends of the heel section and across the toe. Round 20 finishes it off with a shell stitch border.
Round 19: Ch 2, treat each row end as a stitch; 2 dc in each end of dc rows 6 times (12 sts), dc 7 across the toe, 2 dc in each end of dc rows 6 times (12 sts). Join. [31 dc] Working 2 dc into each row end fills in the gaps that naturally appear along the side of the heel rows — this keeps the edging full and even.
Round 20: Ch 1, skip 2 sts, 5 dc in next st, skip 2 sts, sl st in next st; repeat around. Join to ch-1. The shell pattern here creates the decorative border around the ankle opening. Make sure each 5-dc shell sits into a single stitch and that your skips are consistent so the shells come out evenly spaced.
Finishing Up
Just one step left to close everything up and make the slipper wearable.
Step 1: Fasten off with a long tail and use it to whipstitch the heel closed. Weave in ends. Leave yourself a generous tail — at least 12 inches — so you have enough length to work the whipstitch seam across the heel without running short.
Care Instructions
Check your yarn label before washing, because bulky yarn behaves very differently depending on the fiber. If you used a soft acrylic like the Cascade Pacific Chunky, machine washing on a gentle cycle is usually fine, but lay them flat to dry so the soles don't stretch out of shape. Cotton blends can get a little stiff if you toss them in the dryer, so air drying is the safer call there too. Slippers take a beating on hard floors, so reshaping them while they're still damp after washing helps them keep their form longer.
Frequently Asked Questions
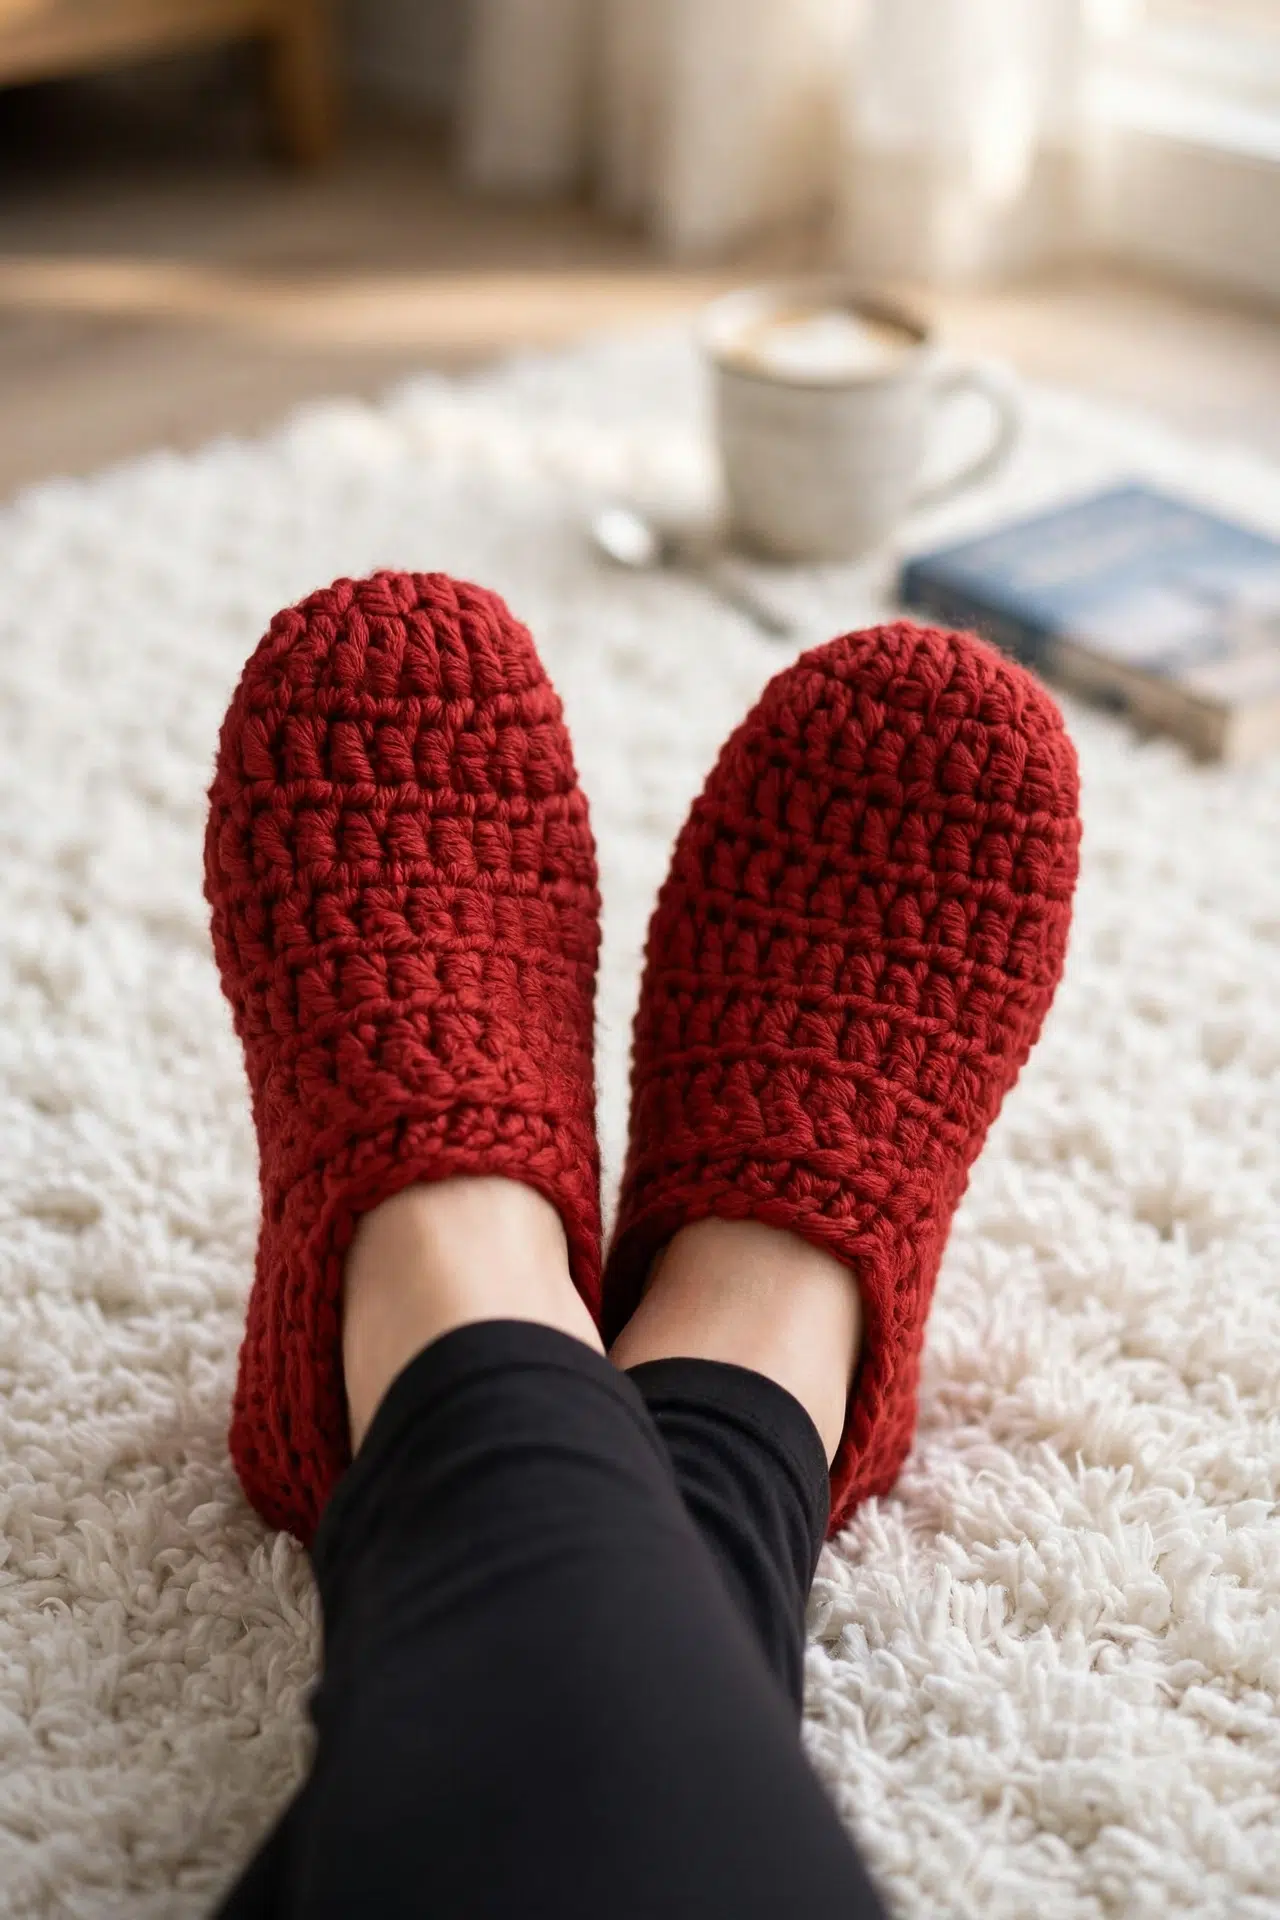
You're working all 10 double crochets into the very first chain you made, not along a foundation chain. It's the same idea as a magic ring, just done with a starting chain instead. Pull the stitches snug after you join the round and the toe closes up into a tidy circle. Once you see it come together on Round 1, the rest makes sense.
The heel shaping starts at Row 12, and that's where the switch happens. Working in rows instead of rounds lets you shape just one side of the slipper to form the heel cup, rather than increasing or decreasing all the way around. Rows 16 and 17 bring the stitch count down with dc2tog decreases, and then you whipstitch the heel closed after fastening off.
Round 20 is a simple shell stitch: skip 2, work 5 dc into the next stitch, skip 2, slip stitch. That's the whole repeat. You don't need any prior experience with it. The ch 1 at the start anchors the round, and you just keep repeating the shell sequence around the ankle opening until you're back to the beginning.
The length comes from Rounds 4 through 11, where you're working even with no increases. Those 8 straight rounds are your adjustment zone. Add rounds to make the slipper longer, remove them to shorten it. Just keep your stitch count at 25 dc each round and pick back up with the heel shaping when you're at the length you need.
If you accidentally treat the ch 2 as your first stitch and work into it, your stitch count climbs and the slipper starts to flare. Joining to the actual first dc of the round keeps everything flat and even. I mark the first real stitch with a stitch marker at the start of each round so there's no confusion about where to join at the end.
Happy Crocheting
These slippers come together faster than you'd expect with chunky yarn, and once you've made one pair you'll probably want to make several more in different colors. If you make a pair, I'd love to see them: tag me on Instagram or drop a photo in the comments below. And if you're saving patterns for later, this one pins really well on Pinterest for when the weather turns cold and you suddenly need a quick cozy project.



