
Design credit: this guide is based on Mel the Snowman by Ilaria Caliri for Paintbox Yarns, in the Festive Friends collection published by LoveCrafts. The design is not a Croshly original. This page uses AI-assisted text and illustrations; a physically tested Croshly sample is not documented.
Warm, cheerful, and full of small details, this Snowman Crochet Amigurumi gives your hands a satisfying winter project without complicated construction. If you're comfortable working small rounds, simple increases, and decreases, you'll settle into its rhythm quickly.

I especially love that each accessory is made separately, so you can choose your own yarn colors and decide between safety eyes, coat buttons, or embroidery. The scarf and hat also give you easy places to add your own touch. Pick up your hook and make Mel yours!
Jump to:
- Why This Pattern Is a Keeper
- Pattern Details
- Materials for This Amigurumi
- Stitches & Abbreviations
- How to Crochet the Snowman Amigurumi
- Tips for the Best Results
- A Scarf That Keeps Its Ribbed Texture
- Ways to Make Your Snowman Your Own
- Fixing Shape and Stitch-Count Problems
- A Winter Accent for Shelves and Tables
- Caring for Your Amigurumi
- More Festive Crochet Amigurumi
- Frequently Asked Questions
Why This Pattern Is a Keeper
- Seamless main piece: The head and body flow from one continuous top-down piece, so there's no separate head to align and attach.
- Manageable small parts: The hat, nose, arms, twigs, buttons, and scarf are worked in short sections that are easy to finish one at a time.
- Useful shaping practice: The steady increases and decreases let you practice controlled amigurumi shaping while clear stitch counts help you check your progress.
- Plenty of choice: Separate accessories make color changes simple, and the eye options let you adapt the face to the intended recipient.
Pattern Details
- Finished Size: Approximately 6 in. [15 cm] tall.
- Gauge: 17 sts and 19 rows = 4 in. [10 cm] in single crochet.
- Yarn Weight: Aran
- Time to Make: about 6-9 hours
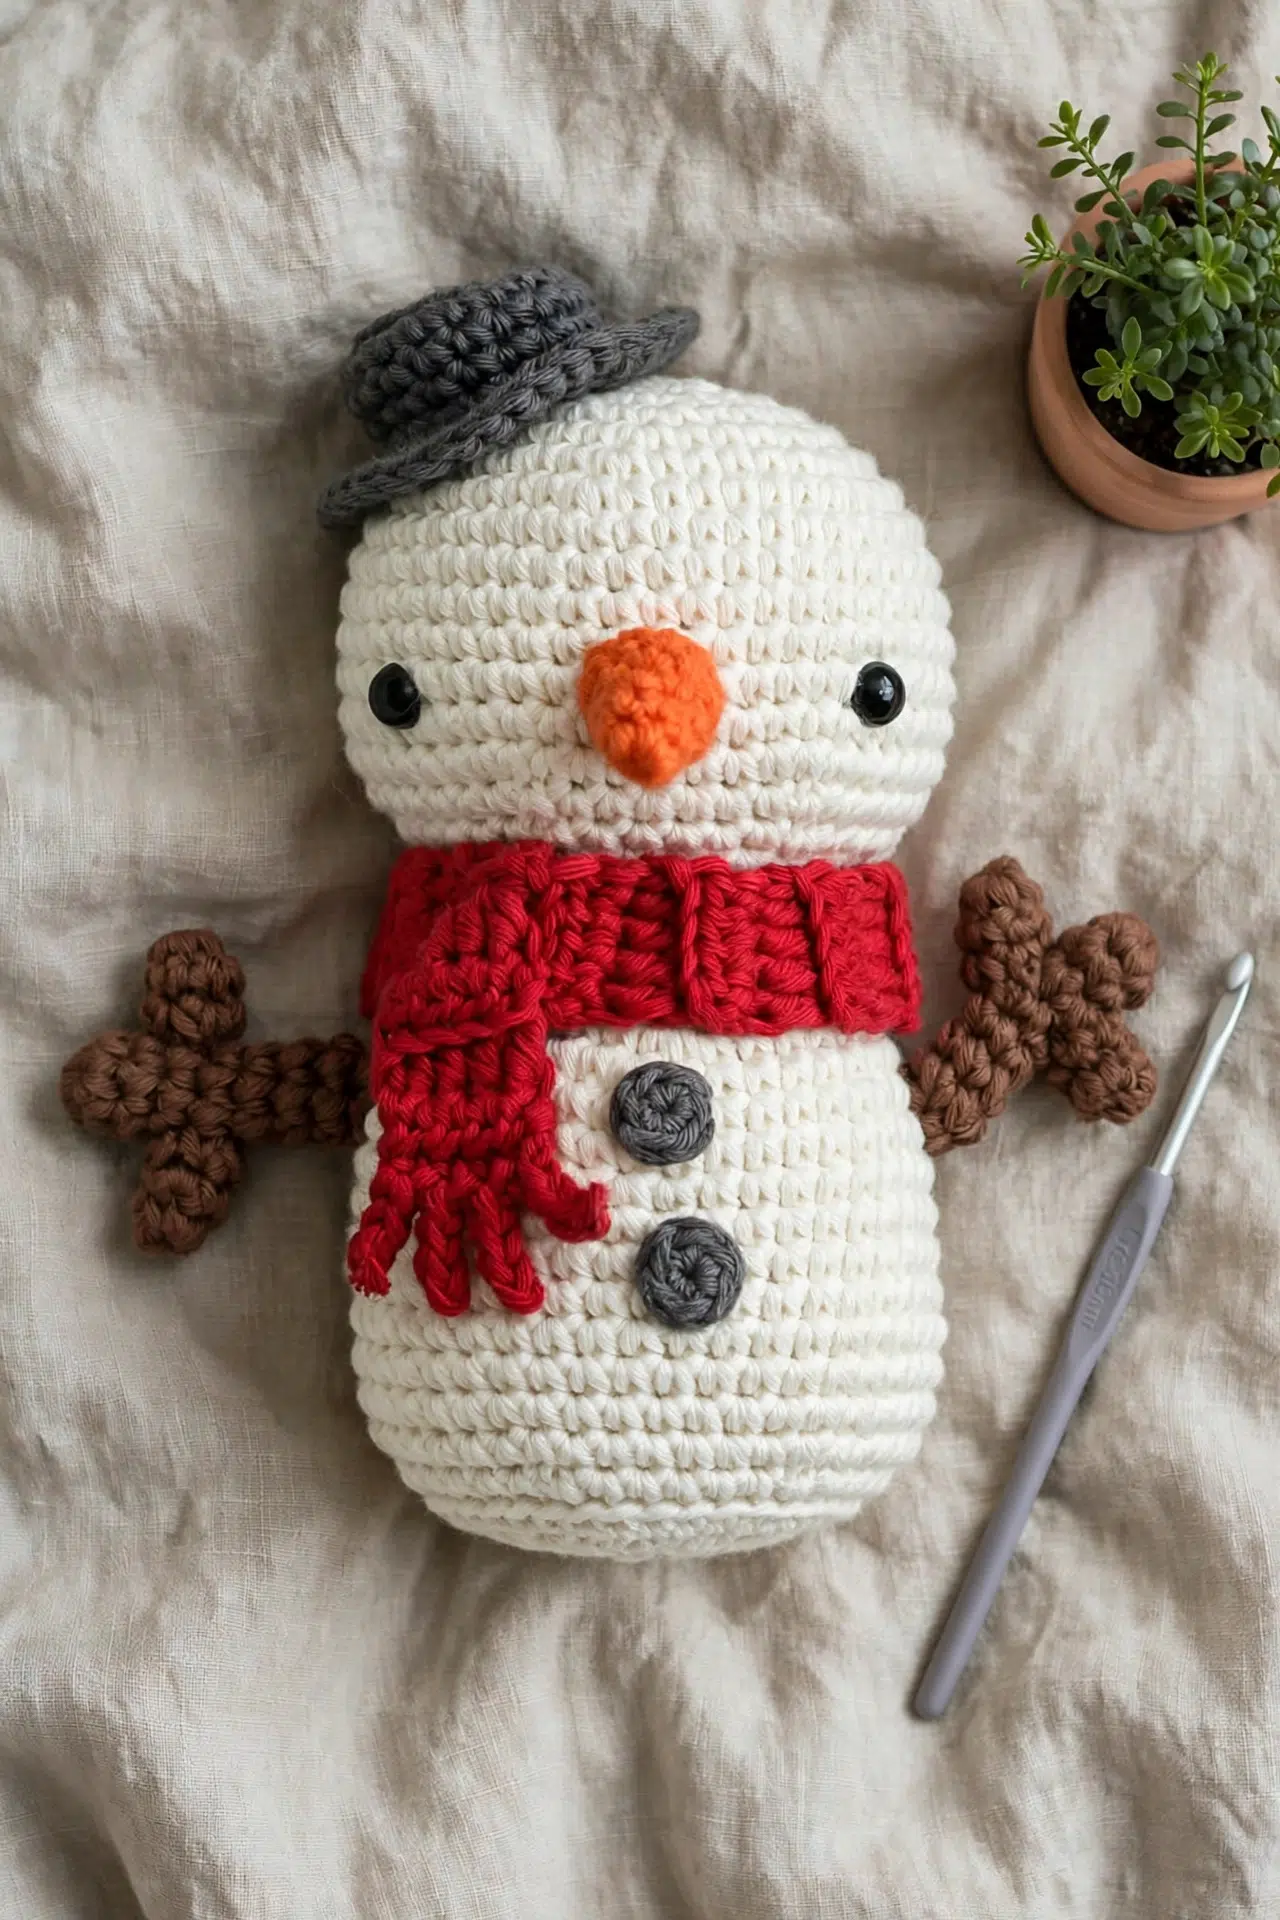
Materials for This Amigurumi
Gather all five yarn colors before you begin, along with stuffing and your preferred eye option. Pins are especially useful during assembly because they let you test the placement before committing with your needle.
- Paintbox Yarns Cotton Aran in 50 g balls: Champagne White (A): If you substitute another yarn, choose a similar Aran-weight cotton or cotton blend and check the gauge so the accessories stay proportional to the body.
- Paintbox Yarns Cotton Aran in 50 g balls: Granite Grey (B)
- Paintbox Yarns Cotton Aran in 50 g balls: Blood Orange (C)
- Paintbox Yarns Cotton Aran in 50 g balls: Coffee Bean (D)
- Paintbox Yarns Cotton Aran in 50 g balls: Red Wine (E)
- US E/4 [3.5 mm] crochet hook
- Pair of 9 mm black safety eyes: Safety eyes must be installed before the neck closes. For a snowman intended for a young child, embroidered eyes are the safer choice.
- Tapestry needle
- Pins
- Stitch markers
- Polyester toy stuffing
Stitches & Abbreviations
- ch - chain
- sc - single crochet
- hdc - half double crochet
- sl st - slip stitch
- sc2tog - single crochet 2 stitches together
- blo - back loop only
- st - stitch
- sts - stitches
- rep - repeat
Adjustable ring: Form an adjustable loop, work the first-round stitches into it, then pull the yarn tail to close the center. This is also called a magic ring.
How to Crochet the Snowman Amigurumi
Keep a marker in the first stitch of every round, and check each listed count before moving on to the next shaping section.
The head and body are worked seamlessly from the top down. Use yarn A for the head and body, yarn B for the top hat and buttons, yarn C for the carrot nose, yarn D for the branch arms and twigs, and yarn E for the scarf. Place a stitch marker in the first stitch of each round and move it up as you work. Stuff the body before the final opening becomes too small to reach comfortably.
Head and Body
Using yarn A, work seamlessly from the top down.
- Round 1: Work 6 sc in an adjustable ring. (6)
- Round 2: Work 2 sc in each st around. (12)
- Rounds 3-8: Continue increasing by 6 sts per round, adding 1 more sc between increases in each successive round. In Round 8, *work 2 sc in the next st, sc in the next 6 sts; rep from * around. (48)
- Rounds 9-15: Sc in each st around. (48)
- Rounds 16-18: Decrease by 6 sts evenly in Rounds 16 and 17. In Round 18, *sc2tog, sc in the next st; rep from * around. (24)
Insert the 9 mm safety eyes between Rounds 13 and 14, approximately 12 sts apart. Stuff the head firmly.
- Round 19: Sc in each st around. (24)
- Rounds 20-25: Increase 3 sts evenly in each round. (42)
- Rounds 26-35: Sc in each st around. (42)
- Rounds 36-41: Round 36: *Sc2tog, sc in the next 5 sts; rep from * around. Round 37: Sl st in each st around. Round 38: Sc blo in each st around. Round 39: Sc2tog 18 times. Round 40: *Sc2tog, sc in the next st; rep from * around. Round 41: Sc2tog 6 times. Pull the remaining opening tight to close. (6)
Finish stuffing the body before completing the final decrease rounds.
Top Hat
Using yarn B, leave a long tail at the end for sewing.
- Rounds 1-3: Work a flat circle, beginning with 6 sc in an adjustable ring and increasing by 6 sts in each round to reach 18 sts. (18)
- Round 4: Sc blo in each st around. (18)
- Rounds 5-7: Sc in each st around. (18)
- Round 8: Working blo, work 2 sc in each st around. (36)
This round forms the brim.
- Round 9: Sc in each st around. Fasten off, leaving a sewing tail. (36)
Carrot Nose
Using yarn C, stuff the nose lightly before fastening off.
- Rounds 1-5: Work 4 sc in an adjustable ring. Increase by 1 st evenly in each successive round, ending Round 5 with 8 sts. (8)
Main Arms
Make 2 using yarn D.
- Round 1: Work 6 sc in an adjustable ring. (6)
- Rounds 2-8: Sc in each st around. (6)
Short Twigs
Make 4 using yarn D.
- Round 1: Work 6 sc in an adjustable ring. (6)
- Rounds 2-3: Sc in each st around. (6)
Buttons
Make 2 using yarn B.
- Round 1: Work 5 sc in an adjustable ring. Fasten off. (5)
Ribbed Scarf with Fringe
Using yarn E, turn after each scarf row.
- Row 1: Ch 6. Hdc in the 3rd ch from the hook and in each remaining ch across. (4)
- Rows 2-28: Ch 2, hdc blo in each of the 4 sts, turn. (4)
- Row 29: *(Ch 4, sl st in the next 3 ch, sl st in the next st); rep from * 3 more times.
This row forms the fringe.
Assembly
- Step 1: Pin the hat at an angle on the head and sew it securely in place.
- Step 2: Sew the nose centered between the eyes.
- Step 3: Sew 2 short twigs onto each main arm.
- Step 4: Attach the completed arms across Rounds 26-27 of the body.
- Step 5: Sew the 2 buttons to the tummy.
- Step 6: Wrap the fringed scarf snugly around the neck.
Alternative Eyes
Use coat buttons instead of safety eyes for a real-coal-inspired detail.
Tips for the Best Results
- Keep the fabric firm: Use a snug, even tension so the polyester stuffing doesn't show through the single crochet fabric. If your stitches are loose at the stated gauge, try a slightly smaller hook.
- Count the shaping rounds: The head and body depend on reaching the listed totals before each straight section. Pause after every increase or decrease round and recount before continuing.
- Install the eyes on time: Place the safety eyes between Rounds 13 and 14 before you finish decreasing the head. Once the neck narrows, reaching the washers becomes difficult.
- Stuff in stages: Firmly stuff the head at the neck, then add stuffing to the body as the base decreases. Small additions are easier to distribute evenly than one large handful.
A Scarf That Keeps Its Ribbed Texture
For Rows 2-28, work each half double crochet through the back loop only. Leaving the front loop unworked creates the ribbed structure along the scarf.
The turning chain doesn't count as a stitch here. Work exactly four half double crochets in every row so the scarf doesn't gradually widen or narrow.
Ways to Make Your Snowman Your Own
- Swap the cotton yarn: Another Aran-weight cotton or cotton blend can work well. Match the gauge as closely as possible because thicker or thinner fabric will change the finished height and the fit of the hat and scarf.
- Choose embroidered eyes: Black yarn embroidery removes the hard plastic pieces and is the best option for a snowman made for a young child. Add the embroidery before the neck becomes too narrow to reach comfortably.
- Try coat buttons: Coat buttons can replace the safety eyes, but they should be sewn on only after the head is stuffed and shaped. Like safety eyes, sewn buttons aren't suitable for children who may pull or chew them.
- Change the accessory colors: You can use different colors for the hat, nose, arms, buttons, and scarf without changing the construction. Keep the yarn weight consistent so each piece retains the intended proportions.
- Adjust the scarf length: Add or remove ribbed rows before working the fringe. A longer scarf uses more yarn and may need extra positioning, while a shorter one should still wrap securely around the neck.
Fixing Shape and Stitch-Count Problems
- The head decrease looks uneven: Check that Round 16 begins with 48 sts and that Rounds 16 and 17 each remove 6 sts. You should have 36 sts before working the repeated decrease sequence in Round 18.
- The scarf keeps getting wider: Count four hdc after every row and don't work into the turning chain. Marking the first and last stitch can help you identify the true row edges.
- The base won't close neatly: Add the final stuffing before the opening becomes tiny, then complete the last decreases. Thread the tail through the remaining six stitches and pull gradually so the opening gathers without snapping the yarn.
A Winter Accent for Shelves and Tables
Mel fits naturally on a mantel, shelf, entry table, or winter centerpiece. Keep the snowman upright on a stable surface and arrange the scarf so it doesn't pull the body off balance.
For a handmade winter gift, pair the finished snowman with a card that names the colors you chose or includes a short note about the removable scarf.
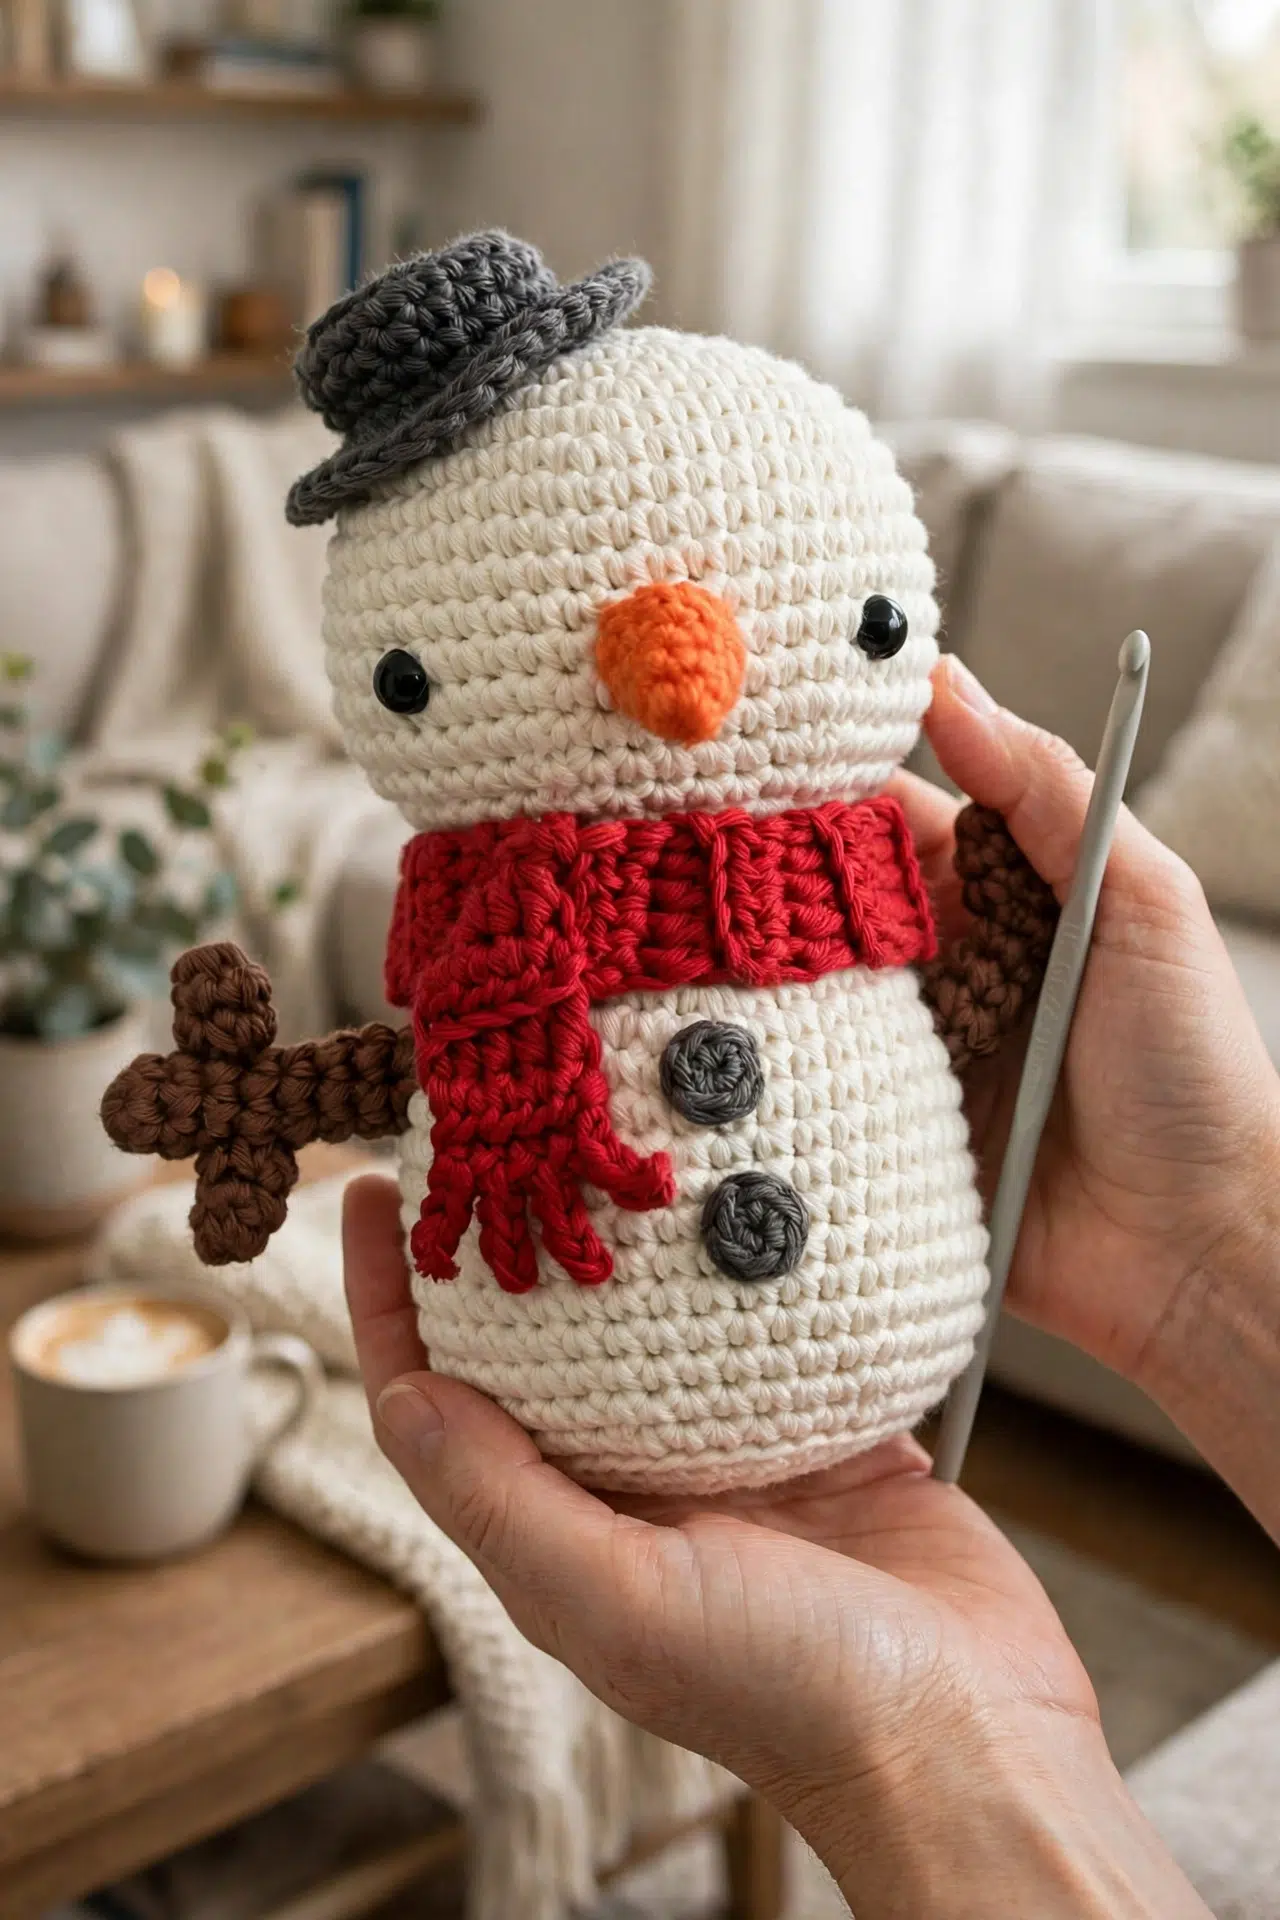
Caring for Your Amigurumi
Because Mel is made with cotton yarn, polyester stuffing, and attached pieces, spot-cleaning is the safest choice. Blot gently with cool water and mild soap rather than soaking, then reshape and let the amigurumi air-dry completely.
More Festive Crochet Amigurumi
Frequently Asked Questions
How far apart should I place the safety eyes?
Place the eyes approximately 12 stitches apart between Rounds 13 and 14. Install them before completing the head decreases because the narrow neck makes it difficult to press the washers into place. Pinning the nose position temporarily can help you confirm that the spacing feels centered before securing both eyes.
When should I stuff the head and body?
Stuff the head firmly after Round 18, once it has decreased to 24 stitches. Continue into the body, then add its stuffing in stages as you work the base decreases. Waiting until the final six stitches leaves too little room to distribute the filling evenly or correct soft areas.
Why does the scarf begin in the third chain from the hook?
Beginning in the third chain produces the required four half double crochet stitches from a six-chain foundation. The two skipped chains provide the turning height. In later rows, the chain 2 serves the same purpose and isn't counted as one of the four stitches.
Do the short twigs need stuffing?
No, the short twigs don't need stuffing. Their narrow six-stitch tubes hold their structure without filling, and leaving them unstuffed makes them easier to sew onto the main arms. Attach two twigs to each arm before sewing the completed arms across Rounds 26-27.
Which colors did you choose for your snowman, and did you use safety eyes, buttons, or embroidery? Tell me what you changed in the comments.



