
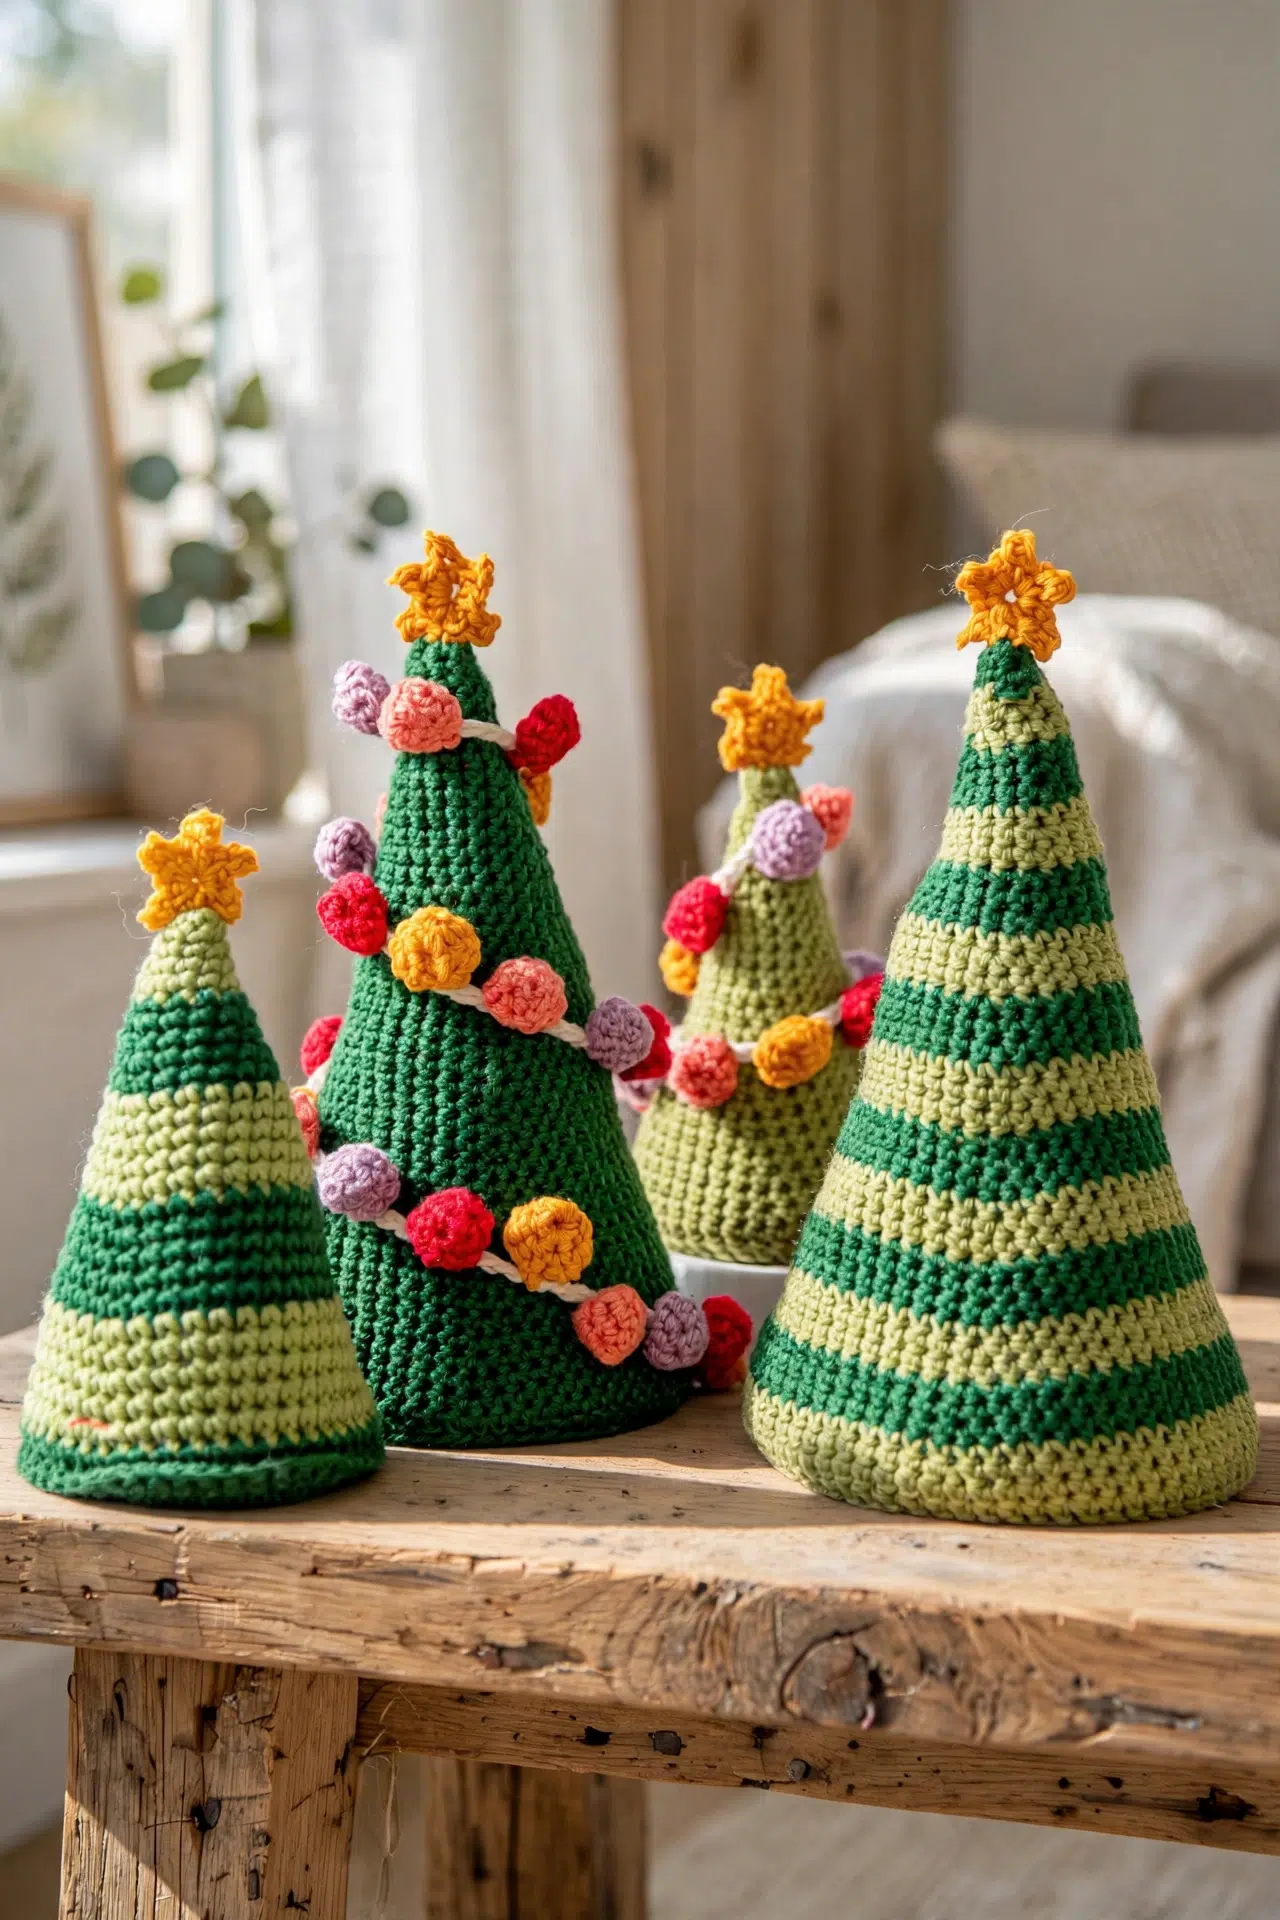
When a quiet holiday evening calls for something cheerful to make, these Nordic Crochet Christmas Trees give your hands a satisfying mix of simple crochet and small finishing details. You can choose the size and decide whether you feel like working one shade or changing yarns for stripes.

You won't need complicated shaping or long stretches of unfamiliar stitches. The cone follows a steady spiral with increases on alternate rounds, then a flat circle, stuffing, and cardboard create the finished base.
Jump to:
- Why I Make These on Repeat
- Pattern Details
- Supplies
- Abbreviations
- How to Crochet the Nordic Christmas Trees
- Tips for Success
- Ways to Adapt Your Crochet Christmas Trees
- Fixing Cone and Base Problems
- Where Your Holiday Trees Can Stand
- Care Instructions
- More Crochet Christmas Decor Patterns
- Frequently Asked Questions
Why I Make These on Repeat
- Two sizes to choose from: Make the 5 in. [13 cm] tree for a smaller space or the 8 in. [21 cm] tree when you want a taller tabletop piece.
- A predictable stitch rhythm: Once the first few rounds establish the shaping, you alternate an increase round with a plain sc round. That makes the cone easier to follow without constant pattern checking.
- A reinforced base: The cardboard circle sits behind the crocheted base before you seal the layers together. It gives the stuffed tree a flat, supported surface.
- Optional finishing details: The star and crocheted garland add extra steps, but you can leave off the garland whenever you're in the mood for a simpler finish.
Pattern Details
- Finished Size: Small: 5 in. [13 cm]; Large: 8 in. [21 cm].
- Yarn Weight: DK
- Time to Make: About 5-8 hours for the Small tree or 8-12 hours for the Large tree
Supplies
Gather your DK cotton, matching base circle, stuffing, and basic crochet tools before you begin so the final assembly can move along smoothly.
- Paintbox Yarns Cotton DK in Glorious Gold, Pear Green, Vintage Pink, Vintage Heather, Red Wine, Racing Green, and Vanilla Cream: Cotton gives the small rounds clear structure. When substituting, choose another DK yarn that produces a firm fabric with the 3.0 mm hook.
- 3.0 mm US C-2 or D-3 crochet hook
- Cardboard base circle: 2.5 in. [6.5 cm] for Small or 4.5 in. [11 cm] for Large: Cut the circle before stuffing and test it against the matching crocheted base. The cardboard needs to sit flat inside the opening without buckling.
- Polyester toy stuffing
- Yarn needle
- Scissors
Abbreviations
- ch - chain
- sc - single crochet
- inc - increase
- dec - decrease
How to Crochet the Nordic Christmas Trees
Choose the Small or Large instructions, make the matching flat base, and keep the body in a continuous spiral until it reaches the required stitch count.
The conical tree body is worked from the tip to the base in a continuous spiral. Both flat bases begin with 6 sc in a ring and increase by 6 stitches per round. The Small tree ends with 42 sc around the cone and base; the Large tree ends with 66 sc around the cone and base. The 5-point crochet star is made separately in Glorious Gold. A simple optional flat star is included below. It is an added Croshly editorial alternative, not a verified reproduction of the star in the concept illustration. The mini puff balls follow the compact stitch-count sequence of 5 sc, increase to 10 sc, then decrease to 5 sc.
Flat Circular Base
Make the base in the size that matches your tree body.
- Small Base, Round 1: Work 6 sc in ring. (6)
- Small Base, Rounds 2-7: Increase by 6 sc each round, ending with 42 sc. Fasten off. (42)
- Large Base, Round 1: Work 6 sc in ring. (6)
- Large Base, Rounds 2-11: Increase by 6 sc each round, ending with 66 sc. Fasten off. (66)
Conical Tree Body
Work from the tip toward the base in a continuous spiral.
- Round 1: Work 6 sc in ring. (6)
- Round 2: Sc around. (6)
- Round 3: (1 sc, inc) 3 times. (9)
- Round 4: Sc around.
- Round 5: (2 sc, inc) 3 times. (12)
- Round 6: Sc around.
- Small Tree, Rounds 7-26: Continue in the established pattern, increasing by 3 sc every alternate round and working sc around without increases on the rounds between. End Round 26 with 42 sc. (42)
- Large Tree, Rounds 7-42: Continue in the established pattern, increasing by 3 sc every alternate round and working sc around without increases on the rounds between. End Round 42 with 66 sc. (66)
Optional Flat Five-Point Star
With gold yarn, work 10 sc into a magic ring, tighten the ring and join with a sl st in the first sc. Work [sl st in the next base sc, ch 3, sc in the second chain from the hook, hdc in the next chain, sl st in the next base sc] five times. Each point uses two stitches of the 10-stitch base. Fasten off with a sewing tail and secure the center. Sew the flat star to the tree tip; it is not stuffed. This optional addition has been checked for stitch consumption but has not been physically test-crocheted by Croshly.
Assembly and Flattened Base Closure
- Step 1: Crochet a 5-point star in Glorious Gold and sew it firmly to the tree apex.
- Step 2: Insert polyester toy stuffing firmly into the cone.
- Step 3: Insert the pre-cut circular cardboard template so it sits flush against the inside base.
- Step 4: Align the matching base disc with the cone opening. Work 42 sc for Small or 66 sc for Large through both layers simultaneously to seal the base.
Beaded Garland
- Step 1: Make 16 mini puff balls for Small or 24 mini puff balls for Large in assorted pinks, golds, and reds. For each puff ball, work 5 sc, increase to 10 sc, then dec to 5 sc.
- Step 2: With Vanilla Cream, ch 66 for Small or ch 105 for Large.
- Step 3: Thread the mini puff balls evenly onto the chain and drape the garland in a spiral down the tree.
Striped Option
Alternate yarns every 5 rounds, changing shades on the final pull-through of the previous round.
Solid Option
Work the tree body in one yarn shade instead of changing yarns.
Tips for Success
- Track the spiral: Mark the beginning of each body round so your alternate increase rounds don't drift. This matters most once the cone becomes wider and the round beginning is harder to spot.
- Check the increase count: Each increase round adds exactly 3 stitches to the tree body. Pause after those rounds to confirm the total before working the next plain round.
- Change yarn cleanly: For stripes, bring in the next yarn on the final pull-through of the last sc in the fifth round. That places the new shade at the start of the following round.
- Finish stuffing before sealing: Shape and firm the cone before inserting the cardboard. Once you begin crocheting through both base layers, adjusting the stuffing becomes much harder.
Ways to Adapt Your Crochet Christmas Trees
- Try another DK cotton: A similar DK cotton is the safest yarn change because it keeps the fabric firm and the sizing closest to the listed measurements. Check that the finished base still matches the cardboard circle.
- Use DK acrylic: DK acrylic can work, but it may stretch more around the stuffing. Keep your tension firm and avoid overfilling the cone, which can make the crocheted base harder to align.
- Switch the stabilizer: Plastic canvas can replace cardboard when cut to the same diameter. Round every edge carefully so it doesn't catch the stitches or push through the crocheted base.
- Keep it solid: Work every body round in one yarn shade when you don't want extra ends or timed color changes. The stitch counts and construction stay exactly the same.
- Skip the garland: The stuffed tree can be assembled with its star and no garland. Omitting it removes the mini puff balls and chain without changing the cone or base.
Fixing Cone and Base Problems
- The cone count is off: Return to the last round where you confirmed the stitch count. The body gains 3 stitches on every alternate round, while the rounds between contain no increases.
- The base doesn't match the opening: Confirm that both pieces belong to the same size. The Small opening and base each need 42 stitches, while the Large pair each need 66 stitches.
- The base won't sit flat: Redistribute the stuffing above the cardboard and make sure the circle is flush with the opening. Work through both crochet layers evenly so the closure doesn't pull harder on one section.
Where Your Holiday Trees Can Stand
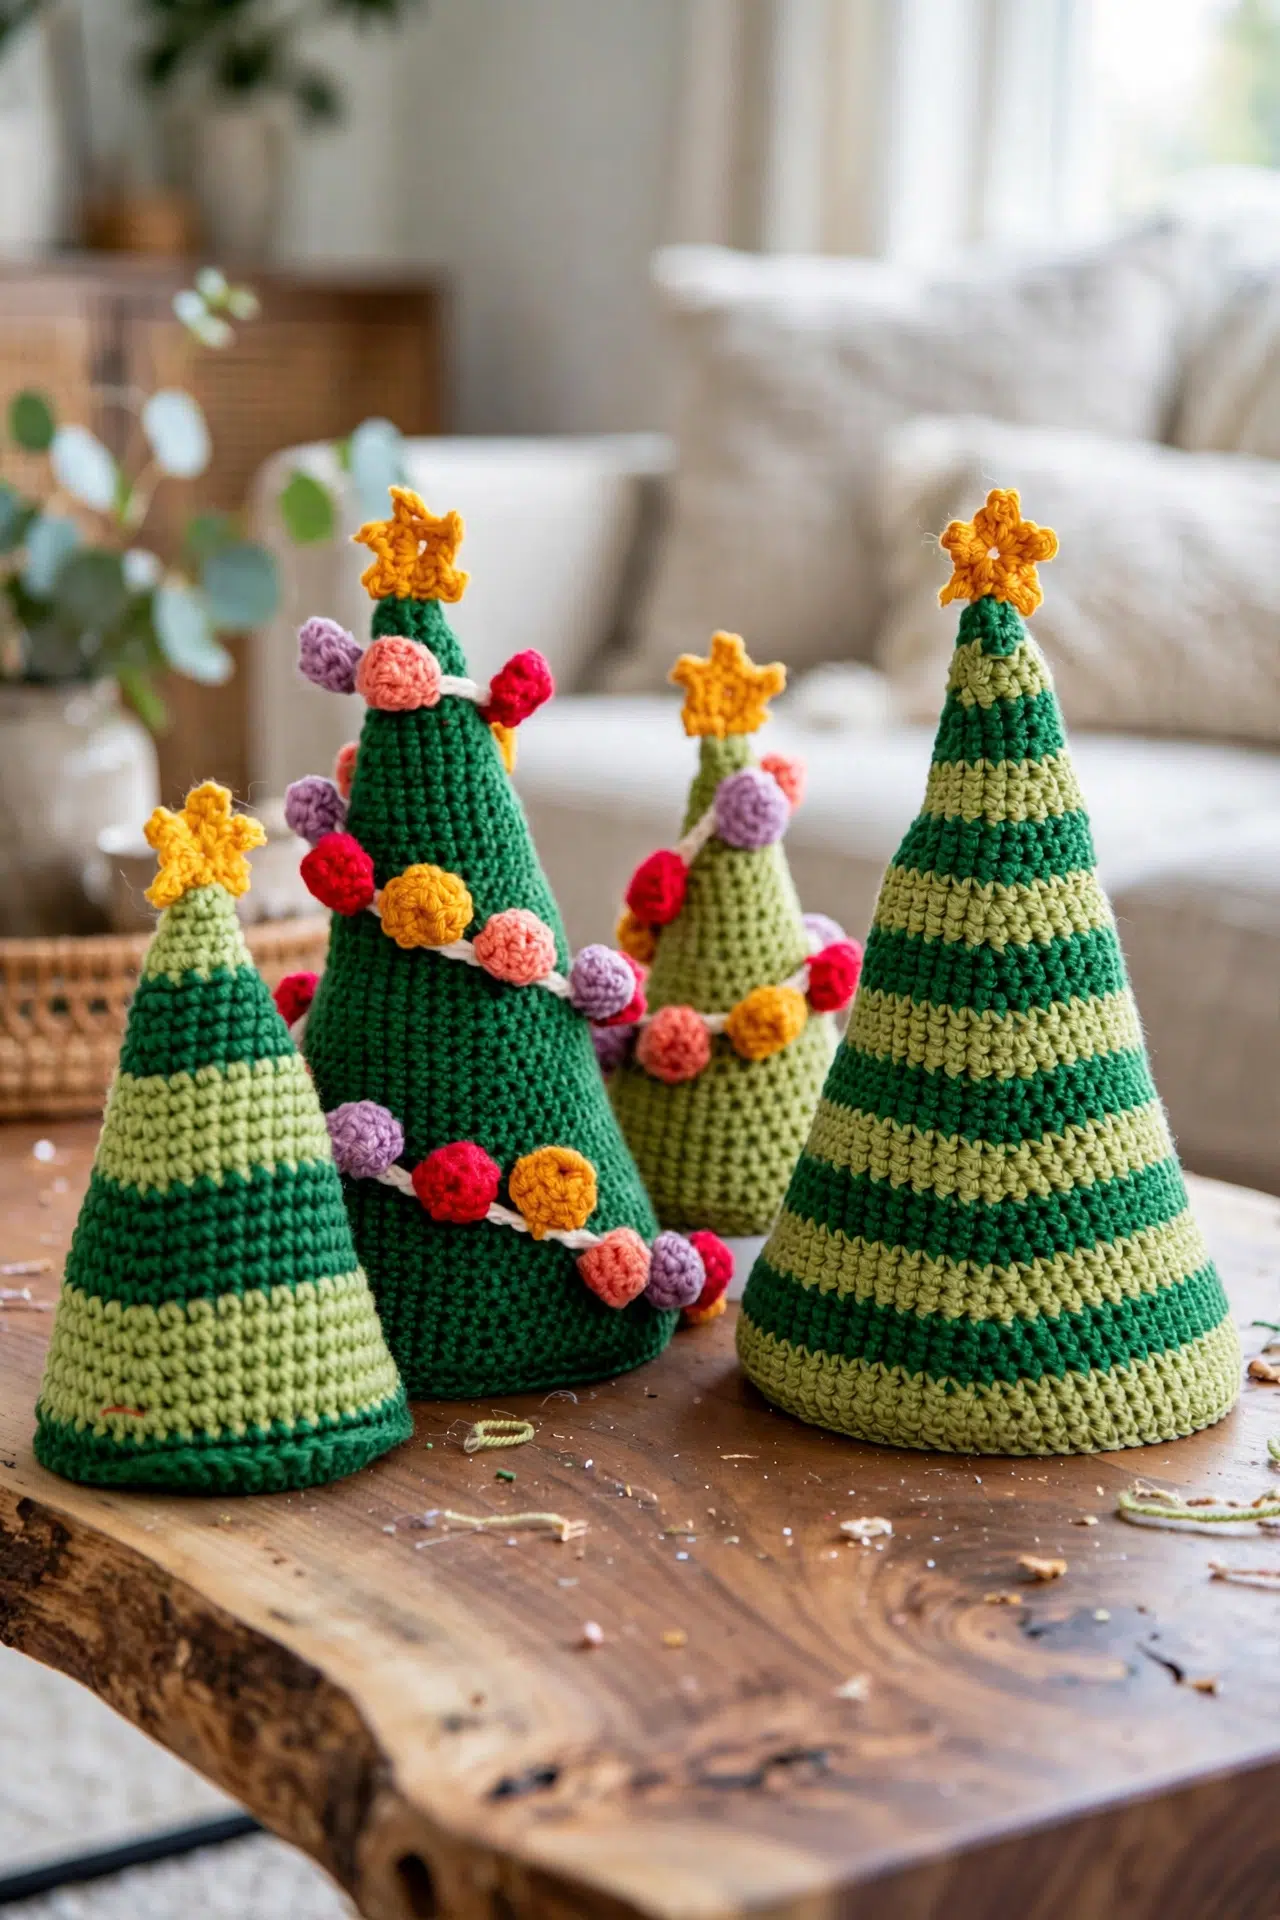
Set one tree on a tabletop or group the two sizes together as a small holiday forest. Because each tree has a reinforced flat base, it can stand independently wherever you have a stable indoor surface.
Care Instructions
Spot-clean the cotton surface gently with a lightly damp cloth. Don't soak or machine-wash the finished tree because water can soften and distort the cardboard base. Let any cleaned area air-dry completely before storing.
More Crochet Christmas Decor Patterns
Frequently Asked Questions
Is the tree body worked in joined rounds?
No, the cone is worked in a continuous spiral from the tip to the base. Marking the first stitch of each round will help you keep the alternate increase rounds in the right place, especially because there are no joins or turning chains to show where a round ends.
How often do I increase the cone?
Increase by 3 stitches on every alternate round after Round 2. The intervening rounds are worked in sc without increases, taking the Small tree to 42 stitches after Round 26 and the Large tree to 66 stitches after Round 42.
When should I insert the cardboard circle?
Insert the cardboard after the cone is fully stuffed and immediately before attaching the crocheted base. This order lets you adjust the stuffing first, then place the stabilizer flush against the opening so it remains enclosed when you crochet through both layers.
Where should I change yarn for the striped version?
Change yarn on the final pull-through of the last stitch in every fifth round. Bringing the new yarn through before the next round begins avoids adding a separate joining step and keeps the continuous spiral moving in the same direction.
How many garland pieces do I need?
Make 16 mini puff balls and ch 66 for the Small tree, or make 24 puff balls and ch 105 for the Large tree. Distributing the pieces evenly along the correct chain length helps the garland travel down the tree without leaving one section crowded.
Share how your Christmas trees turned out in the comments because I'd love to hear which size and finish you chose! 🧶



