
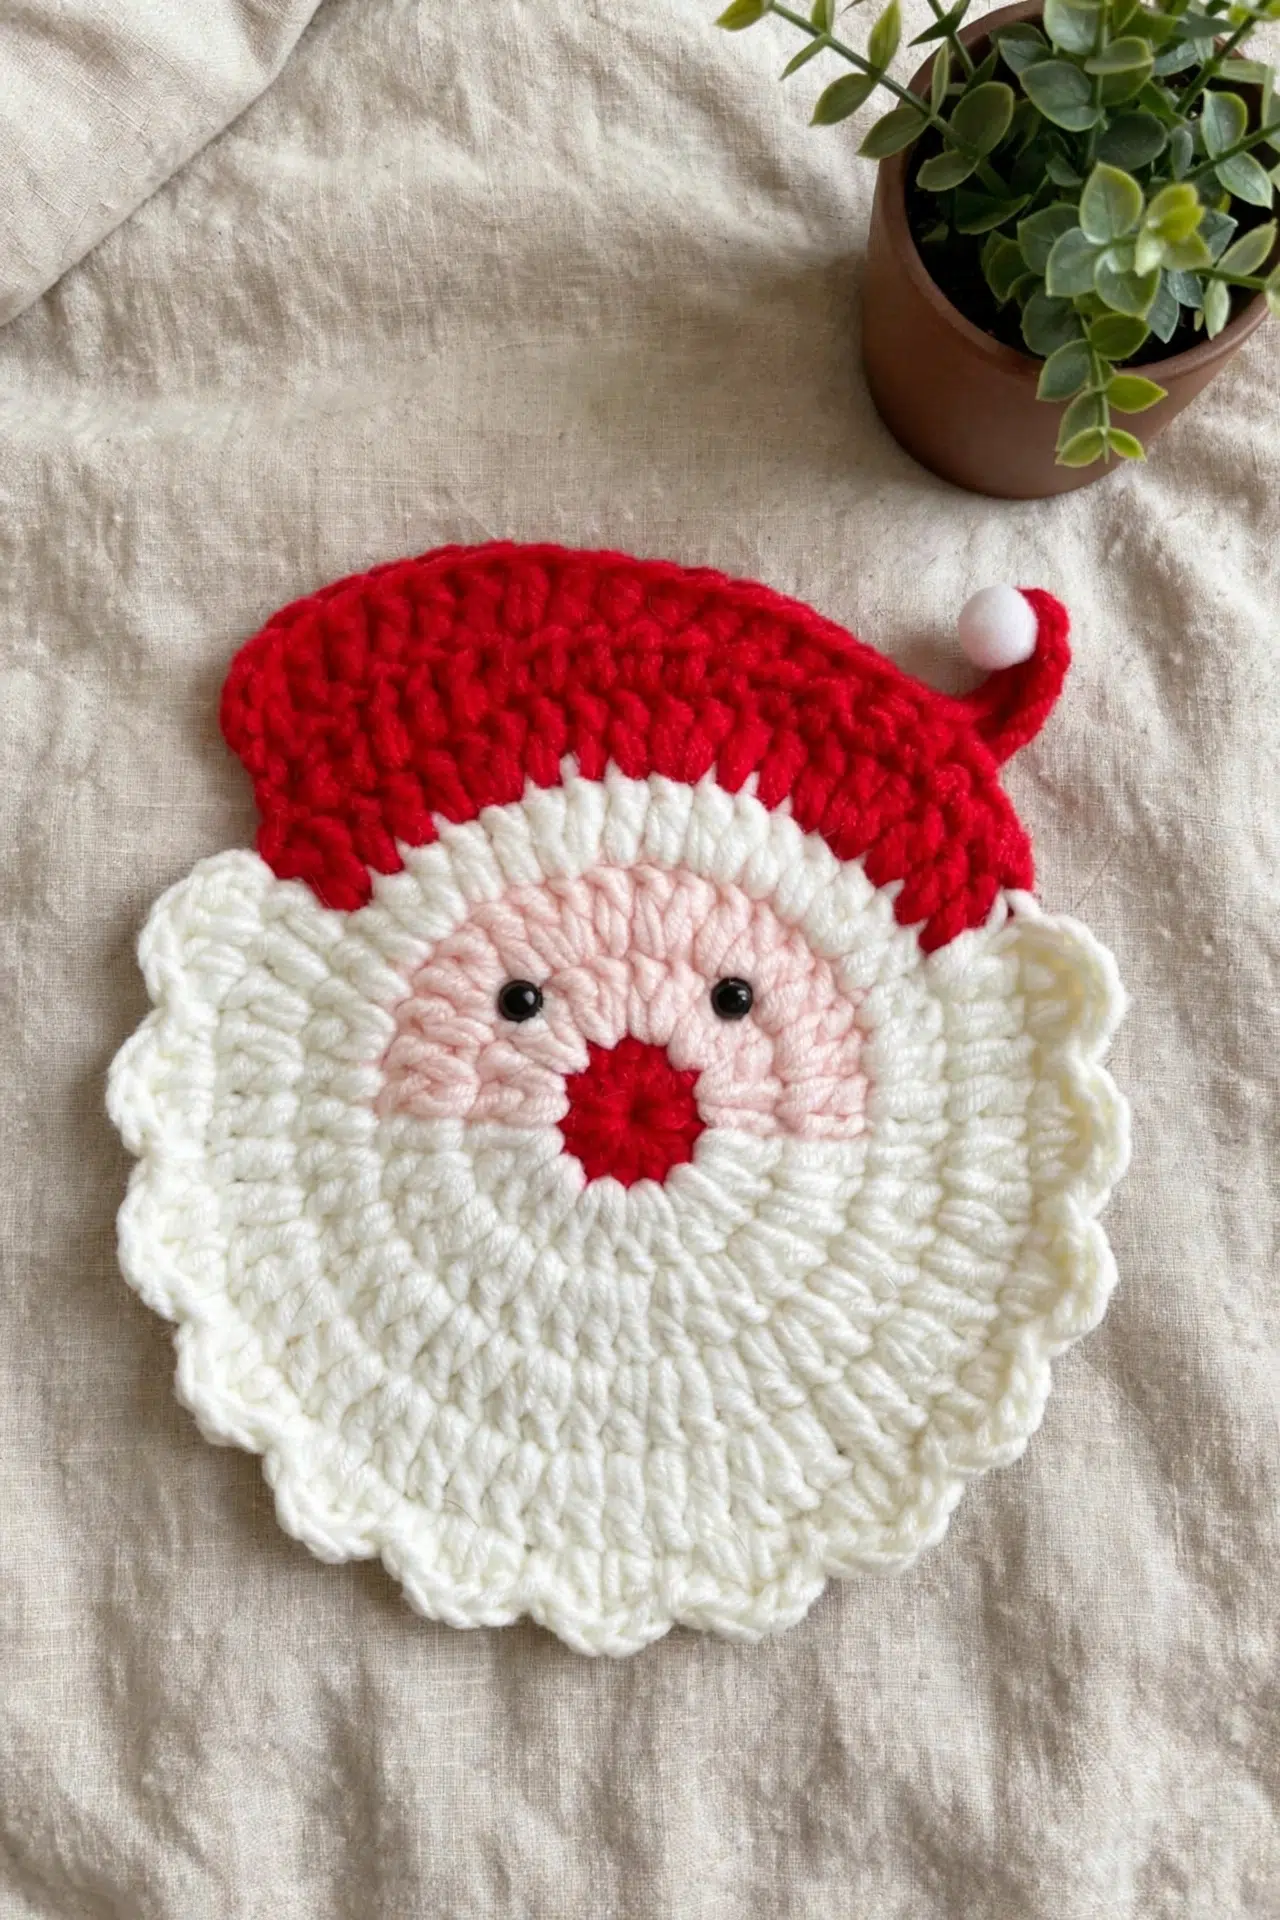
The Santa coaster starts with a circular face base, and the hat continues from its edge. Check that the base lies flat before adding the beard border and embroidered features.

The color changes create the main features as you work, while the finishing stays limited to the eyes, pom-pom, border, and blocking. You get an engaging little project without complicated shaping or a long sewing session.
Jump to:
- Why You'll Love This Pattern
- Pattern Details
- What You'll Need
- Stitches & Abbreviations
- How to Crochet the Festive Santa Coaster
- Crochet Tips
- Ways to Adapt Your Santa Coaster
- Keeping Your Santa Coaster Flat and Neat
- A Festive Place at the Table
- Care Instructions
- More Crochet Coaster Patterns
- Frequently Asked Questions
Why You'll Love This Pattern
- Minimal assembly: The face is formed within the coaster rounds, and the hat is crocheted directly onto the base. Only the small finishing details need to be attached.
- Manageable counting: The base follows a steady increase sequence from 12 to 60 stitches, so you can check your progress at the end of every round.
- Quick color shaping: Peach, White, and Red sections are worked into the rounds rather than made as separate appliqués.
- A textured finish: The final White Yarn border uses a short three-stitch repeat to form the scalloped beard edge.
Pattern Details
- Yarn Weight: Sport weight (Weight 2)
- Time to Make: about 2-3 hours
What You'll Need
Gather all three yarn colors before you begin, since the color changes start in the second round and continue through the base.
- Sport weight yarn (Weight 2; approx. 1.76 oz / 50 g, 120 yds / 110 m) in Red, White, and Peach/Beige; approx. 0.35 oz / 10 g total
- 3.25 mm (US D-3) crochet hook or a size convenient for your chosen yarn
- Two 4 mm black plastic safety eyes, small beads, or embroidery floss: Embroidery floss gives you the flattest finish. Safety eyes and beads add dimension, but their backs or knots should be secured carefully so the coaster can rest as evenly as possible.
- Yarn needle
- Stitch markers
- Scissors
- Tiny white pom-pom for the hat tip: Sewing the pom-pom makes it easier to remove or reposition later. If you use glue, choose one suitable for both yarn and the pom-pom material.
Stitches & Abbreviations
- MR - magic ring
- rnd - round
- row - row
- st - stitch
- sts - stitches
- ch - chain
- sl st - slip stitch
- sk - skip
- sc - single crochet
- hdc - half double crochet
- dc - double crochet
- FO - fasten off
dc inc: Work 2 dc into the same st.
How to Crochet the Festive Santa Coaster
Work the base first, continue directly into the hat, and finish with the scalloped beard border and small attached details.
The coaster base is worked in rounds. The hat continues from the top of the base in turning rows. The round numbering continues into the hat rows.
The Coaster Base
Start with Red Yarn for Santa's nose.
- Round 1: Work 12 dc into an MR. Pull tight to close. (12)
- Round 2: Join Peach Yarn and work (dc inc) 6 times; switch to White Yarn and work (dc inc) 6 times. (24)
- Round 3: With Peach Yarn, *dc inc, dc; rep from * 5 more times; with White Yarn, *dc inc, dc; rep from * 5 more times. (36)
- Round 4: Switch entirely to White Yarn. *2 dc, dc inc; rep from * 11 more times. (48)
- Round 5: Switch to Red Yarn and *3 dc, dc inc; rep from * 3 more times; switch to White Yarn and *3 dc, dc inc; rep from * 7 more times. (60)
Do not cut your yarn after Round 5.
Santa's Hat
Drop the White Yarn and continue using Red Yarn across the top of the coaster base. The hat is worked in turning rows.
- Row 6: 6 dc, 8 hdc, 5 sc, 1 sl st. Turn.
- Row 7: Sk 1, 3 sl st, ch 6. Starting in the 2nd ch from the hook, work 5 sc down the ch, then continue across the row: 4 sc, 5 hdc, 8 dc, ch 2, sl st. Fasten off and weave in the Red Yarn ends.
Scalloped Beard Border
Pick up White Yarn along the beard edge to create the textured scalloped rim. Stitches enclosed in brackets are worked into the same st.
- Step 1: *[Hdc, dc] in next st, [dc, hdc] in next st, sl st in next st; rep from * around to the last st of the round.
- Step 2: Fasten off and weave in the ends neatly on the back.
Finishing
- Step 1: Secure the two 4 mm black plastic eyes onto Santa's Peach face area, positioned evenly right above the center of the Red nose.
- Step 2: Sew or glue a small White pom-pom to the folded tip of Santa's hat.
- Step 3: Lightly steam-block or wet-block the coaster flat so it sits evenly under mugs and glasses.
Crochet Tips
- Make clean color changes: For a sharper transition, begin each new color on the final yarn-over of the stitch before the change. Keep the strands relaxed at the back so they don't pull the circle inward.
- Check every round: Your base should finish the rounds with 12, 24, 36, 48, and 60 stitches. Counting at each stage is much easier than finding a missed increase after the hat has begun.
- Keep the Red Yarn available: Round 5 ends with White Yarn, but the hat continues with Red Yarn. Don't cut the Red strand before you work Rows 6 and 7.
- Block with care: Pin or shape the finished coaster flat before wet-blocking. If you steam-block, follow the yarn label and keep the heat source above the fabric rather than pressing it directly onto the stitches.
Ways to Adapt Your Santa Coaster
- Choose cotton for absorbency: Sport weight cotton is a practical choice for a coaster because it absorbs condensation and blocks neatly. It may feel firmer in your hands than a springier yarn, so check that the circle stays flat.
- Use acrylic with gentle heat: Sport weight acrylic can work, but avoid direct contact with an iron or very hot steam. Wet-blocking is the safer option when you don't know how the fiber will react.
- Embroider the eyes: Small stitches made with black embroidery floss create a flatter surface than plastic eyes or beads. This is especially useful if you want a mug to sit as steadily as possible.
- Adjust the hook thoughtfully: A larger hook produces a looser, larger coaster, while a smaller hook creates denser fabric and a smaller result. Change gradually and watch for ruffling or cupping during the base rounds.
- Replace the pom-pom: A tiny yarn pom-pom or a securely stitched bundle of White Yarn can replace the ready-made pom-pom. Keep it small so the hat tip doesn't become heavy or bulky.
Keeping Your Santa Coaster Flat and Neat
- The base is cupping: Cupping usually means your stitches are tighter than the increase sequence allows. Relax your tension or move up one hook size, then rework the affected round before adding the hat.
- The circle is ruffling: Ruffles point to loose tension or a hook that's too large for the yarn. Try a slightly smaller hook and spread the increases evenly instead of bunching them at the color changes.
- The color joins have gaps: Gaps can appear when the first stitch in a new color is worked loosely. Gently tighten both yarn strands after the color change without pulling hard enough to distort the round.
- The scallops don't end evenly: Each border repeat uses three edge stitches. Work complete repeats along the beard edge and stop at the last stitch as directed rather than squeezing in a partial scallop.
A Festive Place at the Table
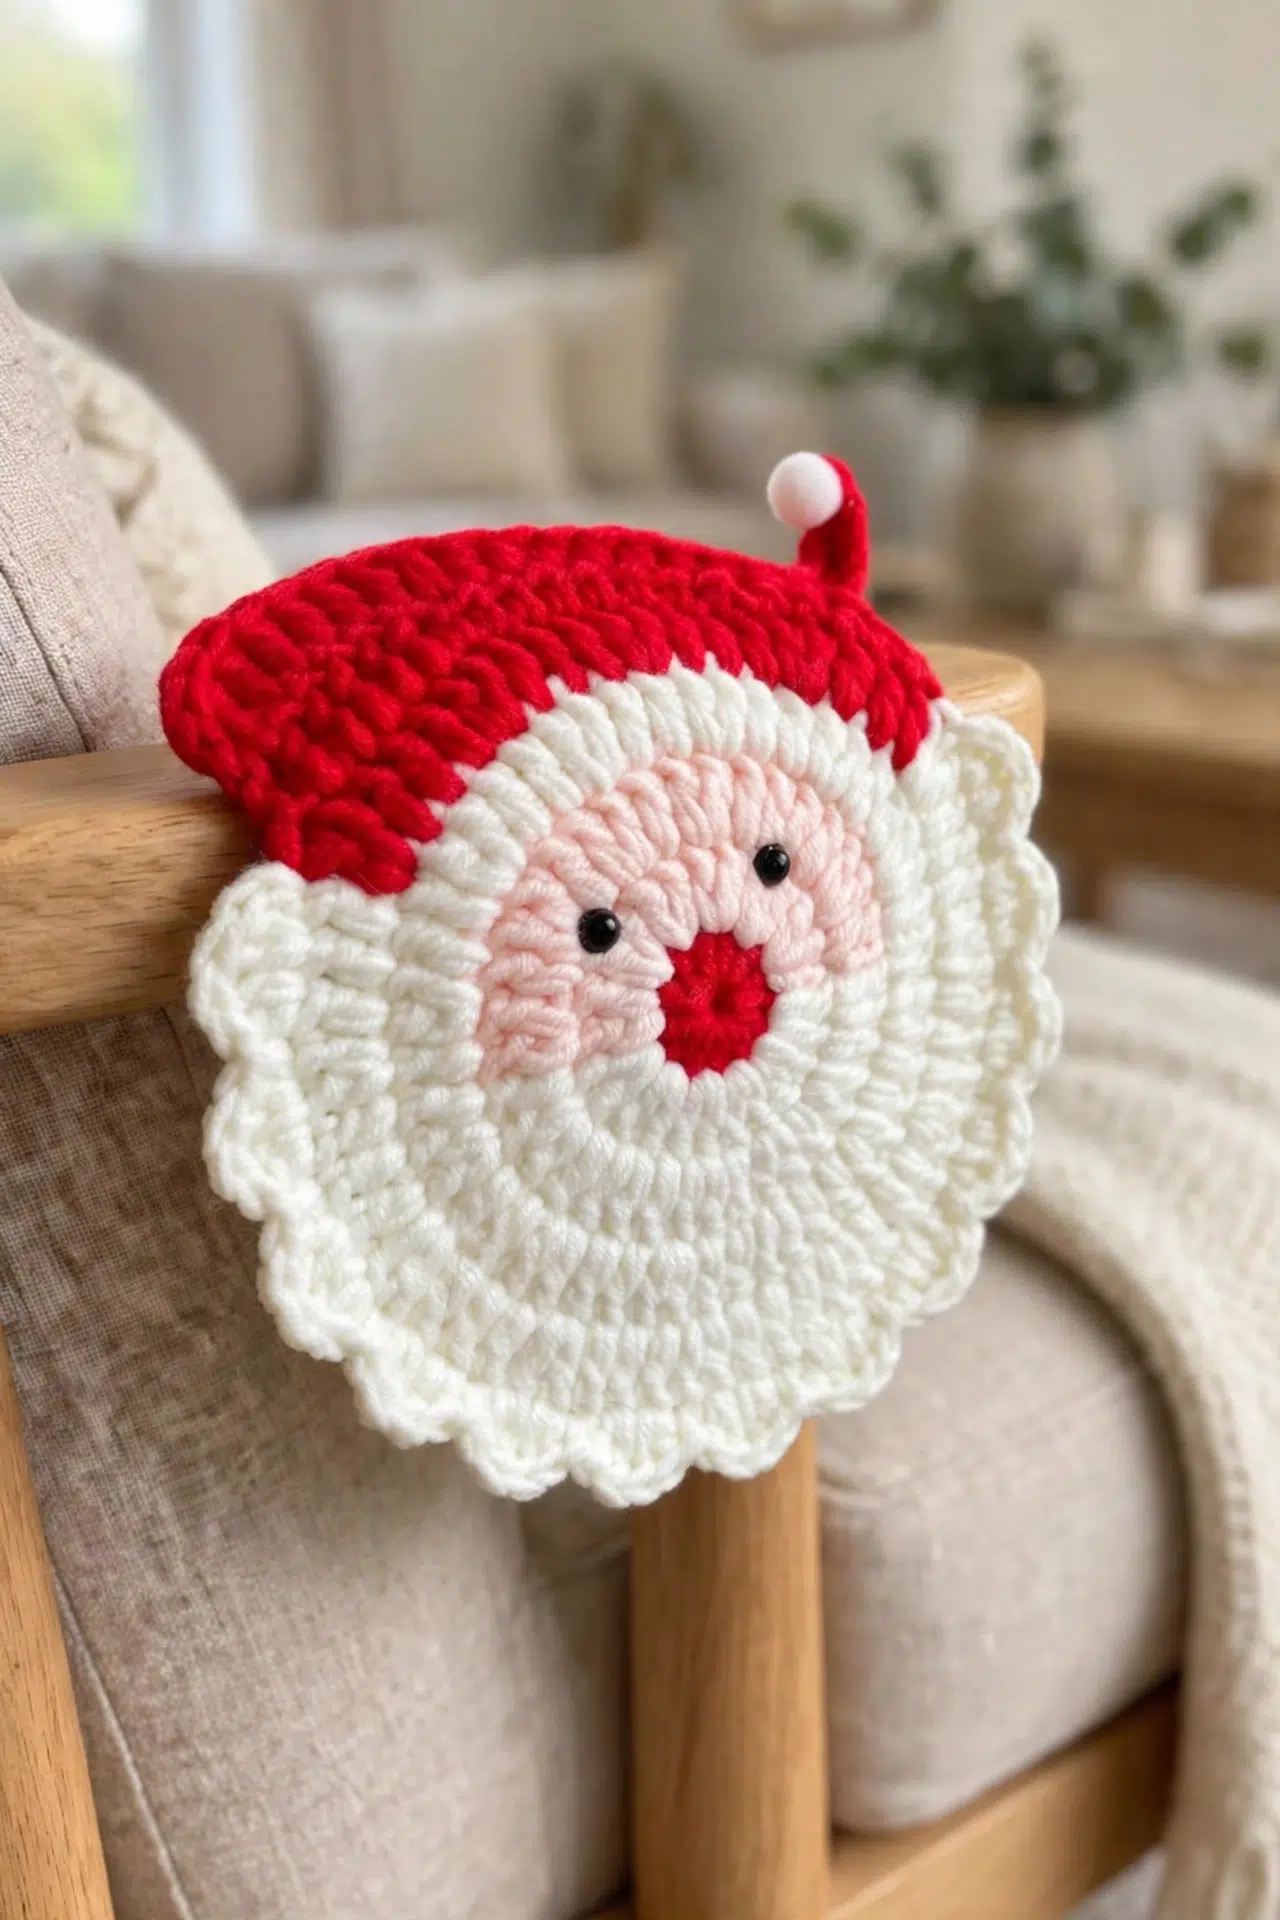
Place the finished coaster beneath a holiday mug or glass, or group several at the table for a coordinated seasonal set. Between uses, store it flat so the hat and scalloped beard edge keep their shape.
Care Instructions
The yarn fiber isn't specified, so follow the washing and heat directions on your yarn label first. Spot-clean or gently hand-wash the coaster in cool water, then reshape it and let it dry flat. Avoid high heat, especially when using acrylic yarn, plastic eyes, or a glued pom-pom.
More Crochet Coaster Patterns
- Spooky Crochet Ghost Coasters
- Teddy Bear Tea Coaster Crochet Pattern
- Popping Lizard Coaster: A Free Crochet Pattern With Real Personality
Frequently Asked Questions
How many stitches should the coaster base have?
The five base rounds end with 12, 24, 36, 48, and 60 stitches. Each round adds evenly spaced increases, even when the yarn color changes partway through. If your total is off, correct it before starting the hat because Rows 6 and 7 depend on the established edge.
Is the hat made separately?
No, the hat is worked directly across the top of the completed coaster base. After Round 5, drop the White Yarn and use the waiting Red Yarn for Rows 6 and 7. This construction reduces sewing and keeps the hat connected to the face along a continuous edge.
Can I embroider the eyes instead of using safety eyes?
Yes, black embroidery floss can replace the two 4 mm safety eyes. Embroidery creates less bulk and avoids a rigid backing on the reverse of the coaster. Position both eyes evenly above the center of the Red nose before securing and weaving in the floss ends.
Where is the scalloped border worked?
The border is worked with White Yarn along the beard edge after the hat is complete. Each repeat uses three edge stitches: two paired-stitch groups followed by one sl st. Keep the paired stitches together in their assigned stitches, since separating them changes the scallop spacing.
Share this pattern with a crocheter who enjoys quick Christmas table projects. If you make your own Santa coaster, leave a comment and tell me how it went!



