
If you've been wanting a relaxing seasonal project that's quick enough to enjoy between bigger makes, you've found it in this Halloween Crochet Spider Web. You get both the web and its stuffed spider, so the finished decoration feels complete without requiring complicated construction.

The web grows through long chains and tall stitches, while the spider uses familiar single crochet shaping in a simple spiral. Your hands get a pleasant change of pace between the open rounds, the small stuffed body, and the easy chain legs.
Jump to:
- What Makes This Pattern Work
- Pattern Details
- Materials for This Web
- Abbreviations
- How to Crochet the Halloween Spider Web
- My Best Tips
- How to Keep Those Tall Web Stitches Manageable
- Ways to Adapt Your Spider's Web
- Fixing Web and Spider Shape
- A Halloween Accent for Your Space
- Caring for Your Web
- More Spooky Halloween Crochet Patterns
- Frequently Asked Questions
What Makes This Pattern Work
- Two satisfying textures: The airy web and firmly crocheted spider give you two distinct kinds of making in one manageable project.
- Simple shaping: The spider body relies on basic increases, even rounds, and sc2tog decreases. There's no separate head to join and no complicated assembly.
- Clear hook roles: The larger hook gives the web room to open, while the smaller hook helps keep the stuffed spider's stitches close together.
- Easy seasonal display: The finishing chains create points around the web, giving you practical places to pin or tie the decoration.
Pattern Details
- Skill Level: Beginner
- Yarn Weight: DK / Light Worsted
- Time to Make: about 3-5 hours
Materials for This Web
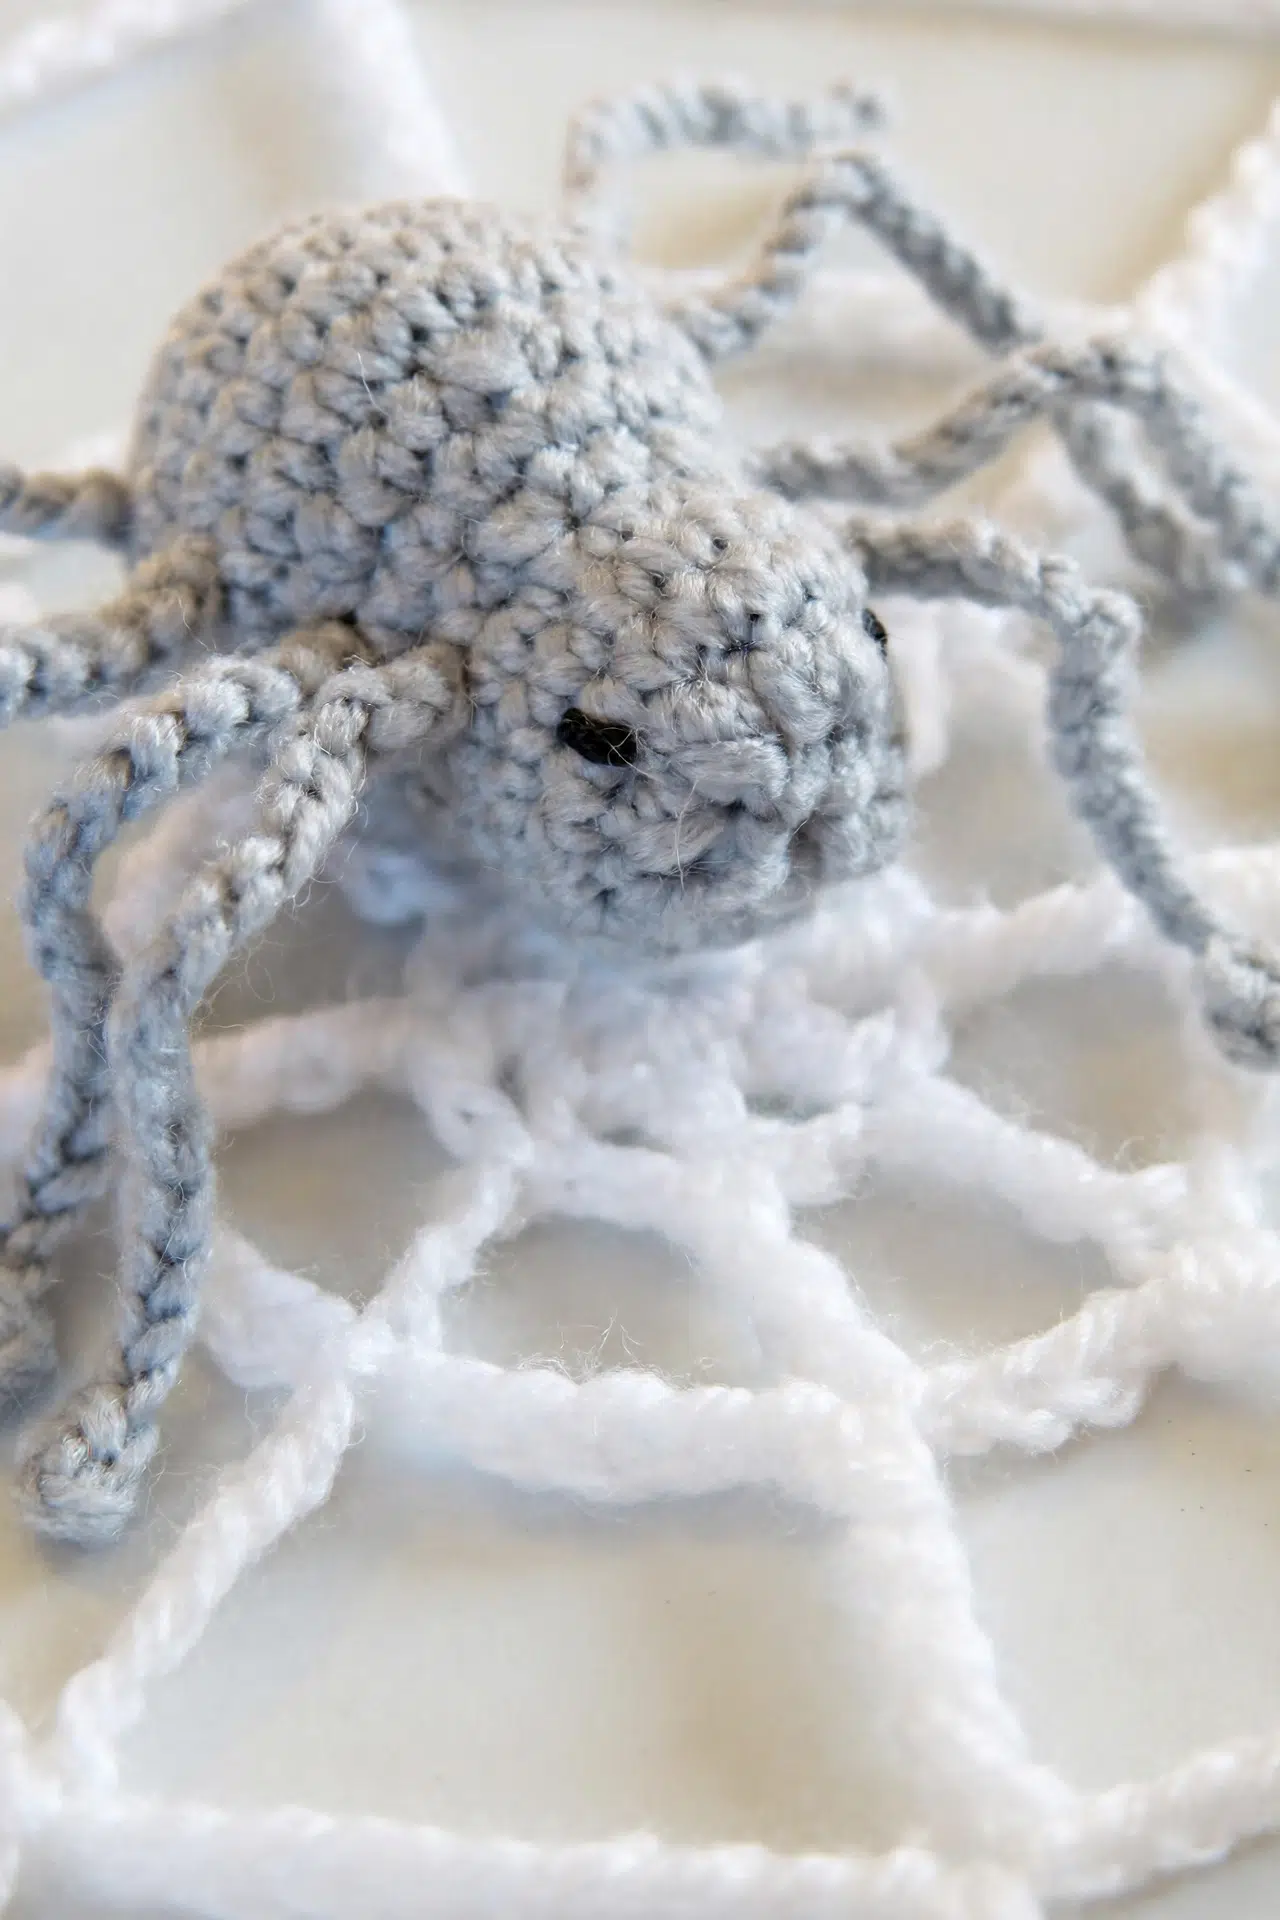
Gather both hooks before you begin, since each one has a specific job in the pattern. You'll also want your stuffing nearby before you reach the final decrease round of the spider.
- DK/light worsted weight yarn in white, grey and black
- 2.5 mm crochet hook
- 3.5 mm crochet hook: Use the larger hook for the web and the smaller hook for the spider body and legs. Swapping them will change the spacing and firmness.
- Yarn needle
- Scissors
- Toy stuffing: Add the stuffing after Rounds 12-13, while the opening is still wide enough to reach comfortably.
- Stitch marker, optional
Abbreviations
- ch - chain
- dc - double crochet
- ea - each
- quintr - quintuple treble crochet
- sc - single crochet
- sc2tog - single crochet 2 stitches together
- sk - skip
- sl st - slip stitch
- st - stitch
- sts - stitches
- tr - treble crochet
- trtr - treble treble crochet
How to Crochet the Halloween Spider Web
Crochet the web first, then make and finish the spider before adding all 8 legs and the embroidered face.
The web is worked in joined rounds. The spider body is worked continuously in a spiral without joining the rounds. Use the 3.5 mm hook for the web and the 2.5 mm hook for the spider and legs.
Web
- Round 1: Using a 3.5 mm crochet hook, ch 4, sl st in 1st ch to form a loop, work 8 sc in the ch-4 loop, and sl st in 1st sc to join. (8)
- Round 2: Ch 3, *1 dc in next st, ch 1; rep from * around. Sl st in 2nd ch of 3.
- Round 3: Ch 8, sk 1 ch, *1 tr in next st, ch 5, sk 1 ch; rep from * around. Sl st in 3rd ch of 8.
- Round 4: Ch 14, sk 5 ch, *1 trtr in next st, ch 9, sk 5 ch; rep from * around. Sl st in 5th ch of 14.
- Round 5: Ch 20, sk 9 ch, *1 quintr in next st, ch 13, sk 9 ch; rep from * around. Sl st in 7th ch of 20.
Web Finishing
- Step 1: Ch 5 and fasten off. *Rejoin at the next point, ch 5, and fasten off; rep from * around.
Spider
Place a stitch marker in the first stitch of each round if you find it hard to spot the start of a continuous spiral.
- Round 1: Using a 2.5 mm crochet hook, ch 4, sl st in 1st ch to form a loop, and work 6 sc in the ch-4 loop. Do not join the round. (6)
- Round 2: Continuing in a spiral, work 2 sc in next st and in ea st around. (12)
- Round 3: *1 sc in next st, 2 sc in next st; rep from * around. (18)
- Round 4: *1 sc in next 2 sts, 2 sc in next st; rep from * around. (24)
- Rounds 5-7: 1 sc in ea st around. (24)
- Round 8: *1 sc in next 2 sts, sc2tog; rep from * around. (18)
- Round 9: 1 sc in ea st around. (18)
- Round 10: *1 sc in next st, sc2tog; rep from * around. (12)
- Round 11: *1 sc in next st, 2 sc in next st; rep from * around. (18)
- Rounds 12-13: 1 sc in ea st around. (18)
Stuff your spider at this point.
- Round 14: Sc2tog until closed. Sew any remaining hole closed, fasten off, and tie in all tails.
Legs and Face
Make 8 legs using the same yarn and hook as the spider.
- Step 1: Ch 4, sl st in 1st ch to form a loop, ch 16, leave a tail for sewing, and fasten off. Sew the leg onto the body. Repeat to make 8 legs total.
- Step 2: Using black yarn, sew on a face.
My Best Tips
- Keep the long chains relaxed: Rounds 3-5 need enough give for the web to lie comfortably. Avoid tightening the chain stitches around the shaft of your hook.
- Pause after each tall stitch: The trtr and quintr stitches carry several loops during construction. Work them steadily and check that every loop has been completed before starting the next chain.
- Mark the spider rounds: Because the spider isn't joined, move a stitch marker up at the start of every round. This keeps the increase and decrease sequences aligned.
- Stuff before the opening shrinks: Finish stuffing after Rounds 12-13. Once Round 14 begins, the opening closes quickly and becomes difficult to adjust.
How to Keep Those Tall Web Stitches Manageable
Give each trtr and quintr enough height by keeping the working loops loose and even. If you pull down after every movement, the stitch can become tight and difficult to finish.
Count the loops off the hook slowly rather than rushing. A steady rhythm helps the tall stitches stay consistent with the long chains around them.
Ways to Adapt Your Spider's Web
- Try another yarn weight: You can use a different yarn weight, but both the web and spider will change size. Choose hooks that suit the new yarn, and remember that a loosely worked spider may show stuffing between its stitches.
- Adjust the web hook: A larger hook produces more generous spacing, while a smaller hook makes the chains and tall stitches tighter. Keep the spider on a suitably small hook so its fabric remains firm enough for stuffing.
- Change the stuffing level: Use less stuffing for a softer body or add more for firmness. Stop before the single crochet stitches begin to spread apart.
- Alter the leg length: Shorten or lengthen the ch-16 section to change the reach of the legs. Make the same adjustment on every leg so the set stays consistent.
- Choose a removable spider: Leave the spider separate if you want to reposition it, or use a few small yarn stitches to secure it to the web. The web instructions don't require permanent attachment.
Fixing Web and Spider Shape
- The web cups inward: Your chain sections may be too tight compared with the tall stitches. Remake the affected round with looser chains, taking care not to pull each chain snug against the hook.
- The web ripples heavily: The long chains may be much looser than the surrounding stitches. Use a more even chain tension or move down a hook size for the web if your chains are naturally very relaxed.
- Stuffing shows through the spider: Remove a little stuffing before closing the body. If the gaps remain large, the spider may need a smaller hook or firmer single crochet tension.
A Halloween Accent for Your Space
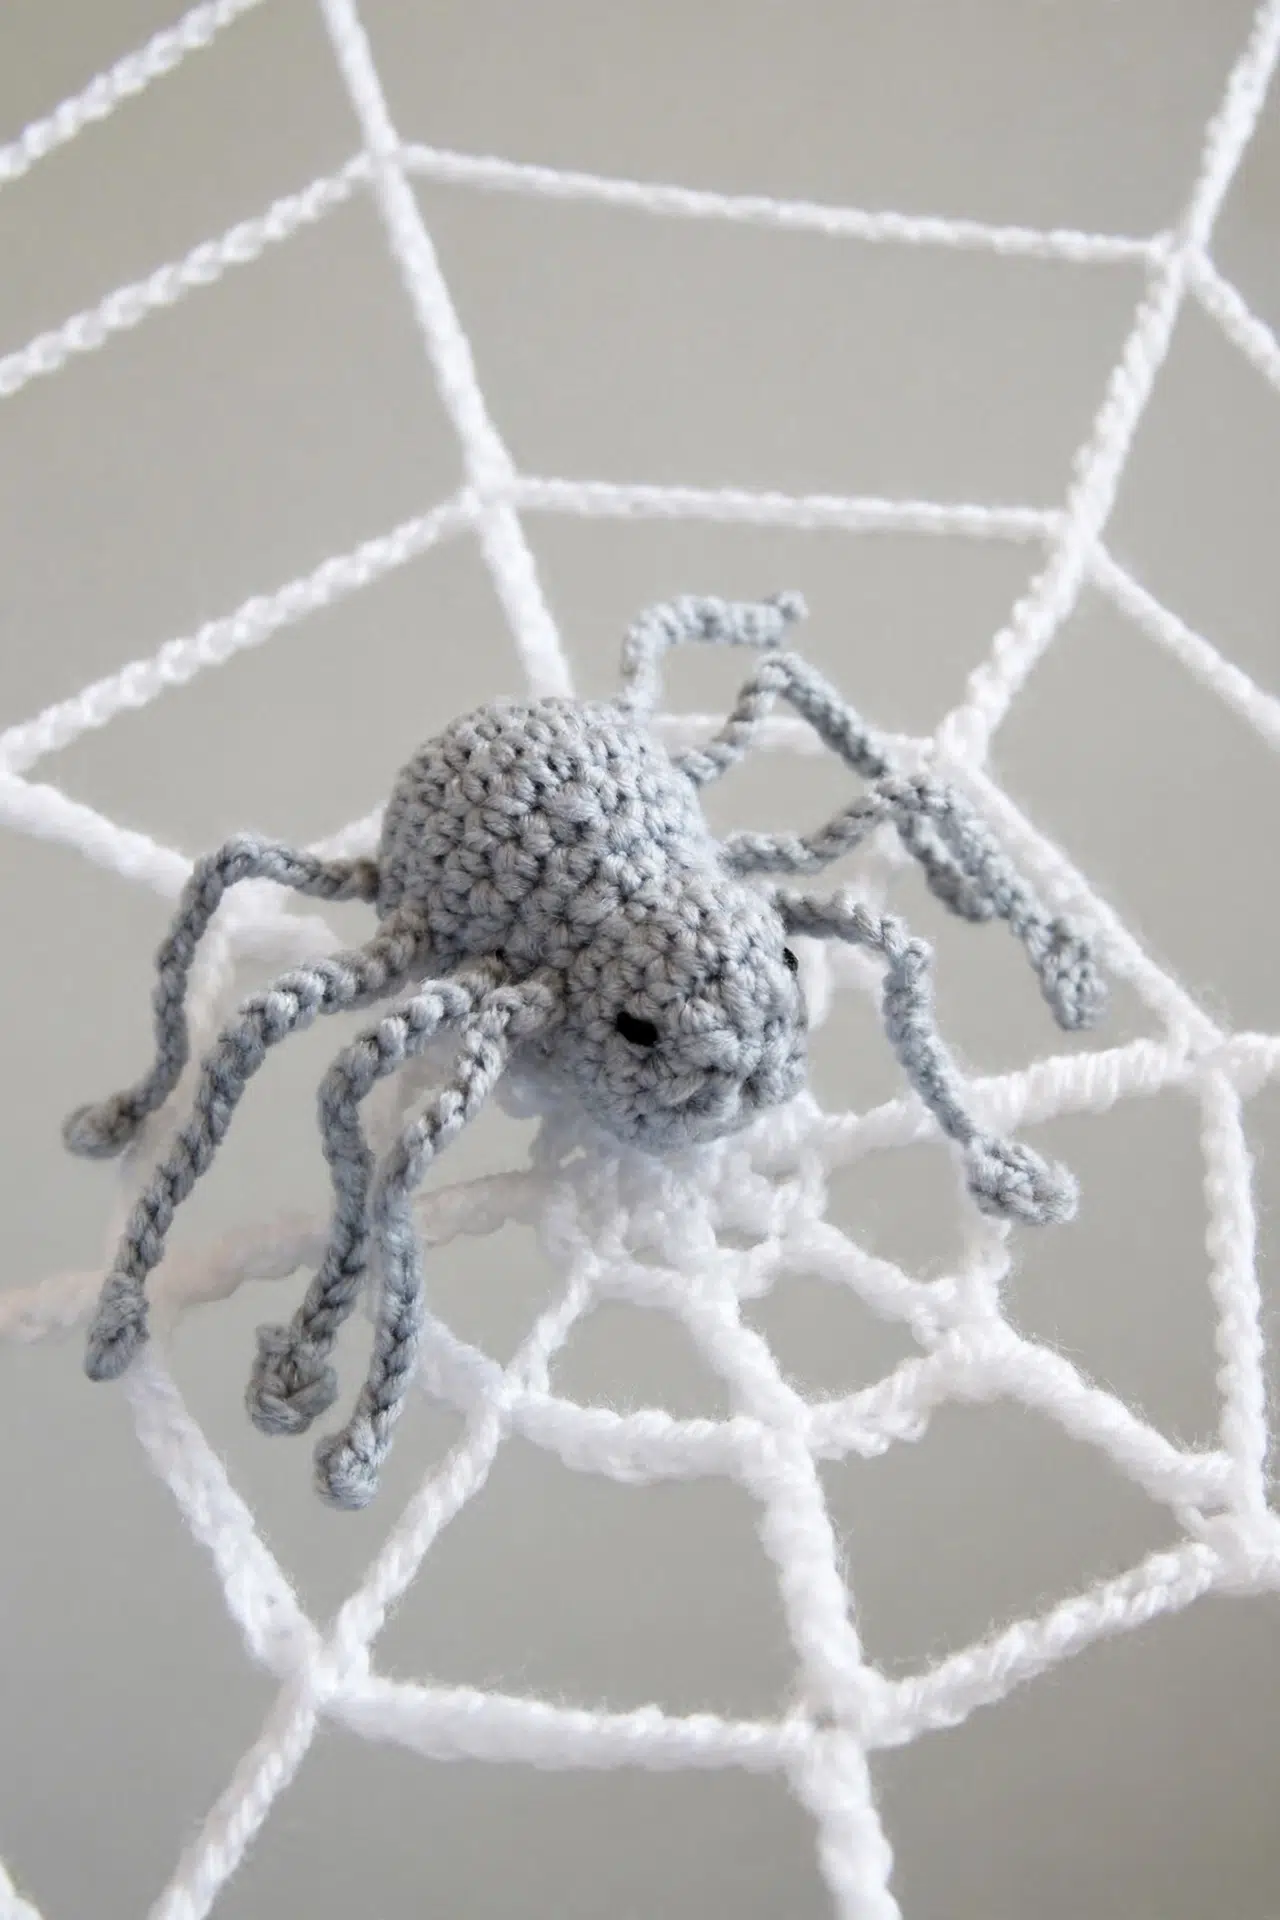
Use the outer ch-5 finishing loops to pin or tie the web in your chosen Halloween display spot. Keep the spider loose if you'd like to move it around, or secure it to the web with a few discreet yarn stitches.
The two pieces can also be placed together as part of a tabletop seasonal arrangement. Make sure the stuffed spider is kept away from small children or pets if any sewn details could be pulled loose.
Caring for Your Web
Check the care instructions for your chosen yarn before cleaning. Because the spider is stuffed and has sewn details, gentle spot cleaning is the safest option unless every material is washable. Reshape the web and let both pieces air dry fully.
More Spooky Halloween Crochet Patterns
- Halloween Monster Crochet Beanie
- Halloween Crochet Kitty Hat
- Mini Crochet Halloween Cat
- Spooky Crochet Spider Hat
- Black Cat Amigurumi Crochet Pattern
Frequently Asked Questions
Which hook do I use for each part?
Use the 3.5 mm hook for the web and the 2.5 mm hook for the spider and its legs. The web needs room for its long chains and tall stitches, while the smaller hook creates a firmer spider body that can hold stuffing with fewer gaps.
Do I join the spider rounds?
No, the spider is worked continuously in a spiral after the starting loop. Joining would create a visible step and could disrupt the placement of the increases and decreases. Mark the first stitch of each round and move the marker whenever you begin a new one.
When should I stuff the spider?
Stuff the spider after completing Rounds 12-13 and before working Round 14. At that stage, the opening is still large enough for you to distribute the filling. Round 14 uses repeated decreases until the body closes, so later adjustments will be difficult.
Does the spider have to be sewn to the web?
No, the spider doesn't have to be permanently attached to the web. Its legs are sewn to the body, but placement on the web is flexible. Leave it loose for repositioning, or tack the body to the web with a few yarn stitches if you want a fixed decoration.
Can I add another round to make the web larger?
Work all five web rounds as written unless you're comfortable designing the next progression yourself. Each round changes both the height of the tall stitch and the length of the chain section. Simply repeating Round 5 won't continue the established spacing reliably.
Spider's Web is the kind of satisfying seasonal project I expect you'll reach for again when Halloween crafting begins. Tell me in the comments where you're planning to display yours.



