
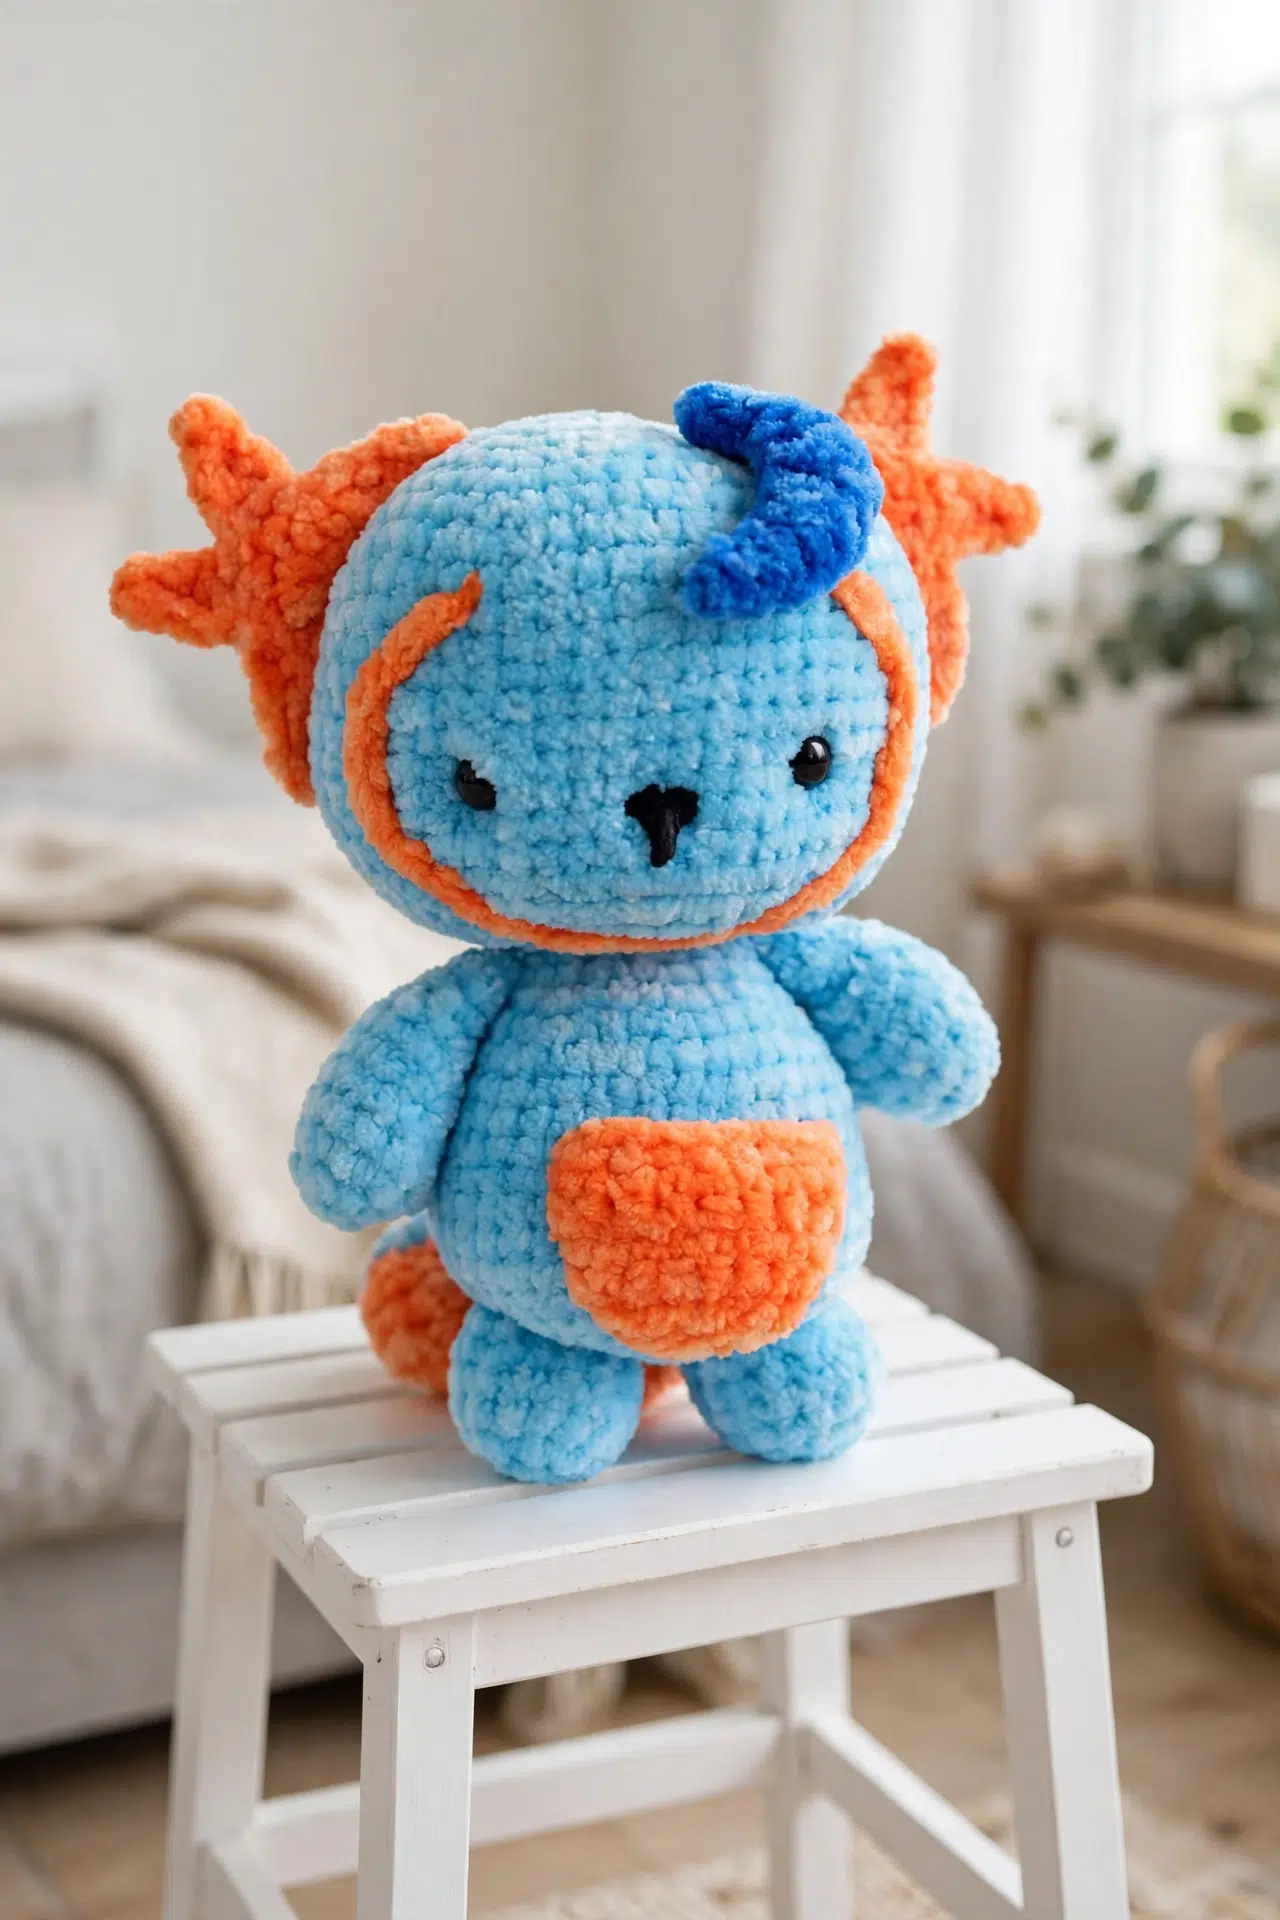
If you've been looking for a thoughtful amigurumi project that combines steady rounds with small, satisfying details, you've found it in the Dreamling Crochet Amigurumi Character. The pocket gives your finished piece a practical purpose too, making it a lovely place to keep a tiny written thought or intention.

Most of your time is spent working simple sc rounds, then the moon, headwings, pocket, and tail add short changes of pace. You'll get shaping and assembly practice without complicated garment-style fitting or long seams.
Jump to:
- Why You'll Love This Pattern
- Pattern Details
- Materials for This Character
- Abbreviations
- How to Crochet the Dreamling Amigurumi Character
- My Best Tips
- Ways to Adapt Your Dreamling
- Fixing Counts and Small-Part Construction
- Where Dreamling Can Hold Your Thoughts
- Washing & Care
- More Crochet Character Amigurumi
- Frequently Asked Questions
Why You'll Love This Pattern
- Steady main construction: The head and body are crocheted as one continuous piece, so you won't have a separate neck seam to join.
- Short supporting pieces: The arms, legs, pocket, moon, headwings, and tail are compact sections that give your hands a fresh task before any one technique feels repetitive.
- Clear shaping rhythm: Regular increase and decrease sequences form the main body, making the stitch counts easy to check at the end of each round.
- A usable pocket: Leave the top edge open when attaching the pocket and you'll have a small place for a folded message or intention.
Pattern Details
- Skill Level: Intermediate
- Yarn Weight: DK / Light Worsted
- Time to Make: about 8-12 hours
Materials for This Character
Gather your chenille yarn and notions before you begin, especially the safety eyes and stuffing needed while the body is still open.
- DK/Light Worsted Weight Chenille Yarn (3) in Light Blue, Dark Blue, Orange, and Black: Chenille can hide individual stitches, so use a marker and feel for each stitch opening if it's difficult to see. Any substitute should create a firm fabric that keeps stuffing from showing through.
- 3.50 mm crochet hook
- Yarn needle
- Scissors
- Toy stuffing
- 2 8 mm toy safety eyes: Keep the locking backs nearby and secure them at Round 27 while you can still reach the inside of the head.
- Stitch marker, optional
Abbreviations
- st(s) - stitch(es)
- ch - chain
- sl st - slip stitch
- sc - single crochet
- sc2tog - single crochet 2 stitches together
- hdc - half double crochet
- dc - double crochet
- dc2tog - double crochet 2 stitches together
- LB - Light Blue
- DB - Dark Blue
- O - Orange
- B - Black
How to Crochet the Dreamling Amigurumi Character
Work through the pieces in order, checking the stated count after every increase or decrease round.
Instructions between asterisks are repeated for as long as stated. Do not join rounds for the Main Body, Arms, or Legs. After Tail Round 1, continue working in the round. The color key is LB for Light Blue, DB for Dark Blue, O for Orange, and B for Black.
Main Body
- Round 1: In LB, ch 4, sl st in first ch to form a loop, and work 7 sc in center of loop. (7)
Do not join rounds. Alternatively, use a magic ring.
- Round 2: 2 sc in each st around. (14)
- Round 3: *1 sc in next st, 2 sc in next st; rep from * around. (21)
- Round 4: *1 sc in next 2 sts, 2 sc in next st; rep from * around. (28)
- Round 5: *1 sc in next 3 sts, 2 sc in next st; rep from * around. (35)
- Round 6: *1 sc in next 4 sts, 2 sc in next st; rep from * around. (42)
- Round 7: *1 sc in next 5 sts, 2 sc in next st; rep from * around. (49)
- Round 8: *1 sc in next 6 sts, 2 sc in next st; rep from * around. (56)
- Rounds 9-20: 1 sc in each st around. (56)
- Round 21: *1 sc in next 6 sts, sc2tog; rep from * around. (49)
- Round 22: *1 sc in next 5 sts, sc2tog; rep from * around. (42)
- Round 23: *1 sc in next 4 sts, sc2tog; rep from * around. (35)
- Round 24: *1 sc in next 3 sts, sc2tog; rep from * around. (28)
- Round 25: *1 sc in next 2 sts, sc2tog; rep from * around. (21)
- Round 26: *1 sc in next st, sc2tog; rep from * around. (14)
- Round 27: 1 sc in each st around. (14)
Stuff the head at this point and add the safety eyes between rows 15 and 16, 8 to 10 sts apart. Pull in tightly to add shape.
- Round 28: *1 sc in next st, 2 sc in next st; rep from * around. (21)
- Round 29: *1 sc in next 2 sts, 2 sc in next st; rep from * around. (28)
- Round 30: *1 sc in next 3 sts, 2 sc in next st; rep from * around. (35)
- Round 31: *1 sc in next 4 sts, 2 sc in next st; rep from * around. (42)
- Rounds 32-41: 1 sc in each st around. (42)
- Round 42: *Sc2tog; rep from * around. (21)
- Round 43: (Sc2tog) 10 times, 1 sc in last st. (11)
Stuff the body at this point.
- Round 44: (Sc2tog) 5 times, 1 sc in last st. Fasten off, sew the remaining hole closed, and tie in all ends. (6)
Finishing
- Step 1: Using O, sl st around the face or sew on some sts.
- Step 2: Using B, sew on a small triangular nose.
Arms x 2
- Round 1: In LB, ch 4, sl st in first ch to form a loop, and work 6 sc in center of loop. (6)
Do not join rounds. Alternatively, use a magic loop.
- Round 2: 2 sc in each st around. (12)
- Rounds 3-6: 1 sc in each st around. (12)
- Round 7: *1 sc in next st, sc2tog; rep from * around. (8)
- Rounds 8-10: 1 sc in each st around. (8)
Arms Assembly
- Step 1: Fasten off, stuff slightly, fold flat at the top, and sew onto the body.
Legs x 2
- Round 1: In LB, ch 4, sl st in first ch to form a loop, and work 7 sc in center of loop. (7)
Do not join rounds. Alternatively, use a magic loop.
- Round 2: 2 sc in each st around. (14)
- Rounds 3-6: 1 sc in each st around. (14)
Legs Assembly
- Step 1: Fasten off, stuff slightly, and sew onto the body.
- Row 1: In O, ch 9. Work 1 sc in second ch from hook and in each ch along. Turn. (8)
- Rows 2-5: 1 sc in each st along. Turn. (8)
- Row 6: (Sc2tog) 4 times. Turn. (4)
- Row 7: (Sc2tog) 2 times. (2)
Pocket Assembly
- Step 1: Fasten off and sew onto the body.
Moon
- Row 1: Using DB, ch 10. Sl st in second ch from hook, 1 sc in next ch, 1 hdc in next ch, 1 dc in next ch, 2 dc in next ch, 1 dc in next ch, 1 hdc in next ch, 1 sc in next ch, and sl st in last ch. (10)
- Row 2: Ch 1 and turn. Sl st in first st, 1 sc in next st, 1 hdc in next st, 1 dc in next st, dc2tog, 1 dc in next st, 1 hdc in next st, 1 sc in next st, and sl st in last st. (9)
Moon Finishing
- Step 1: Fasten off, fold in half, stuff, and sew closed. Sew onto the head.
Headwings x 2
- Row 1: Using O, ch 2 and work 5 dc in second ch from hook. Turn. (5)
- Row 2: *Ch 5, sl st in second ch from hook, 1 sc in next ch, 1 hdc in next ch, 1 dc in next ch, sl st in next st on main row; rep from * 3 more times.
4 points.
Headwings Assembly
- Step 1: Fasten off and sew onto the head, with 2 points sewn down and 2 points unsewn.
Tail
- Round 1: Using O, ch 6. Work 2 sc in second ch from hook, 1 sc in next 3 chs, and 2 sc in last ch. Rotate the work with right side facing and crochet back into the chs again, working 2 sc in the same last ch used, 1 sc in next 3 chs, and 2 sc in last ch. Continue working in the round. (14)
- Round 2: *1 sc in next st, 2 sc in next st, 1 sc in next 4 sts, 2 sc in next st; rep from * once more. (18)
- Round 3: *1 sc in next 2 sts, 2 sc in next st, 1 sc in next 5 sts, 2 sc in next st; rep from * once more. (22)
- Rounds 4-5: 1 sc in each st around. Join LB. (22)
- Rounds 6-8: Using LB, work 1 sc in each st around. (22)
- Round 9: *1 sc in next 2 sts, sc2tog, 1 sc in next 5 sts, sc2tog; rep from * once more. (18)
- Rounds 10-12: 1 sc in each st around. (18)
- Round 13: *1 sc in next st, sc2tog, 1 sc in next 4 sts, sc2tog; rep from * once more. (14)
- Rounds 14-16: 1 sc in each st around. (14)
Tail Assembly
- Step 1: Fasten off, do not stuff, and sew onto the body.
My Best Tips
- Mark the first stitch: These pieces are worked in continuous rounds, so move a stitch marker up every round. This is especially useful through the long body section where the start of a round can disappear into chenille.
- Pause at Round 27: Don't continue into the body increases until the head is stuffed and the eyes are secured between rows 15 and 16. Once the opening narrows and the body grows, reaching the eye backs becomes awkward.
- Keep the limbs lightly filled: The arms and legs only need slight stuffing. Overfilling makes the arm tops harder to fold flat and can place extra strain on your sewing stitches.
- Leave the tail unstuffed: The tail is designed to stay flat enough to attach without filling. Smooth it into position before sewing so the oval foundation isn't twisted.
Ways to Adapt Your Dreamling
- Try a smooth DK yarn: A smooth DK or light worsted yarn can replace chenille and will make the stitch openings easier to see. The finished dimensions and texture may change, so choose a hook that creates a dense fabric with no stuffing gaps.
- Use embroidered eyes: Black yarn embroidery can replace the safety eyes, particularly for a character intended for a young child. Place the embroidery around the same eye rows and compare both sides before securing your ends.
- Choose a different color map: You can reassign the four yarn colors without changing the construction. Write down which shade replaces LB, DB, O, and B before starting so every later color instruction stays clear.
- Adjust the stuffing feel: Use less stuffing for a softer body or add it more firmly for extra structure, but stop before the stitches stretch apart. The arms and legs should still be filled only slightly, and the tail remains unstuffed.
- Keep the pocket functional: Sew the pocket's side and lower edges to the body while leaving its upper edge open. Closing every edge turns it into an applique rather than a usable pocket.
Fixing Counts and Small-Part Construction
- The body count keeps drifting: Place a marker in the first stitch and count each completed repeat rather than waiting until the end of the round. On decrease rounds, check that every sc2tog uses 2 separate stitches and doesn't accidentally reuse an opening.
- The tail foundation twists: After working along the first side of the chain, rotate the chain without flipping the right side away from you. Crochet into the remaining loops along the opposite side, then spread the oval flat before beginning Round 2.
- The pocket opening is sewn closed: Pin the pocket to the body before stitching and mark its upper edge. Sew around the sides and lower edge only if you want to use it for a note.
Where Dreamling Can Hold Your Thoughts
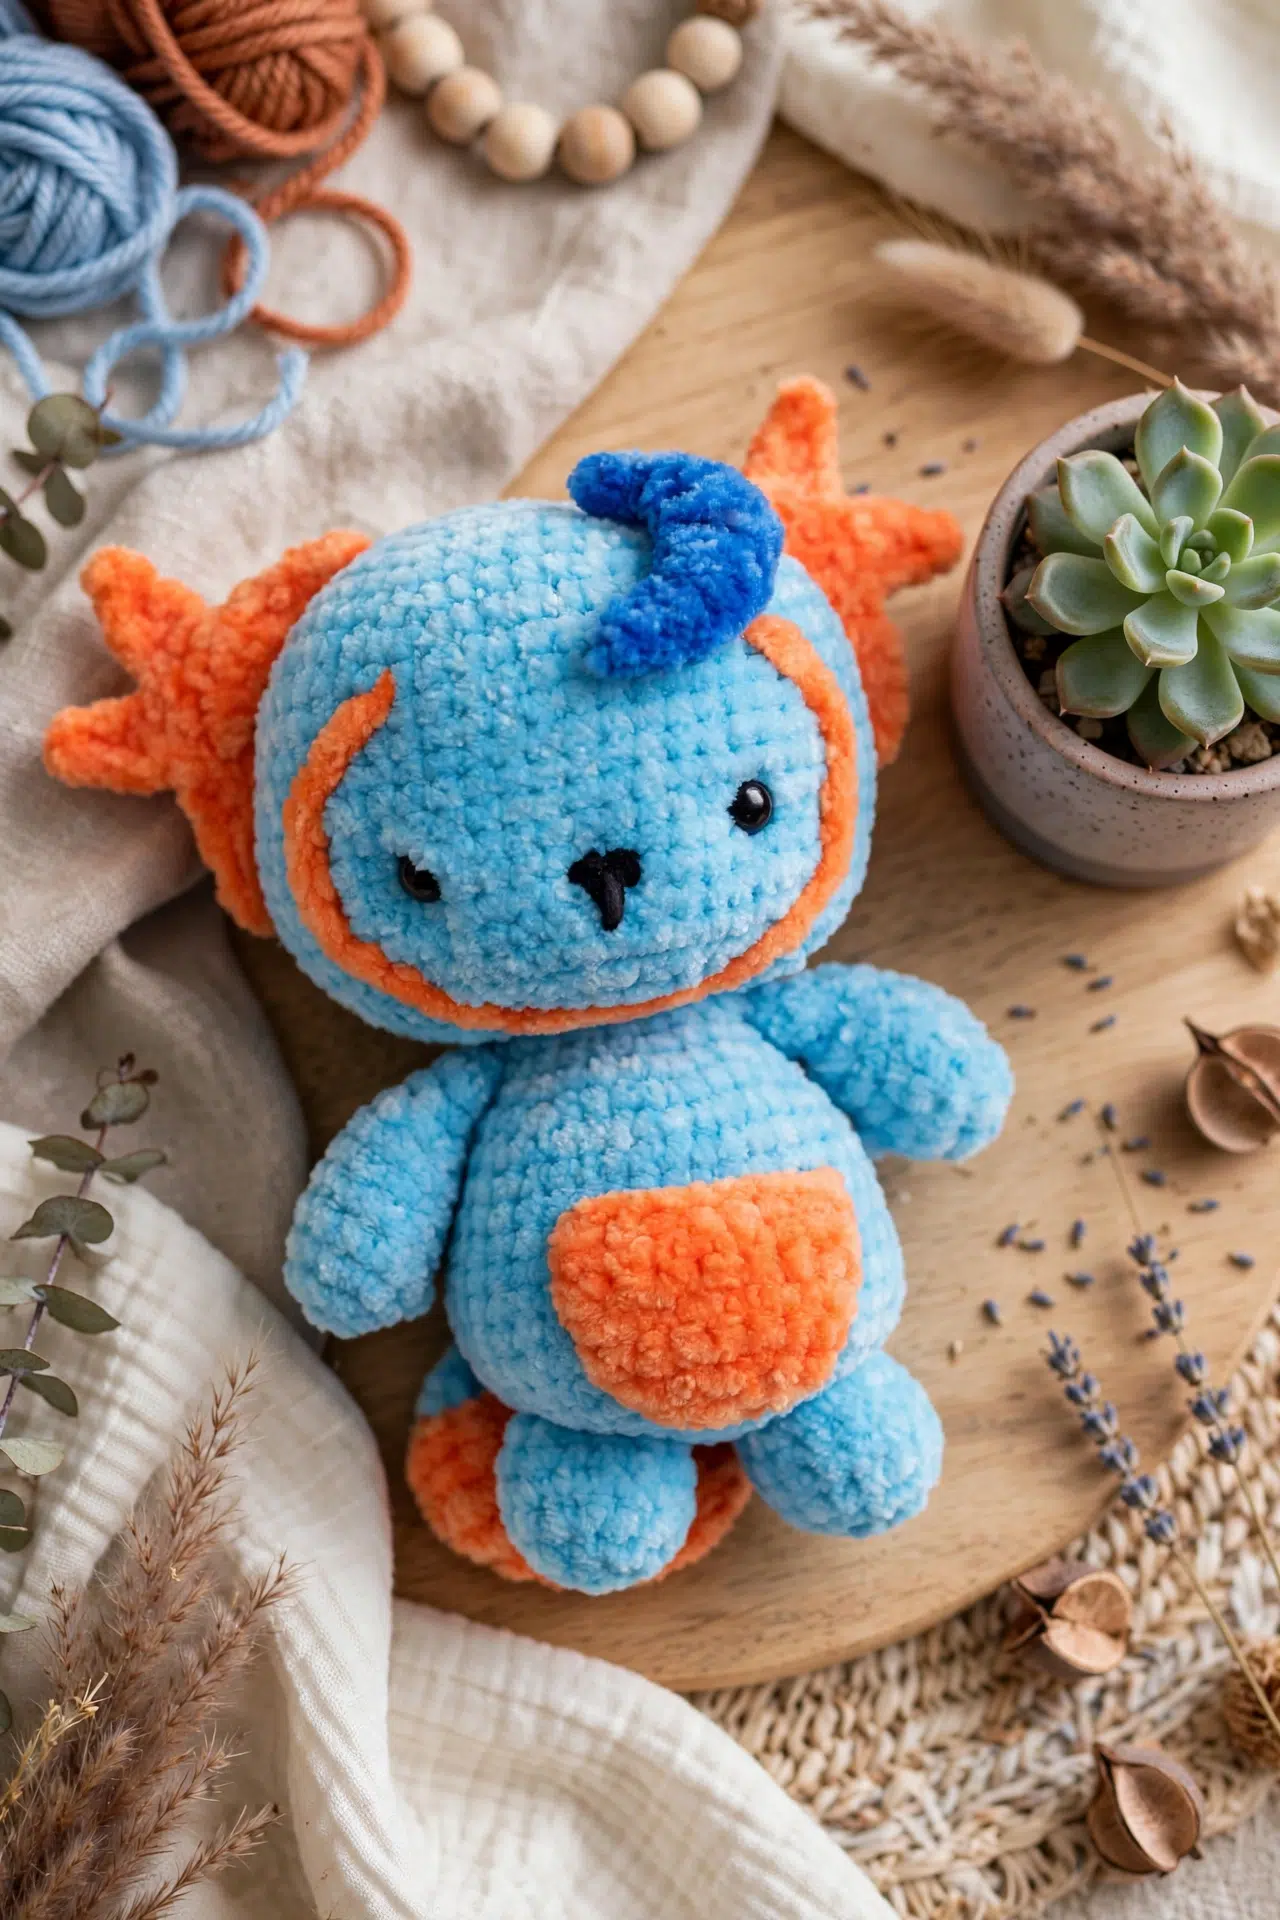
Set the finished character on a bedside table or desk with a small folded thought tucked into the pocket. That keeps the pocket accessible and gives the piece an everyday purpose.
For a gift, include a blank slip of paper so the recipient can decide what Dreamling will hold.
Washing & Care
Check the yarn label first, since chenille fiber content and washing instructions vary. For the assembled character, gentle spot cleaning or careful hand washing helps protect the sewn-on pieces and chenille surface. Reshape it and let the stuffing dry completely before returning anything to the pocket.
More Crochet Character Amigurumi
- Crochet Lumiling Character
- Seedling Crochet Amigurumi
- Small Crochet Bird Amigurumi
- Monster Plushie Crochet Pattern
Frequently Asked Questions
Should I join the body rounds?
No, the Main Body is worked continuously without joining. A stitch marker identifies the first stitch so the increase and decrease sequences stay aligned. Joining with a sl st would add an extra seam and could interfere with the stated stitch counts.
When do I add the safety eyes?
Add the eyes after Round 27, placing them between rows 15 and 16 and 8 to 10 sts apart. This is the last clearly marked pause before the body begins increasing, and the open neck area still gives you access for attaching the locking backs.
Do I stuff the tail?
No, the tail stays unstuffed. Its construction begins as an oval worked around both sides of a foundation chain, and leaving it empty helps it remain easy to position and sew against the body.
How are the headwing points attached?
Each headwing has 4 points, with 2 points sewn down and 2 points left unsewn. Secure the base and the designated points firmly to the head while allowing the remaining points to stay free, as directed in the assembly step.
Can I use a magic ring for every looped starting round?
Yes, a magic ring or magic loop can replace the ch-4 loop for the Main Body, Arms, and Legs. Make the required number of sc into the ring, close it securely, and continue without joining so the first-round counts remain unchanged.
When Dreamling is finished, tuck a small written intention into the pocket and place the character beside your bed. Leave me a comment if you make one.



