
Technique correction: this is a knitting project using garter stitch and short rows. It was previously labelled crochet. The original URL is retained so existing visitors can still find the complete instructions.
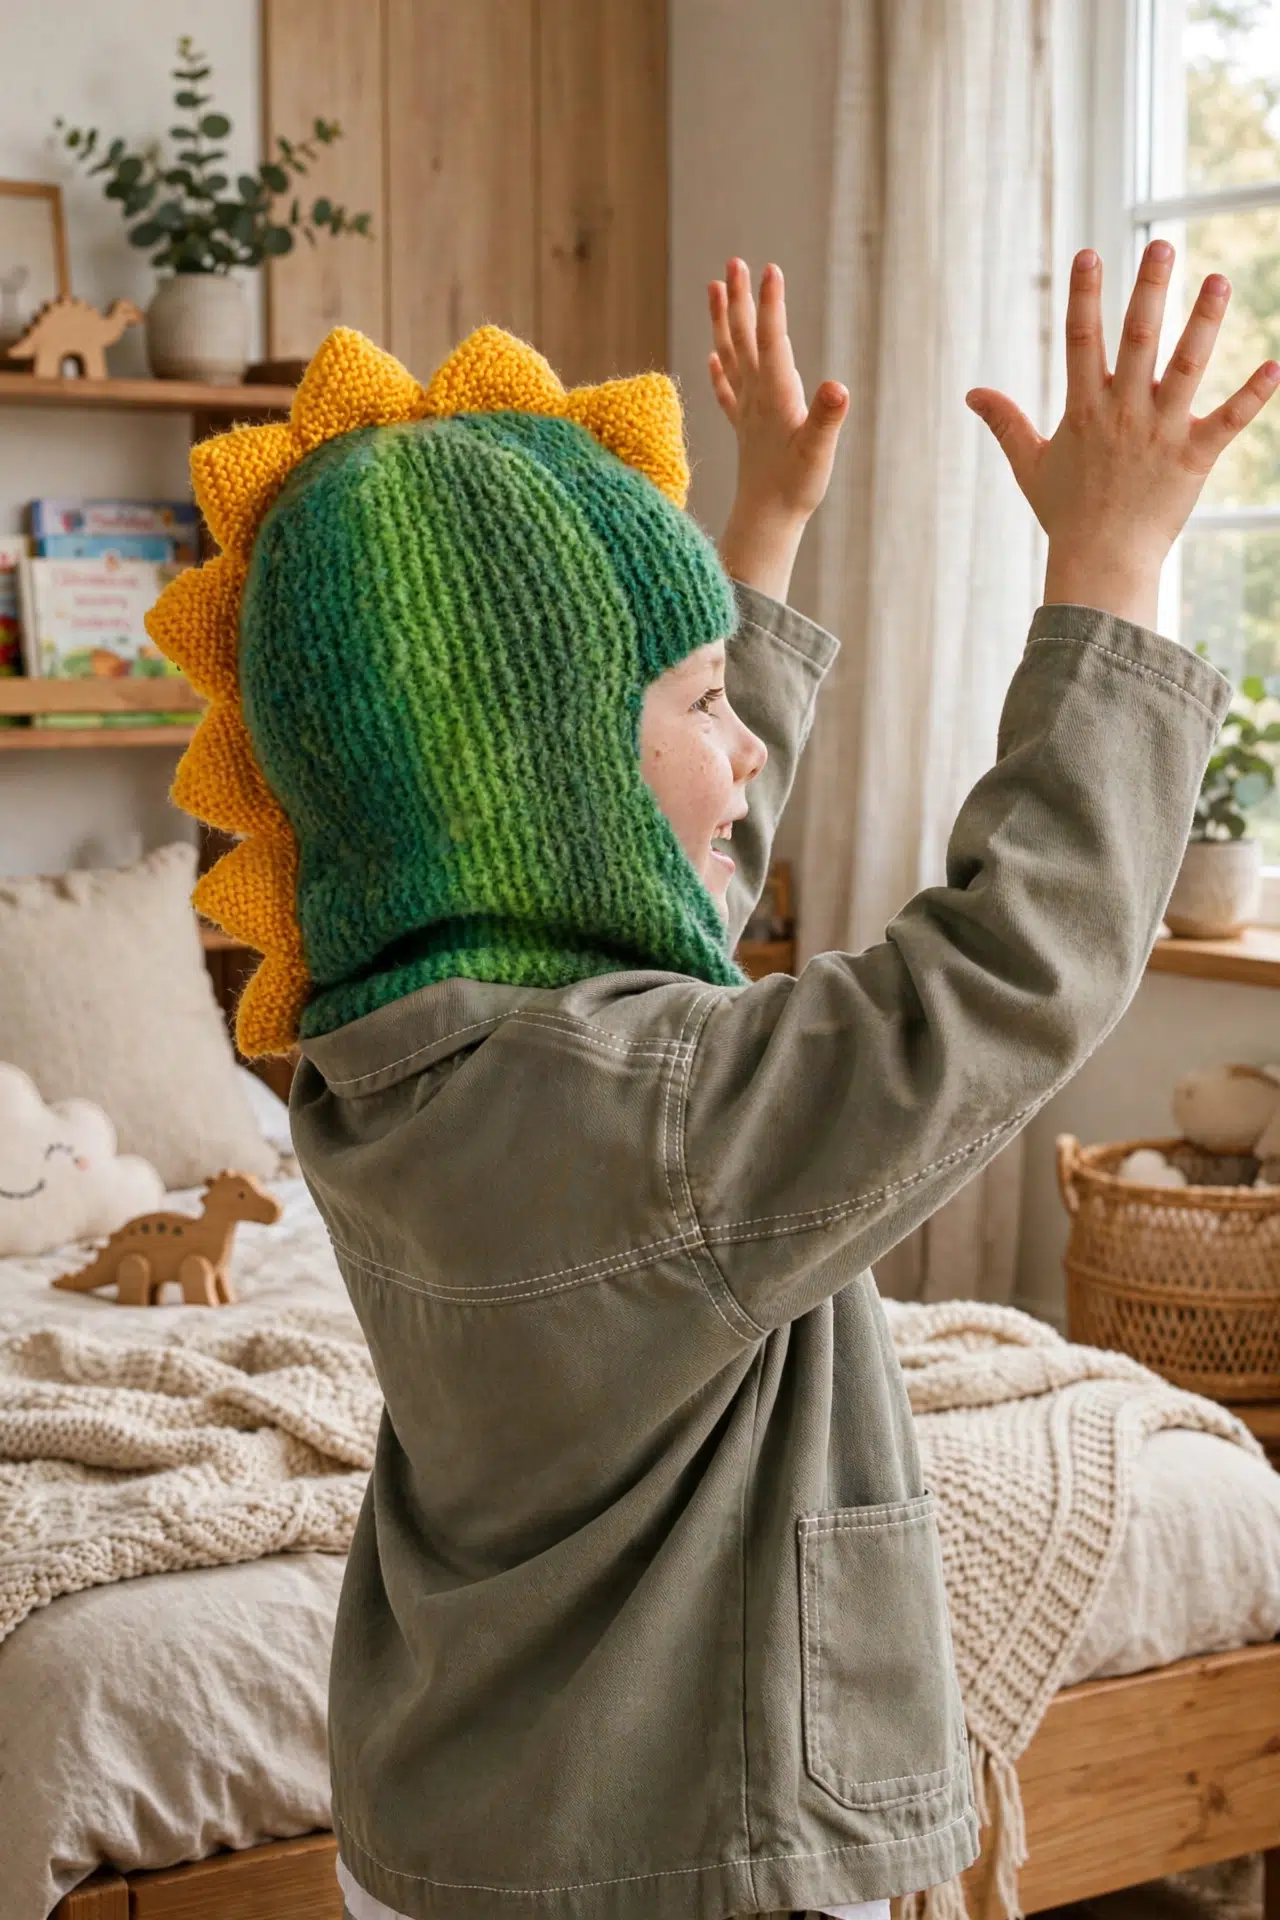
Design credit: this guide follows the Caron Knit Dino Helmet pattern published by Yarnspirations. It is not a Croshly original design. The illustrations are AI-generated visual references, not photographs of a tested Croshly sample. This yarn hat is a costume or clothing accessory and provides no impact protection.
Cozy, practical, and a little playful, the Knitted Dinosaur Hat is actually worked entirely with knitting needles in easy garter stitch. Its straightforward knit rows suit newer knitters who are ready for short-row shaping, while experienced hands can settle into the steady rhythm.

I especially love how the side-to-side wedges shape the crown without complicated stitch patterns. For the child sizes, you can use a contrasting yarn for the stuffed spikes or leave them off for a simpler finish. Pick your yarn and get those needles ready!
Jump to:
Why I Love This Pattern
- Easy stitch pattern: Garter stitch does the heavy lifting, so you can focus on the shaping instead of managing a complicated texture.
- Three useful sizes: The instructions cover two child ranges and an adult fit, with every size change written directly into the rows.
- Shaping without seamed panels: Short rows create the crown wedges as you knit from side to side, and the main Helmet needs only a center-back seam and a gathered top.
- Optional character detail: The child version includes lightly stuffed Spikes made as 2 matching strings, giving you a clear stopping point if you'd rather make the plain Helmet.
Pattern Details
- Skill Level: Easy
- Finished Size: Child 2/4 years: fits a 19 in. [48 cm] head circumference,Child 6/10 years: fits a 20 in. [51 cm] head circumference,Adult: fits a 22 in. [56 cm] head circumference
- Gauge: 17 sts and 30 rows = 4 in. [10 cm] with larger needles in garter stitch using MC,19.5 sts and 32 rows = 4 in. [10 cm] with smaller needles in garter stitch using Contrast A
- Yarn Weight: Medium Weight (Size 4)
- Time to Make: about 12-20 hours
Supplies
Gather both needle sizes, your Medium Weight yarn, and stitch holders before you begin so every short-row section can stay safely parked.
- Main Color (MC): Medium Weight (Size 4) Yarn, 8 oz/227 g; 649 yds/593 m. Child 2/4 yrs: 1 ball, approx. 100 yds/91 m; Child 6/10 yrs: 1 ball, approx. 175 yds/160 m; Adult: 1 ball, approx. 260 yds/236 m
- Contrast A: Medium Weight (Size 4) Yarn, 6 oz/170.1 g; 315 yds/288 m. Child 2/4 yrs: 1 ball, approx. 120 yds/110 m; Child 6/10 yrs: 1 ball, approx. 150 yds/140 m; Adult: 1 ball, approx. 160 yds/150 m
- Knitting needles size U.S. 5 [3.75 mm] and U.S. 7 [4.5 mm], or size needed to obtain gauge: Needle size is only a starting point. Change sizes if needed to match both gauges, since the Helmet and Spikes use different needles and yarns.
- 2 stitch holders
- Yarn needle
- Small amount of fiberfill stuffing for Spikes: Use only a small amount. Firm stuffing can distort the straight edge and make the finished Spikes harder to sew onto the Helmet.
Abbreviations
- Alt - alternate or alternating
- Approx - approximately
- Beg - beginning
- Cont - continue or continuity
- K - knit
- K2tog - knit next 2 stitches together
- Kfb - increase 1 stitch by knitting into front and back of next stitch
- MC - main color
- Rem - remaining
- Rep - repeat
- RS - right side
- Sl1P - slip next stitch purlwise
- st - stitch
- sts - stitches
- WS - wrong side
How to Knit the Dinosaur Hat
Read through the wedge and face-opening sections before casting on, since several groups of stitches rest on holders or a spare needle while you work.
The instructions are written for size 2/4 yrs. Numbers read 2/4 yrs (6/10 yrs - Adult). When only one number is given, it applies to all sizes. The Helmet is worked from side to side. Use a loose cast-on and cast-off so the edges retain their stretch. The Spikes are for the kids' version only.
Helmet
With MC and larger needles, begin the side-to-side Helmet.
- Step 1: Cast on 51 (61-69) sts loosely.
- Row 1: (WS). Knit.
First Half Wedge
- Row 1: (RS). Knit to last 4 (5-5) sts. Turn. Leave rem sts on a spare needle.
- Row 2: Sl1P. Knit to end of row.
- Row 3: Knit to last st. Turn. Leave rem st on a spare needle.
- Step 1: Rep Rows 2-3 4 (4-5) times more, leaving 1 more st on spare needle at end of every RS row: 42 (51-58) sts.
- Next row: (RS). Knit across all sts: 51 (61-69) sts.
- Next row: Sl1P. Knit to end of row.
First Full Wedges
- Row 1: (RS). Knit to last st. Turn. Leave rem st on a spare needle.
- Row 2: Sl1P. Knit to end of row.
- Step 1: Rep Rows 1-2, leaving 1 more st on spare needle at end of every RS row, 8 (9-10) times more: 42 (51-58) sts.
- Next row: (RS). Knit across all sts: 51 (61-69) sts.
- Next row: Sl1P. Knit to end of row.
- Step 2: Rep the Full Wedge sequence from Row 1 through the second Next row once more.
Shape Face Opening, Lower Section
This section works one side of the opening while the remaining stitches wait safely on a holder.
- Row 1: (RS). K20 (27-33). K2tog. Turn. Leave rem sts on first st holder.
- Row 2: Cast off 2 (2-3) sts. Knit to end of row.
- Row 3: Knit to last 2 sts. K2tog.
- Step 1: Rep Rows 2-3 once more, then rep Row 2 once: 13 (20-23) sts.
- Step 2: Beg with an RS row, knit 20 (24-28) rows even, ending on a WS row.
- Next row: (RS). Knit to last 2 sts. Kfb. K1.
- Next row: Cast on 2 (2-3) sts. Knit to end of row.
- Step 3: Rep the last 2 rows 2 more times: 22 (29-35) sts.
- Next row: (RS). Knit.
- Step 4: Break yarn. Leave sts on second stitch holder.
Shape Face Opening, Upper Section
Slip sts from the first st holder onto a needle and proceed as follows.
- Row 1: (RS). Cast off 4 (5-5) sts. Knit to last st. Turn. Leave rem st on a spare needle: 24 (26-28) sts rem.
- Row 2: Sl1P. Knit to end of row.
- Row 3: Knit to last st. Turn. Leave rem st on a spare needle.
- Step 1: Rep Rows 2-3 7 (8-9) times more, leaving 1 more st on spare needle at end of every RS row.
- Step 2: Rep Row 2 once: 16 (17-18) sts.
- Next row: (RS). Knit across all sts: 27 (29-31) sts.
- Step 3: Rep Rows 2-3 9 (10-11) times more, then rep Row 2 once.
- Next row: (RS). Knit across all sts: 25 (27-29) sts.
Joining Row
- Joining row: (WS). Sl1P. Knit to end of row, giving 25 (27-29) sts with the first slipped st. Cast on 4 (5-5) sts. Slip 22 (29-35) sts from second st holder onto a needle and K22 (29-35): total 51 (61-69) sts.
Final Full Wedges
- Step 1: Rep the Full Wedge sequence 2 more times, for a total of 6½ shaped Wedges at the top of the Helmet.
Final Half Wedge
- Row 1: (RS). Knit to last st. Turn. Leave rem st on a spare needle.
- Row 2: Sl1P. Knit to end of row.
- Step 1: Rep Rows 1-2, leaving 1 more st on spare needle at end of every RS row, 3 (4-4) times more: 47 (56-64) sts.
- Next row: (RS). Knit across all sts: 51 (61-69) sts.
- Step 2: Cast off loosely.
Helmet Finishing
- Step 1: Sew center back seam.
- Step 2: Weave yarn through sides of sts of each row along top edge. Gather tightly and fasten securely.
Spikes, Kids Version Only
Knit both strings the same way, then join and stuff them before attaching them to the Helmet. Make 2 strings alike. With Contrast A and smaller needles, begin each string as follows.
- Step 1: Cast on 2 sts. (2)
- Rows 1 and alternate rows: (WS). Knit.
- Row 2: Kfb. K1: 3 sts. (3)
- Row 4: K1. Kfb. K1: 4 sts. (4)
- Row 6: K2. Kfb. K1: 5 sts. (5)
- Row 8: K3. Kfb. K1: 6 sts. (6)
- Row 10: K4. Kfb. K1: 7 sts. (7)
- Row 12: K5. Kfb. K1: 8 sts. (8)
- Row 14: K6. Kfb. K1: 9 sts. (9)
- Row 16: K7. Kfb. K1: 10 sts. (10)
- Row 18: K8. Kfb. K1: 11 sts. (11)
- Row 20: Cast off 9 sts. K2, including st on needle after cast off: 2 sts. (2)
- Step 2: Rep Rows 1-20 7 more times.
- Step 3: Cast off rem 2 sts.
Spikes Finishing
- Step 1: Using whipstitch, sew the 2 strings of Spikes together across the zig-zag edge, leaving the straight edge open.
- Step 2: Stuff Spikes lightly.
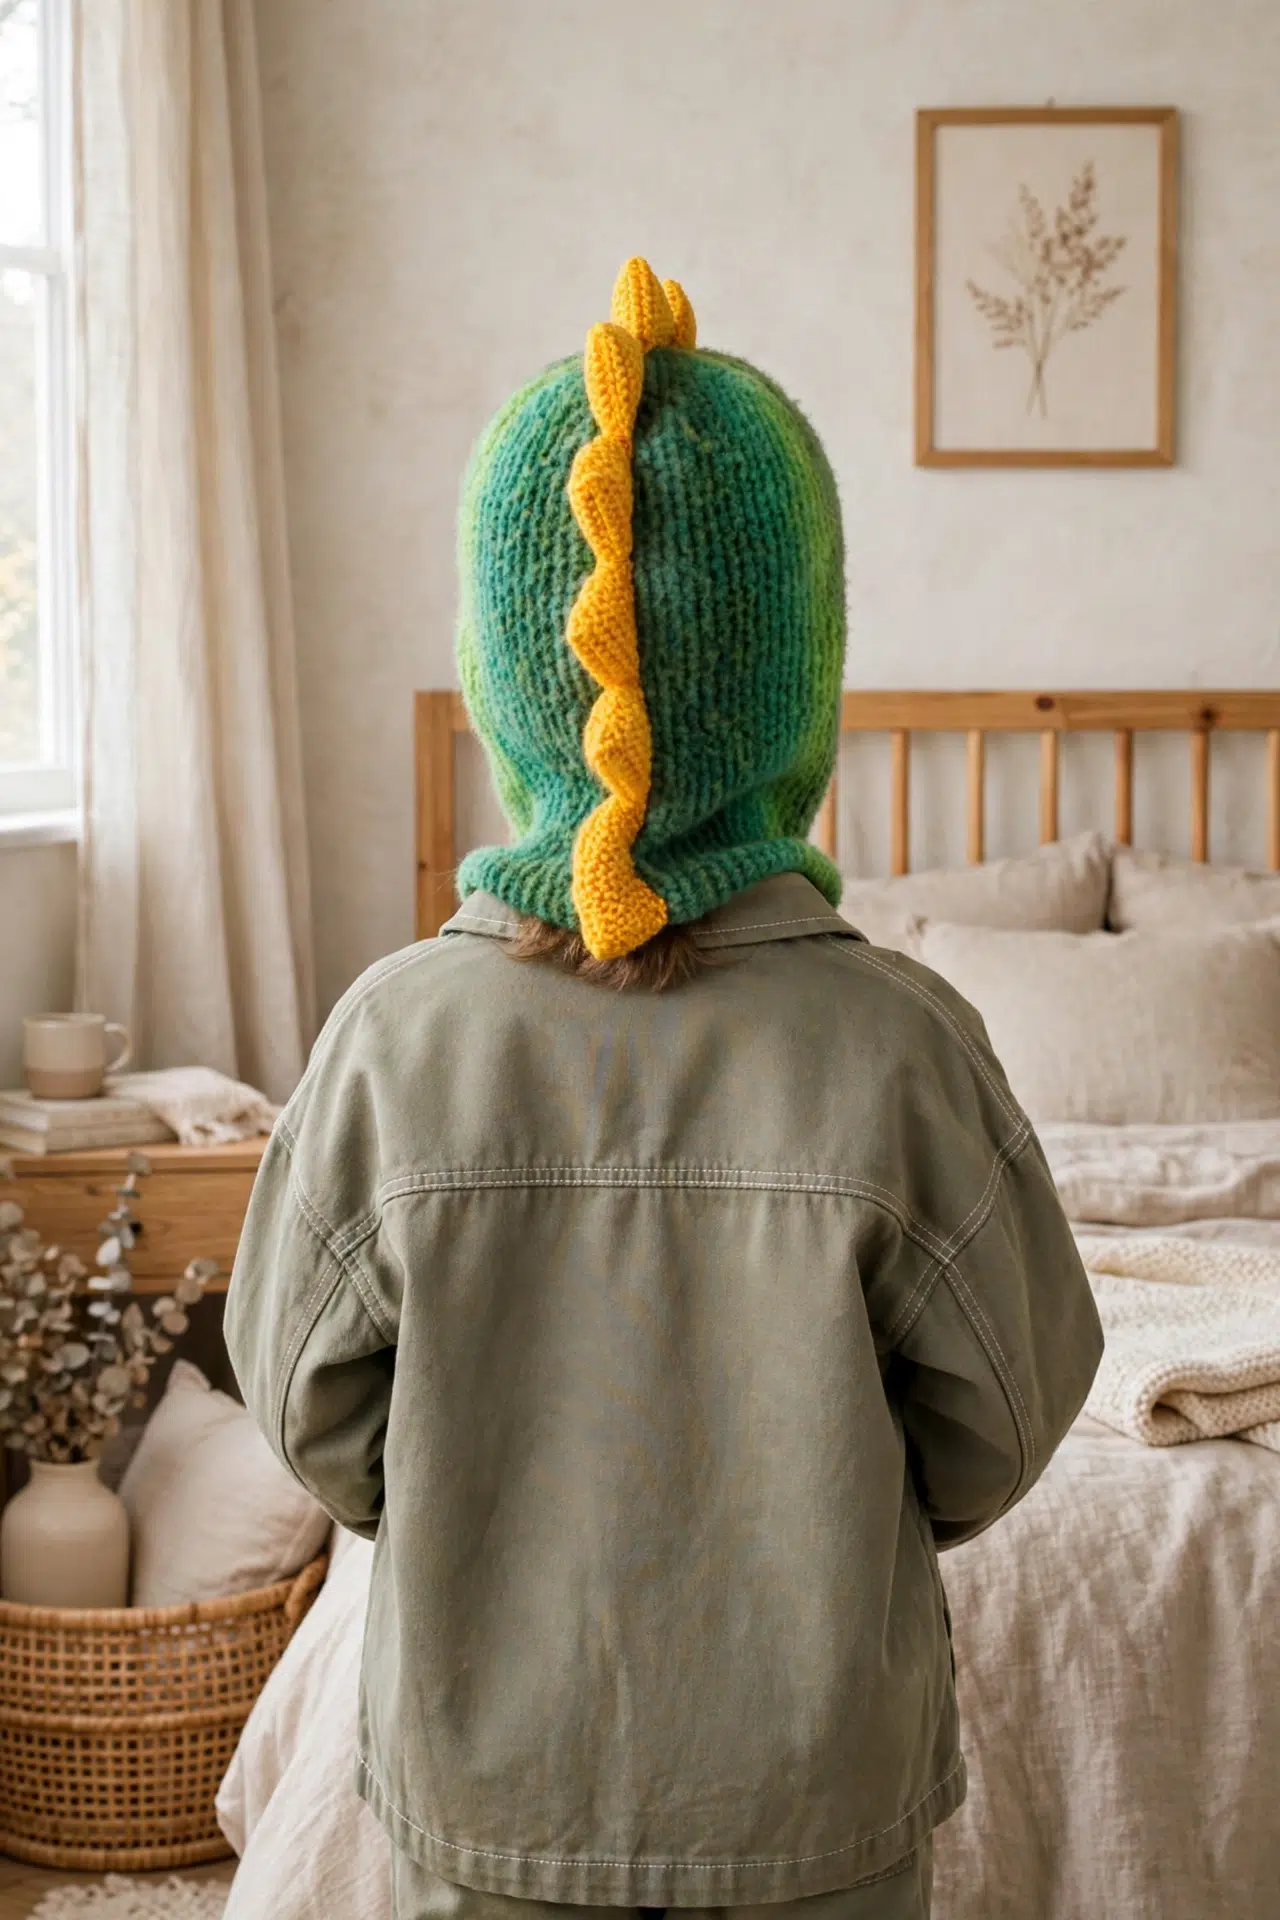
- Step 3: Sew Spikes along center back seam and down center front.
Version guidance
Add the stuffed Spikes to the child sizes. The adult version is worked as a Helmet without the kids' Spikes.
Tips for Success
- Make a gauge swatch: The Helmet gauge and Spike gauge are different. Check each with its assigned yarn and needle size, especially because garter stitch can relax after washing.
- Track every short row: Use a row counter or make a small tally each time you leave another stitch on the spare needle. The wedge shaping depends on setting aside exactly one additional stitch on each specified RS row.
- Keep the edges flexible: Cast on and cast off loosely. A tight edge can reduce stretch around the head even when your main stitch gauge is correct.
- Stuff before final attachment: Join the Spike strings and add the fiberfill while the straight edge is still open. Light, even stuffing makes that edge easier to pin and sew.
Keep the Wedges Easy to Track
On each specified RS short row, turn before the waiting stitch or stitches and leave them on the spare needle. The following WS row begins with Sl1P, then returns to the working edge.
A simple tally beside each completed RS turn helps you avoid adding or skipping a turn. When the pattern tells you to knit across all stitches, work the waiting stitches too so the full row is restored.
Ways to Adapt Your Knit Dino Helmet
- Choose another Size 4 yarn: A different Medium Weight yarn can work, but swatch it with both needle sizes. Matching the stitch and row gauges matters because the Helmet is shaped by both width and a specific number of garter rows.
- Use one yarn for both parts: You can work MC and Contrast A in the same yarn if it meets both gauges with the assigned needles. The Spikes will still require the smaller needle gauge even when the yarn itself doesn't change.
- Leave off the Spikes: For a simpler child version, finish the Helmet after closing the back seam and gathering the top. Omitting the Spikes doesn't change the Helmet construction.
- Use a different contrast yarn: Choose another Medium Weight yarn for the child Spikes, but avoid a dramatically denser yarn. A stiff fabric is harder to stuff lightly and can pull against the Helmet when sewn down.
- Adjust Spike firmness: Use less fiberfill for softer Spikes, but don't pack in extra stuffing to force more structure. Overfilling can spread the open edge and strain the whipstitch seam.
Fixing Wedges, Joins, and Spikes
- The wedge counts drift: Check that only one additional stitch was left on the spare needle at the end of every specified RS row. Accidentally turning on a WS row or leaving 2 stitches at once changes the wedge depth.
- The opening edges feel tight: The cast-on and cast-off stitches around the face opening may be too firm. Work those edge operations loosely and avoid pulling the first knit stitch tight after a turn.
- The Spikes pucker after sewing: Remove a little fiberfill and loosen the attachment stitches. The straight edge should lie against the Helmet without being stretched to match it.
Care Instructions
Check the washing directions on both yarn labels because the fiber content isn't specified. With stuffed Spikes, gentle hand washing is the safest choice unless both the yarn and fiberfill allow machine washing. Reshape the Helmet and Spikes, then dry flat.
More Whimsical Crochet Headwear
Frequently Asked Questions
Why are stitches left on a spare needle during the wedges?
Those waiting stitches create the short-row shaping that forms the crown. Each specified RS row leaves one more stitch unworked, gradually changing the depth of the fabric. Knitting across all stitches at the end of the sequence reconnects the full width before the next wedge begins.
Do I knit the Spikes for the adult size?
No, the Spike instructions are for the kids' version only. The adult Helmet is complete after the center-back seam is sewn and the top edge is gathered and secured. Leaving off the Spikes doesn't require any adjustment to the adult Helmet rows.
How many Spike repeats are worked in each string?
Each string contains 8 repeats of Rows 1-20. Work the first 20-row section, then repeat Rows 1-20 7 more times before casting off the remaining 2 stitches. Make a second identical string so the zig-zag edges can be sewn together.
Can I skip the gauge swatch because the fabric is garter stitch?
No, gauge still controls both circumference and shaping. The Helmet uses 17 sts and 30 rows per 4 in. [10 cm], while the Spikes use 19.5 sts and 32 rows over the same measurement. Garter stitch can vary significantly with yarn, needle material, and individual tension.
Which size are you knitting, and will you add the stuffed Spikes or keep your Helmet simple? Tell me what yarn combination you chose in the comments.



