
Few things drain the fun from a tiny garment faster than finishing the crochet and discovering a pile of seams still waiting. I designed this Summer Crochet Baby Cardigan for those moments when you want satisfying construction without fiddly assembly.

You work it in one piece, forming the sleeve openings as you go. The collar, front edges, button loop, and sleeve trim are added directly to the cardigan, so your hands can stay focused on crochet instead of joining separate panels.
Jump to:
Why I Love This Pattern
- One-piece construction: The yoke and body flow into each other, and Row 16 creates both sleeve openings. There aren't separate fronts, a back, and sleeves to sew together.
- Steady yoke shaping: The increase rows follow a clear progression, with plain hdc rows between them. That rhythm gives you natural checkpoints for counting before you reach the armholes.
- Integrated finishing: The picot edging, collar, front borders, and button loop are all crocheted onto the piece. Only the optional button needs sewing.
- Interesting body stitch: The Raised Treble Diagonal Rib Stitch adds a satisfying technique after the straightforward hdc yoke, making this a rewarding intermediate project.
Pattern Details
- Skill Level: Intermediate
- Yarn Weight: DK / Light Worsted
- Time to Make: about 6-9 hours
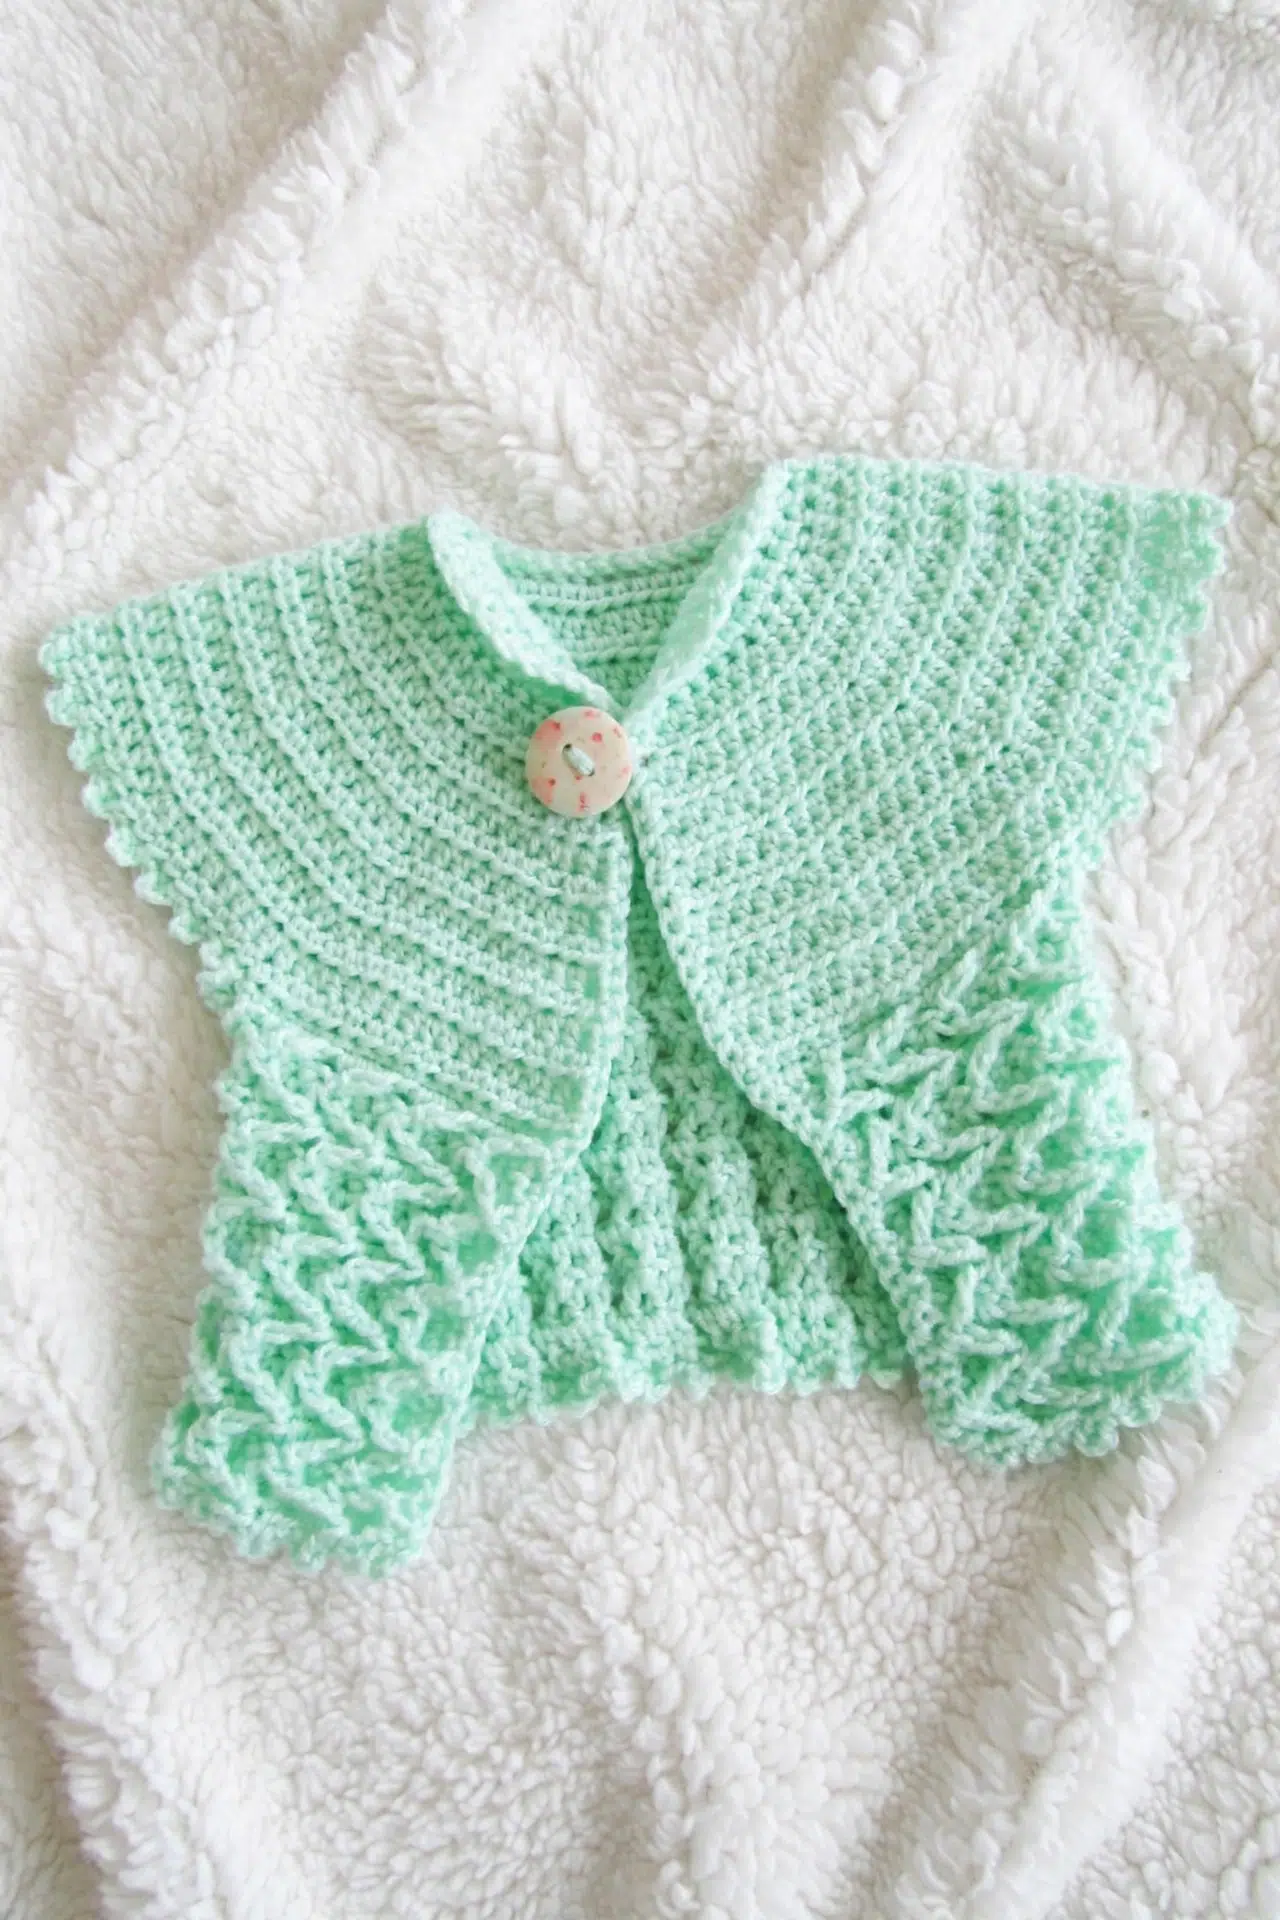
Materials You'll Need
Gather your DK or light worsted yarn, a 4.00 mm hook, and a few basic finishing tools before you begin.
- DK/light worsted weight yarn; amount not specified: Fiber content and yarn amount aren't fixed, so choose a yarn suitable for a baby garment and buy enough from one dye lot. Keep the same weight because a thicker or thinner yarn will change the cardigan's proportions.
- 4.00 mm crochet hook
- Yarn needle
- Scissors
- 1 button, approximately 2 cm, optional: The suggested button is approximately 2 cm, but the loop can be adjusted. Make the loop long enough to pass over the button without leaving the front edge loose.
Stitches & Abbreviations
- ch - chain
- sc - single crochet
- hdc - half double crochet
- dc - double crochet
- tr - treble crochet
- sl st - slip stitch
- st - stitch
- sts - stitches
- sk - skip
- mm - millimeter
Single Crochet Foundation Stitch: Used in Row 1 to establish the 48-sc foundation row.
Raised Treble Diagonal Rib Stitch: Sk 1 st, work 1 dc in each of the next 3 sts, then work 1 tr in the previously skipped st.
How to Crochet the Summer Baby Cardigan
Read through Row 16 and the collar sequence before starting so the one-piece construction feels clear in your hands.
The cardigan is crocheted in one piece and requires no sewing other than attaching the optional button. The turning ch 1 does not count as a st. Do not ch 1 at the beginning of Rows 17 onward. No gauge or finished measurements are specified.
Cardigan
The alternating increase and plain rows shape the yoke, then Row 16 closes the body beneath the sleeve openings. Work the cardigan flat in one piece, turning at the end of each row.
- Row 1: Using a 4.00 mm crochet hook, ch 48 sc foundation sts. (48)
Use the Single Crochet Foundation Stitch for the foundation row.
- Row 2: Ch 1, turn, 1 hdc in 1st st, 2 hdc in next st, *1 hdc in next 3 sts, 2 hdc in next st; rep from * 10 more times, 1 hdc in last 2 sts. (60)
- Row 3: Ch 1, turn, 1 hdc in 1st st and in each st across. (60)
- Row 4: Ch 1, turn, 1 hdc in next 2 sts, 2 hdc in next st, *1 hdc in next 4 sts, 2 hdc in next st; rep from * 10 more times, 1 hdc in last 2 sts. (72)
- Row 5: Ch 1, turn, 1 hdc in 1st st and in each st across. (72)
- Row 6: Ch 1, turn, 1 hdc in next 3 sts, 2 hdc in next st, *1 hdc in next 5 sts, 2 hdc in next st; rep from * 10 more times, 1 hdc in last 2 sts. (84)
- Row 7: Ch 1, turn, 1 hdc in 1st st and in each st across. (84)
- Row 8: Ch 1, turn, 1 hdc in next 4 sts, 2 hdc in next st, *1 hdc in next 6 sts, 2 hdc in next st; rep from * 10 more times, 1 hdc in last 2 sts. (96)
- Row 9: Ch 1, turn, 1 hdc in 1st st and in each st across. (96)
- Row 10: Ch 1, turn, 1 hdc in next 5 sts, 2 hdc in next st, *1 hdc in next 7 sts, 2 hdc in next st; rep from * 10 more times, 1 hdc in last 2 sts. (108)
- Row 11: Ch 1, turn, 1 hdc in 1st st and in each st across. (108)
- Row 12: Ch 1, turn, 1 hdc in next 6 sts, 2 hdc in next st, *1 hdc in next 8 sts, 2 hdc in next st; rep from * 10 more times, 1 hdc in last 2 sts. (120)
- Row 13: Ch 1, turn, 1 hdc in 1st st and in each st across. (120)
- Row 14: Ch 1, turn, 1 hdc in next 7 sts, 2 hdc in next st, *1 hdc in next 9 sts, 2 hdc in next st; rep from * 10 more times, 1 hdc in last 2 sts. (132)
- Row 15: Ch 1, turn, 1 hdc in 1st st and in each st across. (132)
- Row 16: Ch 1, turn, 1 sc in next 18 sts, ch 4, sk 30 sts, 1 sc in next 36 sts, ch 4, sk 30 sts, 1 sc in last 18 sts. (80)
The two ch-4 spaces form the lower edges of the sleeve openings.
- Rows 17-26: Do not ch 1. For each row, turn and work (sk 1 st, 1 dc in next 3 sts, 1 tr in previous sk st) 20 times. (80)
The Raised Treble Diagonal Rib Stitch begins here.
Bottom and Front Edging
- Row 27: Turn, *1 sc in next 2 sts, ch 3, sl st in same st as sc below; rep from * 39 more times. Work 1 sc neatly up the right edge, stopping just before the top neckline. Ch 8 for a button loop, or use however many chains are needed for the chosen button, then work 1 sc to the top.
Test the loop around the button before continuing.
Collar Edging
- Step 1: Work the following sequence for the first collar: 1 sc in next st, 1 hdc in next st, 1 dc in next 9 sts, 1 hdc in next st, 1 sc in next st, sl st in next st; turn, sk sl st, sl st in next st, 1 sc in next st, 1 hdc in next st, 1 dc in next 7 sts, 1 hdc in next st, 1 sc in next st, sl st in next st; turn, sk sl st, sl st in next st, 1 sc in next st, 1 hdc in next st, 1 dc in next 5 sts, 1 hdc in next st, 1 sc in next st, sl st in next st.
- Step 2: Sl st along the back top edge to the last 14 sts on the top edge. Work the collar sequence from Step 1 once more for the second collar.
- Step 3: Work 1 sc neatly down the left edge, sl st to finish, fasten off, and tie in all tails.
Arm Picot Edging
Work the edging around both sleeve openings.
- Step 1: Rejoin yarn in one sleeve hole. *1 sc in next 2 sts, ch 3, sl st in same st as sc below; rep from * around. Sl st to finish, fasten off, and tie in all tails.
- Step 2: Repeat Step 1 for the other sleeve hole.
Finishing
- Step 1: Sew on the optional button.
Position the button to match the button loop.
My Best Tips
- Count every increase row: The yoke gains 12 stitches on each increase row. Check the count before working the following plain row, since a missed increase can shift the armhole placement later.
- Mark the armholes: On Row 16, place a marker before and after each group of 30 skipped stitches. This makes it easier to confirm that the front, back, and second front sections contain 18, 36, and 18 sc.
- Leave out the turning chain: Rows 17 onward begin without ch 1. Adding one can create extra edge loops and make it harder to work the front edging evenly.
- Test the button loop immediately: Slip the ch-8 loop over your button before continuing around the neckline. Adjust the number of chains while the loop is still easy to remake.
Ways to Adapt Your Baby Cardigan
- Cotton yarn: A DK cotton can suit a summer garment, but it may feel firmer and heavier than a springy yarn. Keep your tension relaxed so the raised stitch doesn't become stiff.
- Cotton-blend yarn: A DK cotton blend can add softness and recovery while keeping the same yarn-weight category. Check that the fabric bends comfortably at the yoke and armholes.
- Baby acrylic yarn: DK baby acrylic is a practical option when easy laundering matters. Some acrylics relax after washing, so test a small swatch according to the yarn label before committing to the full cardigan.
- Different button size: You can use another button size by changing the ch-8 loop. Add chains for a larger button or remove chains for a smaller one, then test that it passes through without stretching the front edge.
- Simpler sleeve trim: For a plainer variation, work sc evenly around each sleeve opening instead of the picot repeat. This changes the finishing detail but doesn't affect the one-piece construction.
Fixing Yoke and Rib Stitch Problems
- The yoke count is off: Return to the most recent increase row and check each repeated group. Every increase row adds 12 stitches, while the plain rows keep the same count.
- Row 16 doesn't divide evenly: Confirm that Row 15 ends with 132 stitches. Row 16 uses 18 stitches for each front, 36 for the back, and skips 30 stitches for each sleeve opening.
- The raised stitch row feels cramped: Give the treble enough height before inserting it into the skipped stitch. If that loop is pulled too tightly, the four-stitch repeat can bunch and become difficult to work on the next row.
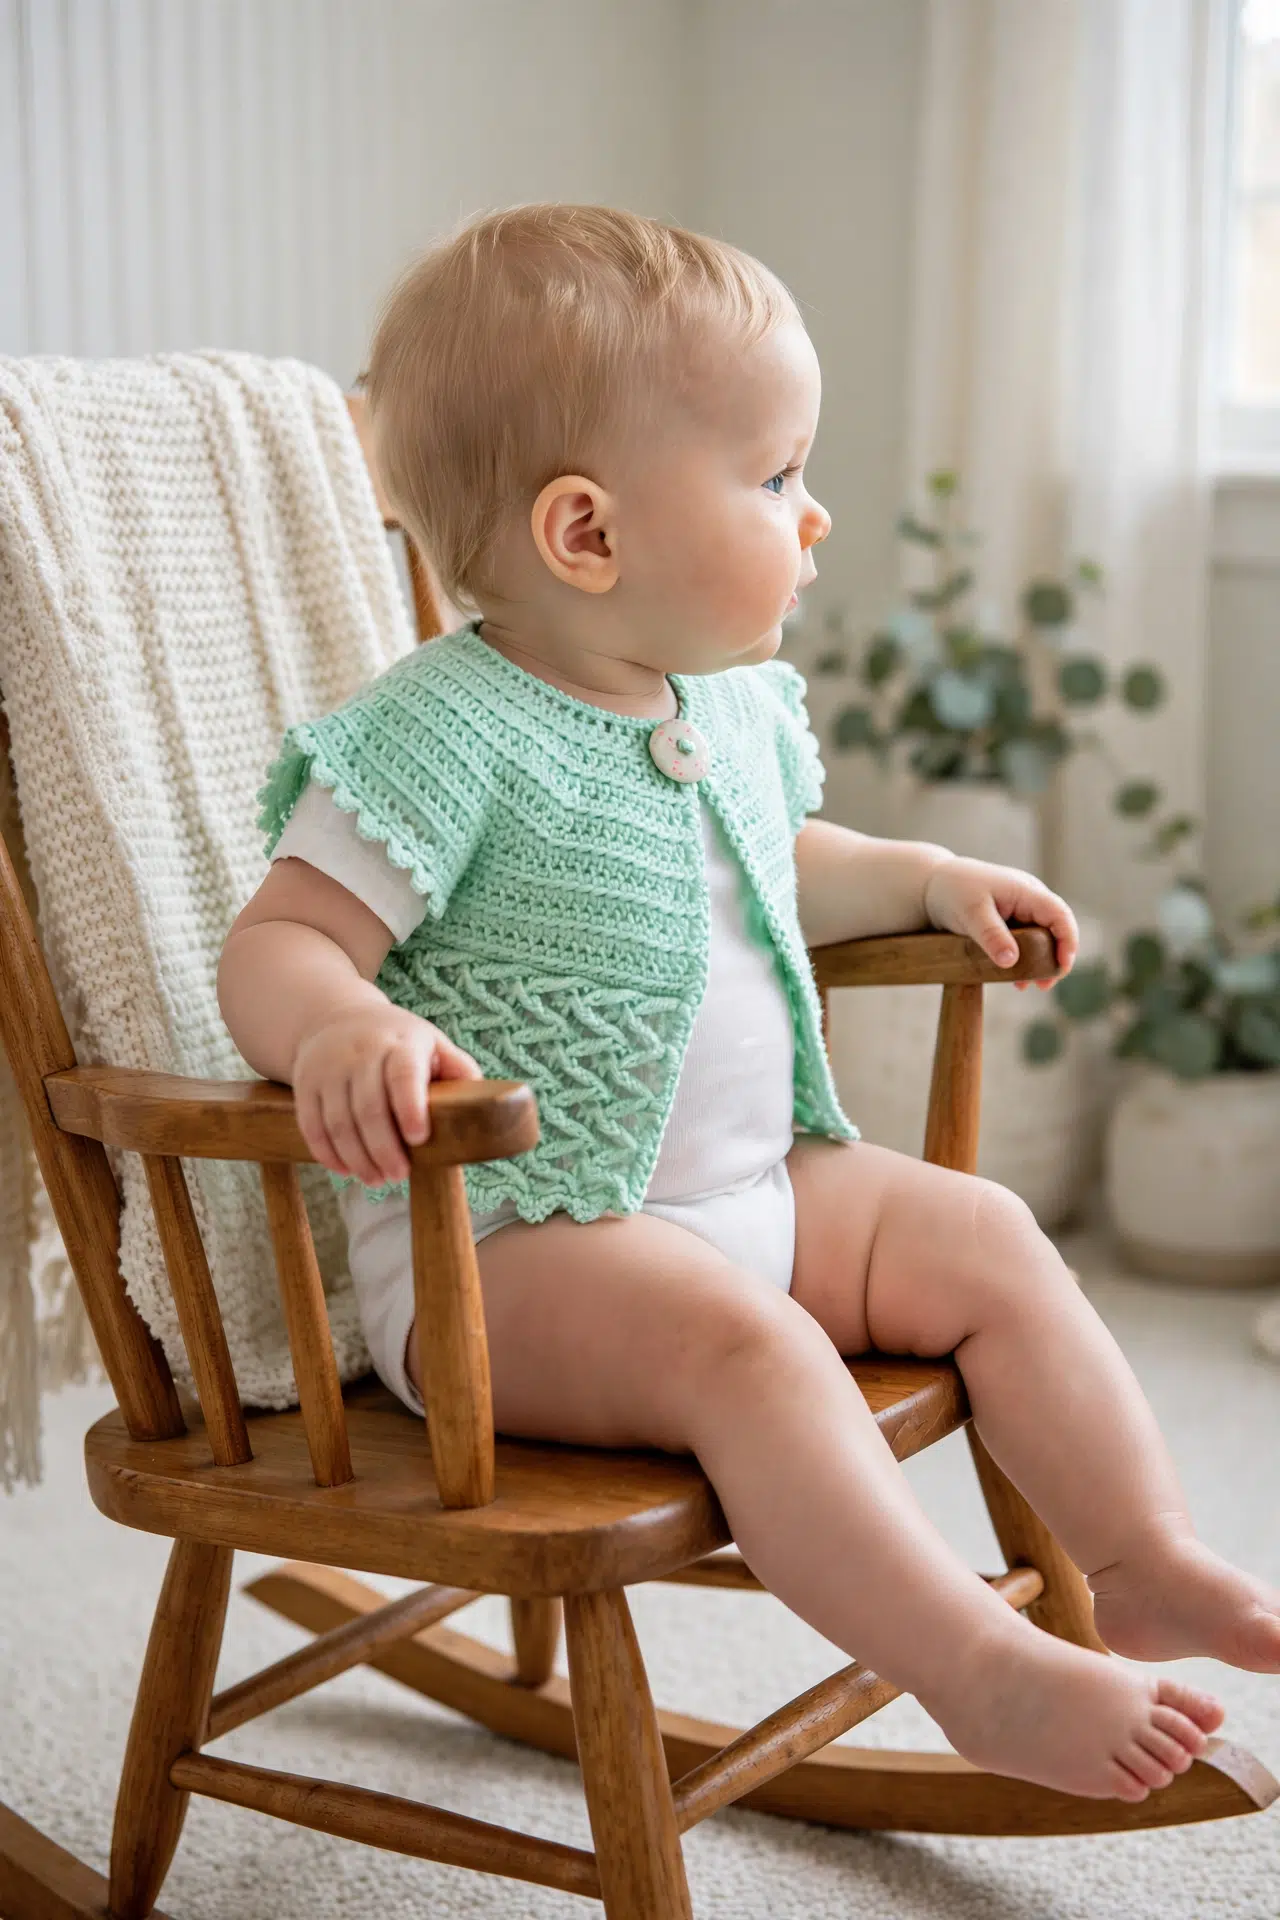
Caring for Your Cardigan
Fiber content isn't specified, so follow the washing and drying directions on your yarn label. Use the gentlest method the yarn allows and reshape the cardigan while it dries. Check that the optional button remains firmly attached before the cardigan is worn.
More Crochet Baby Wearables
- Pastel Crochet Baby Cardigan
- Simple Crochet Baby Cardigan
- Parquet Crochet Baby Cardigan
- Bumblebee Baby Booties Crochet Pattern
- Baby Flipflop Sandals Crochet Pattern
Frequently Asked Questions
How are the sleeve openings made without sewing?
Both sleeve openings are formed in Row 16 with ch-4 spaces over groups of 30 skipped stitches. The 18 stitches on each end become the fronts, while the central 36 stitches form the back. Continuing across the chains joins those sections into one body without requiring separate sleeve or side seams.
Should I chain at the start of the textured body rows?
No, don't ch 1 from Row 17 onward. Each row begins by turning and immediately skipping the first stitch as part of the Raised Treble Diagonal Rib Stitch. An added turning chain can leave extra loops along the front edge and disturb the intended 80-stitch rhythm.
Does the button loop have to use eight chains?
No, ch 8 is the starting recommendation, and the final length should fit your button. A larger or thicker button may need more chains, while a smaller one may need fewer. Test the loop before working into the neckline so it closes securely without pulling the cardigan front.
Do I need to sew the collar onto the cardigan?
No, both collar sections are crocheted directly along the top edge. After completing the first shaped collar sequence, you slip stitch across the back neckline to the final 14 stitches and work the same sequence again. The only sewing required is attaching the optional button.
Tell me in the comments how your little cardigan turned out and which yarn you chose 🧶



