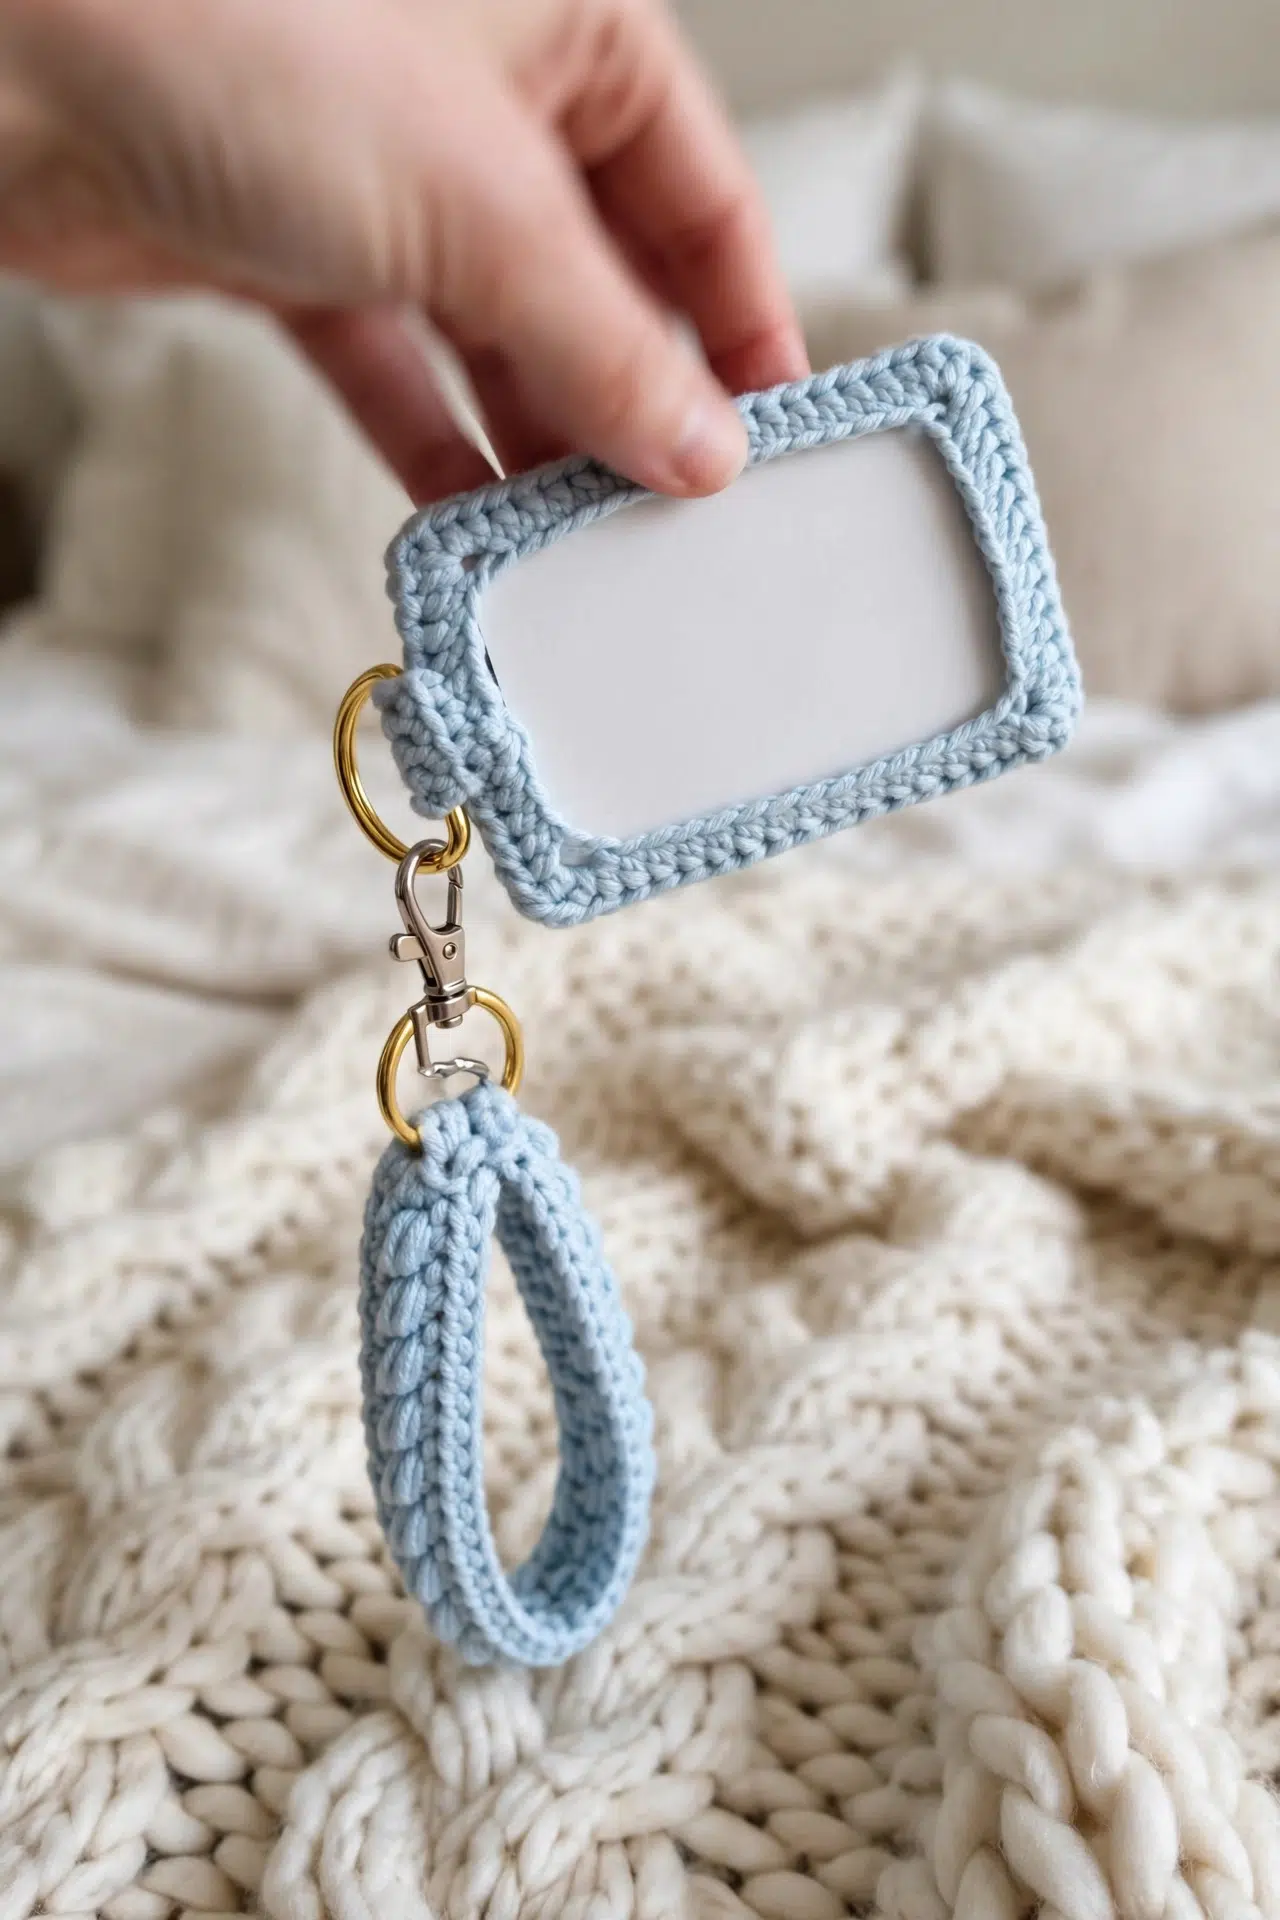
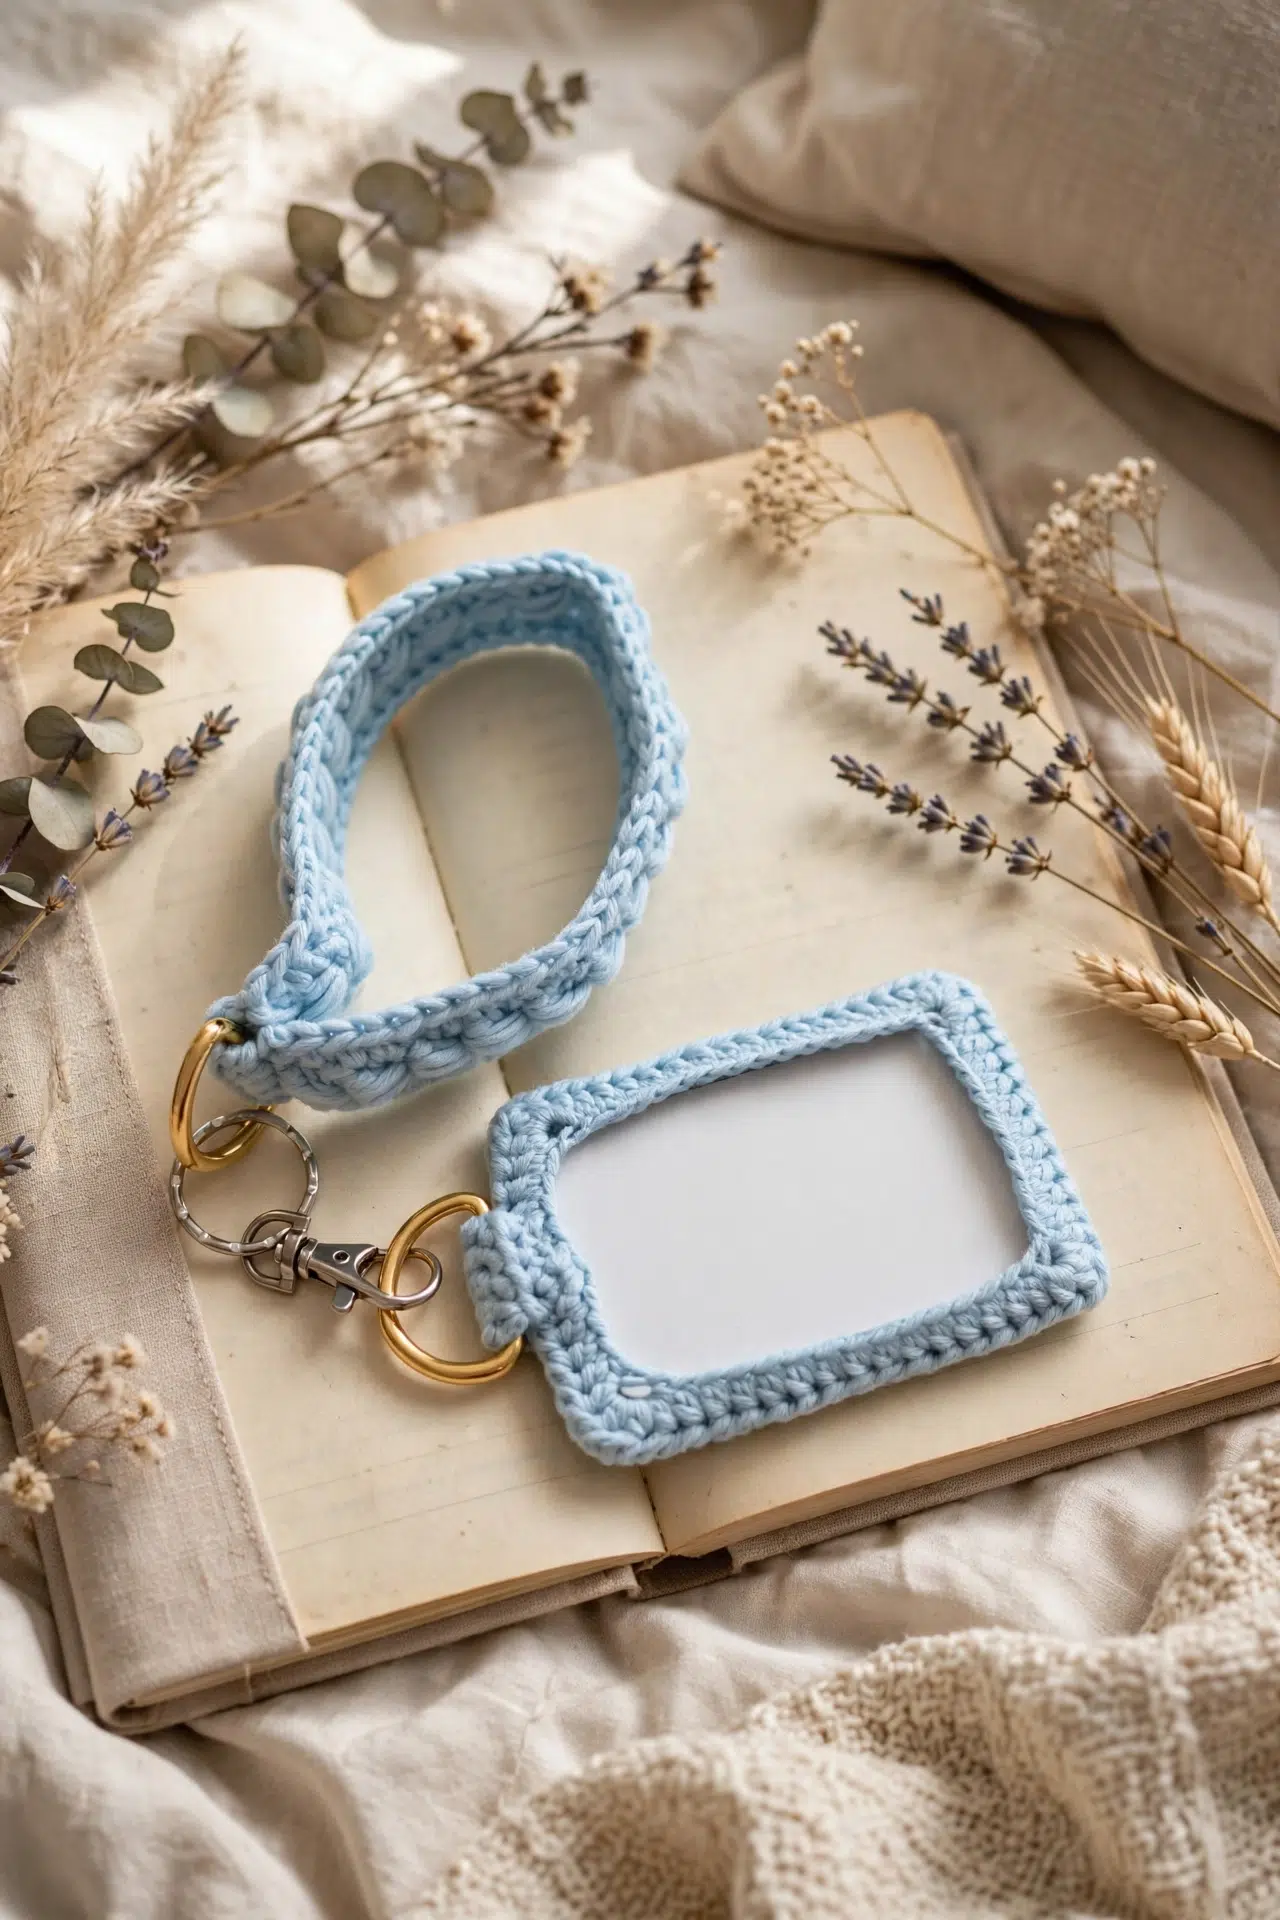
If you've been wanting a useful project that's compact, giftable, and interesting to crochet, this Crochet ID Holder and Lanyard is the one you just found. It gives travel cards or ID cards a dedicated holder, and you can also use the lanyard on its own.

You'll work simple hdc fabric for the holder, shape the front in one joined round, and add texture to the strap with bead stitches. The small tabs take care of the D-ring connections, so there isn't any complicated shaping to manage.
Jump to:
- Why This Pattern Is a Keeper
- Pattern Details
- What You'll Need
- Stitches & Abbreviations
- How to Crochet the ID Holder and Lanyard
- Tips for the Best Results
- Ways to Adapt Your Card Holder and Lanyard
- Fixing Lanyard and Holder Trouble Spots
- Caring for Your Lanyard
- More Small Crochet Accessories to Make Next
- Frequently Asked Questions
Why This Pattern Is a Keeper
- Two useful pieces: You can join the holder and lanyard for carrying a card, or keep the lanyard as a standalone accessory. That flexibility makes the finished project easy to put to work.
- Manageable construction: The back is a straightforward hdc rectangle, while the front is made from one shaped loop. Short 4-stitch tabs secure the D-rings without demanding fiddly hardware installation.
- A satisfying strap row: The bead-stitch row gives your hands a change from plain hdc. There are 24 bead stitches to work, followed by a final row that brings the lanyard to its stated stitch count.
Pattern Details
- Skill Level: Intermediate
- Yarn Weight: DK / Light Worsted, weight 3
- Time to Make: about 4-6 hours
What You'll Need
Gather your DK or light worsted yarn, a 3.5 mm hook, and the basic finishing tools before you begin. You'll also need two D-rings for the connecting tabs, with key-chain rings as an optional extra.
- DK/Light worsted weight yarn, weight 3; amount not specified
- 3.5 mm crochet hook
- Yarn needle
- Scissors
- 2 D-rings, approximately 25 mm: The 4-stitch tabs are designed to fold around D-rings measuring approximately 25 mm. If you change the hardware size, test the fold before fastening off.
- Key-chain rings, approximately 25 mm, optional: These are optional and don't affect the crocheted construction. Add one only if you want another way to connect keys or the holder.
Stitches & Abbreviations
- ch - chain
- st(s) - stitch(es)
- sl st - slip stitch
- hdc - half double crochet
- dc - double crochet
- rep - repeat
bead st: Bead stitch worked around the previous 2 dc posts. Use your preferred bead stitch method, as the specific steps aren't defined in this pattern.
hdc foundation sts: Foundation half double crochet stitches. Use your preferred foundation hdc method, as the specific steps aren't defined in this pattern.
How to Crochet the ID Holder and Lanyard
Make the holder pieces first, add its D-ring tab, then crochet and finish the separate lanyard.
The pattern uses US crochet terminology. The methods for the bead st and hdc foundation sts aren't specified, so use your preferred methods for those techniques. The optional key-chain ring may be used with the finished lanyard.
Card Holder Back Piece
- Row 1: Ch 13. Work 1 hdc in second ch from hook and in each ch along. Ch 1, turn. (12)
- Rows 2-16: Work 1 hdc in each st along. Ch 1 and turn on Rows 2-15 only. Fasten off after Row 16 and weave in all ends. (12)
Card Holder Front Piece
- Round 1: Ch 52, then sl st in first ch to form a large loop. Ch 1, which doesn't count as a st. Work 1 hdc in first st and next 4 sts, 4 hdc in next st, 1 hdc in next 14 sts, 4 hdc in next st, 1 hdc in next 10 sts, 4 hdc in next st, 1 hdc in next 14 sts, 4 hdc in next st, and 1 hdc in last 5 sts. Sl st in first st to join. Fasten off, leaving a long tail for sewing. Matching the short and long edges, sew the front piece to the back piece as neatly as possible. (64)
Card Holder Loop
- Row 1: On a short edge, skip 4 sts and rejoin the yarn by picking up the next st with a ch 1. Work 1 hdc in next 4 sts. Ch 1, turn. (4)
- Rows 2-4: Work 1 hdc in each st along. Ch 1 and turn on Rows 2-3 only. Fasten off after Row 4, fold the loop over a D-ring, and secure it with the tail end. (4)
Lanyard
- Row 1: Ch 49 hdc foundation sts, or ch 50 and work 1 hdc in second ch from hook and in each ch along. (49)
Choose one of the two foundation methods.
- Row 2: Ch 3, turn. (Work 1 dc in next 2 sts, then work 1 bead st around the previous 2 dc posts) 24 times. Work 1 dc in last st.
24 bead sts.
- Row 3: Ch 1, turn, and skip first st. *Work 1 hdc in next 2 sts, skip next st; rep from * until the last ch-3 st. Work 1 hdc in top of ch 3. (33)
Lanyard Loop
- Row 1: Fold the lanyard in half and join the ends by working 4 hdc neatly along the edge. Ch 1, turn. (4)
- Rows 2-4: Work 1 hdc in each st along. Ch 1 and turn on Rows 2-3 only. Fasten off after Row 4, fold the loop over a D-ring, and secure it with the tail end. (4)
Ways to Use It
Use the holder for a travel card or ID card, or use the lanyard by itself. The optional key-chain ring adds another attachment point.
Project Category
This is a practical back-to-school project that also works for travel and everyday identification cards.
Tips for the Best Results
- Check the foundation count: Whether you use the foundation hdc option or the standard chain option, Row 1 of the lanyard must finish with 49 stitches. That count supports the bead-stitch placement in Row 2.
- Keep the bead stitches even: Work each bead st around the previous 2 dc posts with consistent tension. If some wraps are much tighter than others, the lanyard can draw in unevenly along that row.
- Match the holder edges carefully: Pin or clip the front to the back before sewing if the pieces shift in your hands. Align the short and long edges in stages rather than stretching one piece to force a match.
- Test each D-ring tab: Fold the completed 4-stitch tab over its D-ring before securing the tail. It should hold the ring firmly while still leaving enough room for the tab to lie flat.
Ways to Adapt Your Card Holder and Lanyard
- Another DK yarn: You can substitute a different DK or light worsted yarn, but choose one that produces firm fabric around a card. A very soft or stretchy yarn may let the holder lose shape during use.
- A standard chain foundation: If foundation hdc isn't a technique you enjoy, use the ch-50 option and crochet back across it. Both methods produce the required 49 stitches, though the standard chain edge may feel slightly firmer.
- Different hardware: You can use D-rings that aren't exactly 25 mm if the 4-stitch tabs wrap around them securely. Larger rings may need longer tabs, while very small rings can crowd the folded fabric.
- Standalone lanyard: Leave off the card holder and use the lanyard by itself. The optional key-chain ring can then provide a convenient connection point for a compatible item.
- Adjusted strap length: You may alter the foundation to change the lanyard length, but Rows 2 and 3 depend on specific repeat placement. Make a small swatch of the bead-stitch sequence and recalculate both later rows before committing to a different foundation count.
Fixing Lanyard and Holder Trouble Spots
- The front won't align neatly: Check that Round 1 has 64 stitches and that all four 4-hdc groups were worked into single chain stitches. Missing one of those increase groups changes the shaping and makes the edges harder to match during sewing.
- The lanyard count is off: Begin by confirming that Row 1 has 49 stitches and Row 2 contains 24 bead stitches. On Row 3, skip the first stitch, repeat the hdc-and-skip sequence as directed, and place the final hdc in the top of the turning ch 3.
- The D-ring feels loose: Refold the tab snugly around the ring and secure it closer to the base. The tab is only 4 stitches wide, so loose finishing stitches can let the hardware shift even when the crochet itself is the correct size.
Caring for Your Lanyard
Check the yarn label before cleaning because the exact fiber isn't specified. Gentle hand washing in cool water is the safest choice for the crochet, and brief soaking helps protect the metal hardware. Reshape the holder and lanyard, then dry them flat and completely.
More Small Crochet Accessories to Make Next
- Sunflower Granny Stitch Phone Bag Crochet Pattern
- Flower Chain Bracelet Crochet Pattern
- Watermelon Glasses Case Crochet Pattern
- Granny Flower Water Bottle Cozy Crochet Pattern
Frequently Asked Questions
Can I use the regular chain option instead of foundation hdc?
Yes, ch 50 and work 1 hdc in the second ch from the hook and in every remaining ch. That gives you the same 49-stitch Row 1 required by the lanyard. The two methods mainly change how the foundation edge feels, not the later row instructions.
How many bead stitches should Row 2 contain?
Row 2 contains 24 bead stitches. Each one is worked around the posts of the previous 2 dc, followed by 1 dc in the last stitch after all 24 groups. Count the bead stitches as you go so you don't discover a missed pair when working Row 3.
Where does the card holder loop attach?
The loop begins on a short edge after you skip 4 stitches and rejoin the yarn at the next stitch with a ch 1. You then work across 4 stitches for four rows. That narrow tab folds over the D-ring and is secured with its yarn tail.
Can I make the lanyard longer or shorter?
Yes, but changing the 49-stitch foundation requires recalculating both patterned rows. Row 2 groups the stitches in pairs for 24 bead stitches, while Row 3 uses a repeating sequence of 2 hdc followed by a skipped stitch. Keeping those repeats compatible is more important than adding an arbitrary number of chains.
Share this pattern with a student, traveler, or organized crocheter who'd enjoy making a useful card holder. Tell me in the comments whether you're using yours with the holder or as a standalone lanyard!