
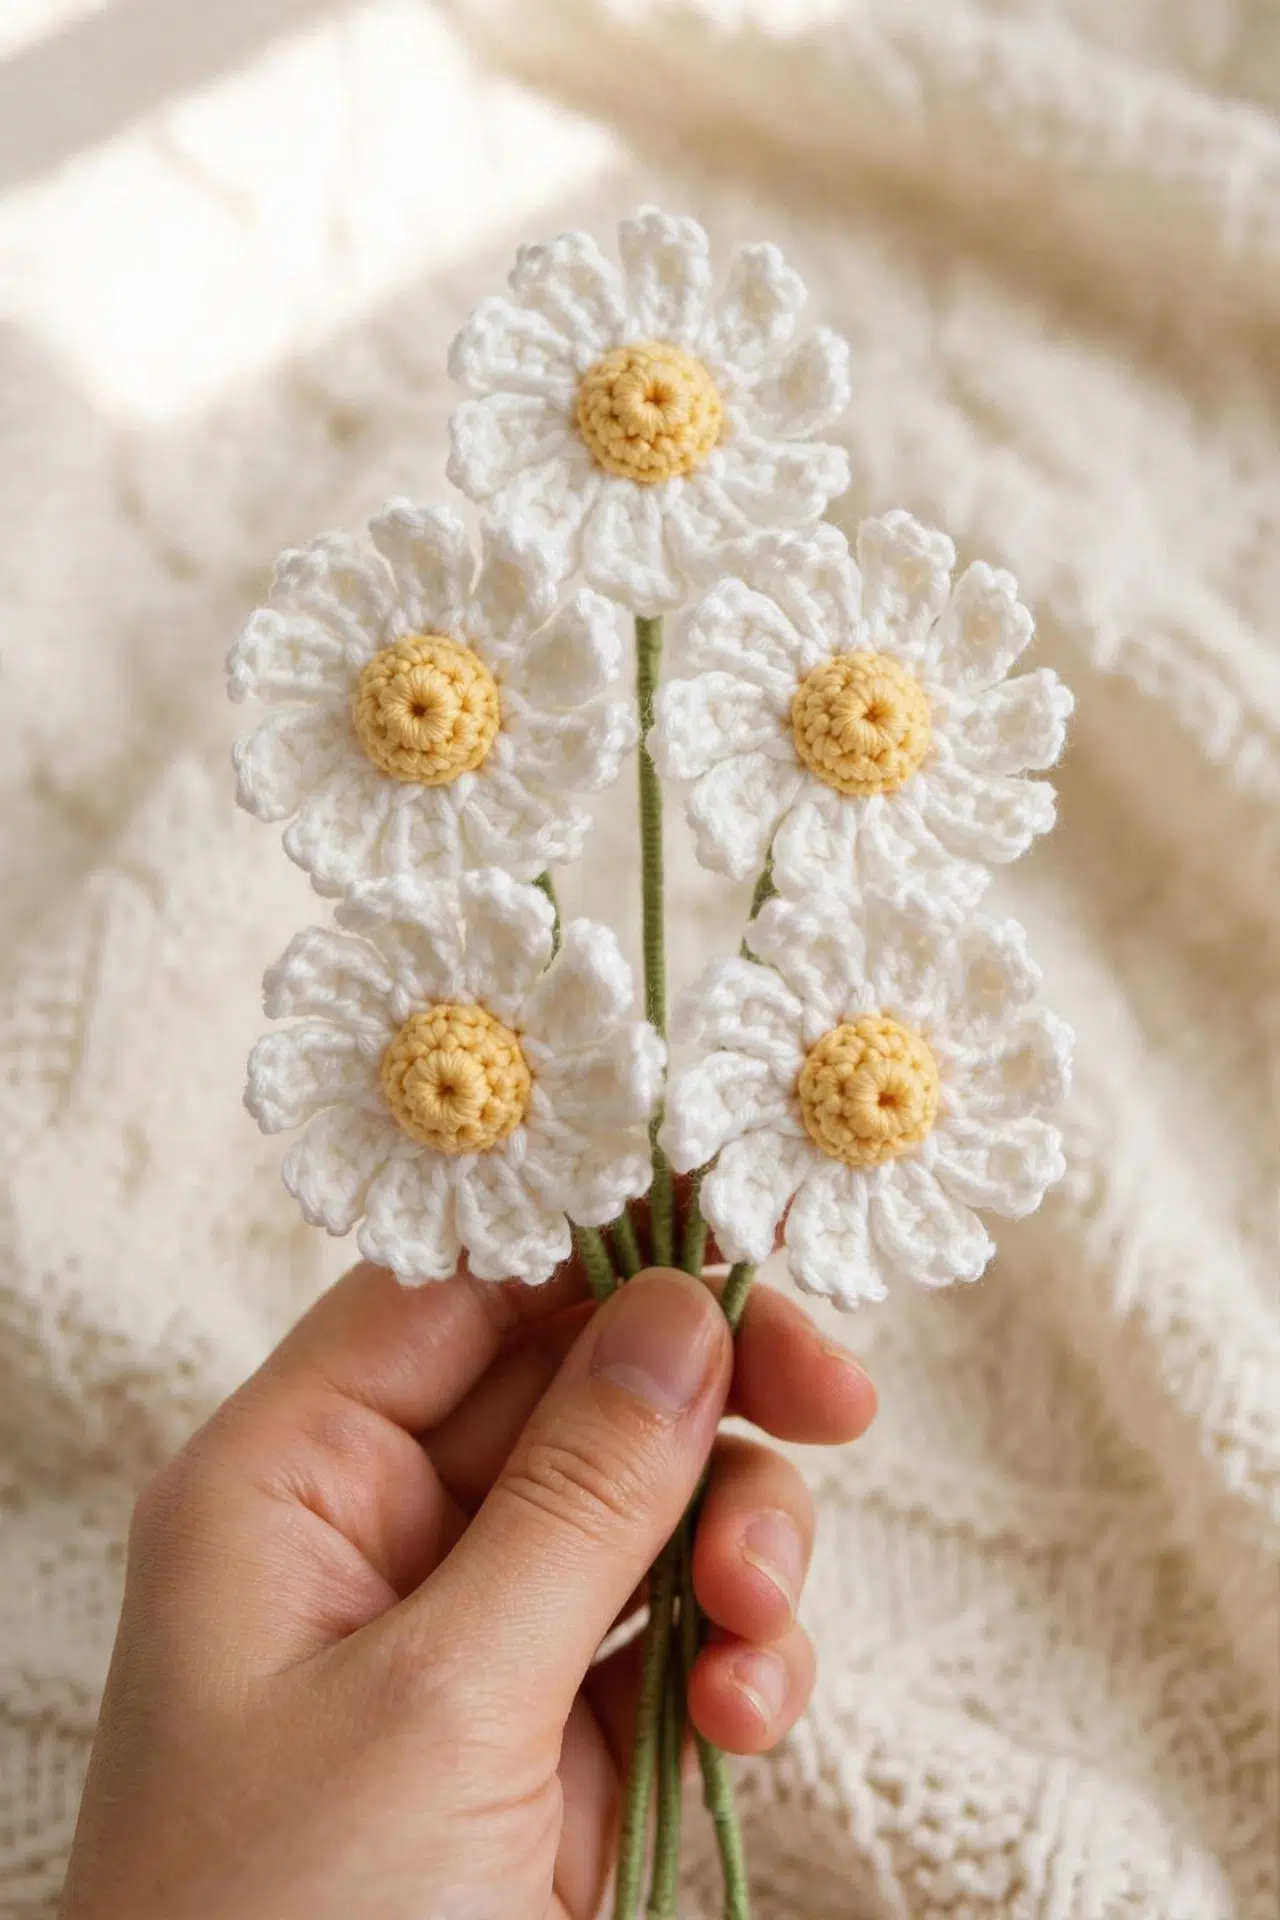
A small project feels even better when it earns a place in your day afterward. This Wire-Stem Crochet Daisy can sit in a little desk vase, mark a place at the table, or add a handmade detail to a wrapped gift.

The making is just as rewarding: simple sc circles form the base, while each petal grows from a short chain worked with dc, hdc, and sc. The rounds stay compact in your hands, and there isn't any complicated shaping to manage!
Jump to:
- Why This Pattern Is a Keeper
- Pattern Details
- What You'll Need
- Abbreviations
- How to Crochet the Wire-Stem Daisy
- Tips for the Best Results
- Ways to Adapt Your Crochet Daisy
- Fixing Petals, Centres, and Stems
- Simple Places for Your Finished Daisy
- Caring for Your Daisy
- More Crochet Flower Patterns for Home Decor
- Frequently Asked Questions
Why This Pattern Is a Keeper
- A manageable stitch sequence: Each petal repeats the same short progression, so you'll settle into the rhythm quickly without tracking long rows.
- A useful scrap project: The centre and petals use very thin yarn in small crocheted circles, making this a practical choice for leftover thread or yarn.
- Simple shaping: The centre gets its dimension from a little stuffing rather than complicated increases or decreases.
- An adjustable stem: Florist wire gives the flower structure, while the folded construction lets you change the starting wire length when you want a different stem length.
Pattern Details
- Skill Level: Beginner
- Yarn Weight: Weight 1 or 2 (sock/fingering/baby)
- Time to Make: about 1-2 hours
What You'll Need
Gather your yarn, small hook, and flower-making supplies before you begin so you can move straight from crocheting into assembly.
- Crochet thread or very thin weight 1 or 2 yarn in yellow
- Crochet thread or very thin weight 1 or 2 yarn in white
- 2.00 mm crochet hook or similar
- Yarn needle
- Scissors
- Green florist tape: Stretch the tape gently as you wrap so its adhesive activates, and keep a wet cloth nearby for your fingers.
- 0.35 mm florist wire or similar: The suggested 0.35 mm wire is fine enough to thread through the flower and twist. A thicker substitute may need to be inserted without a yarn needle.
- Wire cutters
- Small amount of stuffing
Abbreviations
- ch - chain
- sl st - slip stitch
- st(s) - stitch(es)
- sc - single crochet
- hdc - half double crochet
- dc - double crochet
How to Crochet the Wire-Stem Daisy
Crochet the two small circles first, add the petals, and then assemble and wrap the wired stem.
Ch 1 doesn't count as a st throughout. Always work the first stitch into the same stitch as the previous sl st.
Centre
- Round 1: With yellow yarn, work 8 sc into a magic circle or ch 4 loop. Sl st in first sc to join. Ch 1. (8)
- Round 2: Sc in each st around. Sl st in first sc to join. Fasten off, leaving a long tail for sewing. Do not weave in the ends. (8)
Petals
- Round 1: With white yarn, work 10 sc into a magic circle or ch 4 loop. Sl st in first sc to join. Ch 1. (10)
- Round 2: *Ch 6, dc in 4th ch from hook, hdc in next ch, sc in last ch, sl st in next st on main circle; rep from * around until you have 10 petals. Fasten off. Do not weave in the tail ends.
Construction
Keep the yarn tails available because they become part of the assembly and are hidden beneath the florist tape.
- Step 1: Sew the yellow centre to the white petal piece, stuffing slightly as you go.
- Step 2: Cut a length of florist wire about 20 cm long and fold it in half. Thread it through the back of the flower and twist it into place. If the wire is thin enough, you can use a yarn needle.
- Step 3: Cover the wire and remaining tail ends, which should be shorter than the wire, with florist tape. Start at the top by the flower and work downward. Continue slightly beyond the end of the wire, fold the tape over, twist it back up slightly, and finish. Stretching the tape activates the glue. To avoid sticky stems, wipe your fingers on a wet cloth as you work.
Tips for the Best Results
- Mark the first stitch: The first sc of each round goes into the same stitch as the previous sl st. A removable marker helps you identify it without accidentally adding or skipping a stitch.
- Check every petal anchor: Work one petal sequence before slipping into the next stitch of the main circle. Ten base stitches should give you ten petals.
- Stuff in small pinches: Add only a little stuffing while sewing the centre in place. Small amounts are easier to distribute and less likely to push through the stitches.
- Protect your scissors: Use wire cutters for the florist wire and reserve your scissors for yarn and tape.
Ways to Adapt Your Crochet Daisy
- Try crochet thread: Crochet thread makes a compact flower with defined stitches. Keep your tension comfortable and choose a similar hook if the suggested size feels too tight.
- Use weight 2 yarn: A slightly thicker yarn will make the crocheted pieces larger and may require a larger hook. Use the same stitch counts, but choose wire sturdy enough to support the added weight.
- Change the flower colors: You can replace the yellow and white with any two yarn colors without changing the construction or stitch counts.
- Start with a ch 4 loop: If you don't enjoy magic circles, join ch 4 into a loop and work the first round into it. The opening won't be as adjustable, so keep the starting chain snug.
- Adjust the wire: A similar florist wire works as long as it bends and twists securely. Thinner wire offers less support, while thicker wire may be difficult to pass through the flower.
- Alter the stem length: Cut a longer or shorter piece of wire before folding it in half. Remember that folding reduces the working stem to roughly half the original wire length before it is attached.
Fixing Petals, Centres, and Stems
- The petal count is off: Count the 10 sc in the main circle before beginning Round 2. Each petal ends with a sl st in the next circle stitch, so skipping an anchor or using one twice changes the final number.
- The centre won't sit evenly: Sew it down gradually and add stuffing in very small amounts as the opening closes. Overstuffing can strain the stitches, while uneven placement can pull one side farther over the petal circle.
- The florist tape feels sticky: Stretch it only enough to activate the adhesive and wipe your fingers on a wet cloth as you wrap. Finish by folding the tape beyond the wire end and twisting it back upward slightly.
Simple Places for Your Finished Daisy
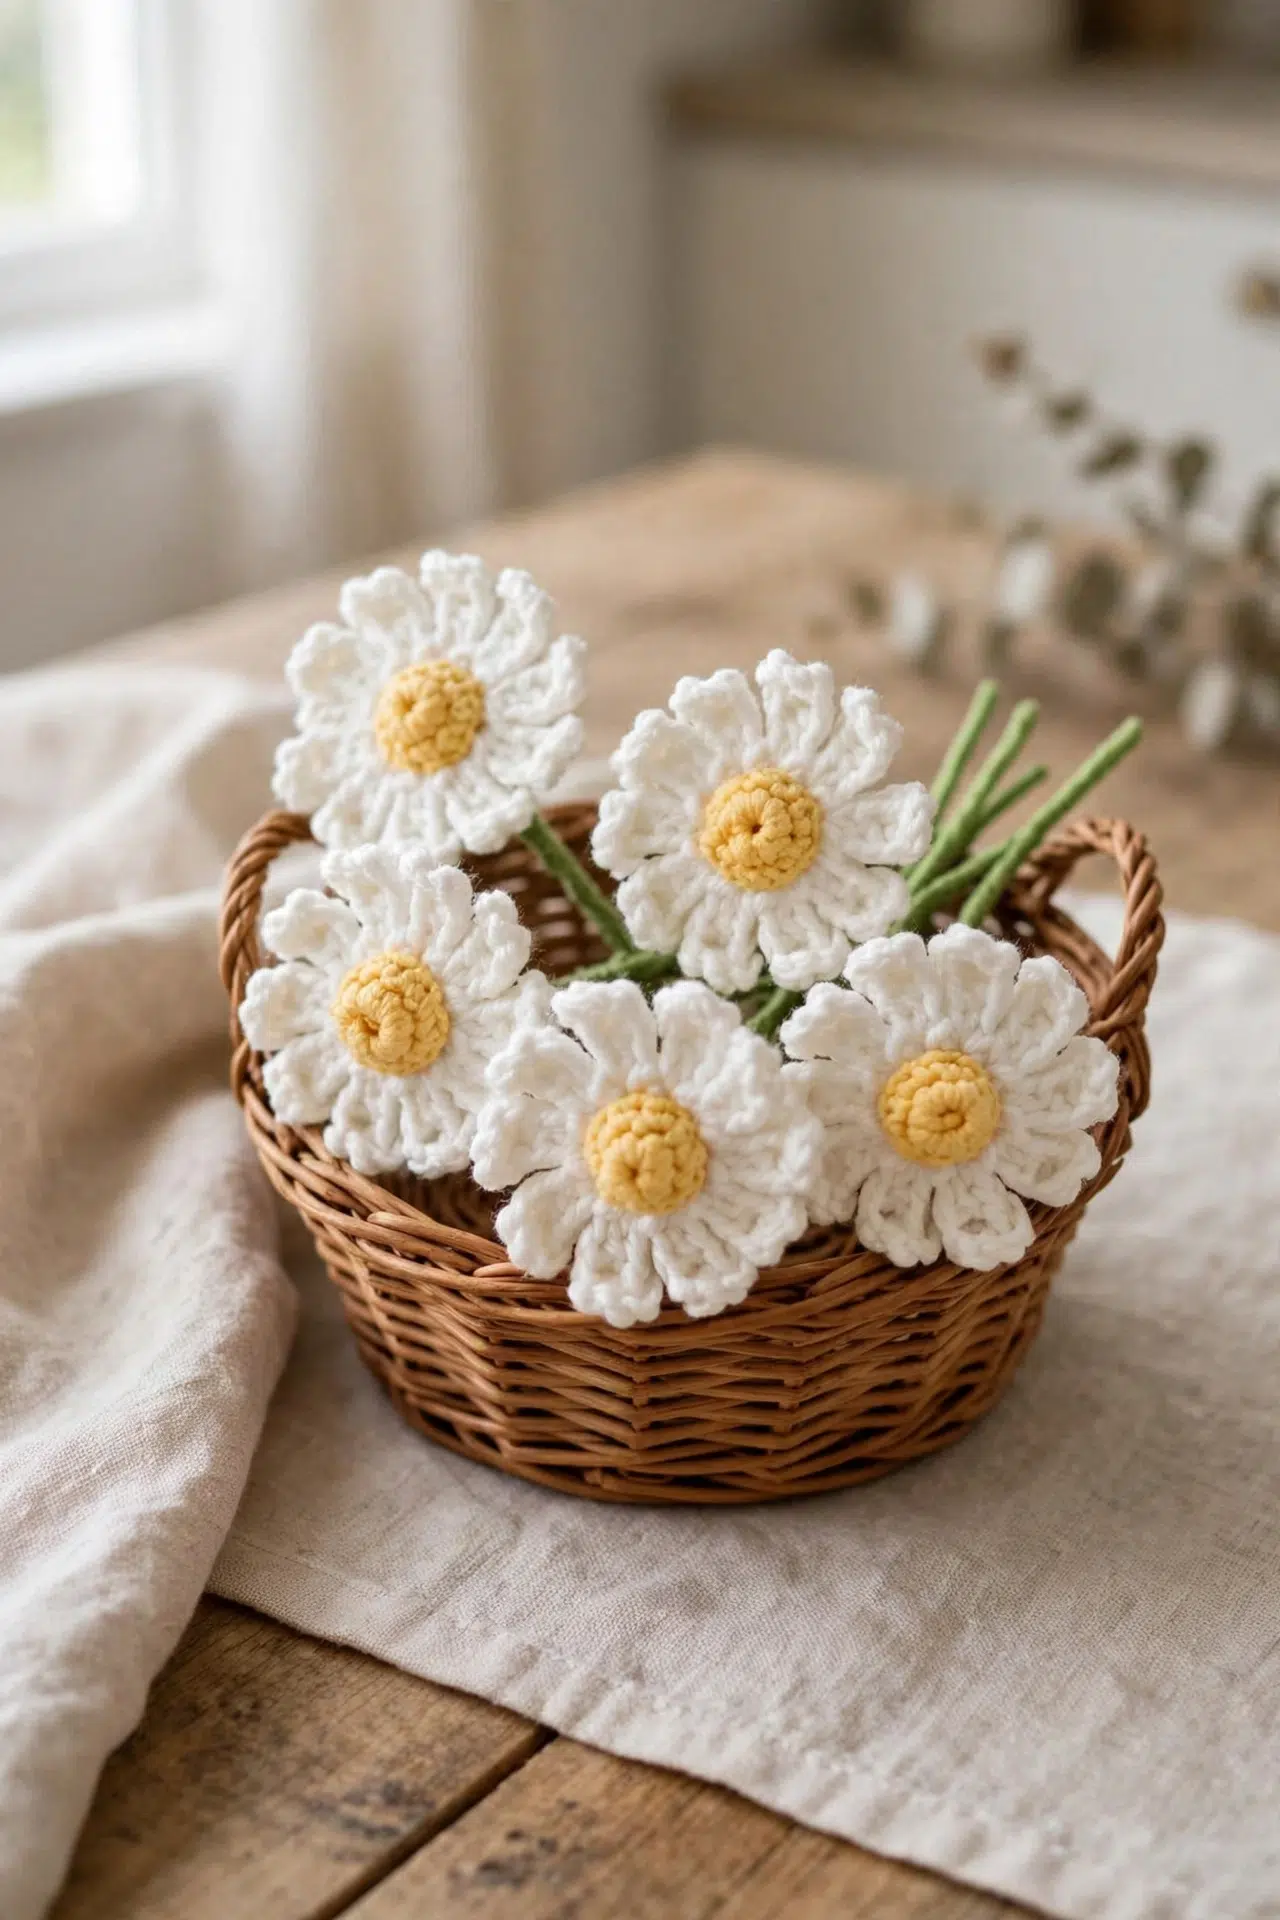
Place one stem in a small vase on a desk or shelf, group several stems together, or use a daisy as a table marker. It can also accompany a wrapped gift, provided the wire end is fully enclosed by florist tape.
Caring for Your Daisy
Spot-clean your daisy gently rather than soaking or machine-washing it, since the stem contains wire and florist tape. Check the yarn label before applying any cleaner, and let damp areas dry promptly. Avoid repeatedly bending the same part of the wire, which can weaken it over time.
More Crochet Flower Patterns for Home Decor
- Boho Daisy Leaf Mobile Crochet Pattern
- Realistic Crochet Sunflower with Stem
- Realistic Crochet Daffodils
- Purple Crochet Thistle Flower
- Natural Crochet Roses
Frequently Asked Questions
Can I use a ch 4 loop instead of a magic circle?
Yes, either beginning works for both the centre and the petal circle. A magic circle lets you tighten the opening after completing the stitches, while a ch 4 loop stays at a fixed size. If you use chains, make them snug and work all first-round stitches into the centre of the loop.
Does the ch 1 count as the first stitch?
No, the ch 1 doesn't count as a stitch anywhere in this pattern. Begin the next round in the same stitch as the previous joining sl st. Counting that chain would create an extra stitch and could shift the placement of the petals or change the centre count.
How do I make sure I get exactly 10 petals?
Work one petal into each of the 10 stitches around the white circle. After completing the ch, dc, hdc, and sc sequence, sl st into the next stitch on the main circle. Count the anchor stitches before starting if they're difficult to distinguish from the joining sl st.
When should I add the wire and stuffing?
Add the stuffing while sewing the yellow centre to the petal piece, then insert the wire after that sewing is complete. This order keeps the wire out of your way while you distribute the stuffing. The folded wire is threaded through the back, twisted securely, and covered with the yarn tails and florist tape.
Which colors did you choose for your daisy, and did you keep the suggested stem length or change it? Tell me about your version in the comments.



