
That waiting bit of DK yarn finally has a cheerful job: this Festive Crochet Mistletoe is a satisfying little project to tuck between your bigger makes. Each stem uses straightforward stitches, and you can stop after a few motifs or keep going until your bouquet feels complete!

Once the ends are woven in, you'll have individual stems and tiny berries ready to arrange, tie together, and hang. Because both stem sizes are included, you can build the finished decoration at your own pace.
Jump to:
- What Makes This Pattern Work
- Pattern Details
- What You'll Need
- Stitches & Abbreviations
- How to Crochet the Festive Mistletoe
- Tips for the Best Results
- A Neat Closure for Tiny Berries
- Ways to Adapt Your Crochet Mistletoe
- Fixing Leaves, Stems, and Berry Closures
- A Handmade Accent for Your Festive Space
- Washing & Care
- More Christmas Crochet Patterns
- Frequently Asked Questions
What Makes This Pattern Work
- Two Stem Sizes: Medium and large instructions let you vary the arrangement without changing the leaf construction.
- Manageable Motifs: Every stem and berry is made separately, so you can finish one small piece at a time rather than handling the whole bouquet at once.
- Flexible Final Count: There's no required number of stems or berries. You decide when the arrangement is full enough for the place where you'll hang it.
- Simple Construction: The leaves grow directly from chains, while slip stitches form the narrow connecting sections. There's no complicated shaping or long seam to sew.
Pattern Details
- Finished Size: 15 cm in length when made with DK cotton yarn and a 2 mm crochet hook
- Yarn Weight: DK for the green and white yarns; brown thread yarn for embroidery
- Time to Make: about 1-2 hours per stem with berries; roughly 3-6 hours for a small bouquet
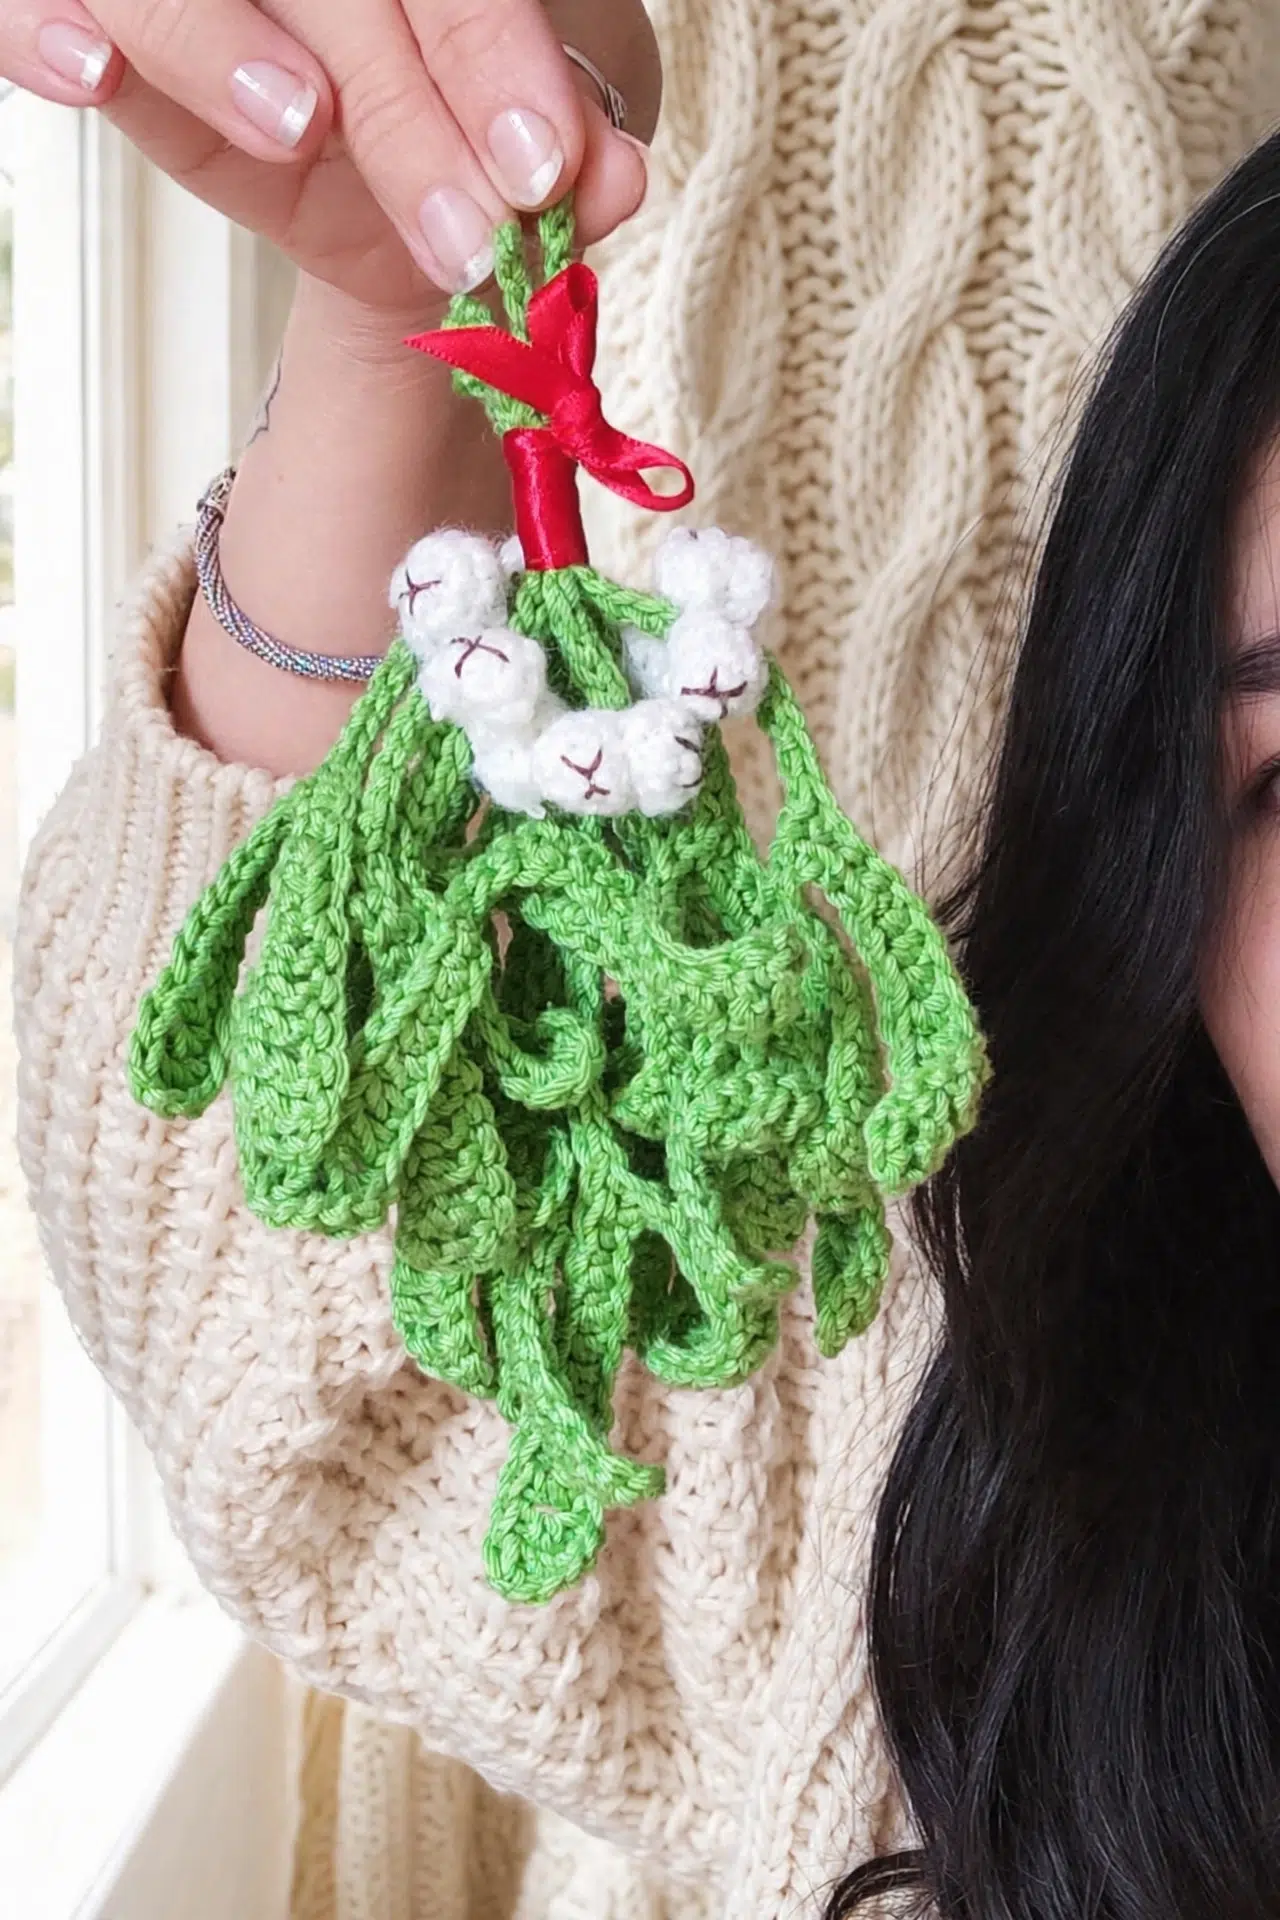
What You'll Need
Gather your yarn, a firm little hook, and basic finishing tools before you begin.
- 10 m green DK yarn
- 2 m white DK yarn; the sample berries use Mohair Slan Yarn held double: Hold the Mohair Slan Yarn double for the sample-style berries. Regular DK yarn also works and is easier to handle if you prefer clearly separated stitches.
- 1 m brown thread yarn
- Smallest practical crochet hook for the chosen yarn; a 2 mm crochet hook was used for the sample: A 2 mm hook was used with DK yarn, but the important choice is the smallest hook you can use comfortably without fighting every stitch.
- Yarn or tapestry needle
- Scissors
- Festive red ribbon
- Blocking supplies
- Florist wire, optional
Stitches & Abbreviations
- ch - chain
- sl st - slip stitch
- st - stitch
- sts - stitches
- sc - single crochet
- hdc - half double crochet
- dc - double crochet
- tr - treble crochet
- sc2tog - single crochet 2 stitches together
- flo - front loop only
Magic circle: Form an adjustable yarn loop, work the indicated stitches into the loop, then pull the tail to close the center.
How to Crochet the Festive Mistletoe
Make the stems first, then crochet and attach as many berries as you'd like before blocking and bundling the motifs.
Each stem is made as an individual motif. The berries are worked separately in a continuous spiral and then sewn onto the mistletoe. The pattern includes medium and large stems. Use the smallest practical hook for the chosen yarn to help the leaves hold their form. The stems can be made without wire when they will hang straight from above. Florist wire may be added when more structure is wanted. Gauge is not required for this project.
Medium Stem
- Step 1: Ch 33, tr in 5th ch from hook, tr, 3 dc, 3 hdc, 3 sc.
The first leaf is made.
- Step 2: Ch 15, tr in 5th ch from hook, tr, 3 dc, 3 hdc, 3 sc.
The second leaf is made.
- Step 3: Sl st in next 8 sts.
- Step 4: Ch 23, tr in 5th ch from hook, tr, 3 dc, 3 hdc, 3 sc.
The third leaf is made.
- Step 5: Ch 15, tr in 5th ch from hook, tr, 3 dc, 3 hdc, 3 sc.
The final leaf is made.
- Step 6: Sl st in next 18 sts. Fasten off and weave in ends.
Large Stem
- Step 1: Ch 42, tr in 5th ch from hook, tr, 3 dc, 3 hdc, 3 sc.
- Step 2: Ch 15, tr in 5th ch from hook, tr, 3 dc, 3 hdc, 3 sc.
- Step 3: Sl st in next 12 sts.
- Step 4: Ch 27, tr in 5th ch from hook, tr, 3 dc, 3 hdc, 3 sc.
- Step 5: Ch 15, tr in 5th ch from hook, tr, 3 dc, 3 hdc, 3 sc.
- Step 6: Sl st in next 27 sts. Fasten off and weave in ends.
Berries
Work each berry separately in a continuous spiral with white yarn.
- Row 1: Make a magic circle, ch 1, and work 6 sc into circle. Pull magic-circle tail to close. (6)
- Row 2: *2 sc in next st; rep from * around. (12)
- Row 3: Sc in each st around. (12)
- Row 4: *Sc2tog in flo; rep from * around. Fasten off, leaving a 20 cm tail. Thread tail onto a tapestry needle and weave in and out of final 6 sts to close berry. (6)
- Embroidery & Assembly: Thread brown thread onto needle. Sew a cross onto base of berry. Fasten off and weave in ends. Sew berry onto mistletoe in desired position, then fasten off and weave in ends.
Assembly
- Step 1: Make as many medium and large stems as desired.
- Step 2: Block each stem.
- Step 3: Tie motifs together into a small bouquet with a festive red ribbon and hang in your home.
Choosing the Yarn
The mistletoe can be made in any yarn. DK yarn and a small 2 mm hook create the stated sample size, while the berry sample uses Mohair Slan Yarn held double.
Planning the Bouquet
Combine medium and large stems to vary the depth and texture of the bouquet. The number of stems and berries is flexible.
Adding Structure
Florist wire is optional. It is unnecessary when the stems will hang straight from above, but it can be added when firmer positioning is preferred.
Tips for the Best Results
- Count the Slip Stitches: The slip-stitch sections determine where the next pair of leaves begins. Count all 8 or 18 stitches on the medium stem and all 12 or 27 stitches on the large stem carefully.
- Keep the Stem Flexible: Work the slip stitches with a relaxed hand. Pulling them too tightly can shorten the stem and make blocking more difficult.
- Use a Firm Berry Tension: Small, even single crochet stitches help the unstuffed berries hold together. A loose fabric can leave larger spaces around the final closure.
- Block Before Bundling: Shape each stem on its own and let it dry completely before tying the motifs together. This gives you better access to every leaf and branch.
A Neat Closure for Tiny Berries
After the 6 front-loop decreases, leave the long tail in place and thread it onto your tapestry needle. Pass the needle in and out through each of the final 6 stitches, following the edge of the opening.
Pull the tail gradually so the stitches gather evenly. Once the opening closes, secure the yarn before adding the brown cross and sewing the berry to a stem.
Ways to Adapt Your Crochet Mistletoe
- Change the Yarn Weight: You can use another yarn weight, but the finished length and leaf size will change. Pair it with the smallest comfortable hook that still lets you work the taller stitches cleanly.
- Swap the Berry Fiber: Regular DK yarn can replace the mohair held double. It won't behave exactly the same under your hook, but the stitch counts and closing method stay unchanged.
- Add Florist Wire: For stems that need to hold a chosen position rather than hang freely, secure florist wire along the back after blocking. Cover or turn in every wire end so nothing sharp remains exposed.
- Adjust the Bouquet Size: Make fewer motifs for a compact hanging piece or continue adding medium and large stems for a fuller bundle. No assembly count needs to be recalculated.
- Vary the Berry Count: Sew on only a few berries or make more for the positions you prefer. Since each berry is separate, this doesn't affect the stem instructions.
Fixing Leaves, Stems, and Berry Closures
- The Leaves Curl Too Much: Some curl can come from the tight hook used to give the motif structure. Gently block each stem to the intended shape, and make sure the slip stitches aren't being pulled tighter than the leaf stitches.
- The Stem Is Too Short: Recount the slip stitches before moving to the next chain section. Skipping foundation chains or tightening the slip stitches excessively can reduce the finished length.
- The Berry Won't Close: Confirm that Row 4 finishes with 6 stitches, then pass the tail through all 6 before pulling. Gathering only part of the edge leaves a gap and can distort the cross embroidery at the base.
A Handmade Accent for Your Festive Space
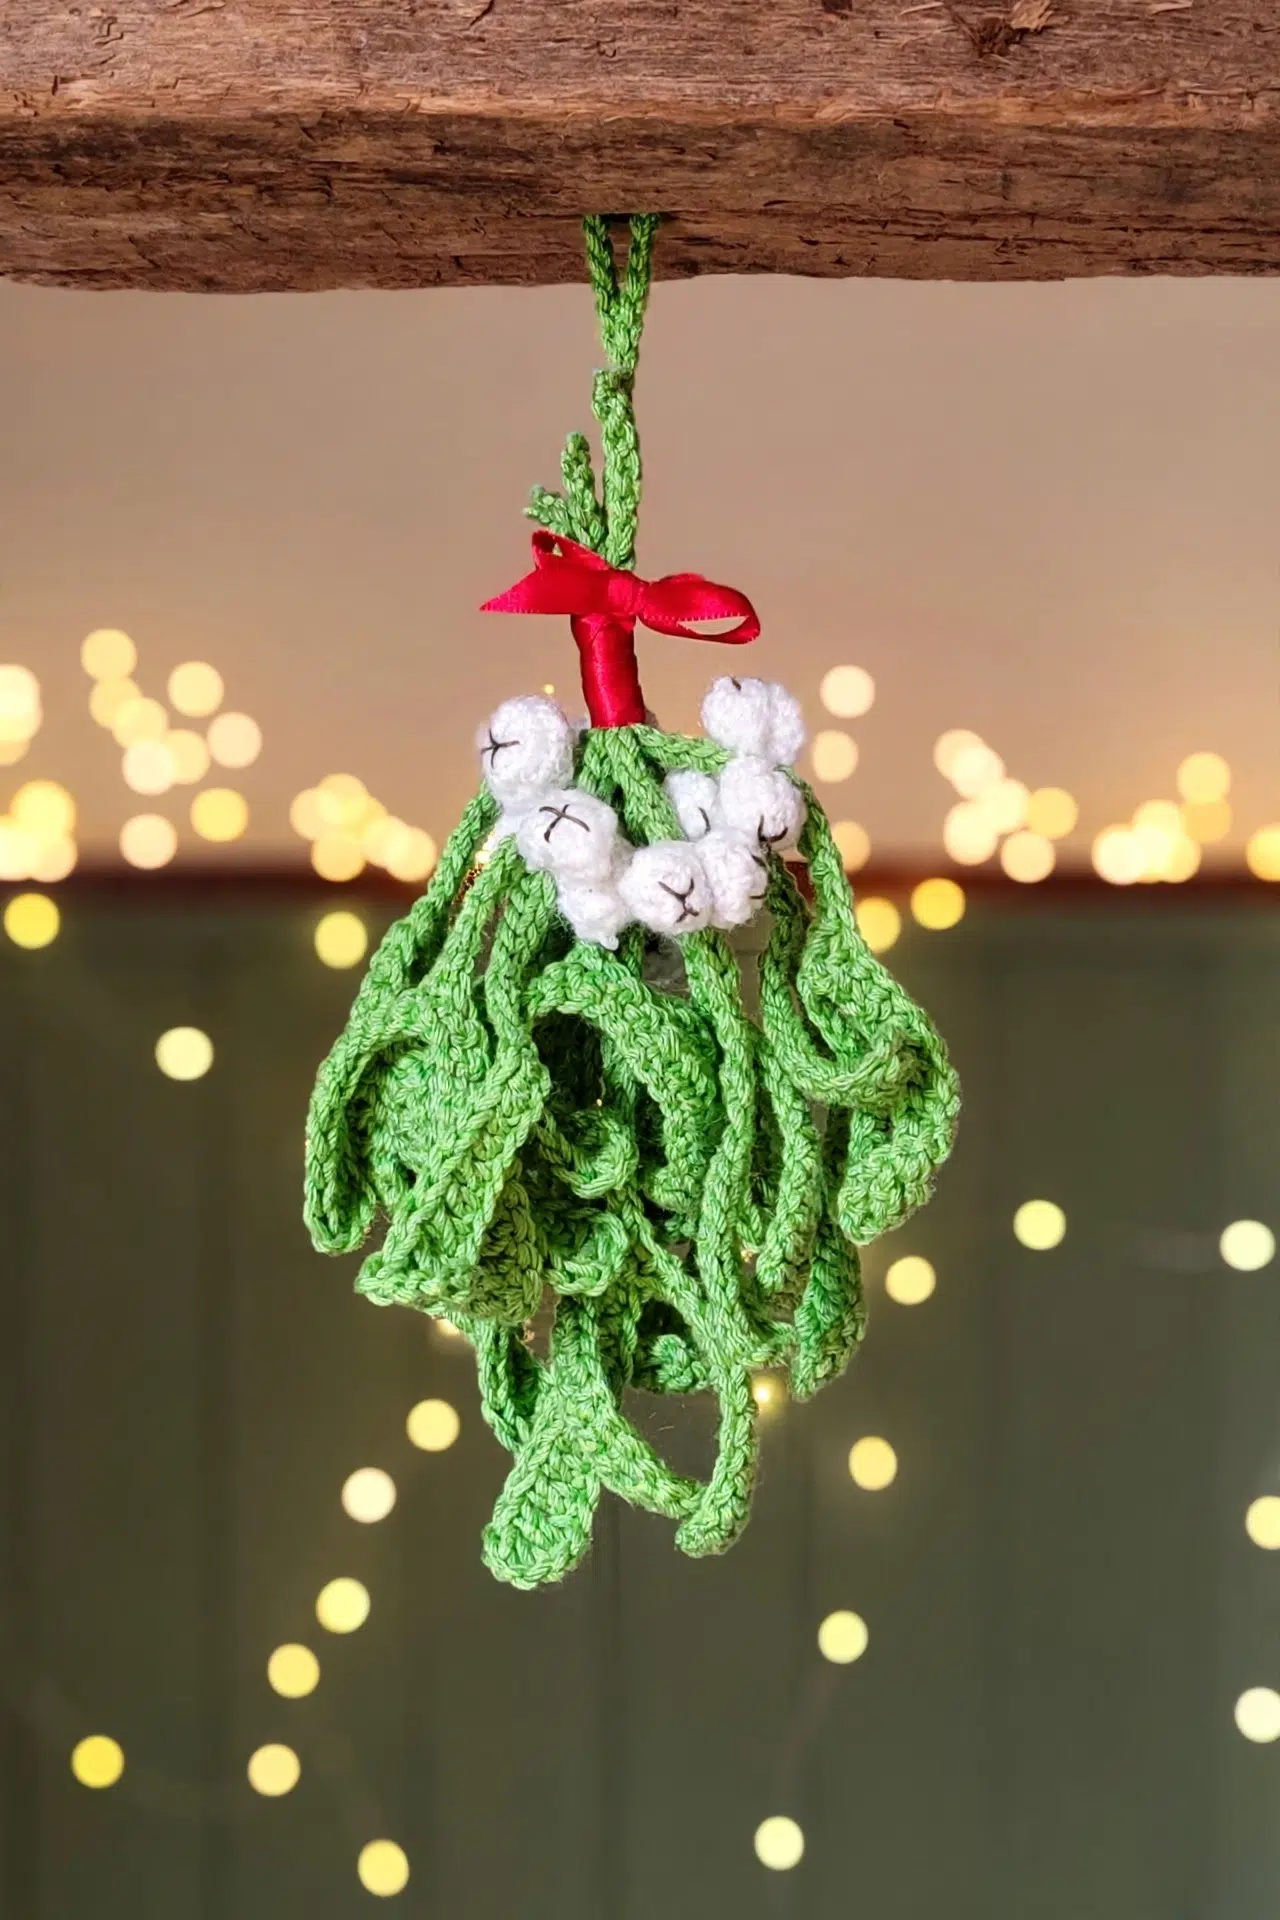
Tie the blocked motifs together with ribbon and hang the bouquet from above, as the flexible stems are designed to fall straight without requiring wire.
A small bundle can hang from a wall hook or doorway, while individual stems can be tied onto a wrapped seasonal gift as an extra handmade decoration.
Washing & Care
Fiber content can vary, so check every yarn label before washing. Hand wash gently in cool water when using cotton with mohair berries, then reshape the stems and dry them flat. Avoid wringing or brushing the berry yarn.
More Christmas Crochet Patterns
Frequently Asked Questions
How many stitches form each leaf?
Each leaf contains 11 worked stitches: 2 tr, 3 dc, 3 hdc, and 3 sc. The first tr is placed in the 5th chain from the hook, leaving the first 4 chains as the turning section. This same leaf sequence is used throughout both stem sizes.
Are the berries joined at the end of each row?
No, the berries are worked in a continuous spiral without joining. A stitch marker in the first stitch can help you find the start of each row, especially when moving from 12 single crochet stitches to the 6 front-loop decreases.
Do the berries need stuffing?
No, the pattern doesn't call for stuffing. Their small size, firm tension, and gathered 6-stitch opening provide the intended construction. Adding stuffing can make the closure harder to draw shut and may interfere with sewing the brown cross onto the base.
Why do the first stem chains have different lengths?
The initial chains include both the first leaf and the main stem length. After the leaf is worked at one end, the remaining foundation chains are used for the slip-stitched stem. The medium version finishes across 18 stitches, while the large version finishes across 27.
How many stems should I make?
There's no fixed stem count; make enough medium and large motifs for the bundle you want. Since every stem is complete on its own, you can block and arrange a few first, then crochet more if the tied bouquet needs additional depth.
Tell me in the comments how many stems and berries made it into your mistletoe bundle 🧶



