
Okay so I did NOT expect to fall this hard for a chicken, but here we are. The Emotional Support Chicken Crochet Pattern is genuinely one of my favorite things I've made in a long time, and I keep finding more people to gift it to. It's an easy project that works up fast, and the finished result is just... deeply satisfying in a way that's hard to explain until you're holding one.

Jump to:
Behind the Pattern
I made the first one as a joke gift for a friend going through a rough patch, and it landed SO well that I immediately made three more. There's something about this little guy that just hits differently as a handmade gift. It's not precious or delicate. It's meant to be squeezed, displayed on a desk, tossed on a couch. That was really the whole point when I was designing it: something that felt genuinely useful in a silly, wholesome kind of way.
The construction is pretty satisfying too. Everything comes together in a way that feels logical, and the finishing is no trouble at all. I like that it works for so many people: coworkers, friends who are stressed, kids, anyone who just needs a little something to cheer them up. It's the kind of project you'll end up making more than once.
Why You'll Want to Make This
This is the gift project you'll come back to every single time someone needs cheering up.
- Beginner Friendly: This is rated easy, so if you know your basic stitches you're already set.
- Quick to Finish: It works up fast, which makes it perfect when you need a last-minute gift that still feels thoughtful.
- Great for Gifting: Honestly this one is made for giving. Birthdays, bad days, care packages, office gifts. it fits all of them.
- Makes a Solid Stash Buster: It doesn't eat through a ton of yarn, so it's a really good use of leftover skeins sitting in your stash.
- Repeatable Pattern: Once you make one, you'll want to make more. It's that kind of project.
Your Supply List
Most of this comes from scraps, so there's a good chance you already have what you need.
- Super Bulky Chenille Yarn (Weight 6), Main Color: Chenille is the right call here. It gives the rooster that soft, almost velvety texture that works really well for amigurumi at this size, and the bulk means it works up fast. The pattern doesn't specify an exact yardage for the body, but for a finished piece around 8 to 10 inches long, plan on roughly 100 to 150 yards of your main color to be safe.
- 6 mm Crochet Hook: A 6 mm pairs well with super bulky chenille. Going smaller would make the fabric too stiff to stuff comfortably, and going larger tends to leave gaps that show the polyfil underneath.
- 12 mm Safety Eyes (or larger): The pattern calls for 12 mm, which suits the scale of this project. Smaller eyes can look a little lost on a bird this size.
- Polyfil Stuffing: You'll stuff as the body closes up, so keep it within reach from the start. A medium handful is usually enough for a project this size, but have a bit extra on hand since stuffing tension affects the final shape.
- Red and Orange Yarn Scraps: These are for the comb and beak. Truly just scraps. A few yards of each is plenty. Yellow works as a substitute for the beak if that's what you have sitting around.
- Also needed: yarn needle, scissors, stitch markers
Yarn Substitutes
Chenille can be a little harder to find in person depending on where you shop, and it does have a tendency to fray if you have to frog a lot. If you'd rather work with something more forgiving, there are solid options at the same weight.
- Super Bulky Velvet Yarn (Weight 6): Very similar texture to chenille, slightly more durable to work with, and widely available. Yardage per skein varies but most run around 220 to 280 yards, so one skein is more than enough for the body.
- Super Bulky Plush or Fleece-Style Yarn (Weight 6): A bit less structured than chenille but still gives that soft, cuddly finish. Good if you want the rooster to be extra squishy. Check that the fiber has some stretch to it so the stuffed body holds its shape.
Project Info
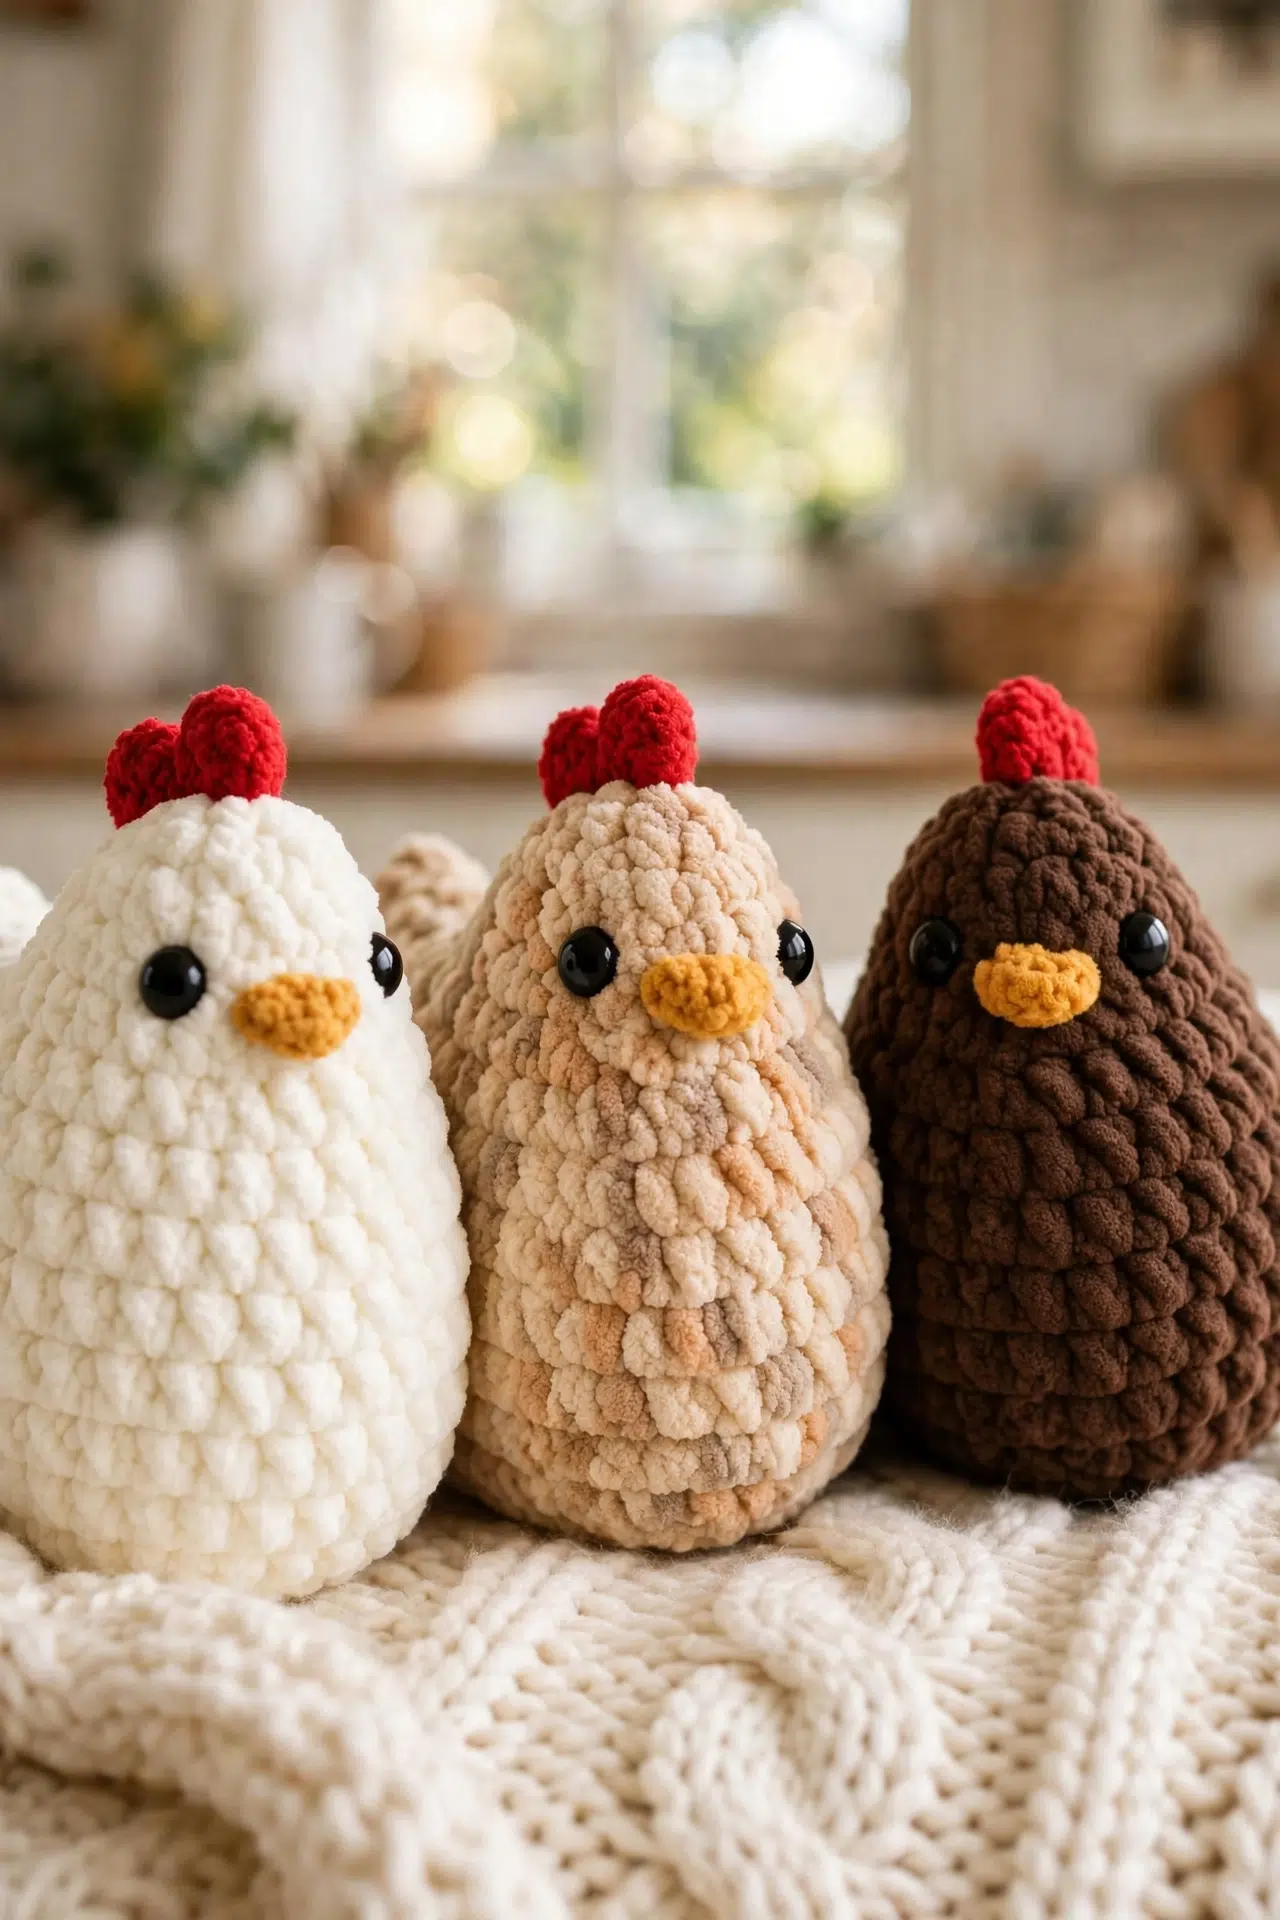
A squishy crocheted chicken toy worked in super bulky chenille, with a comb and beak added in contrast yarn scraps.
| Skill Level | Easy |
| Pattern Gauge | Gauge is not critical for this project. Use a hook size that creates a tight, firm fabric so stuffing does not show through. |
| Finished Size | Approximately 8–10 inches long and 6–7 inches tall when made with super bulky chenille yarn. |
| Yarn Weight | 6 Super Bulky |
| Fiber | Not specified — check the yarn label (examples given: Bernat Blanket or soft chenille yarn) |
| Terminology | US |
Stitches & Abbreviations
Short list — mostly single crochet with a few basics mixed in.
- BLO = back loop only
- ch = chain
- dc = double crochet
- inc = increase (2 sc in same stitch)
- MR = magic ring
- rnd(s) = round(s)
- sc = single crochet
- sl st = slip stitch
- st(s) = stitch(es)
Special Stitches
- MR (magic ring): Wrap yarn to form a ring, work stitches into the ring, then pull tail to tighten.
- inc: Work 2 sc into the same stitch.
The Critical Details
This pattern is worked in a continuous spiral. Don't join at the end of rounds, and don't skip the stitch marker — chenille yarn is soft enough that it's genuinely hard to find where a round starts without one. Move it up as you go.
Gauge isn't something you need to measure here, but it does matter in a practical sense. Chenille has a way of looking fine until you stuff it, and then every gap becomes obvious. Work tighter than you think you need to. If you can see light through the fabric when you hold it up, go down a hook size.
The comb and beak are worked in scrap yarn in red and orange. Keep those scraps nearby before you start — you'll want them ready when you get to those sections rather than hunting for them mid-project.
Emotional Support Chicken Crochet Pattern Steps
Here's how I make the whole chicken, from the first magic ring through the comb on top.
Body (Worked in a Spiral)
The body is the whole structure here. Everything else attaches to or sits on it. Start with a magic ring — the whole piece grows out from that center point.
Round 1: 7 sc into MR. [7 sc]
Round 2: inc in each st around. [14 sc]
Round 3: *1 sc, inc* repeat around. [21 sc]
Round 4: *2 sc, inc* repeat around. [28 sc]
Round 5: *3 sc, inc* repeat around. [35 sc]
Round 6: *4 sc, inc* repeat around. [42 sc]
Round 7: sc BLO in each st around. [42 sc] Working into the back loop only here creates a ridge that separates the base from the sides — it's a deliberate shaping detail, not a mistake.
Round 8: sc in each st around. [42 sc]
Rounds 9–17: sc in each st around. [42 sc] Nine straight rounds of even sc. This is where the body gets its height, so keep your tension consistent.
Fasten off and leave a long tail for sewing.
Assembly
This is where the body takes its final shape. No separate pieces to join here — it's all about closing, stuffing, and setting the face.
Step 1: Fold the top opening shut and stitch across, grabbing one loop from each side as you go.
Step 2: Once halfway closed, stuff firmly.
Step 3: Place safety eyes about 2 rounds from the bottom, spacing them 3–4 sts apart. Get the eye placement right before you finish closing — once it's shut, you can't get back in.
Step 4: Finish stitching the opening shut. Pull yarn gently to shape the ends so they tilt up slightly.
Beak and Face
Just a few stitches, but they do a lot of work for the chicken's expression.
Step 1: With orange or yellow yarn, stitch two short horizontal bars between the eyes to form the beak.
Step 2: Fasten off and weave in ends.
Comb on Top
The comb is worked directly onto the head with red yarn — no separate piece to sew on. Place it wherever looks right to you.
Step 1: With red yarn, insert hook where you want the comb to sit.
Step 2: ch 1.
Step 3: Work 3 dc into the first st.
Step 4: In the next st, work 2–3 dc.
Step 5: ch 1, sl st into the head to anchor.
Step 6: Fasten off and weave in ends.
Baby & Child Safety Notes
The 12 mm safety eyes used in this pattern are the larger size, but they still need to be secured firmly before you finish stitching the body closed. Once they're locked in place with the backing washer, give them a tug to make sure they're not going anywhere. If you're making this for a child under three, I'd swap the safety eyes for embroidered eyes instead, just to be safe. Also check the seams periodically, especially if the chicken is getting a lot of love, since a well-loved stuffed toy can start to pull apart at the stitching over time.
Frequently Asked Questions
Insert the safety eyes during assembly, after you've stitched the opening about halfway closed and done the stuffing. The pattern places them about 2 rounds from the bottom, spaced 3 to 4 stitches apart. Getting them in before you fully close up the body gives you room to position the backing washers properly from the inside.
Round 7 is worked in the back loops only, and it creates a visible ridge that separates the flat base from the body. It's what gives the chicken that slightly structured shape at the bottom. You could skip it, but the base won't sit as cleanly and the whole thing will look a bit more blob-like. Worth doing.
Stuff it firmly. The assembly instructions say as much, and with super bulky chenille the fabric has a lot of stretch, so under-stuffing leaves you with something that feels kind of deflated and floppy. Pack it in more than you think you need to, then finish stitching the opening shut.
The beak is embroidered, not crocheted separately. With orange or yellow yarn, you stitch two short horizontal bars between the eyes. That's it. No separate piece to attach, no sewing through multiple layers.
The comb is worked directly onto the finished head, not sewn on. You insert your hook where you want it to sit, chain 1, work a cluster of double crochets across two stitches, then slip stitch to anchor it. It takes maybe five minutes and uses just a scrap of red yarn.
After you finish stitching the opening shut, the pattern says to pull the yarn gently to shape the ends so they tilt up slightly. It's a small finishing move that makes the chicken look more rounded and intentional rather than just flat across the top. Don't skip it.
Before You Go
I really do think this little chicken has something going for it. There's no complicated shaping, no fiddly seams, and the whole thing comes together faster than you'd expect with super bulky yarn. If you make one, I'd love to see it: tag me on Instagram or drop a photo in the comments below. And if you're saving patterns for later, this one pins well on Pinterest, just saying. Let me know in the comments if you ran into anything unexpected or made any fun color variations. I always read them.



