
Small, cozy, and satisfying to hold as you work, this Autumn Crochet Pumpkin Amigurumi is built from familiar stitches and steady joined rounds. You won't need complicated assembly, and the shaping is saved for one simple finishing step.

I especially love the long yarn passes that pull the stuffed piece into shape. You can choose your own yarn colors, adjust the embroidered face, or leave the face off entirely, so there's plenty of room to make this little project feel like yours!
Jump to:
- Why I Make These on Repeat
- Pattern Details
- Materials You'll Need
- Abbreviations
- How to Crochet the Autumn Pumpkin Amigurumi
- Crochet Tips
- Get Even Shaping with the Yarn Tail
- Ways to Make Your Crochet Pumpkin Your Own
- Keeping the Rounds and Shaping on Track
- Where Your Crochet Pumpkin Fits In
- Washing & Care
- More Crochet Fall & Halloween Patterns
- Frequently Asked Questions
Why I Make These on Repeat
- Mostly simple stitches: The main piece uses sc rounds with straightforward increases and decreases, so your hands can settle into an easy rhythm.
- Very little assembly: There aren't separate body pieces to sew together. The stems are crocheted directly onto the final round, and the remaining shaping is done with the orange yarn tail.
- Flexible filling: Toy stuffing gives you a light filling, while yarn scraps offer a practical way to use leftovers from your basket.
- Easy embroidered details: The face uses black yarn rather than separate eyes or attached features, and you can change or omit it to suit your plans.
Pattern Details
- Finished Size: Approx. 3 in. by 3 in. [7.5 cm x 7.5 cm]
- Yarn Weight: DK/light worsted weight
- Time to Make: about 5-7 hours
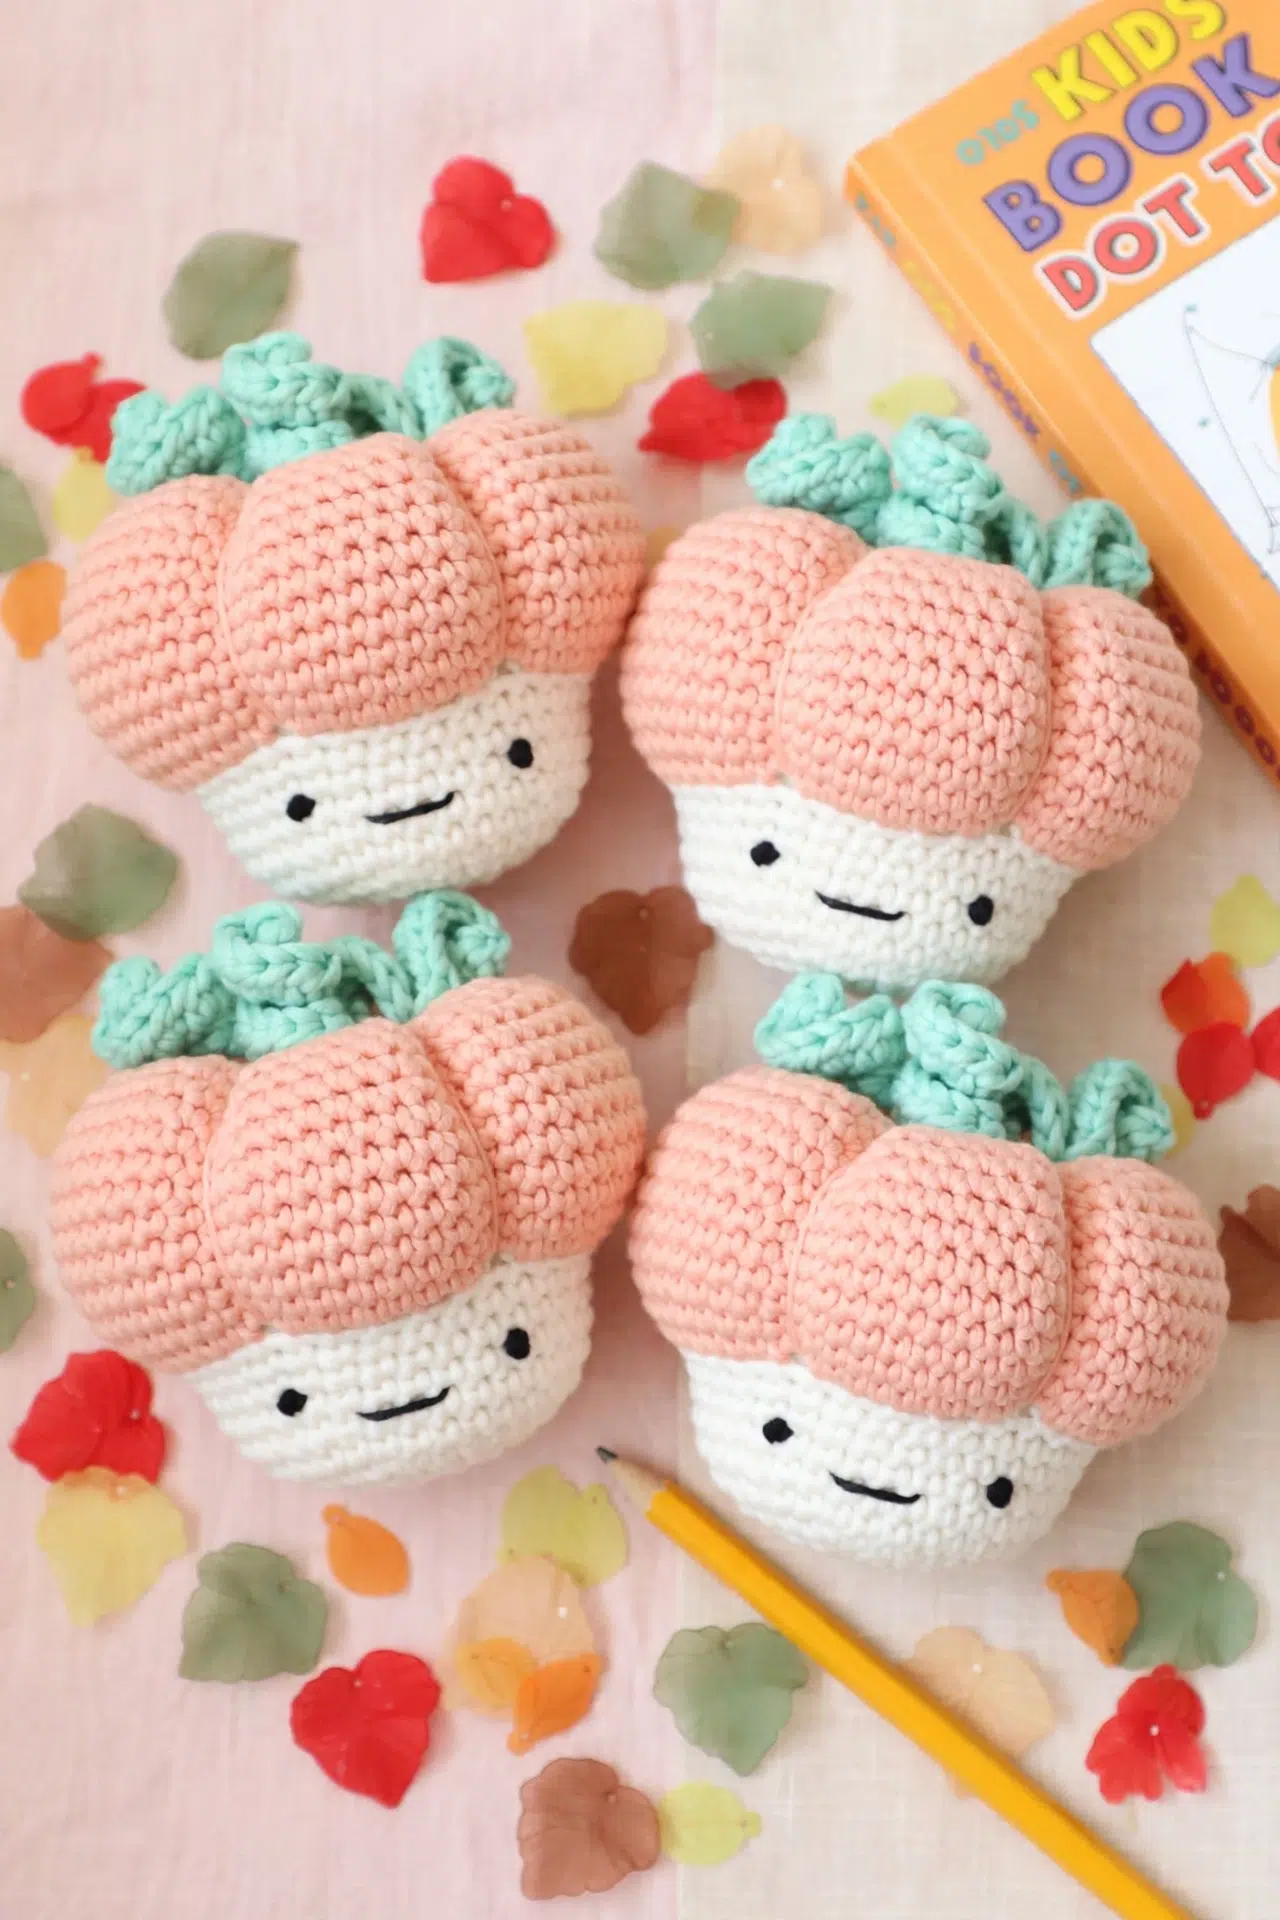
Materials You'll Need
Gather your yarn, hook, filling, and a few basic finishing tools before you begin so you can move straight from the final decrease into stuffing and shaping.
- DK/light worsted weight yarn in orange, cream, green and some black: Yarns within this range can vary in thickness. Choose a fabric that feels firm enough to contain the filling, and remember that changing yarn thickness will also change the finished size.
- 3.5 mm crochet hook
- Yarn needle
- Scissors
- Toy stuffing or yarn scraps: Yarn scraps usually create a denser, heavier filling than toy stuffing. Add either option in small pieces so you can spread it evenly.
Abbreviations
- st(s) - stitch(es)
- ch - chain
- sl st - slip stitch
- sc - single crochet
- sc2tog - single crochet two stitches together for decrease
- hdc - half double crochet
- rep - repeat
How to Crochet the Autumn Pumpkin Amigurumi
Crochet the pumpkin from the cream base upward, changing colors as directed before stuffing, adding the stems, and completing the final shaping.
Always start each round in the same stitch as the previous sl st. The beginning ch 1 does not count as a stitch throughout. The pumpkin is worked in joined rounds.
Pumpkin
- Round 1: With cream, ch 4 and sl st in first ch to form a loop. Crochet 8 sc into center of loop and sl st in first sc to join. (8)
You can use a magic circle or loop instead.
- Round 2: Ch 1, 2 sc in each st around, sl st in first sc to join. (16)
- Round 3: Ch 1, *sc in next st, 2 sc in next st; rep from * around. Sl st in first sc to join. (24)
- Round 4: Ch 1, *sc in next 2 sts, 2 sc in next st; rep from * around. Sl st in first sc to join. (32)
- Rounds 5-10: Ch 1, sc in each st around, sl st in first sc to join. (32)
- Round 11: Join orange and ch 1. Work 2 sc in each st around, then sl st in first sc to join. Fasten off cream. (64)
- Rounds 12-22: Ch 1, sc in each st around, sl st in first sc to join. (64)
- Round 23: Ch 1, *sc in next 2 sts, sc2tog; rep from * around. Sl st in first sc to join. (48)
- Round 24: Ch 1, *sc in next st, sc2tog; rep from * around. Sl st in first sc to join. (32)
- Round 25: Ch 1, *sc2tog; rep from * around. Sl st in first sc to join. (16)
- Round 26: Ch 1, *sc2tog; rep from * around. Sl st in first sc to join. (8)
Stuff your pumpkin at this point.
- Round 27: Join green in the beginning ch-1. *Ch 13, work 2 hdc in 2nd ch from hook and in each ch along, sl st in the same st below and in the next st on the main pumpkin; rep from * around. Fasten off green.
This makes 4 stems.
Finishing
- Step 1: Fasten off orange, leaving a very long tail. Thread the tail onto a yarn needle. *Sew through the pumpkin from top to bottom just above the face area, leaving the length of yarn on the outside and pulling tightly; rep from * 5 or 6 more times. Fasten off and weave in all tails.
- Step 2: Using black yarn, sew on a face. To make each eye, tie 3 knots in the center of a short length of yarn. Sew each end into the head, leaving the knots on the outside.
Crochet Tips
- Mark the first stitch: The beginning ch 1 never counts as a stitch, so place a removable marker in the first actual sc if you tend to lose the join. Always work the first stitch into the same stitch as the previous sl st.
- Count after increase rounds: Pause after Rounds 2, 3, 4, and 11 to confirm the stitch count. Catching an extra stitch beside the join early is much easier than correcting the long even rounds later.
- Stuff before the opening gets smaller: Add the filling after Round 26 as directed. Push it toward the lower edges first, then fill the center without packing it so firmly that the stitches stretch apart.
- Space the shaping passes: Distribute the outside strands around the pumpkin rather than laying them directly beside one another. Pull each pass firmly and evenly before making the next one.
Get Even Shaping with the Yarn Tail
The orange finishing tail does more than close the work. Each pass travels from the top to the bottom while a strand remains outside, and tightening that strand draws in the stuffed body.
Make 6 or 7 passes in total and spread them around the piece. Keep the tension similar from one pass to the next so one section isn't pulled more firmly than the others.
Ways to Make Your Crochet Pumpkin Your Own
- Start with a magic circle: A magic circle can replace the chain-4 loop in Round 1. Either method must hold the same 8 sc, so choose the start that feels more secure in your hands.
- Try another color plan: You can replace any of the listed yarn colors while keeping the color changes in the same rounds. This won't affect the stitch counts or construction.
- Use a different yarn weight: A heavier or lighter yarn can work with a hook suited to that yarn, but the finished size and stuffing needs will change. Keep the fabric firm enough that the filling doesn't show through the spaces.
- Fill with leftovers: Short yarn scraps can replace toy stuffing. Cut or separate bulky tangles before inserting them, and expect a firmer, heavier finished piece.
- Change the embroidery: Use the black yarn to alter the mouth and eye placement, or omit the face. Make all embroidery secure before weaving the ends deep into the stuffing.
Keeping the Rounds and Shaping on Track
- The stitch count keeps growing: Check that you aren't working into the beginning ch 1 or the joining sl st. Neither is counted as a stitch, and the first sc belongs in the same stitch as the previous round's sl st.
- Round 11 feels much fuller: That increase is intentional. Every stitch from Round 10 receives 2 sc, taking the count from 32 to 64 before the long section of even rounds begins.
- The stems aren't curling: Make sure you're placing 2 hdc in every chain, beginning in the 2nd chain from the hook. Those repeated increases along each chain create the curl.
- The shaping strands feel loose: Pull each outside strand firmly before beginning the next pass. Hold the previous tension with your fingers as you insert the needle, then secure the tail well after all passes are complete.
Where Your Crochet Pumpkin Fits In
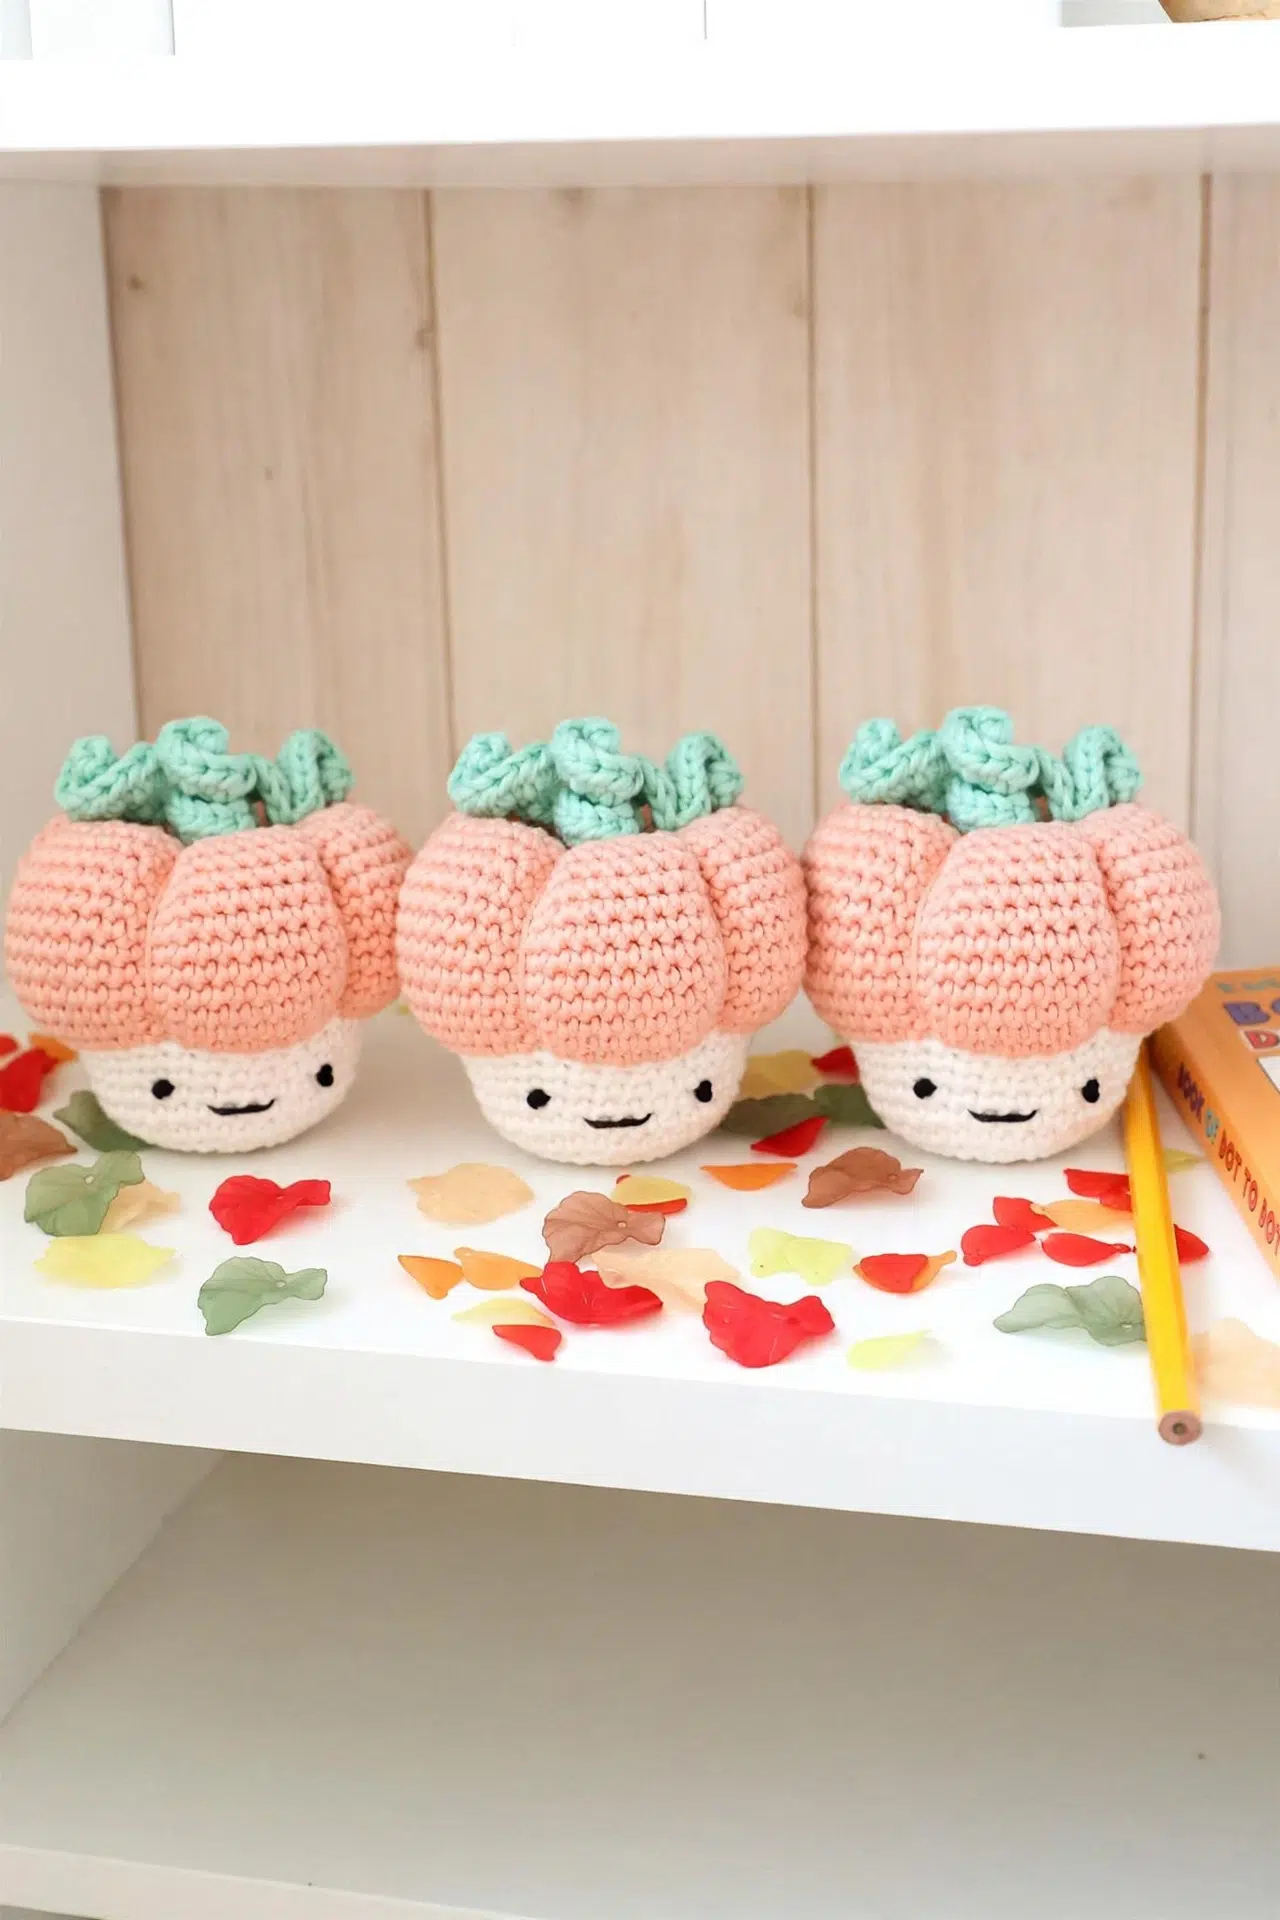
Set your finished pumpkin on a shelf, side table, desk, or autumn centerpiece where a small seasonal piece fits easily. Since it's compact, it can also join a group of handmade pumpkins without needing much room.
For storage between seasons, avoid crushing the stuffing or bending the crocheted stems under heavier decorations.
Washing & Care
Check the care instructions on every yarn used, since the fiber content isn't specified. Hand wash gently in cool water, avoid wringing, and press out moisture with a towel before reshaping and air drying. A piece filled with yarn scraps may take longer to dry, so make sure the center is completely dry before storing it.
More Crochet Fall & Halloween Patterns
- Autumn Crochet Pumpkin
- Pumpkin Vines Home Decor Crochet Pattern
- Crochet Witch Cat Amigurumi
- Mini Crochet Halloween Cat
Frequently Asked Questions
Why does Round 11 increase from 32 to 64 stitches?
Round 11 intentionally places 2 sc in every stitch, doubling the count to 64. The following rounds keep that count unchanged, so this increase provides the extra stitch volume needed before the later decreases and finishing passes shape the stuffed piece.
When should I add the stuffing?
Stuff the pumpkin immediately after Round 26, when 8 stitches remain. The opening is still accessible at that point, but the main decreases are complete. Add small amounts at a time and distribute the filling before working the green stems over the remaining stitches.
How many shaping passes should I make?
Make 6 or 7 passes in total. The first pass is followed by 5 or 6 more passes, with each outside strand pulled tightly. Spreading those passes around the pumpkin lets the tension shape the whole body rather than drawing in only one area.
How does Round 27 make four stems?
Each stem repeat uses two positions on the 8-stitch opening. You chain 13, work back along that chain, then sl st into the stitch below and the next pumpkin stitch. Repeating that sequence around the opening produces 4 stems.
Can I use a magic circle for Round 1?
Yes, a magic circle can replace the chain-4 loop. Work the same 8 sc into the circle and join with a sl st in the first sc. Pull the center closed securely, then leave enough tail to weave in well so the opening doesn't loosen.
Tell me in the comments which yarn colors and embroidered face you chose for your little pumpkin 🧶



