
Small holiday amigurumi can become frustrating when a simple idea turns into lots of fiddly shaping and complicated assembly. I designed this Christmas Crochet Yeti Amigurumi with a straightforward body, small flat details, and clear stuffing points so your hands can settle into the stitches instead of fighting the construction.

The body grows through steady increases, rests through an easy run of even rounds, and closes with matching decreases. The remaining pieces stay small and manageable, so you can enjoy adding each detail without endless counting.
Jump to:
- Why This Pattern Is a Keeper
- Pattern Details
- Yarn and Supplies
- Abbreviations
- How to Crochet the Christmas Yeti Amigurumi
- My Best Tips
- Ways to Make Your Crochet Yeti Your Own
- Fixing Common Yeti-Shaping Problems
- Where Your Yeti Can Join the Festivities
- Washing & Care
- More Whimsical Amigurumi to Crochet
- Frequently Asked Questions
Why This Pattern Is a Keeper
- A steady main body: The body follows a clear increase, even, and decrease sequence. Once you reach the middle rounds, you get a long stretch of simple sc that lets you crochet at a comfortable rhythm.
- Small pieces with simple shaping: The arms and feet use short continuous rounds, while each horn is worked flat and folded. There's no complicated jointing or advanced shaping to manage.
- Flexible stuffing choices: You can use toy stuffing or yarn scraps, and the arms don't have to be stuffed at all. That gives you control over how firm each part feels in your hands.
- Thoughtful face attachment: The face is sewn through its fabric rather than over its outer edge. This helps you keep the shaped oval in place while attaching it to the body.
Pattern Details
- Skill Level: Beginner
- Yarn Weight: DK / Light Worsted
- Time to Make: about 6-9 hours
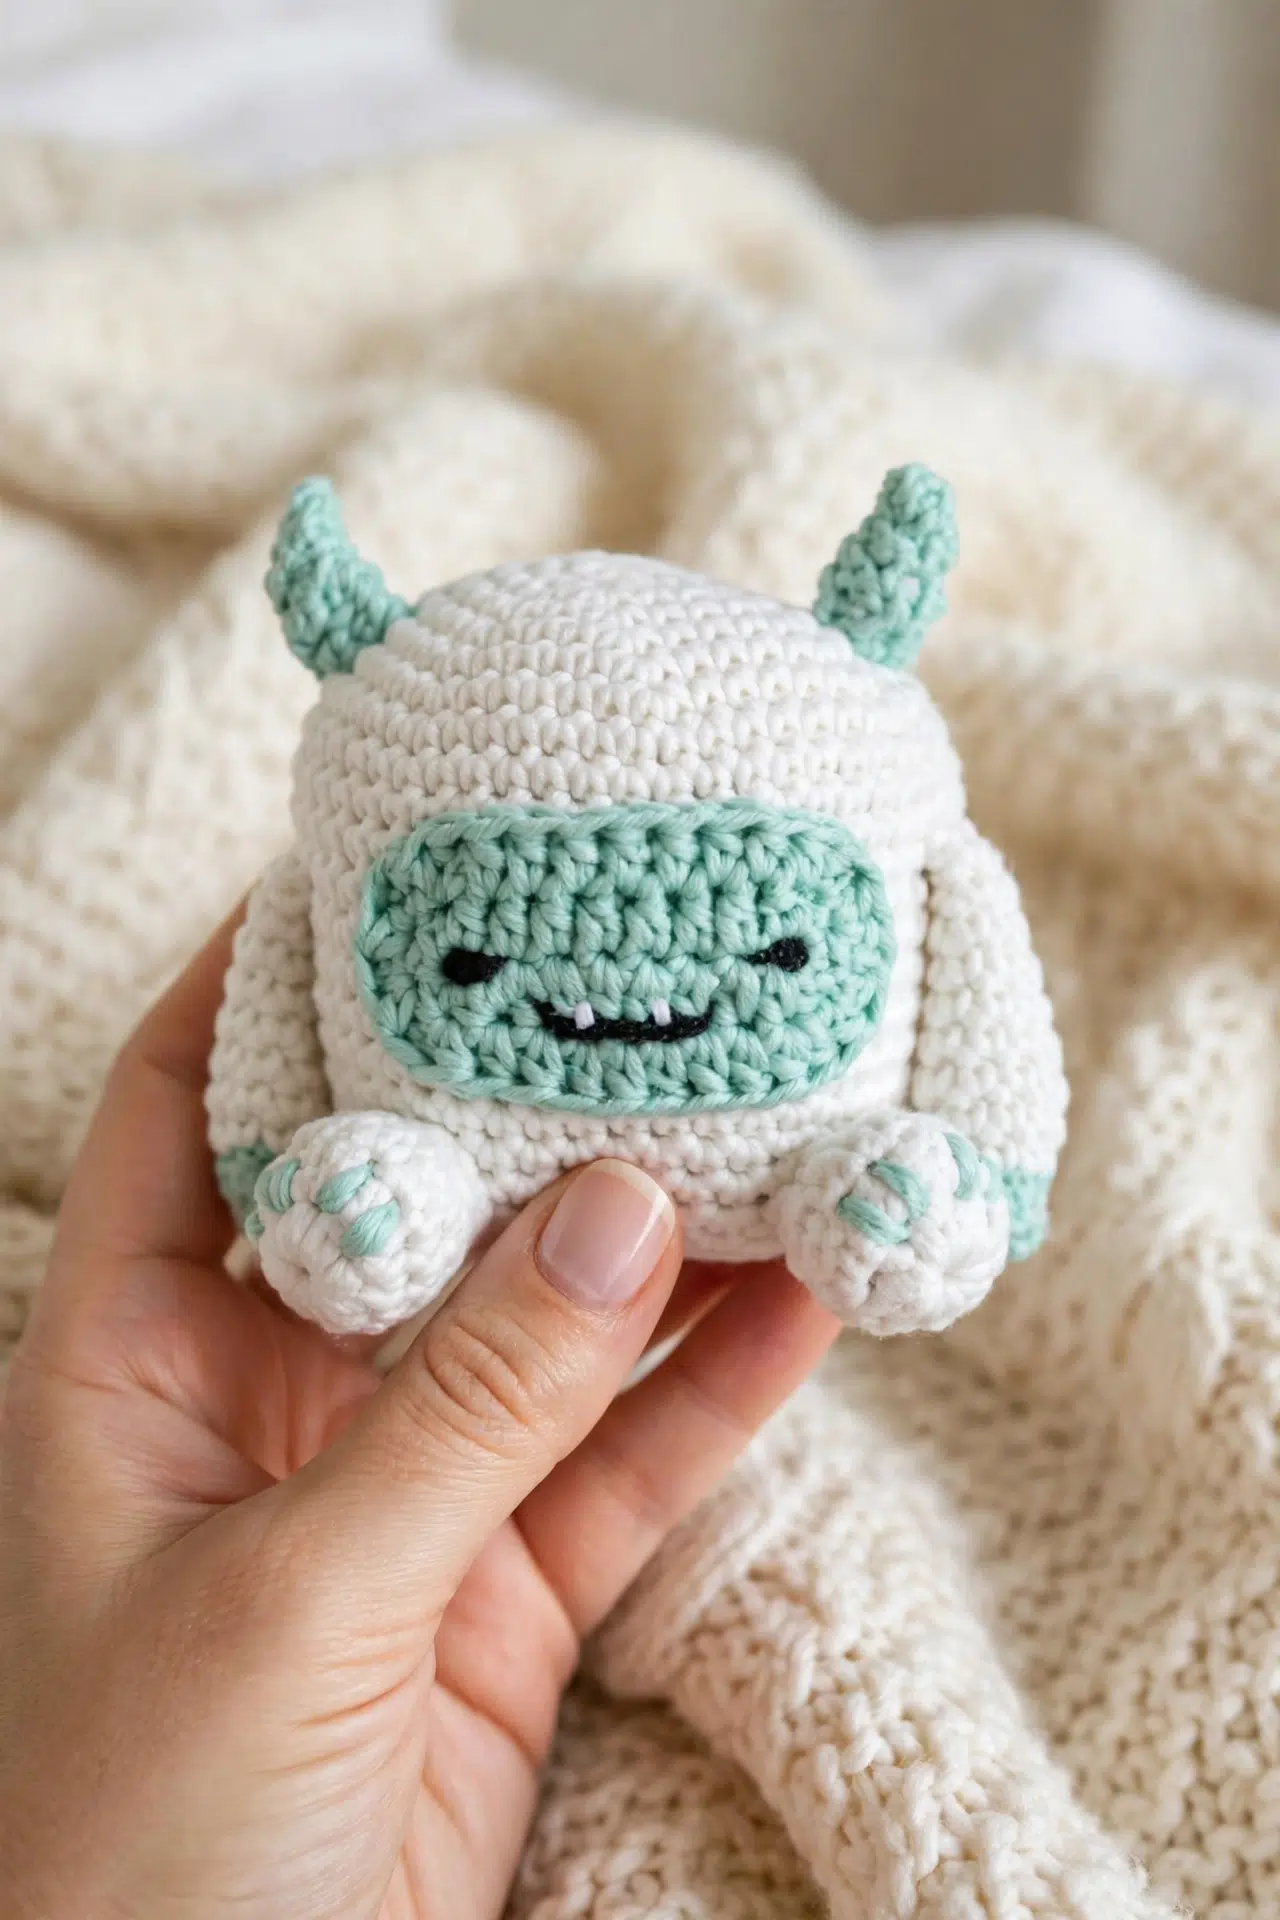
Yarn and Supplies
Gather three yarn colors, a hook that gives you firm amigurumi fabric, stuffing, and a few basic finishing tools before you begin.
- DK/light worsted weight cotton or bamboo yarn in white, turquoise, and black: These fibers give the small pieces useful structure. If your stitches feel loose with the 4 mm hook, move to the 3.5 mm hook so the stuffing stays contained.
- 3.5 mm or 4 mm crochet hook
- Toy stuffing or yarn scraps for stuffing: Toy stuffing is easier to distribute evenly in the rounded body. Yarn scraps also work, but add them in small pieces to reduce hard lumps.
- Yarn needle
- Scissors
- Stitch marker, optional
Abbreviations
- ch - chain
- dc - double crochet
- hdc - half double crochet
- rep - repeat
- sc - single crochet
- sc2tog - single crochet 2 stitches together
- sl st - slip stitch
- st(s) - stitch(es)
How to Crochet the Christmas Yeti Amigurumi
Read through the finishing order before you begin so you can leave the sewing tails and add stuffing at the right moments.
The main body, arms, and feet are worked in continuous rounds without joining unless instructed otherwise. The face is worked around both sides of the foundation chain and joined at the end of each round. A stitch marker can be used to mark the beginning of continuous rounds. Any yarn and suitable hook can be used, but DK/light worsted weight cotton or bamboo yarn works best with a 3.5 mm or 4 mm crochet hook.
Main Body
- Round 1: Using white yarn, ch 4 and sl st in first ch to form a loop. Crochet 7 sc into loop. Do not join. (7)
- Round 2: 2 sc in each st around. (14)
- Round 3: *1 sc in next st, 2 sc in next st; rep from * around. (21)
- Round 4: *1 sc in next 2 sts, 2 sc in next st; rep from * around. (28)
- Round 5: *1 sc in next 3 sts, 2 sc in next st; rep from * around. (35)
- Round 6: *1 sc in next 4 sts, 2 sc in next st; rep from * around. (42)
- Round 7: *1 sc in next 5 sts, 2 sc in next st; rep from * around. (49)
- Rounds 8-22: 1 sc in each st around. (49)
- Round 23: *1 sc in next 5 sts, sc2tog; rep from * around. (42)
- Round 24: *1 sc in next 4 sts, sc2tog; rep from * around. (35)
- Round 25: *1 sc in next 3 sts, sc2tog; rep from * around. (28)
- Round 26: *1 sc in next 2 sts, sc2tog; rep from * around. (21)
- Round 27: *1 sc in next st, sc2tog; rep from * around. (14)
Stuff the body at this point.
- Round 28: Sc2tog around. Draw the remaining stitches closed, fasten off, and weave in all tails. (7)
Face
- Round 1: Using turquoise yarn, ch 9. Work 2 hdc in 2nd ch from hook, 1 hdc in next 6 ch, and 5 hdc in last ch. Work back along the opposite side of the foundation ch, skipping the first ch just used: 1 hdc in next 6 ch and 3 hdc in last ch. Sl st in first hdc to join. (22)
- Round 2: Ch 1, which doesn't count as a st. Work 2 hdc in next 2 sts, 1 hdc in next 7 sts, 2 hdc in next 4 sts, 1 hdc in next 7 sts, and 2 hdc in last 2 sts. Sl st in first hdc. (30)
Fasten off, leaving a long tail for sewing.
Face Finishing
- Step 1: Using black yarn, sew on 2 eyes and a mouth. Small knots can be used for the eyes.
- Step 2: Using white yarn, sew 2 tiny teeth just above the mouth.
- Step 3: Sew the face onto the body. Sew along the face rather than whip stitching over the face and onto the body so the face keeps its shape.
Arms
Make 2.
- Round 1: Using turquoise yarn, make a 4-ch loop and crochet 5 sc into it. Do not join. (5)
- Round 2: 1 sc in each st around. (5)
- Round 3: Join white yarn and work 2 sc in each st around. (10)
- Rounds 4-11: 1 sc in each st around. Fasten off and sew onto the body. (10)
Stuffing the arms is optional.
Feet
Make 2.
- Round 1: Using white yarn, make a 4-ch loop and crochet 8 hdc into it. Do not join. (8)
- Round 2: 2 sc in next st, 2 hdc in each of next 2 sts, 2 sc in next st, and 1 sc in last 4 sts. (12)
- Round 3: Working in back loops only, crochet 1 sc in each st around. (12)
- Round 4: (Sc2tog) 4 times, 1 sc in last 4 sts. (8)
- Round 5: 1 sc in each st around. Fasten off and sew onto the body. (8)
Stuff slightly at the base of the foot. Using turquoise yarn, sew on toes with 2 loops for each toe.
Horns
Make 2.
- Row 1: Using turquoise yarn, ch 6. Sl st in 2nd ch from hook, 1 sc in next ch, 1 hdc in next ch, and 1 dc in last 2 ch.
- Row 2: Turn. Work 1 dc in first 2 sts, 1 hdc in next st, 1 sc in next st, and sl st in last st.
- Row 3: Turn. Sl st in first st, 1 sc in next st, 1 hdc in next st, and 1 dc in last 2 sts.
- Step 1: Fold the piece in half and sew along the edge to form a horn shape. Stuff slightly and sew onto the head.
Yarn and hook choice
You can use any yarn and hook for this pattern. DK/light worsted weight cotton or bamboo yarn paired with a 3.5 mm or 4 mm crochet hook is recommended.
My Best Tips
- Mark every continuous round: Move a stitch marker into the first stitch of each body, arm, and foot round. The rounds aren't joined, so the marker prevents the beginning from drifting while you count.
- Pause before the final body decrease: Add the body stuffing after Round 27 and shape it with your fingers before working Round 28. Once those last decreases are complete, the opening will be much harder to reach.
- Keep the face increases organized: Round 2 of the face places increases around both curved ends. Count each section as you work it, because one misplaced increase can pull the oval out of shape.
- Use light stuffing in small parts: The feet need stuffing only at the base, and the horns are stuffed slightly. Tiny pinches are easier to control and won't strain the seams.
Ways to Make Your Crochet Yeti Your Own
- Try a different fiber: Acrylic yarn can replace cotton or bamboo. Choose a smooth DK/light worsted yarn and keep the stitches firm, since a springier fiber may make the fabric feel softer.
- Choose between the two hook sizes: Use the 3.5 mm hook for tighter fabric or the 4 mm hook if your natural tension is firm. Changing hooks affects both the density and final size even when the yarn stays the same.
- Use a different yarn weight: Any yarn and suitable hook can be used, but every piece must use the same combination if you want the proportions to stay consistent. A heavier yarn creates a larger project and also requires more stuffing.
- Adjust the arm filling: Leave the arms unstuffed for flexible pieces or add a small amount of filling for more firmness. Avoid packing them tightly because they still need to sit neatly against the body.
- Swap the colors: You can replace the white and turquoise with colors from your own yarn supply. Keep enough contrast between the face details and their background so the sewn eyes, mouth, teeth, and toes remain distinct.
Fixing Common Yeti-Shaping Problems
- The body has a visible step: Check that you haven't joined the continuous rounds with a sl st. Keep moving directly into the first stitch of the next round and use a marker to track that stitch.
- The face count is off: Make sure you worked along both sides of the foundation chain and placed the larger groups at its ends. Round 1 must finish with 22 stitches before you begin the next set of increases.
- Stuffing shows between stitches: Use the smaller recommended hook or ease your tension tighter. Add stuffing in small amounts rather than forcing too much into one area, which stretches the spaces between stitches.
Where Your Yeti Can Join the Festivities
Place your finished yeti on a Christmas shelf, mantel, or table where its small sewn pieces won't be pulled or snagged. It can also sit at the top of a stocking until gift time.
For a handmade gift, pair it with a simple card that notes the fiber used and whether the filling is toy stuffing or yarn scraps.
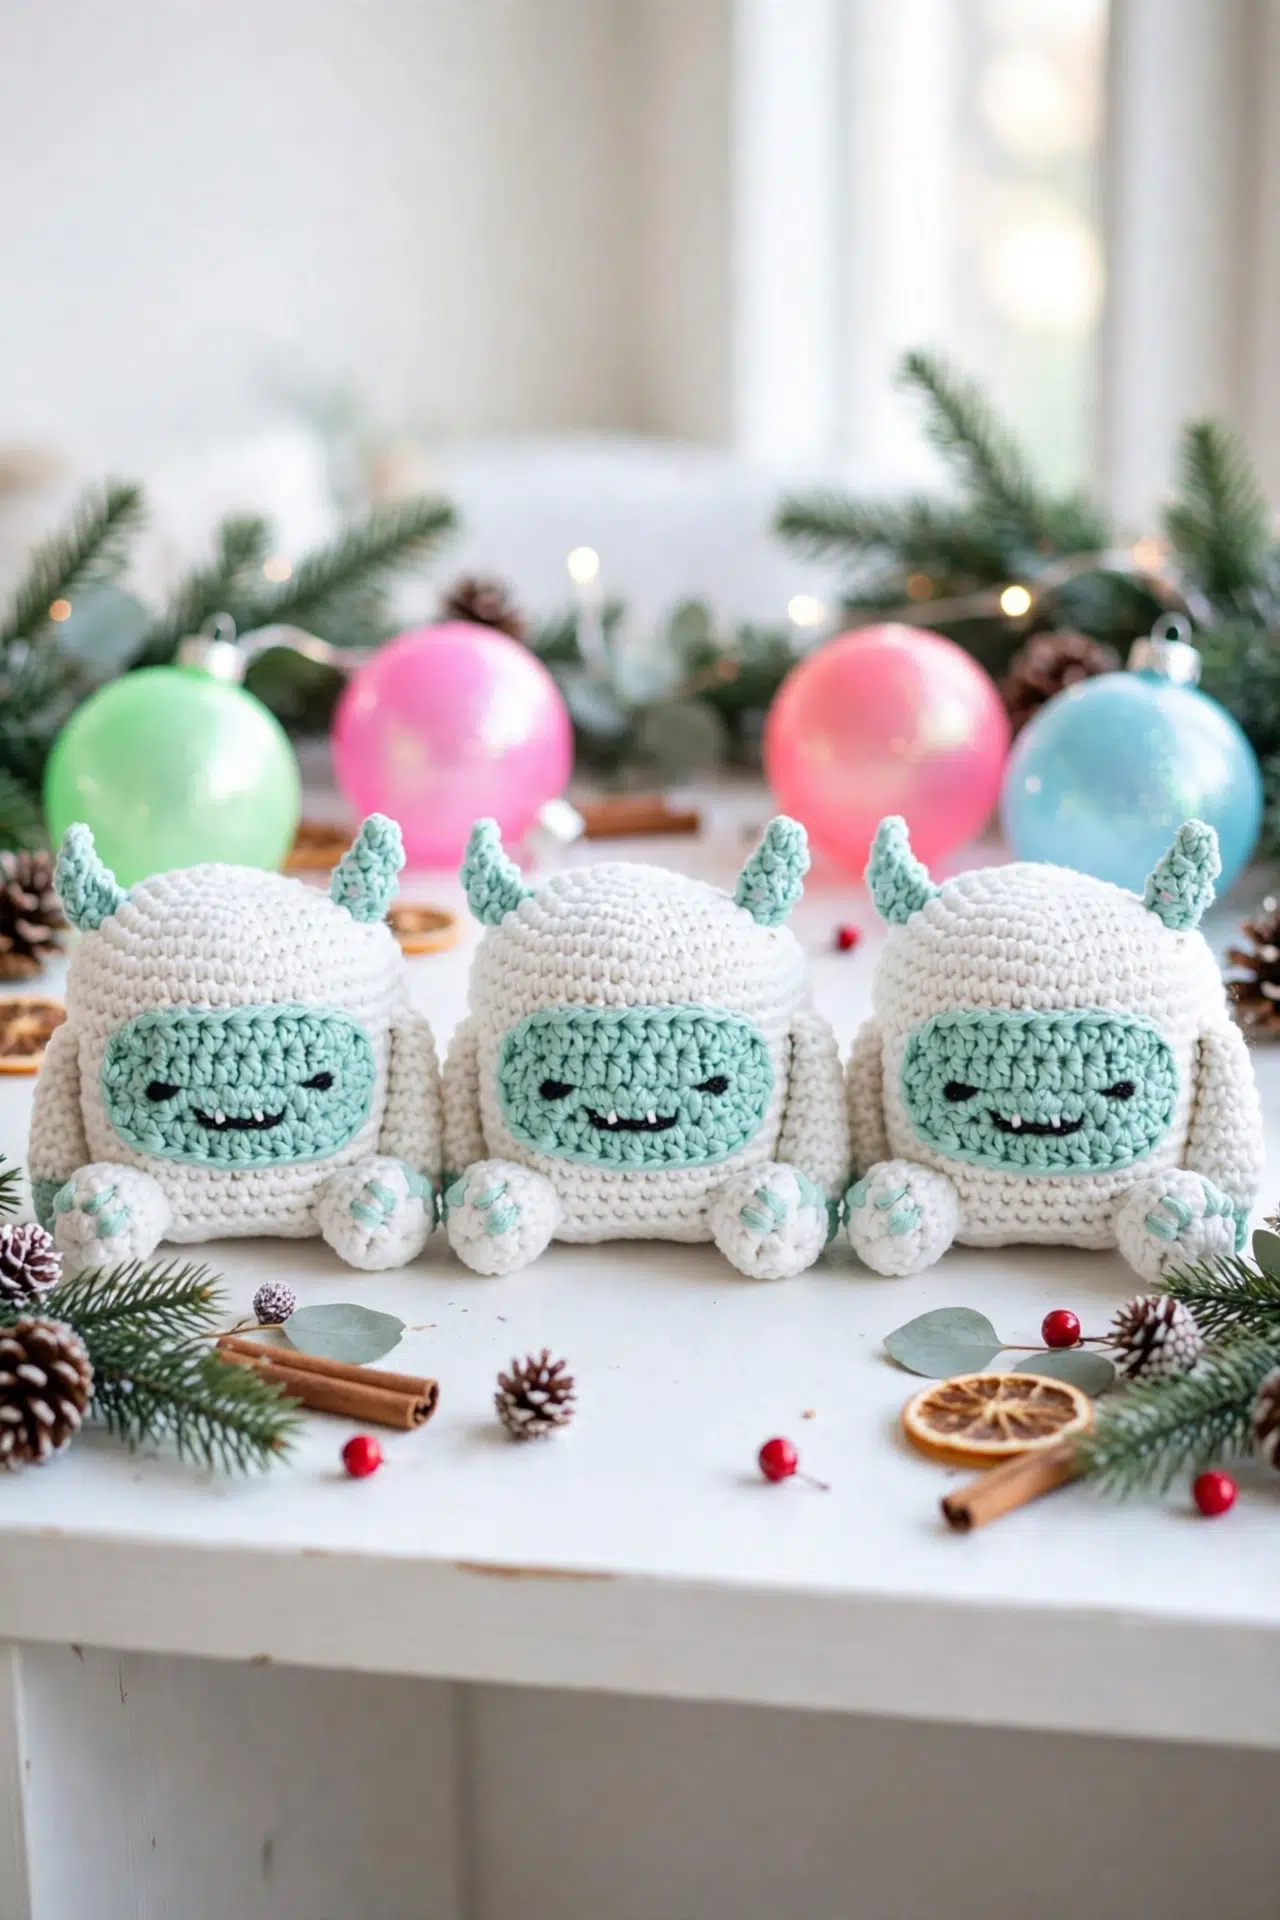
Washing & Care
Check the yarn label before washing because cotton, bamboo, and substitute fibers can have different care needs. Spot cleaning is the safest choice for the sewn details and stuffing. If a full wash is necessary, wash gently in cool water, press out moisture without twisting, reshape, and air-dry completely.
More Whimsical Amigurumi to Crochet
Frequently Asked Questions
Do I join the main body rounds?
No, the main body is worked in continuous rounds. After finishing one round, work directly into the first stitch of the next round without a sl st or turning chain. A marker in the first stitch will help you identify the round boundary and maintain the stated counts.
When should I stuff the body?
Stuff the body after Round 27, when 14 stitches remain. The opening is still large enough for you to distribute filling and smooth the shape with your fingers. Round 28 reduces the opening to 7 stitches, which are then drawn closed.
Why is the face worked on both sides of the chain?
Working on both sides creates the complete face piece in the round. The larger hdc groups at the ends curve the foundation chain, while the straight sections run along its sides. Skipping the already-used chain on the return side keeps the placement and 22-stitch count correct.
Do the arms have to be stuffed?
No, stuffing the arms is optional. Unstuffed arms remain more flexible and are easy to flatten against the body for sewing. If you prefer a firmer result, add a small amount before fastening off and keep the top edge clear enough to stitch through.
How are the horns constructed?
Each horn is worked flat across three turned rows, then folded in half. Sewing along the edge closes the folded piece and forms the horn shape. Add only a little stuffing before attaching it to the head so the seam isn't placed under excess pressure.
Set your finished yeti in its Christmas spot or tuck it into someone's stocking for a handmade surprise. Leave a comment if you make one.



