
Crochet flowers can be surprisingly fussy when the center, petals, and stem are left to guesswork. I designed Realistic Crochet Daffodils for that exact frustration, giving you a clear route through every part of the construction.

The trumpet comes first, reserved loops provide a firm place for the petals, and a folded wire supports the stem. Each choice helps you move confidently from the first round to final assembly.
Jump to:
- What Makes This Pattern Work
- Pattern Details
- What You'll Need
- Abbreviations
- How to Crochet the Realistic Daffodils
- Tips for Success
- Ways to Adapt Your Crochet Daffodils
- Fixing Daffodil Shape and Assembly Problems
- Arrange Your Finished Daffodils
- Care Instructions
- More Crochet Flower Patterns
- Frequently Asked Questions
What Makes This Pattern Work
- A planned petal anchor: Working Round 3 through the front loops leaves the back loops ready for Round 10. You won't have to search for uncertain attachment points when it's time to add the petals.
- Shaping without separate pieces: The trumpet and six petals are built directly onto the same flower base. That means less seaming and fewer loose parts to position.
- A supported stem: Florist wire gives the stem structure, while the folded loop helps secure it inside the flower. You can bend it into shape only after everything is firmly attached.
- Two starting options: You can begin with a magic circle or use the chain-loop alternative. Both routes lead to the same six-stitch first round.
Pattern Details
- Skill Level: Intermediate
- Finished Size: Accurate to real daffodils
- Yarn Weight: DK / Light Worsted or Aran / Worsted for the flower; Chunky / Bulky for the stem
- Time to Make: about 1-2 hours per flower
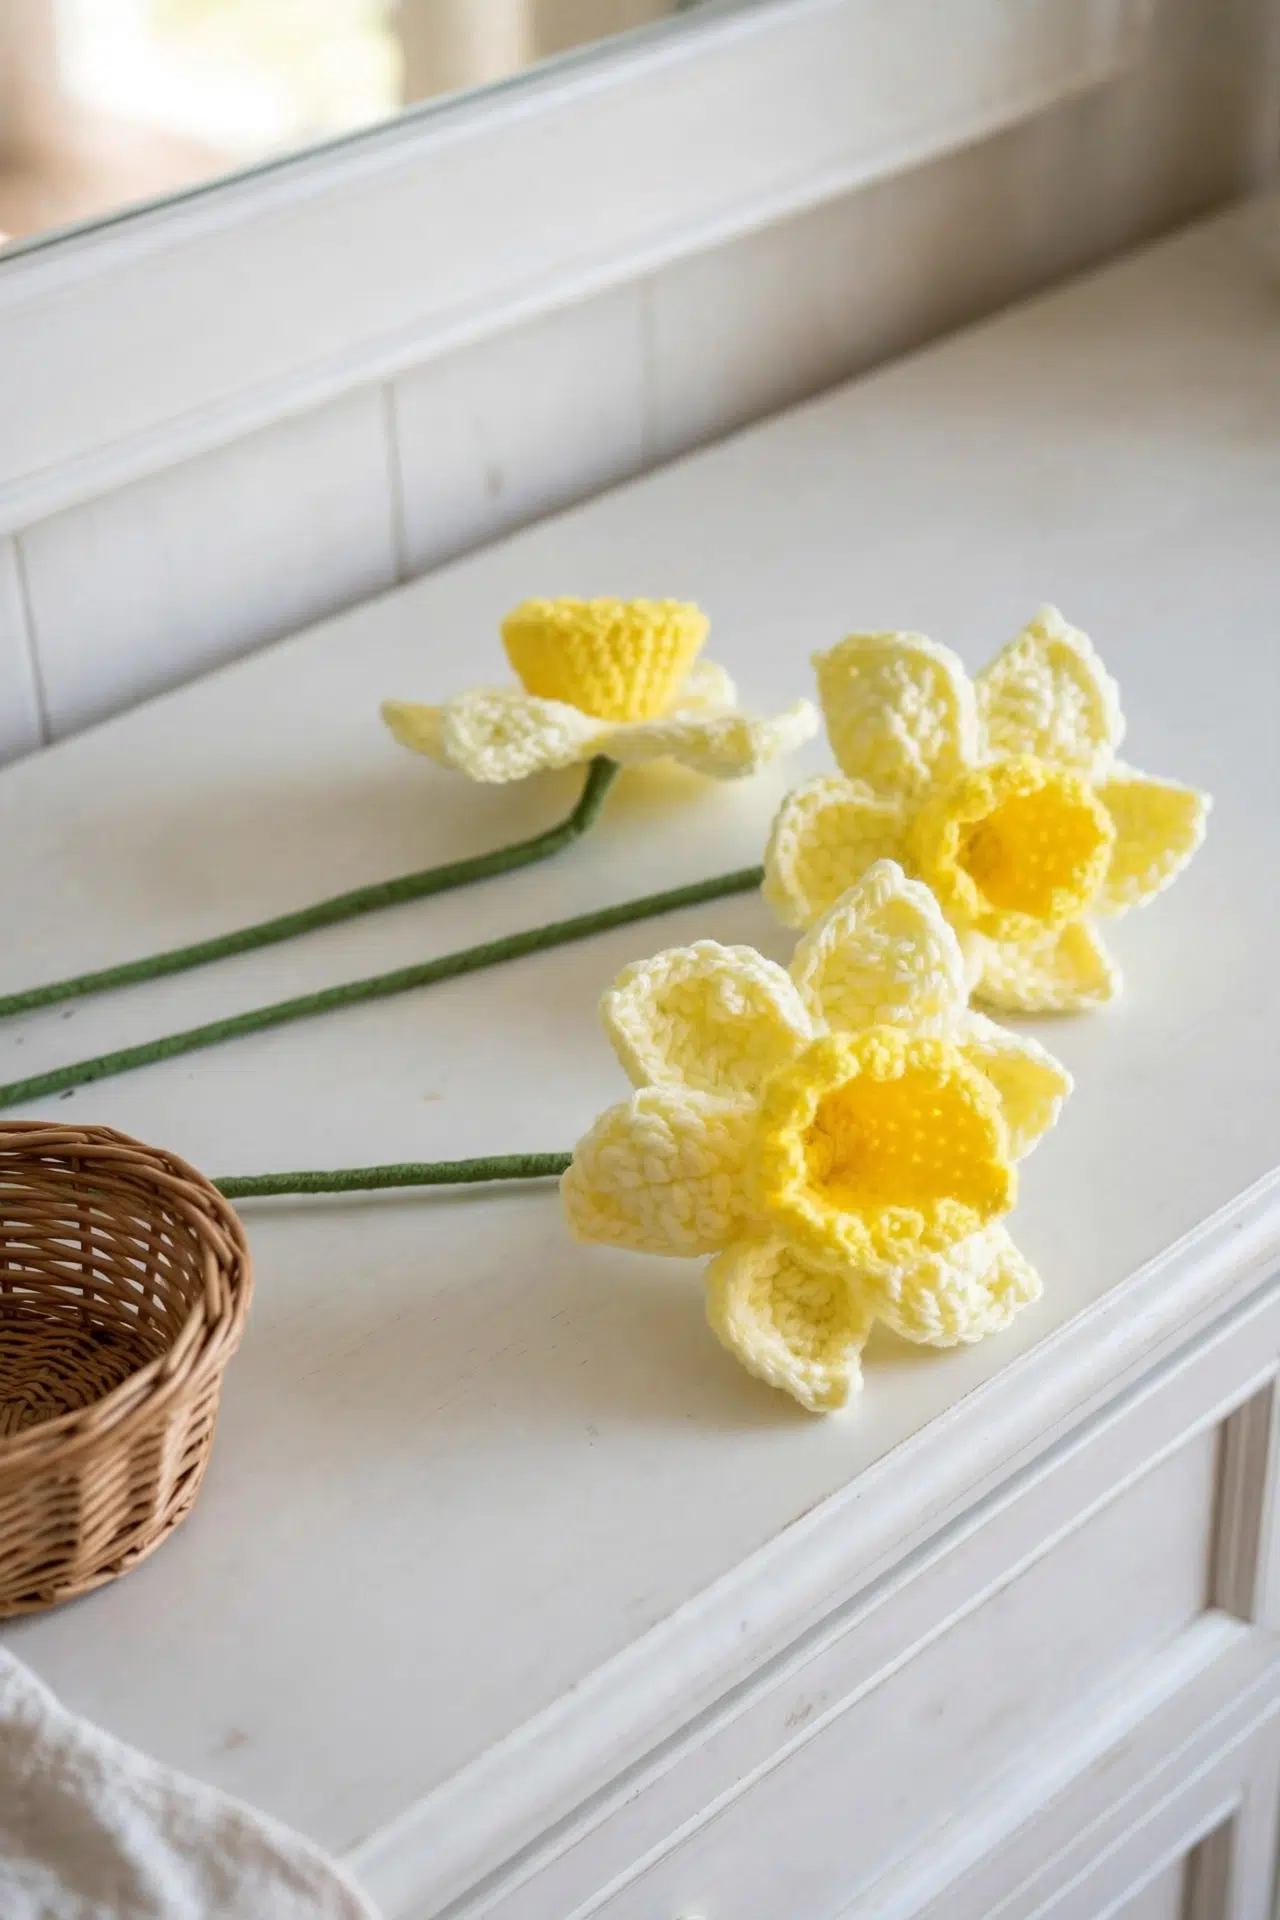
What You'll Need
Gather your flower yarn, a thicker green yarn for the stem, and the florist supplies before you begin. Having the wire and tape ready makes it easier to move straight into assembly once the crochet is finished.
- DK / Light Worsted weight yarn in yellow, or Aran / Worsted weight yarn
- Chunky / Bulky weight yarn in green for the stem
- 3.5 mm crochet hook
- Yarn needle
- Scissors
- Florist tape
- One approximately 12 in. length of florist wire: Use an approximately 12 in. piece for each flower. Folding one end over 2 times creates the loop that holds the yarn and helps anchor the stem.
Abbreviations
- ch - chain
- sl st - slip stitch
- sc - single crochet
- hdc - half double crochet
- dc - double crochet
- tr - treble crochet stitch
- st - stitch
- sk - skip
- Y - yellow
- G - green
How to Crochet the Realistic Daffodils
Work the trumpet first, add the picot edge and six petals, then finish with the taped wire stem.
This pattern uses US terminology. Instructions between asterisks are repeated for as long as stated. Numbers in parentheses give the total stitches or petals. The project is categorized under Flowers & Nature, Spring, and Easter.
Flower
- Round 1, Starting with the trumpet: Using Y and a 3.5 mm crochet hook, work 6 sc into a magic circle. Pull to tighten and sl st to join. (6)
Alternatively, ch 4, sl st in first ch to form a loop, work 6 sc into the loop, and sl st to join.
- Round 2: Work 2 sc in the next st and in each st around. Sl st in first sc to join. (12)
- Round 3: In front loops only, ch 1, work 1 sc in the same st as the previous sl st below the ch 1, then work 1 sc in the next st and in each st around. Sk ch 1 and sl st in first sc to join. (12)
- Round 4: Ch 1, work 1 sc in the same st as the previous sl st, then work 1 sc in the next st and in each st around. Sk ch 1 and sl st in first sc to join. (12)
- Round 5: Ch 1, work 1 sc in the same st as the previous sl st and 2 sc in the next st. *Work 1 sc in the next st and 2 sc in the next st; rep from * around. Sk ch 1 and sl st in first sc to join. (18)
- Round 6: Repeat Round 4. (18)
- Round 7: Ch 1, work 1 sc in the same st as the previous sl st, 1 sc in the next st, and 2 sc in the next st. *Work 1 sc in the next 2 sts and 2 sc in the next st; rep from * around. Sk ch 1 and sl st in first sc to join. (24)
- Round 8: Repeat Round 4. (24)
- Round 9, Picot edge: Ch 3, sl st in the same st as the previous sl st, and sl st in the next 2 sts. *Ch 3, sl st in the same st as the previous sl st, and sl st in the next 2 sts; rep from * around. Fasten off and tie in all tails.
- Round 10, Petals: In back loops only, *ch 8, work 1 sc in the second ch from the hook, 1 hdc in the next ch, 1 dc in the next ch, 1 tr in the next 2 ch, 1 dc in the next ch, and 1 hdc in the last ch, then sl st in the next 2 sts on the main flower; rep from * around. (6)
This creates 6 half petals.
- Round 11: Crochet into the chains again to create the other side of each petal. *Work 1 hdc in the first ch, 1 dc in the next ch, 1 tr in the next 2 ch, 1 dc in the next ch, 1 hdc in the next ch, and 1 sc in the last ch. Sl st in the next sc at the top of the petal, ch 1, sl st in the same st as the previous sl st, and sl st in each st down the edge of the petal back to the main flower; rep from * around. Sl st in the main flower to finish. Fasten off and tie in all tails. (6)
This completes all 6 petals.
Stem and Finishing
- Step 1: Take one 12 in. length of florist wire and fold the end over 2 times to create a loop.
- Step 2: Cut 2 lengths of G yarn, each double the length of the wire, and feed them through the loop.
- Step 3: Cover the looped end with florist tape and feed the end through the center of the flower.
- Step 4: Fold the wire into place to secure it. If desired, sew some Y yarn over the stem to hide it.
- Step 5: Cover the rest of the stem with florist tape.
- Step 6: Bend the stem into shape to finish.
Color Ideas
Try the daffodil in two different shades of yellow, or use orange and yellow.
Tips for Success
- Protect the reserved loops: In Round 3, make sure your hook enters only the front loop of each stitch. The unused back loops are needed later, so catching both loops here will make the petal round difficult to place.
- Count the increase rounds: Check for 18 stitches after Round 5 and 24 after Round 7. Correct counts keep the picot spacing even and provide the attachment points needed for six petals.
- Keep the petal chains relaxed: Avoid tightening the chain-8 foundations. You'll crochet down one side in Round 10 and return along the chains in Round 11, so a little flexibility makes those insertions much easier.
- Secure before bending: Tape and fasten the wire inside the flower before shaping the stem. Bending it too early can make the attachment shift while you're covering the remaining wire.
Ways to Adapt Your Crochet Daffodils
- Use the alternate center: If you don't enjoy tightening a magic circle, make the chain-4 loop instead. Work all six starting stitches into that loop and continue with the same stitch counts.
- Choose a heavier flower yarn: Aran / Worsted yarn is an included alternative to DK / Light Worsted. Expect a larger, denser flower, and keep your tension relaxed enough to work into the chains twice when forming the petals.
- Split the flower colors: Use two shades of yellow, or combine orange and yellow. You can change yarn between the trumpet and petal stages, fastening each color securely before continuing.
- Adjust the stem length: The pattern uses an approximately 12 in. wire. A different length changes the stem rather than the crocheted flower, but remember that each of the two green yarn lengths must be double the wire length.
- Leave off the optional covering stitches: The yellow yarn sewn over the stem attachment is optional. Skip it if the wire and taped join are already hidden securely in the center.
Fixing Daffodil Shape and Assembly Problems
- The trumpet is widening too quickly: Recheck the increase placement and ending counts. Round 5 should finish with 18 stitches, while Round 7 should finish with 24; adding an increase to the joining chain can create unwanted extra stitches.
- There aren't enough loops for six petals: Confirm that Round 3 was worked through front loops only. Round 10 uses the reserved back loops, and each half petal occupies two main-flower stitches.
- The petal edge feels tight: Loosen the chain-8 foundation and use the tip of your hook when returning along it in Round 11. Tight chains make the second side harder to work and can pull on the petal.
- The stem slips inside the flower: Check that the wire end was folded over 2 times, taped, and then folded into place after passing through the center. Those steps create the anchor that keeps the stem from sliding back out.
Arrange Your Finished Daffodils
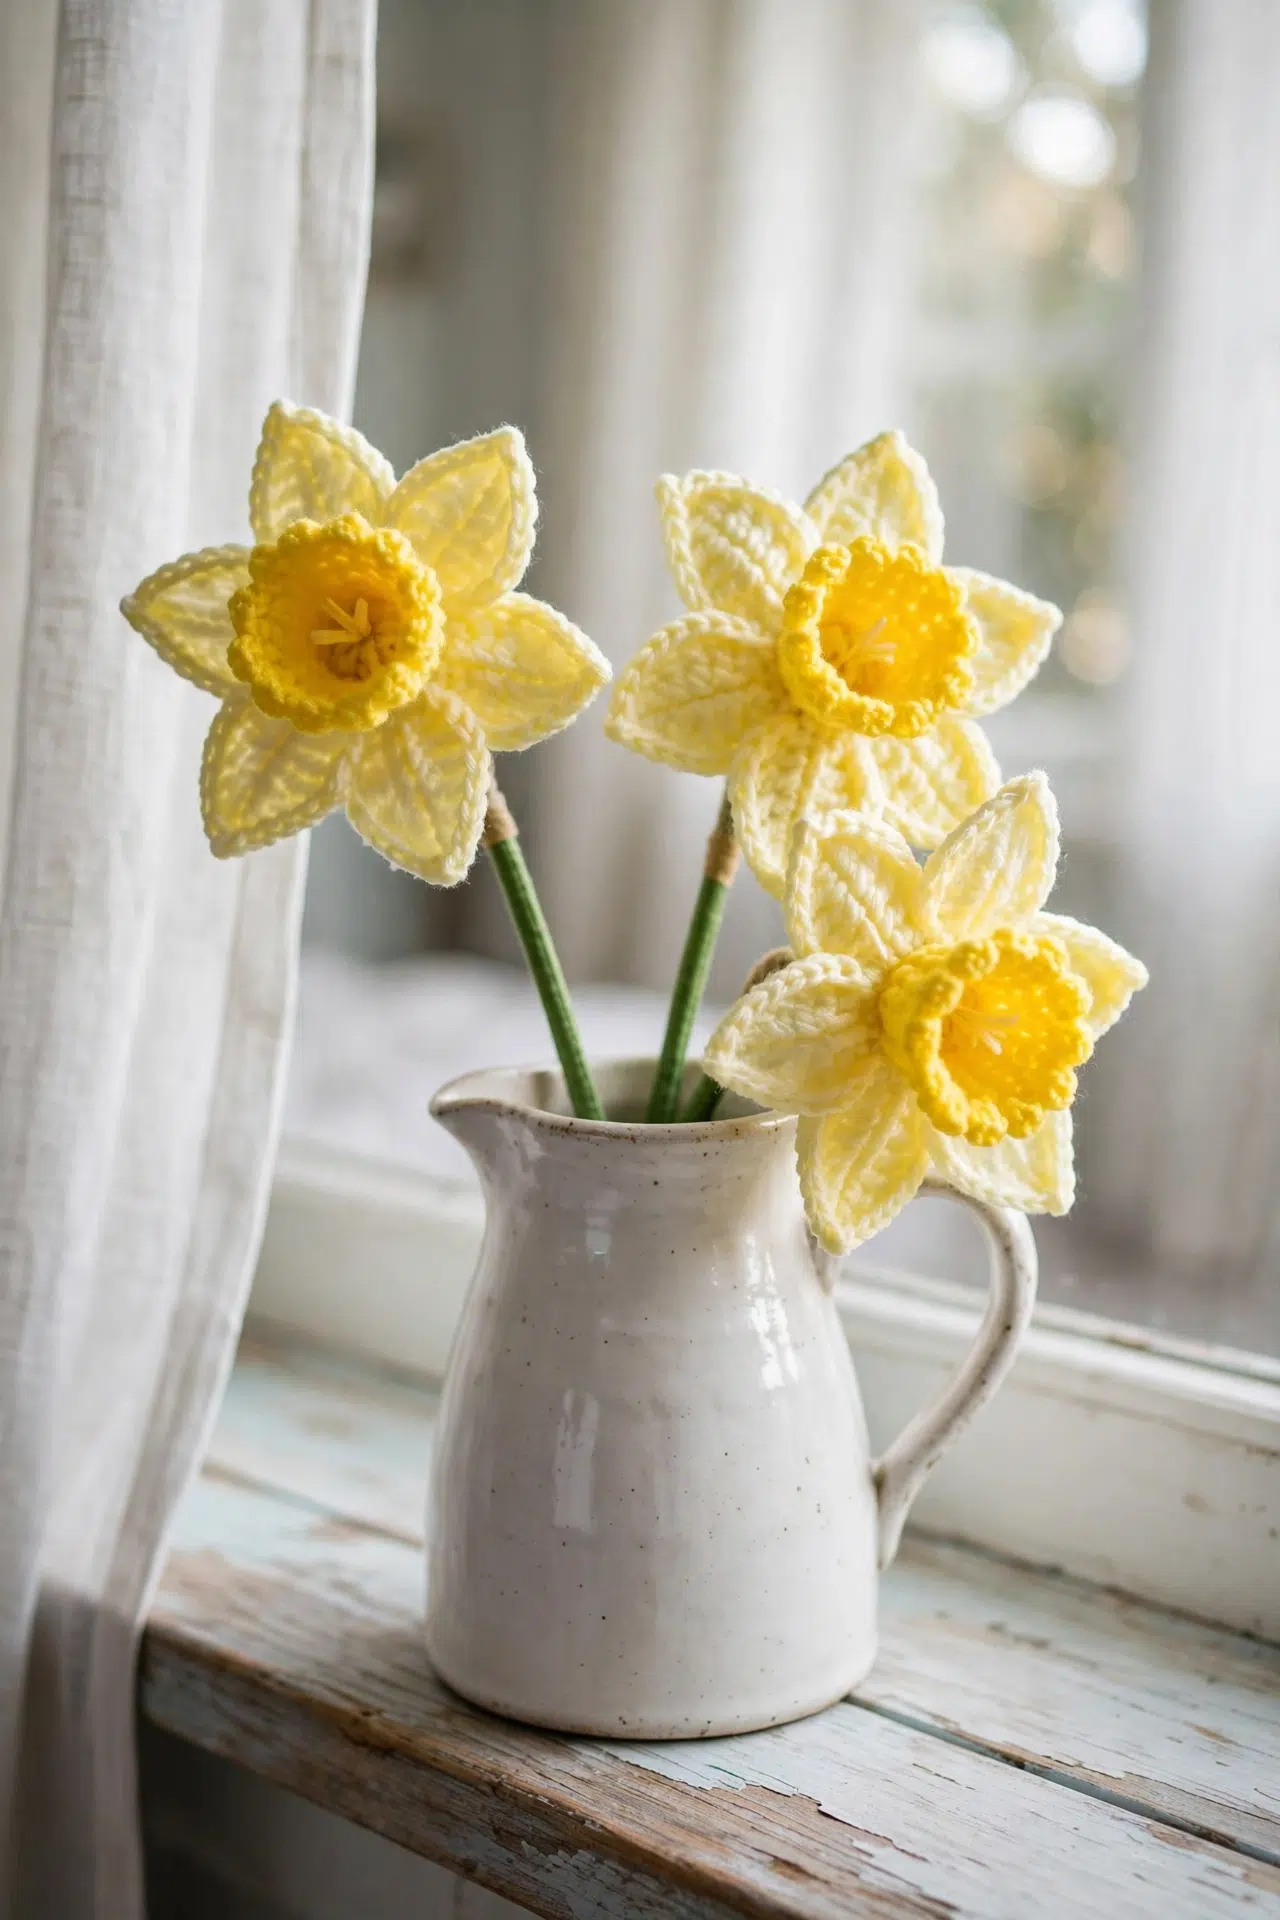
Place several finished flowers together in a small vase, or use one as part of a spring or Easter arrangement. Since the stems contain bendable wire, shape each one after positioning it rather than repeatedly flexing the same spot.
A single daffodil also makes a thoughtful addition to a spring-themed gift. Keep the wire end fully covered with florist tape before giving or displaying it.
Care Instructions
Dust the flower gently or wipe the taped stem with a barely damp cloth. Don't machine wash or soak it because the project contains florist wire and florist tape. Store it without crushing the petals, and reshape the wire stem gently when needed.
More Crochet Flower Patterns
- Daffodil Granny Square Crochet Pattern
- Boho Daisy Leaf Mobile Crochet Pattern
- Sunflower Granny Square Blanket Crochet Pattern
- Tulip Butterfly Granny Square Crochet Pattern
Frequently Asked Questions
How many petals should the finished flower have?
The flower has six complete petals. Round 10 creates six half petals by using two main-flower stitches for each one, and Round 11 returns along those chains to complete the opposite sides. If you reach the end with more or fewer than six, recount the 12 reserved back loops before continuing.
Why is Round 3 worked through the front loops only?
Round 3 uses front loops only so the back loops remain available for the petals. Those unused loops form a defined attachment round beneath the trumpet. If you accidentally work through both loops, you may still be able to find a strand for attachment, but the intended petal placement will be harder to follow consistently.
Can I make the daffodil without florist wire?
Yes, but the stem won't have the supported, bendable construction provided by the pattern. The wire passes through the flower center and folds into place to secure the join, while florist tape covers the remaining stem. Without it, you'll need another support method, and the listed finishing steps won't function in the same way.
When should I fasten off the yellow yarn?
Fasten off after Round 9 and again after Round 11. The first fasten-off finishes the picot-edged trumpet before you begin working into the reserved back loops. The second comes after all six petals are complete and joined back to the main flower, just before you assemble the stem.
Share this pattern with a flower-loving crocheter who'd enjoy making a spring arrangement of their own. Tell me in the comments which yarn combination you're planning!



