
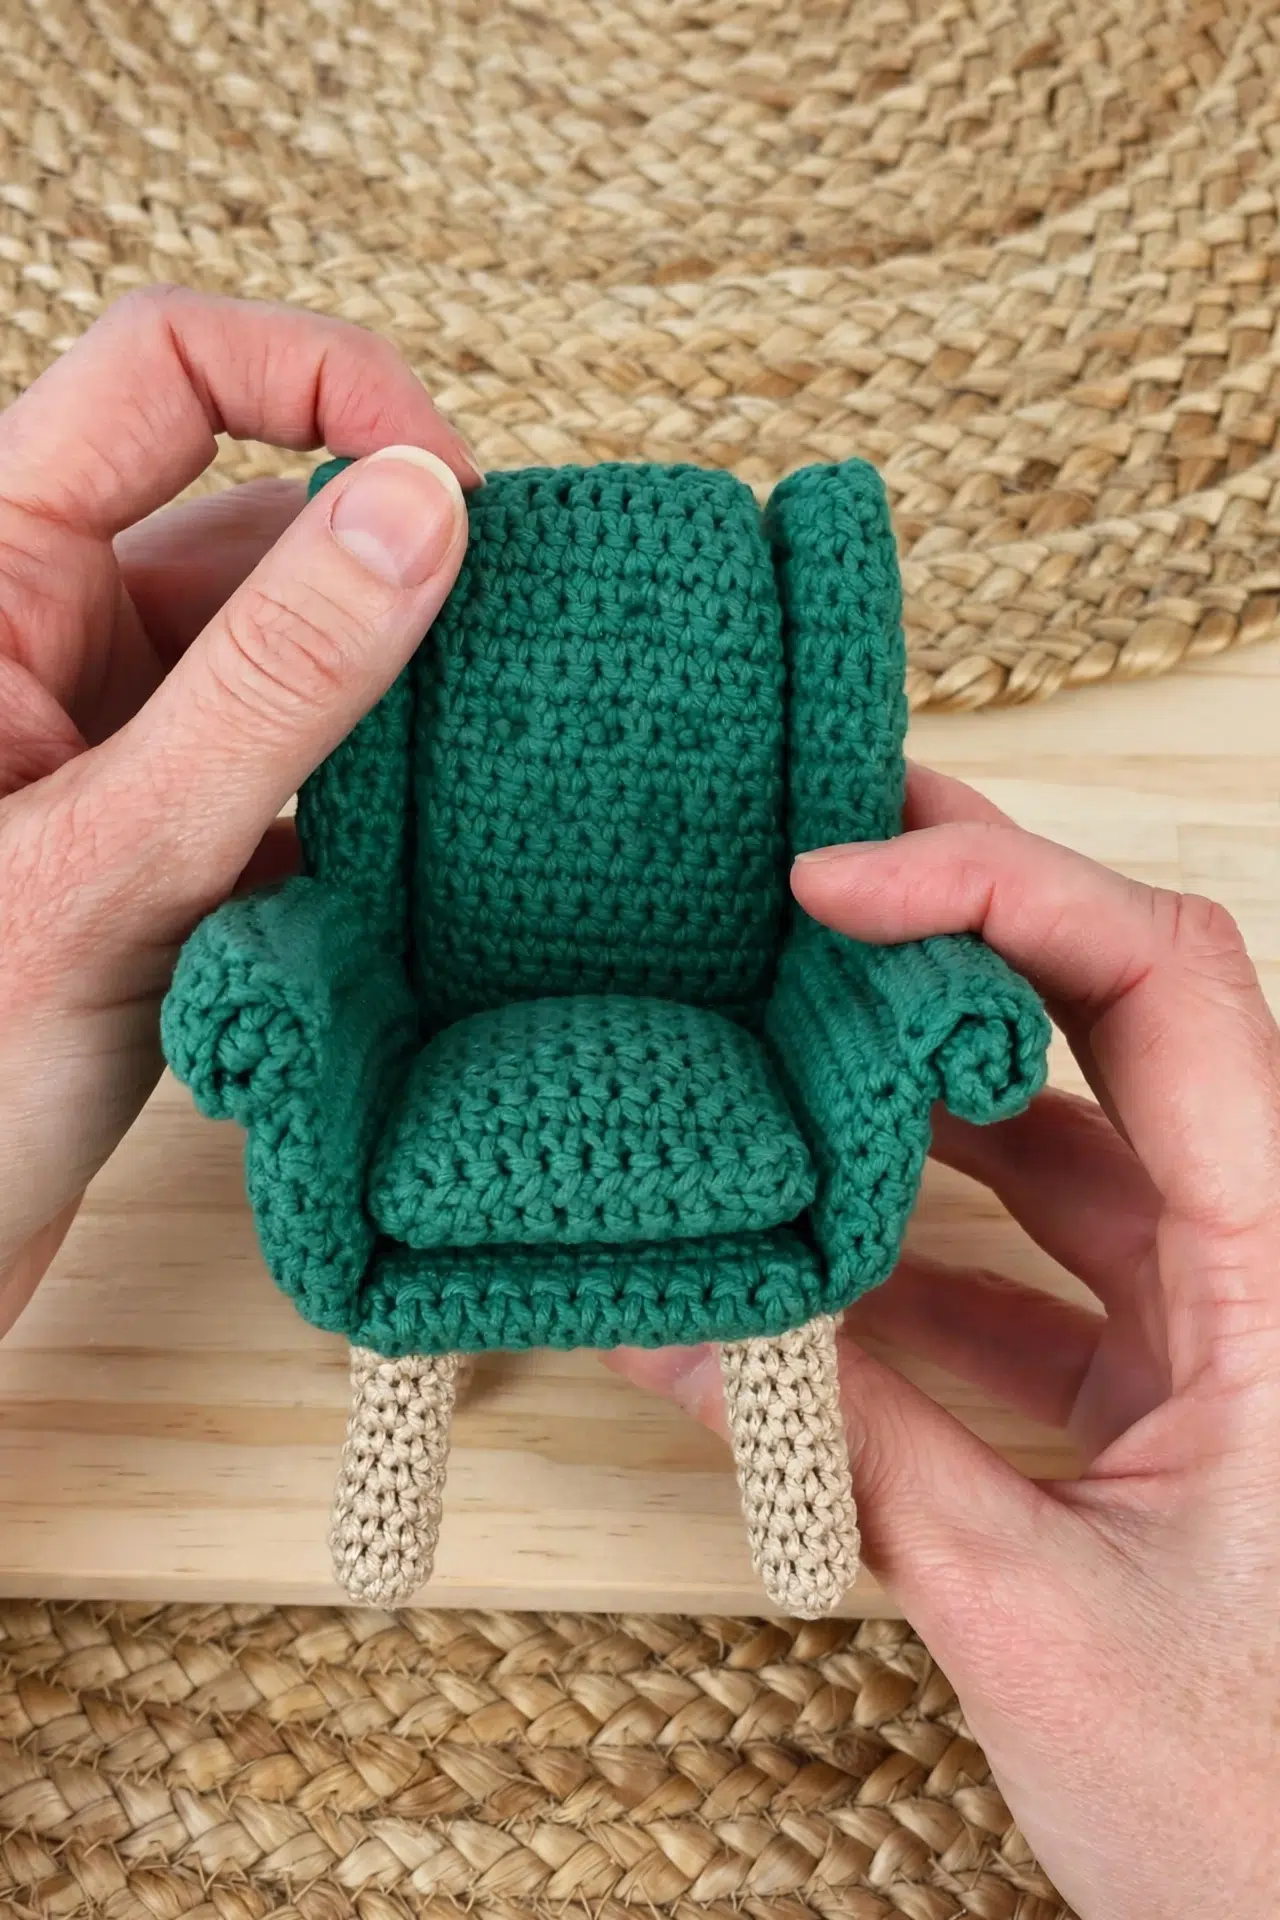
If you've been wanting a satisfying dollhouse project that's useful, detailed, and easy to work in short sessions, you've found it in my Miniature Crochet Dollhouse Armchair. It's a lovely choice when you want familiar stitches with enough construction to keep your hands interested.

You'll crochet simple single crochet panels, fold several around firm cardboard, add lightly stuffed cushions, and finish with rolled arms and tiny reinforced feet. The stitch pattern stays approachable, so you can give your attention to the small assembly details instead of complicated crochet.
Jump to:
- Why I Make These on Repeat
- Pattern Details
- Supplies
- Abbreviations
- How to Crochet the Miniature Dollhouse Armchair
- Tips for Success
- Ways to Adapt Your Miniature Armchair
- Fixing Fit and Assembly Problems
- A Tiny Seat for a Dollhouse Room
- Caring for Your Armchair
- More Crochet Home Decor Patterns
- Frequently Asked Questions
Why I Make These on Repeat
- Familiar stitches: Most of the chair is worked in straightforward rows of single crochet, with only basic increases and sc2tog decreases for shaping.
- Firm construction: The cardboard inserts support the back, base, arms, and top sides, while the stuffed pieces add softness where the design calls for it.
- Flexible foundations: I included both foundation sc and conventional chain starts, so you can use whichever method feels steadier in your hands.
- Thoughtful miniature detail: The knotted cushion studs, rolled arm sections, and reinforced feet give you several satisfying finishing steps without requiring advanced stitches.
Pattern Details
- Skill Level: Beginner
- Finished Size: 1:12 scale miniature; overall dimensions are not specified
- Yarn Weight: Sport/Baby weight, category 2
- Time to Make: about 10-14 hours
Supplies
Gather all the structural pieces before you begin, since accurate cardboard and wooden inserts make the final assembly much easier.
- Sport/Baby weight yarn, category 2; amount not specified
- 2.00 mm crochet hook
- Yarn needle
- Scissors
- Toy stuffing
- Cardboard, 3-4 mm thick: Use the specified 3-4 mm thickness so the upholstered panels stay firm. Much thinner card can bend, while thicker material may be difficult to enclose with the listed stitch counts.
- Wooden skewers or toothpicks: You'll need 16 equal pieces for the 4 feet. Smooth any rough cut ends before inserting them so they don't catch on the crochet.
Abbreviations
- ch - chain
- st(s) - stitch(es)
- sl st - slip stitch
- sc - single crochet
- sc2tog - single crochet 2 stitches together for decrease
How to Crochet the Miniature Dollhouse Armchair
Work each piece in order, keeping the cardboard panels nearby so you can check the fit before sewing the edges closed.
Instructions are written in US terminology. The arm rest sides are made 2 times, the top sides are made 4 times, and the feet are made 4 times. The feet are worked in continuous rounds without joining. Instructions between asterisks are repeated for as long as stated. Each first row may be made with sc foundation sts or with the alternative foundation chain given in that step.
Cardboard and Wooden Pieces
- Step 1: Cut 1 seat cushion panel measuring 4 cm x 4.4 cm.
- Step 2: Cut 2 base/back panels, each measuring 7 cm x 4 cm.
- Step 3: Cut 2 arm rest panels, each measuring 7 cm x 2 cm.
- Step 4: Cut 2 top side panels, each measuring 5.5 cm x 1.7 cm.
- Step 5: Cut 16 wooden foot pieces, each 1.5 cm long, from skewers or toothpicks.
Back Panel
- Row 1: Crochet 12 sc foundation sts. Turn. Alternatively, ch 13, crochet 1 sc in second ch from hook and in each ch along. Turn. (12)
- Rows 2-20: 1 sc in each st along. Turn. (12)
- Row 21: Sc2tog, 1 sc in next 8 sts, sc2tog. Turn. (10)
- Row 22: 2 sc in next st, 1 sc in next 8 sts, 2 sc in next st. Turn. (12)
- Rows 23-42: 1 sc in each st along. Turn. Fasten off after Row 42. (12)
- Step 1: Fold the crocheted piece in half over a back panel cardboard piece and sew up the edges.
Base Panel
- Row 1: Crochet 12 sc foundation sts. Turn. Alternatively, ch 13, crochet 1 sc in second ch from hook and in each ch along. Turn. (12)
- Rows 2-42: 1 sc in each st along. Turn. Fasten off after Row 42. (12)
- Step 1: Fold the crocheted piece in half over a base panel cardboard piece and sew up the edges.
Back Cushion
- Row 1: Crochet 10 sc foundation sts. Turn. Alternatively, ch 11, crochet 1 sc in second ch from hook and in each ch along. Turn. (10)
- Row 2: 2 sc in next st, 1 sc in next 8 sts, 2 sc in next st. Turn. (12)
- Rows 3-20: 1 sc in each st along. Turn. (12)
- Row 21: Sc2tog, 1 sc in next 8 sts, sc2tog. Turn. (10)
- Row 22: 2 sc in next st, 1 sc in next 8 sts, 2 sc in next st. Turn. (12)
- Rows 23-41: 1 sc in each st along. Turn. (12)
- Row 42: Sc2tog, 1 sc in next 8 sts, sc2tog. Fasten off. (10)
- Step 1: Fold the piece in half, stuff it, and sew up the edges.
- Step 2: Cut 7 short lengths of the same-colored yarn and tie 3 knots in the center of each length. Sew the ends into the cushion, pull tightly, and knot them on the back to form studs. Place 2 studs at the top, 3 in the middle, and 2 at the bottom, leaving a few rows clear at the bottom because this area will be hidden behind the seat cushion.
Seat Cushion
- Row 1: Crochet 10 sc foundation sts. Turn. Alternatively, ch 11, crochet 1 sc in second ch from hook and in each ch along. Turn. (10)
- Row 2: 2 sc in next st, 1 sc in next 8 sts, 2 sc in next st. Turn. (12)
- Rows 3-15: 1 sc in each st along. Turn. (12)
- Row 16: Sc2tog, 1 sc in next 8 sts, sc2tog. Turn. (10)
- Row 17: 2 sc in next st, 1 sc in next 8 sts, 2 sc in next st. Turn. (12)
- Rows 18-30: 1 sc in each st along. Turn. (12)
- Row 31: Sc2tog, 1 sc in next 8 sts, sc2tog. Fasten off. (10)
- Step 1: Fold the piece in half, stuff it, and sew up the edges.
Arm Rest Sides
Make 2.
- Row 1: Crochet 20 sc foundation sts. Turn. Alternatively, ch 21, crochet 1 sc in second ch from hook and in each ch along. Turn. (20)
- Rows 2-7: 1 sc in each st along. Turn. (20)
- Row 8: 1 sc in next 14 sts, skip remaining sts. Turn. (14)
- Rows 9-22: 1 sc in each st along. Turn. Fasten off after Row 22. (14)
- Row 23: Rejoin yarn in the beginning ch from Row 1, 1 sc in each ch along. Turn. (20)
- Rows 24-29: 1 sc in each st along. Turn. Fasten off after Row 29. (20)
- Step 1: Roll up Rows 8-22 and sew them in place. Roll each arm rest in the correct direction so the skipped stitches from Row 8 are at the back of the chair.
- Step 2: Fold up the lower half along the beginning chs over an arm rest panel cardboard piece, stuff very slightly, and sew up the edges.
- Step 3: Sew each arm rest to the main chair along the back and base.
Top Sides
Make 4.
- Row 1: Crochet 5 sc foundation sts. Turn. Alternatively, ch 6, crochet 1 sc in second ch from hook and in each ch along. Turn. (5)
- Rows 2-4: 1 sc in each st along. Turn. (5)
- Row 5: 2 sc in next st, 1 sc in last 4 sts. Turn. (6)
- Row 6: 1 sc in each st along. Turn. (6)
- Row 7: 2 sc in next st, 1 sc in last 5 sts. Turn. (7)
- Rows 8-14: 1 sc in each st along. Turn. (7)
- Row 15: Sc2tog, 1 sc in last 5 sts. Turn. (6)
- Row 16: 1 sc in first 4 sts, sc2tog. Fasten off. (5)
- Step 1: Place 2 top sides over 1 top side panel cardboard piece, stuff very slightly, and sew up the edges. Repeat with the remaining 2 top sides and cardboard panel.
- Step 2: Sew each assembled top side to the main chair along the skipped sts from Row 8 of the arm rest side and to the back panel.
Feet
Make 4.
- Round 1: Ch 4, sl st in first ch to form a loop, then crochet 6 sc in the center of the loop. Alternatively, use a magic loop or ring. Do not join rounds. (6)
- Rounds 2-6: 1 sc in each st around. Fasten off after Round 6. (6)
- Step 1: Stuff each foot with 4 wooden foot pieces and sew it to the main chair.
Tips for Success
- Check panel coverage early: Lay each crocheted section around its matching cardboard piece before fastening the final seams. Small tension differences matter at 1:12 scale, and it's easier to adjust before assembly.
- Mirror the arm rests: Roll the two arm sections in opposite directions. On both pieces, the stitches skipped in Row 8 must sit at the back of the chair.
- Keep the stuffing light: Use only a small amount in the arms and top sides, as directed. Overstuffing can distort the panel edges and make the sections harder to sew together.
- Mark the feet rounds: Place a removable marker in the first stitch of each foot round. These rounds aren't joined, so the marker helps you complete all 6 rounds without losing your place.
Ways to Adapt Your Miniature Armchair
- Another category 2 yarn: A different Sport or Baby weight yarn can work well if it produces a firm single crochet fabric with the 2.00 mm hook. A thicker substitute will enlarge the crochet pieces and may stop them fitting the measured cardboard panels.
- A different hook size: Move down slightly only if your stitches leave gaps around the inserts, or up slightly if the fabric is too tight to fold. Any hook change affects panel fit, so test it against the cardboard before completing a long section.
- Built-up card: If 3-4 mm cardboard isn't available, layers of thinner card can be secured together to reach the required thickness. Keep every edge aligned because uneven layers can create bulky corners beneath the crochet.
- Alternative wooden inserts: Either toothpicks or narrow wooden skewers can support the feet. The important points are a consistent 1.5 cm length and a narrow enough diameter to fit 4 pieces inside each crocheted tube.
- Simpler cushion finish: You can omit the 7 knotted studs without changing the back cushion's construction. If you include them, place and tighten them only after the cushion has been stuffed and sewn closed.
Fixing Fit and Assembly Problems
- The cardboard won't fit: Check that you're matching the crochet to the correct panel before trimming or forcing anything. Confirm the stitch count, flatten the crochet, and wrap it around the insert without stretching the edges out of shape. If your tension is consistently tight, remake the piece with a slightly larger hook rather than cutting the structural panel smaller.
- Both arms face the same way: Undo the rolled and sewn section on one arm rest, then roll it in the opposite direction. The skipped stitches from Row 8 belong at the back on both sides, which means the two arm pieces need to mirror each other during finishing.
- The cushions feel lumpy: Remove some stuffing and tease the remainder into a thin, even layer before closing the seam. These miniature cushions need less filling than you may expect, and dense clumps can pull the short rows out of alignment.
- The feet sit unevenly: Confirm that all 16 wooden pieces are cut to the same 1.5 cm length and that each foot contains exactly 4. Position the finished feet consistently on the base before sewing any of them down firmly.
A Tiny Seat for a Dollhouse Room
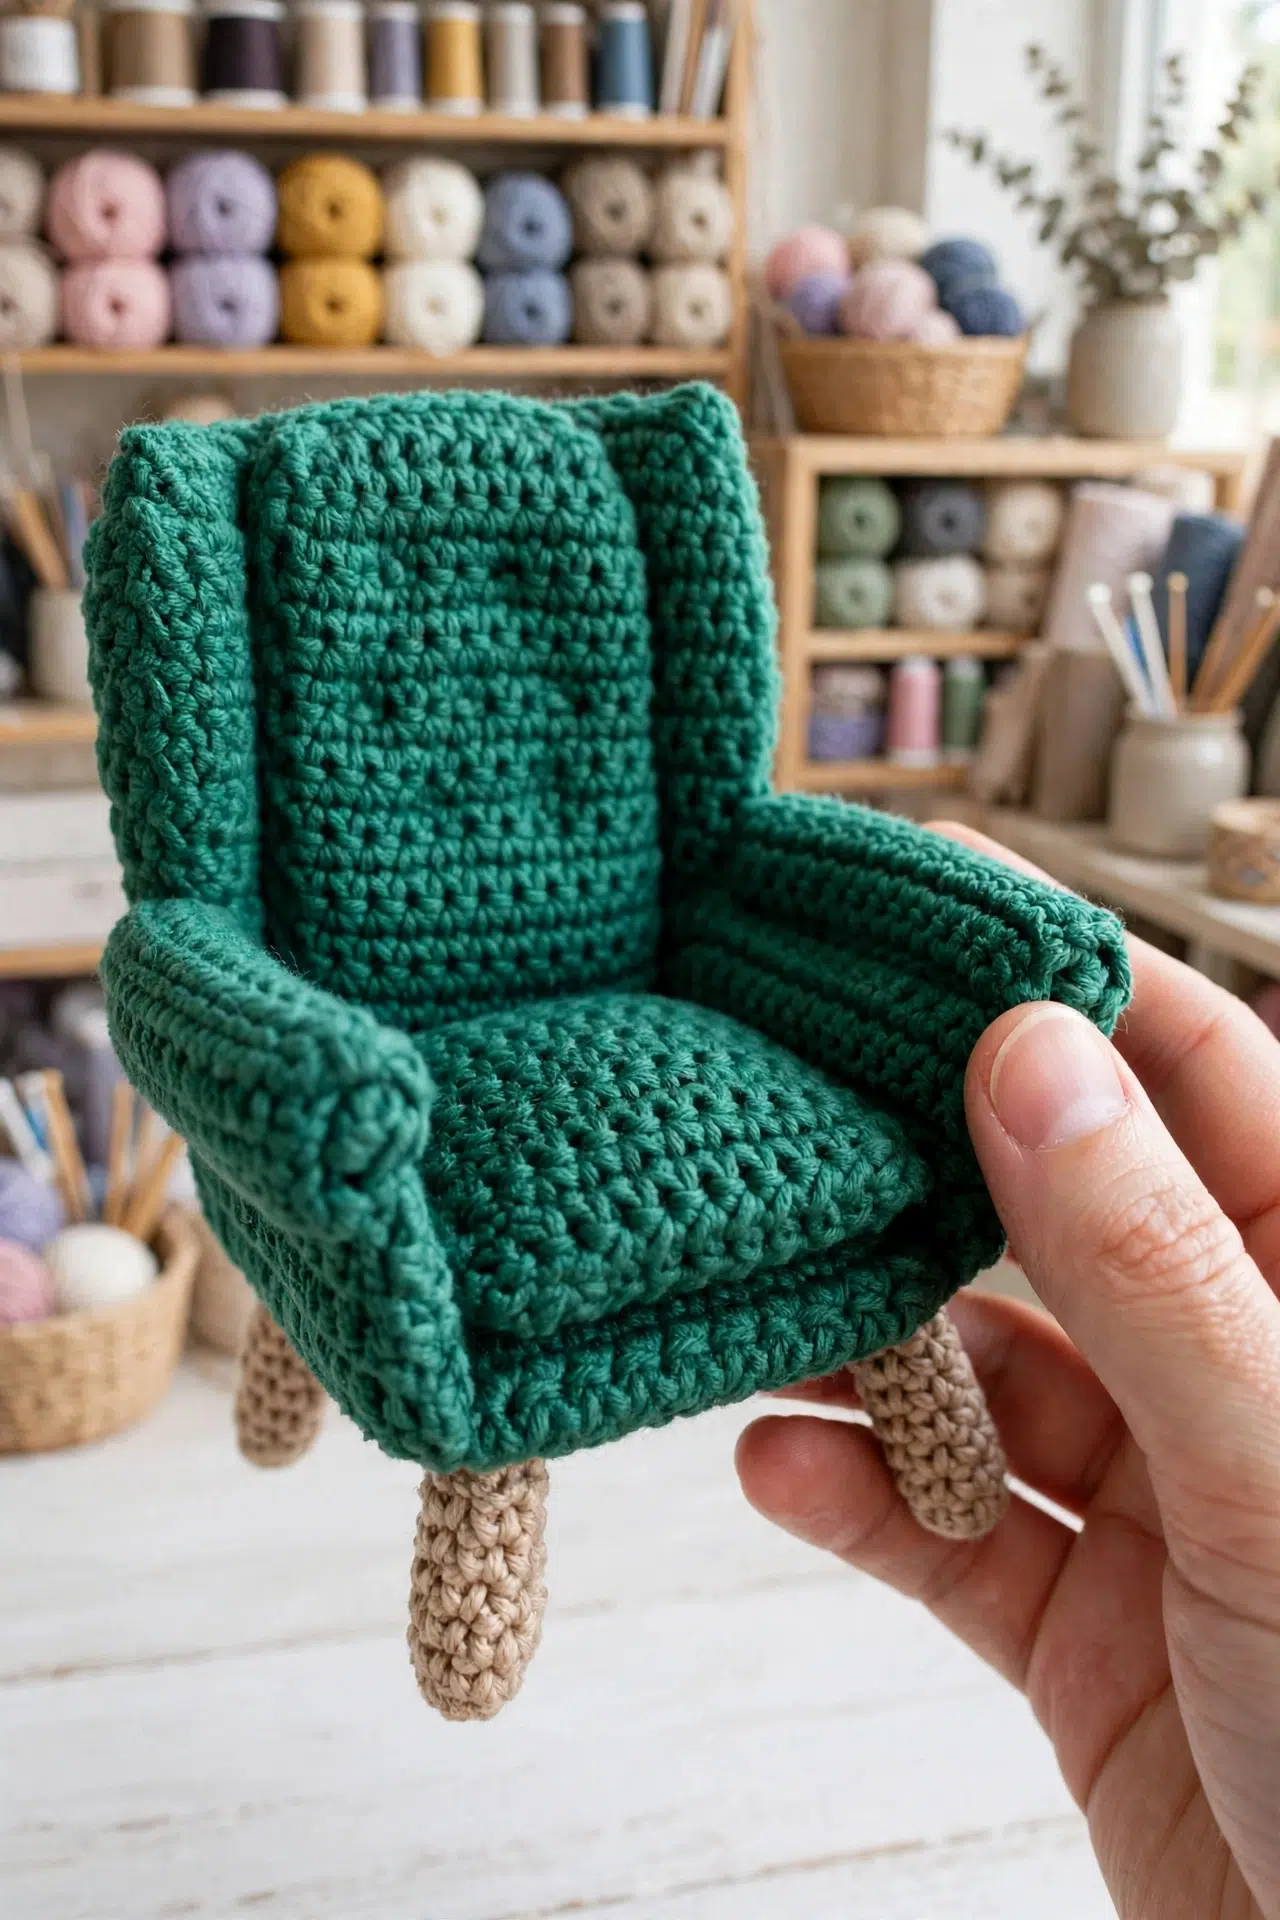
Place the finished chair in a 1:12 scale dollhouse sitting room, reading corner, or bedroom arrangement. Because the cushions remain separate elements in the construction, take a moment to settle them into position whenever you rearrange the room.
Caring for Your Armchair
Spot-clean the armchair gently and avoid soaking it because the structure contains cardboard and unfinished wooden inserts. Blot moisture promptly and let the piece dry fully in open air. Since the yarn fiber isn't specified, follow its label for any fiber-specific cleaning precautions.
More Crochet Home Decor Patterns
- Pumpkin Vines Home Decor Crochet Pattern
- Boho Daisy Leaf Mobile Crochet Pattern
- This AI-Inspired Crochet Curtain Might Be the Prettiest Doorway Upgrade You Make All Year
Frequently Asked Questions
Do I have to use foundation single crochet for the first rows?
No, every foundation row includes a standard chain alternative. The foundation sc method reduces the number of steps and can give a flexible edge, but chaining and working back across is just as valid here. Use the option that lets you maintain the stated stitch count most comfortably at this small scale.
Why must the arm rests be rolled in different directions?
The two arm rests must mirror each other so their skipped Row 8 stitches both land at the back. Rolling them in the same direction creates two pieces suited to the same side of the chair. Check the skipped section before sewing each roll permanently, then place both pieces beside the base to confirm their orientation.
When should I add the studs to the back cushion?
Add all 7 studs after the cushion has been folded, stuffed, and sewn closed. The finished cushion gives the knotted yarn something firm to pull against, allowing each tie to indent the surface. Keep a few rows clear at the bottom because that portion will sit behind the seat cushion.
How many wooden pieces go inside each foot?
Each crocheted foot holds 4 wooden pieces, for 16 pieces altogether. Grouping several short skewer or toothpick sections inside each tube provides more support than a single narrow insert. Cut them all to 1.5 cm before stuffing the feet so the 4 finished supports remain consistent.
Can I use thicker yarn to make a larger chair?
Yes, but the listed cardboard measurements will no longer match the crochet. Thicker yarn and a suitable larger hook enlarge every panel, cushion, arm, and foot, so you'll need to create new inserts based on your finished crochet pieces. Keep the same construction order and test the proportions before cutting all the cardboard.
What did you change or add to your chair, perhaps a different yarn, contrasting studs, or another small detail? Tell me about your version in the comments!



