
I made this little bookmark on a whim one afternoon and honestly could not stop making them after that. The Hibiscus Flower Bookmark Crochet Pattern is one of those quick projects that feels way more special than the time it takes, and it's become my go-to whenever I need a small handmade gift that actually gets used.

Jump to:
About the Design
What I love about this one is how the two parts work together. The flower is its own little moment, and then the middle section just adjusts to whatever book you're marking. It's practical in a way that doesn't feel like an afterthought. I've made a few of these for friends who are big readers, and every single one of them has actually used it, which is honestly the best thing you can say about a handmade gift.
It also hits that sweet spot of being easy enough to knock out quickly but interesting enough that you're not bored halfway through. Really does feel satisfying to finish.
What Makes This Pattern Special
A beginner-friendly bookmark that actually makes a thoughtful, keep-forever gift.
- Skill level: Rated easy, so this is no trouble at all even if you're fairly new to crochet.
- Adjustable fit: The middle section is sized to the book, so it works for paperbacks, hardcovers, journals, whatever you're reading.
- Great for gifting: Small, personal, and useful. Pretty much the ideal handmade gift for any reader in your life.
- Quick time investment: This is a one-sitting kind of project, which makes it perfect for when you want to actually finish something.
- Stash-friendly: Uses a small amount of yarn, so it's a really good way to use up leftovers without committing to a big project.
Gather Your Supplies
This is a great excuse to dig into those DK cotton scraps you have sitting around.
- DK Weight 100% Mercerized Cotton: Mercerized cotton gives the flower and leaf a clean stitch definition that really does make a difference at this small scale. It holds its shape without being stiff, and the slight sheen it has looks nice on something decorative like this. You only need small amounts across three colors, so this is genuinely a scrap project.
- US F (3.75 mm) Hook: A 3.75 mm hook pairs well with DK cotton to keep the fabric firm and the stitches tight, which matters when you want the petals and leaf to hold their shape rather than flop around.
- Also needed: tapestry needle, scissors
Color Sequence & Yarn Changes
The flower uses two colors across its rounds: Color 1 starts Round 1, and Color 2 picks up at the join before continuing through Round 2. Color 3 is worked separately for the leaf. Each piece is fastened off on its own, so there is no carrying yarn between sections.
Pattern Overview
A crocheted bookmark with a 3" flower topper and a herringbone band you size to fit whatever book you're currently reading.
| Skill Level | Easy |
| Pattern Gauge | 20 HBhdc = 4" |
| Finished Size | Flower: 3" across; Middle section: adjustable to book size |
| Yarn Weight | 3 Light / DK |
| Fiber | 100% mercerized cotton |
| Terminology | US |
Customizing the Size
The band is worked in rows, so length is easy to adjust. Just keep going until the strip fits your book from top to bottom, then fasten off. Gauge matters here if you want a specific length, so it's worth swatching the HBhdc before you start the band.
Abbreviations & Stitches Used
A short list, and most of it you already know.
- MR = magic ring
- ch = chain
- sl st = slip stitch
- sc = single crochet
- hdc = half double crochet
- dc = double crochet
- tr = treble crochet
- st(s) = stitch(es)
- sp = space
- ch-1 sp = chain-1 space
- ch-2 sp = chain-2 space
- rep = repeat
- HBhdc = herringbone half double crochet
- Puff st = puff stitch
Special Stitches
- HBhdc (herringbone half double crochet): yo, insert hook in st, yo, pull through st and first loop on hook, yo, pull through remaining 2 loops.
- Puff st (puff stitch): (yo, insert hook in indicated st/sp, yo, pull up a loop) 4 times, yo, pull through all loops on hook, ch 1.
The Critical Details
The flower and the bookmark band are crocheted as separate pieces. Each color is its own piece too. Fasten off after every section and weave in your ends before moving on. The flower is worked in joined rounds. The band is worked flat in rows. Ch 3 counts as a stitch wherever it appears, so don't work into the base of it.
The Pattern
Here's how I work the hibiscus flower bookmark crochet pattern, piece by piece, from the flower center out to the finishing leaf.
The Hibiscus Flower
This is the centerpiece of the whole bookmark, and it's worked in rounds from a magic ring. You'll switch colors at the end of Round 1, so have Color 2 ready before you start.
Round 1: With Color 1, make MR, ch 3, 2 dc, ch 2, *3 dc, ch 2; rep from * 3 more times, join in top of ch 3, changing to Color 2. [15 dc, 5 ch-2 sps] Make the color change on the joining slip stitch so Color 2 is ready to go for Round 2.
Round 2: With Color 2, ch 3, dc in next 2 sts, 2 Puff sts in next ch-2 sp, *dc in next 3 sts, 2 Puff sts in next ch-2 sp; rep from * 3 more times, join in top of ch 3. [15 dc, 10 Puff sts] Each ch-2 space from Round 1 gets two Puff stitches worked into it — that's what starts building the petal shapes.
Round 3: Ch 3, 3 tr in next st, dc in next st, hdc in top of 1st Puff st, sc in ch-1 sp, hdc in top of next Puff st, *dc in next st, 3 tr in next st, dc in next st, hdc in top of 1st Puff st, sc in ch-1 sp, hdc in top of next Puff st; rep from * 3 more times, join in same st as ch 3. [10 dc, 15 tr, 10 hdc, 5 sc] The stitch height drops across each petal from treble down to single crochet, which is what gives each petal its curved shape. Pay attention to where you're working — the tops of the Puff stitches and the ch-1 space between them are three distinct spots.
Do not fasten off.
The Bookmark Band (Adjustable Length)
The band attaches directly to the flower and is worked in rows. Before starting, chain your desired amount plus 1 — as a reference, 20 HBhdc works out to about 4 inches, so adjust up or down depending on whether you're making this for a paperback or a hardcover. The band connects back to the flower at the end of Rows 1 and 3 with slip stitches, so keep the flower nearby as you work.
Row 1: HBhdc in 2nd ch from hook and in each ch across, turn, sl st in next st on flower.
Row 2: Ch 1, HBhdc in each st across, turn.
Row 3: Ch 1, HBhdc in each st across, sl st in next st on flower. Fasten off. Weave in ends.
The Leaf
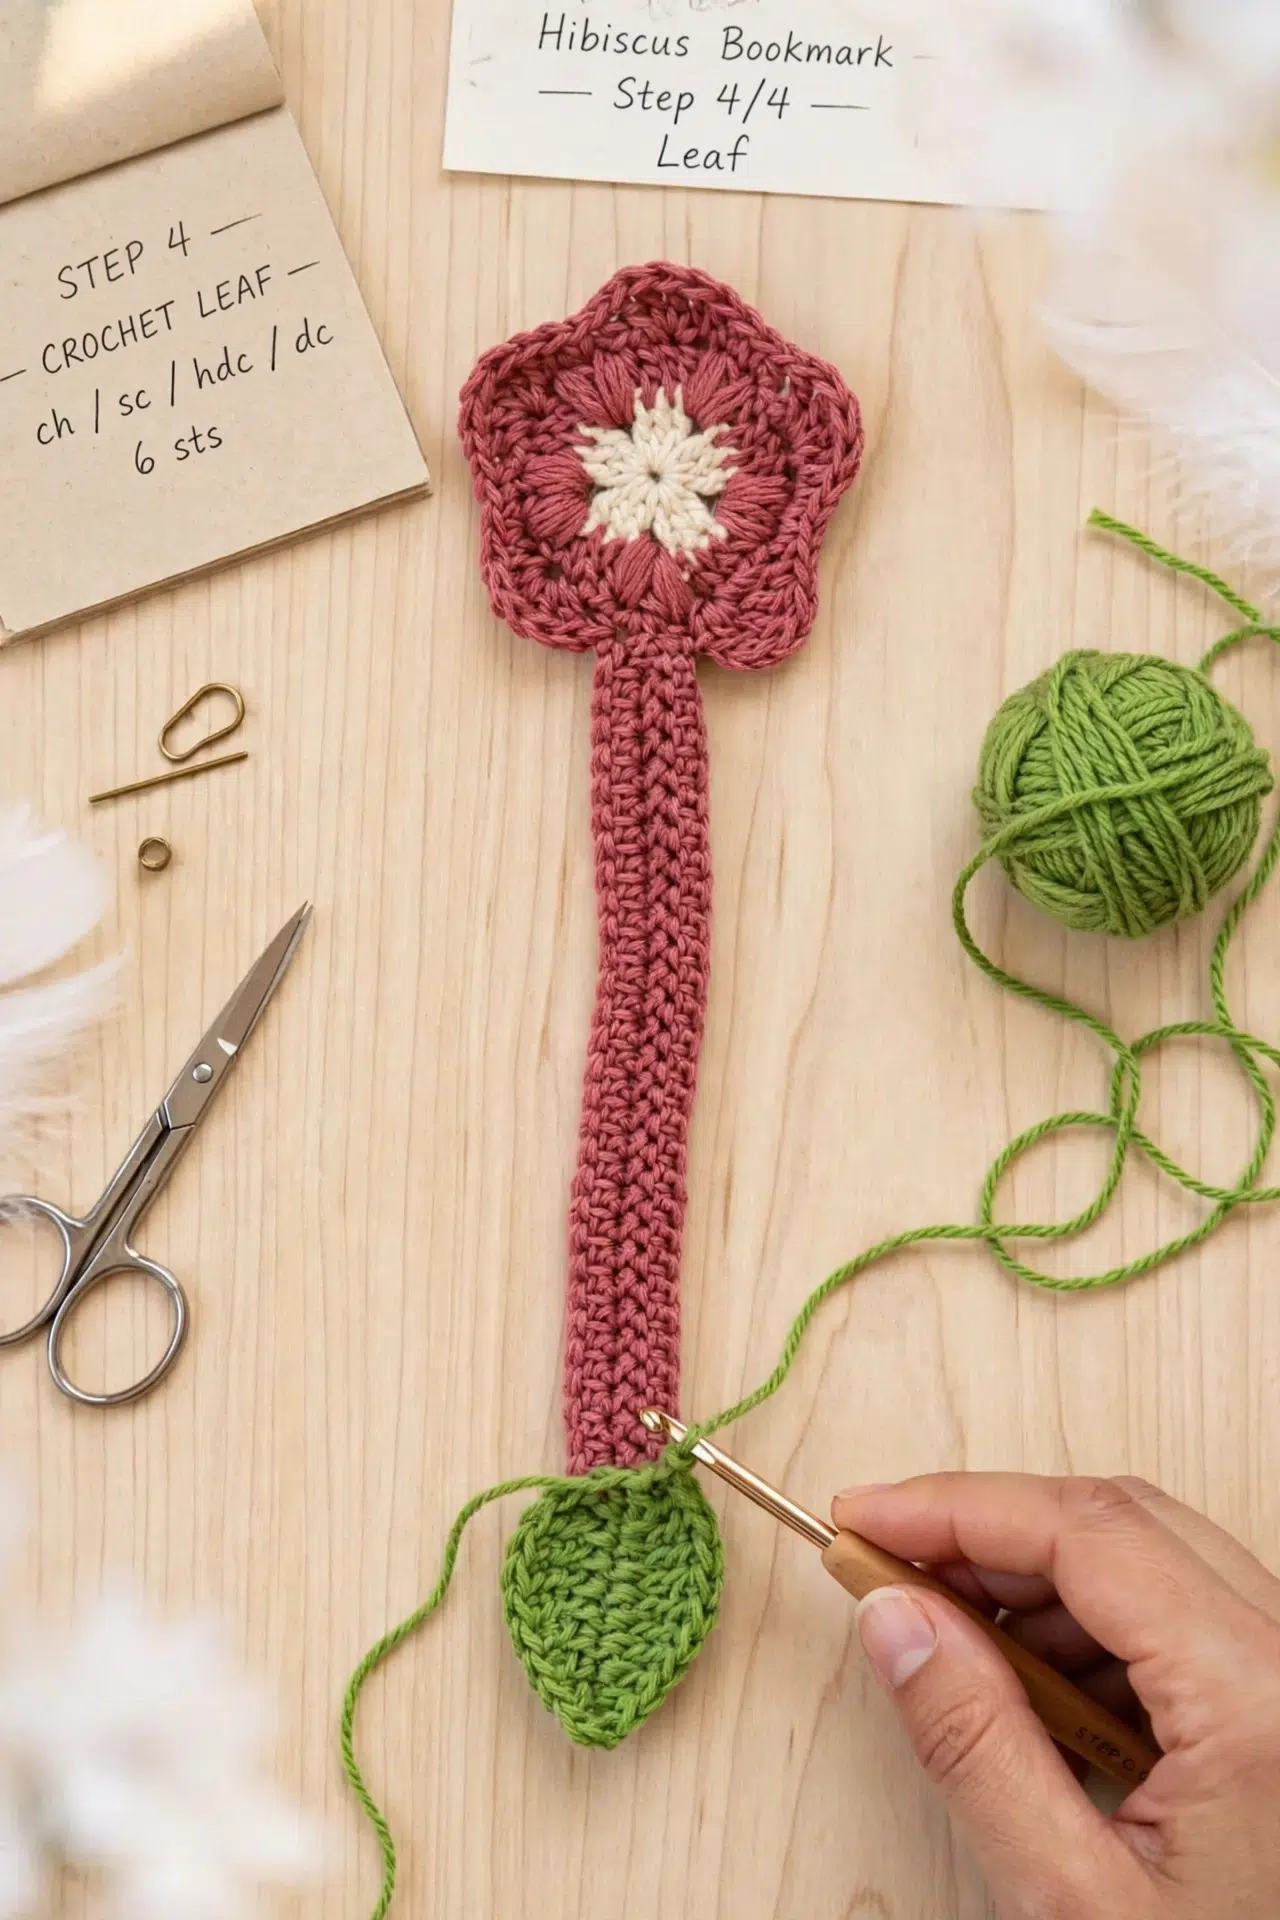
The leaf is worked from a foundation chain in Color 3, with stitches worked along both sides of the chain to form the leaf shape. It's a quick piece — just a few steps — and gets sewn to the bottom of the finished bookmark.
Step 1: With Color 3, ch 11.
Step 2: Tr in 4th ch from hook, tr in next 3 sts, dc in next 2 sts, hdc in last 2 sts. You're working down one side of the chain here. The skipped chains at the start form the tip of the leaf.
Step 3: Working on the other side of the chain: hdc in next 2 sts, dc in next 2 sts, tr in next 4 sts, sl st in bottom of ch 3. Now you're coming back up the other side, mirroring the first pass to close the leaf shape.
Step 4: Ch 3, sl st in 2nd ch from hook and in next ch, sl st in next st on the leaf. Fasten off. Weave in end. This short chain creates the stem detail at the base of the leaf.
Step 5: Sew leaf to the bottom of the bookmark.
Final Touches
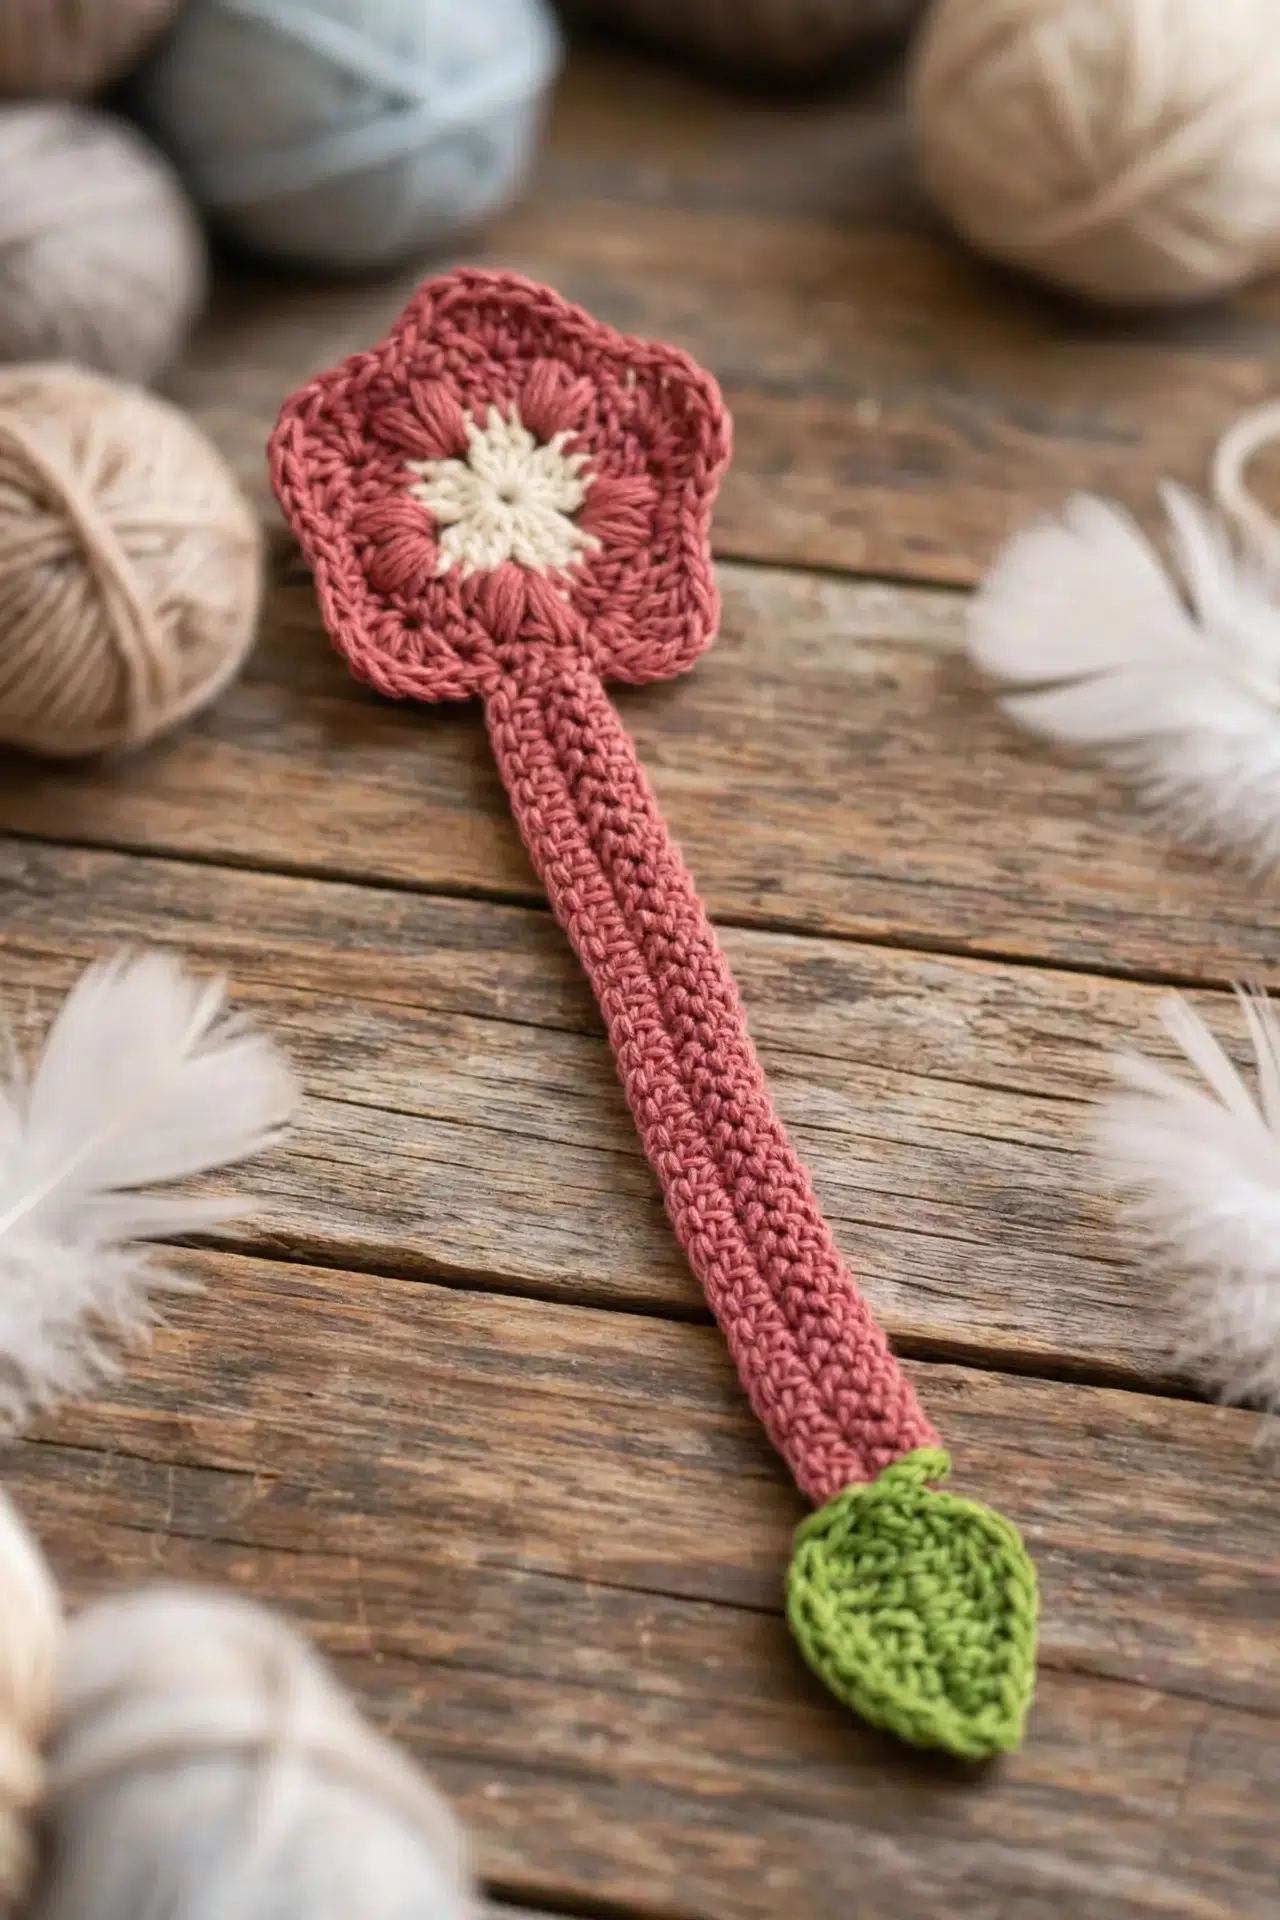
Once the leaf is complete, I sew it to the bottom of the bookmark band. I position it so the stem sits neatly against the band's lower edge and stitch it down securely — a few passes through both pieces is enough to hold it in place. That's the only assembly this pattern needs, and once it's done, the bookmark is finished.
Care Instructions
Since this bookmark is made with 100% mercerized cotton, it holds up well to hand washing in cool water with a little mild soap. Lay it flat to dry so the flower keeps its shape. Cotton can stiffen a bit after washing, but that actually works in your favor here since a firmer bookmark sits better in the pages. If you're gifting it, a quick press with a damp cloth and a cool iron will tidy up the band nicely before it goes in the box.
Frequently Asked Questions
The band length is adjustable, so it depends on your book. About 20 HBhdc stitches gives you roughly 4 inches, which fits a standard paperback nicely. For a hardcover, you'll want to add more chains to your starting chain before you begin Row 1. I'd measure the book you have in mind and chain accordingly.
HBhdc stands for Herringbone Half Double Crochet. It creates a tighter, denser fabric than a regular hdc and gives the bookmark band a really clean, woven look. If you've never tried it before, it takes a few stitches to get the motion down, but most people find it clicks pretty quickly. A short practice swatch before starting the band is worth it.
The color change happens at the join of Round 1. You start Round 1 with Color 1, and when you join at the end of the round you switch to Color 2 right at that join. Color 2 then carries through all of Round 2. The leaf is worked separately with Color 3 and sewn on after everything else is finished.
The band connects directly to the flower with slip stitches as you work the rows, not by sewing afterward. At the end of Row 1 you slip stitch into the next stitch on the flower, work Row 2 back across, then slip stitch into the flower again at the end of Row 3. It creates a loop that wraps around the book cover.
Not at all. This uses small amounts of DK weight cotton in three colors, so it's a great stash buster. You won't need full skeins of anything. Leftover yarn from other projects works perfectly, and the small amounts needed mean you can experiment with color combinations without committing to buying new yarn.
At the start of a round, instead of working a stitch in the first position, you chain 3 and that chain stands in as your first double crochet. So when you count your stitches at the end of the round, you include that ch-3 in your total. When you join at the end of the round, you join into the TOP of that ch-3, not into the first actual dc you worked.
Now It's Your Turn!
I'd love to see what color combinations you land on for your hibiscus. The flower really does look different depending on whether you go bold and contrasting or keep it tonal, so don't be afraid to dig through your cotton scraps and just try something. If you make one, tag me on Instagram or drop a photo in the comments. And if you want to save this for later, pinning it to your bookmarks or accessories board is always a good call. Happy crocheting!