
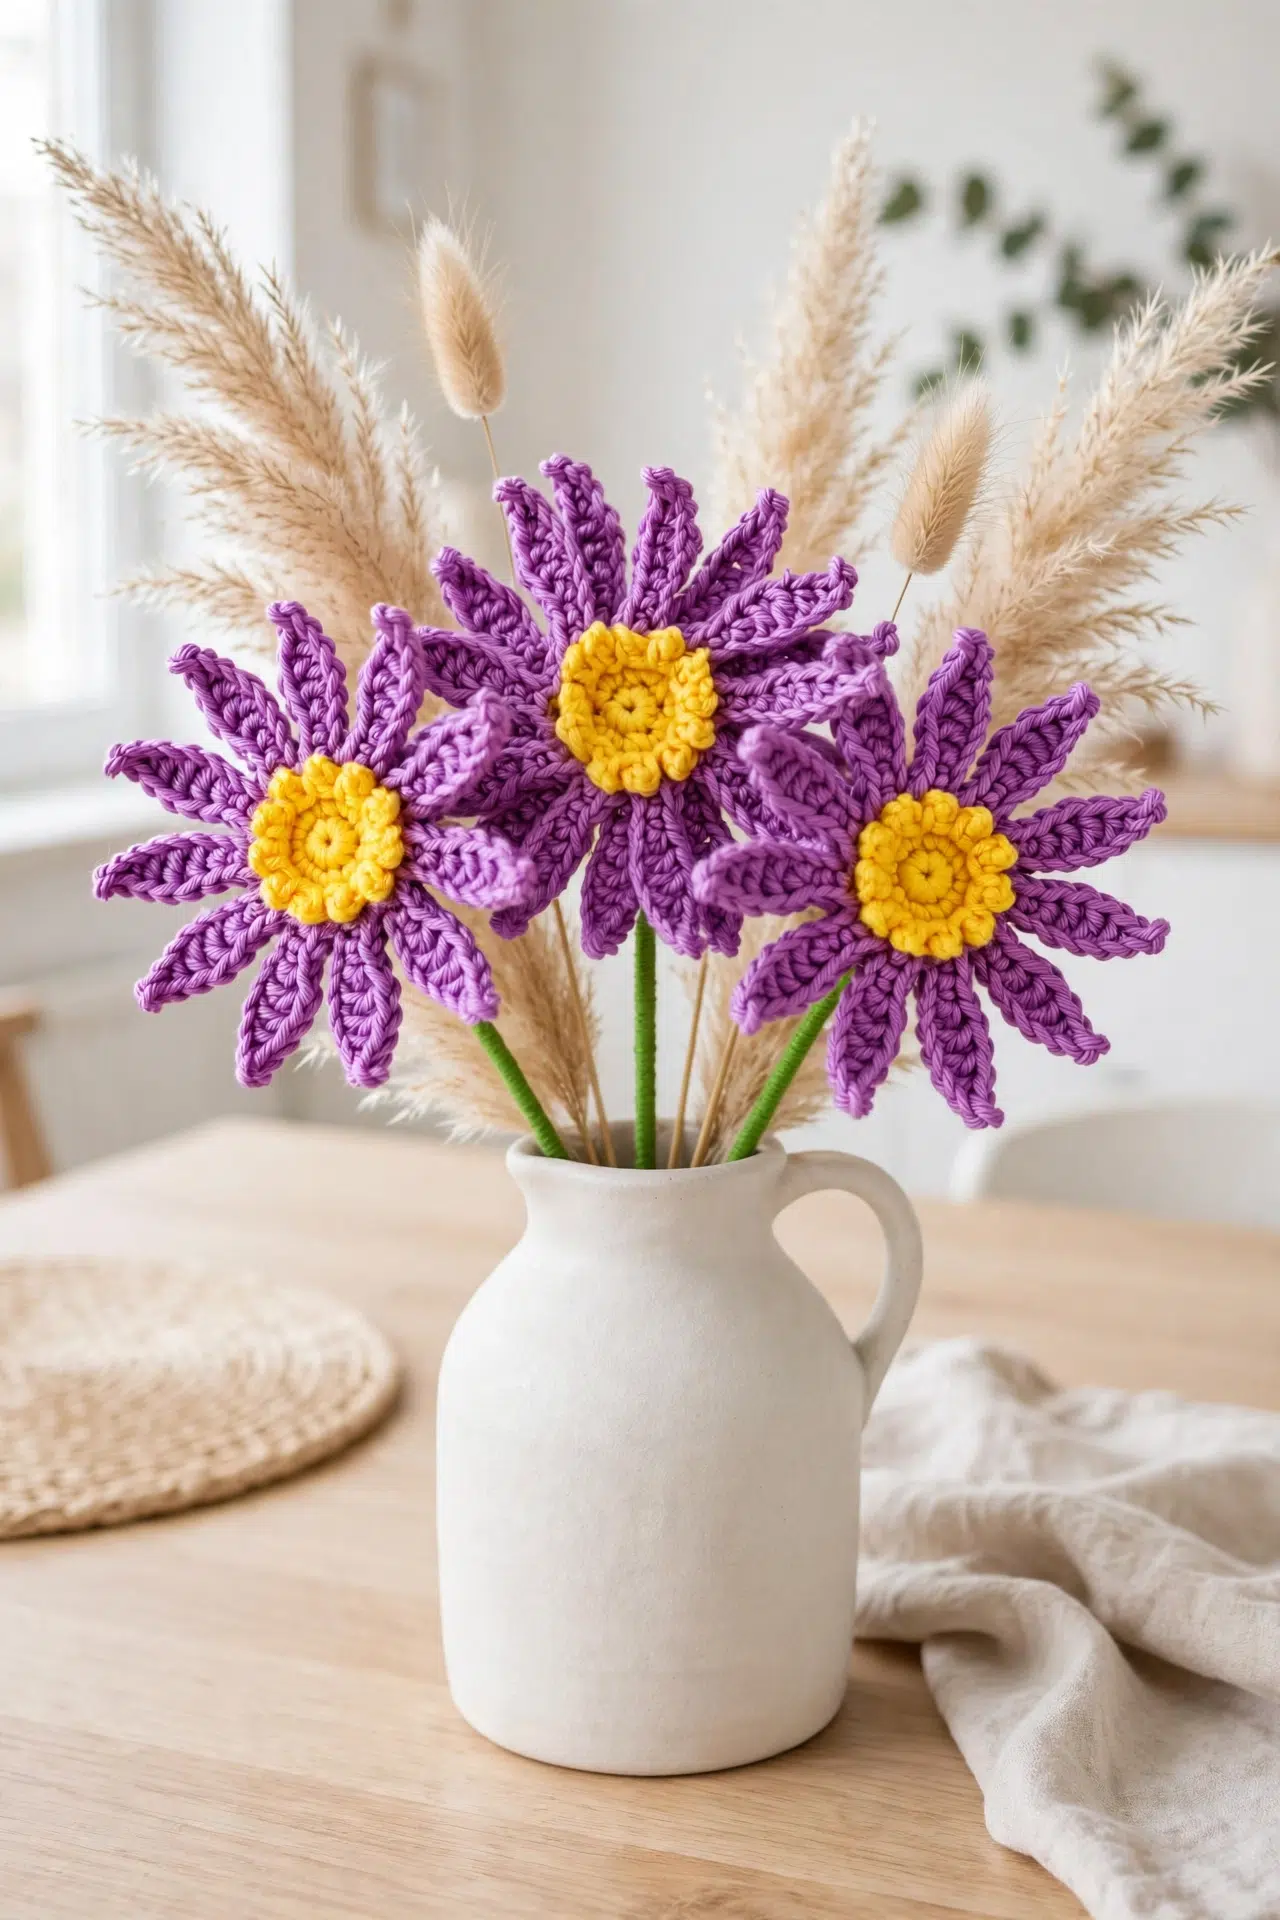
If you've been wanting a small, relaxing flower project with giftable possibilities, the Delicate Crochet Aster Flower is ready for your hook. You can make one bloom or begin a whole bouquet.

You'll build the center in compact rounds, then crochet every petal directly into the available loops. The steady repeats are easy to settle into, and there's no separate pile of petals to sew together.
Jump to:
- Why You'll Love This Pattern
- Pattern Details
- Materials for This Flower
- Stitches & Abbreviations
- How to Crochet the Delicate Aster Flower
- Crochet Tips
- Yarn and Finish Options for Your Aster
- Fixing Petal Count and Loop Problems
- Display Your Finished Aster
- Caring for Your Flower
- More Crochet Flower Patterns
- Frequently Asked Questions
Why You'll Love This Pattern
- Directly crocheted petals: Both petal rounds attach to Row 4, so you don't need to make and join individual pieces.
- Small yarn requirements: One flower uses only a little yellow yarn and a modest amount of purple, making it useful for suitable leftovers.
- Flexible yarn choice: You can use any yarn with a matching hook. The yarn thickness simply changes the flower's finished size.
- Simple finishing: After weaving in the ends, blocking is what sets the petals in place. That makes the final step especially satisfying!
Pattern Details
- Skill Level: Easy
- Finished Size: 10 cm diameter
- Yarn Weight: Sports weight
- Time to Make: about 2-3 hours, plus drying time
Materials for This Flower
Gather two yarn colors, a snugly sized hook, and basic finishing tools before you begin.
- 2 meters yellow Sports weight yarn, such as Circulo Amigurumi Yarn in Candy Yellow: The listed amounts are per flower. If you substitute another yarn weight, expect both the finished diameter and yarn use to change.
- 30 meters purple Sports weight yarn, such as Circulo Amigurumi Yarn in Azelias
- Matching crochet hook for chosen yarn; 2.2 mm US B crochet hook used: Choose the smallest suitable hook for your yarn so your stitches stay tight enough to support the flower's form.
- Scissors
- Tapestry needle
Stitches & Abbreviations
- ch - chain
- sl st - slip stitch
- sc - single crochet
- hdc - half double crochet
- dc - double crochet
- st - stitch
- inc - increase
Magic circle: Make an adjustable ring, work the indicated stitches into its center, and pull the ring closed.
sc inc: Work 2 sc in the same st.
Picot: Ch 2, sl st into the second ch from the hook, sl st.
How to Crochet the Delicate Aster Flower
Crochet the center first, then work one petal round into each set of loops from Row 4.
The flower is made in the round, beginning with the stamen. The petals are added in the round using both the front and back loops. Gauge is not applicable. Use the smallest suitable hook for your chosen yarn to create tight stitches that help the flower hold its form. The pattern includes the flower only. Sepals and instructions for assembling the flower with wire aren't included.
Flower
- Row 1: With yellow yarn, make a magic circle, ch 1, work 6 sc into the center of the magic circle, and pull the circle shut. Continue in the round, crocheting over the tail as you go. (6)
- Row 2: Work a sc inc in each of the 6 sts, sl st into the front loop of the first st. (12)
- Row 3: Work all sts in the front loops of Row 2 only. *Picot: ch 2, sl st into the second ch from the hook, sl st; rep from * 11 more times, sl st into the back loop of the first st of Row 2. (12)
- Row 4: Ch 1, *sc, sc inc; rep from * 5 more times, sl st into the first st. Fasten off and weave in ends. (18)
- Row 5: Attach purple yarn to any front loop of Row 4. Work all sts in the front loops only. *Ch 9, sl st into the second ch from the hook, sc, hdc, 2 dc, hdc, 2 sc, sl st into the next 2 sts; rep from * 8 more times. (9)
This row makes 9 petals.
- Row 6: Work all sts in the back loops only of Row 4. Sl st into a back loop of Row 4, sl st into the next st, *ch 9, sl st into the second ch from the hook, sc, hdc, 2 dc, hdc, 2 sc, sl st into the next 2 sts; rep from * 7 more times, ch 9, sl st into the second ch from the hook, sc, hdc, 2 dc, hdc, 2 sc, sl st into the first st. (9)
This row makes 9 petals.
Finishing
- Step 1: Fasten off and weave in ends.
- Step 2: Block the petals into place. Leave them stretched into position until completely dry.
Yarn and Size Options
The flower can be made with any yarn and a matching hook. A thicker yarn will create a larger flower, while a thinner yarn will create a smaller one. Keep the stitches tight by using the smallest suitable hook for the yarn.
Project Options
Make one flower or crochet a collection for a bouquet. Creating a wired stem or adding sepals requires separate assembly instructions.
Crochet Tips
- Protect the unused loops: On Row 5, insert your hook into the front loops only. The back loops must remain free because Row 6 uses them for the second petal round.
- Count the petal anchors: Each Row 5 petal uses the next two base stitches, giving you nine petals across the eighteen stitches of Row 4. Row 6 also produces nine petals.
- Keep the center firm: Pull the magic circle completely closed and crochet over the starting tail as directed. A firm center supports the surrounding stitches and avoids a loose opening.
- Give blocking enough time: Arrange every petal before the flower dries, then leave it undisturbed until it's completely dry. Moving it too soon can undo the placement.
Yarn and Finish Options for Your Aster
- Change the yarn weight: A thicker yarn makes a larger flower, while a thinner yarn makes a smaller one. Choose a matching hook and keep the tension tight.
- Adjust the hook size: If the center feels loose or the petals lack support, move down to a smaller suitable hook. If you can't insert the hook comfortably, go up one size without loosening your tension too much.
- Choose another color pairing: Use any colors you enjoy for the center and petals. The yarn change after Row 4 keeps the construction clear even when the two colors are closely related.
- Use one color: You can crochet the entire flower in one color. Fastening off after Row 4 and reattaching at Row 5 still makes it easier to begin in the correct front loop.
- Build a bouquet: Repeat the complete flower pattern for as many blooms as you want. Wired stems and sepals need a separate assembly method because they aren't included here.
Fixing Petal Count and Loop Problems
- The ninth petal won't fit: Recount Row 4 and confirm that it has eighteen stitches. Each petal repeat anchors with slip stitches in the next two base stitches, so accidentally using three stitches for one repeat leaves too little room at the end.
- There are no free loops for Row 6: Check that Row 5 was anchored through the front loops only. If both loops were used, the back loops needed for Row 6 are trapped, and you'll need to undo those anchor slip stitches before continuing.
- The petals won't stay positioned: Wet or damp block them according to your yarn's care instructions, arrange them, and let them dry completely. Tight stitches provide structure, but the blocking step is what holds the petals in their intended positions.
Display Your Finished Aster
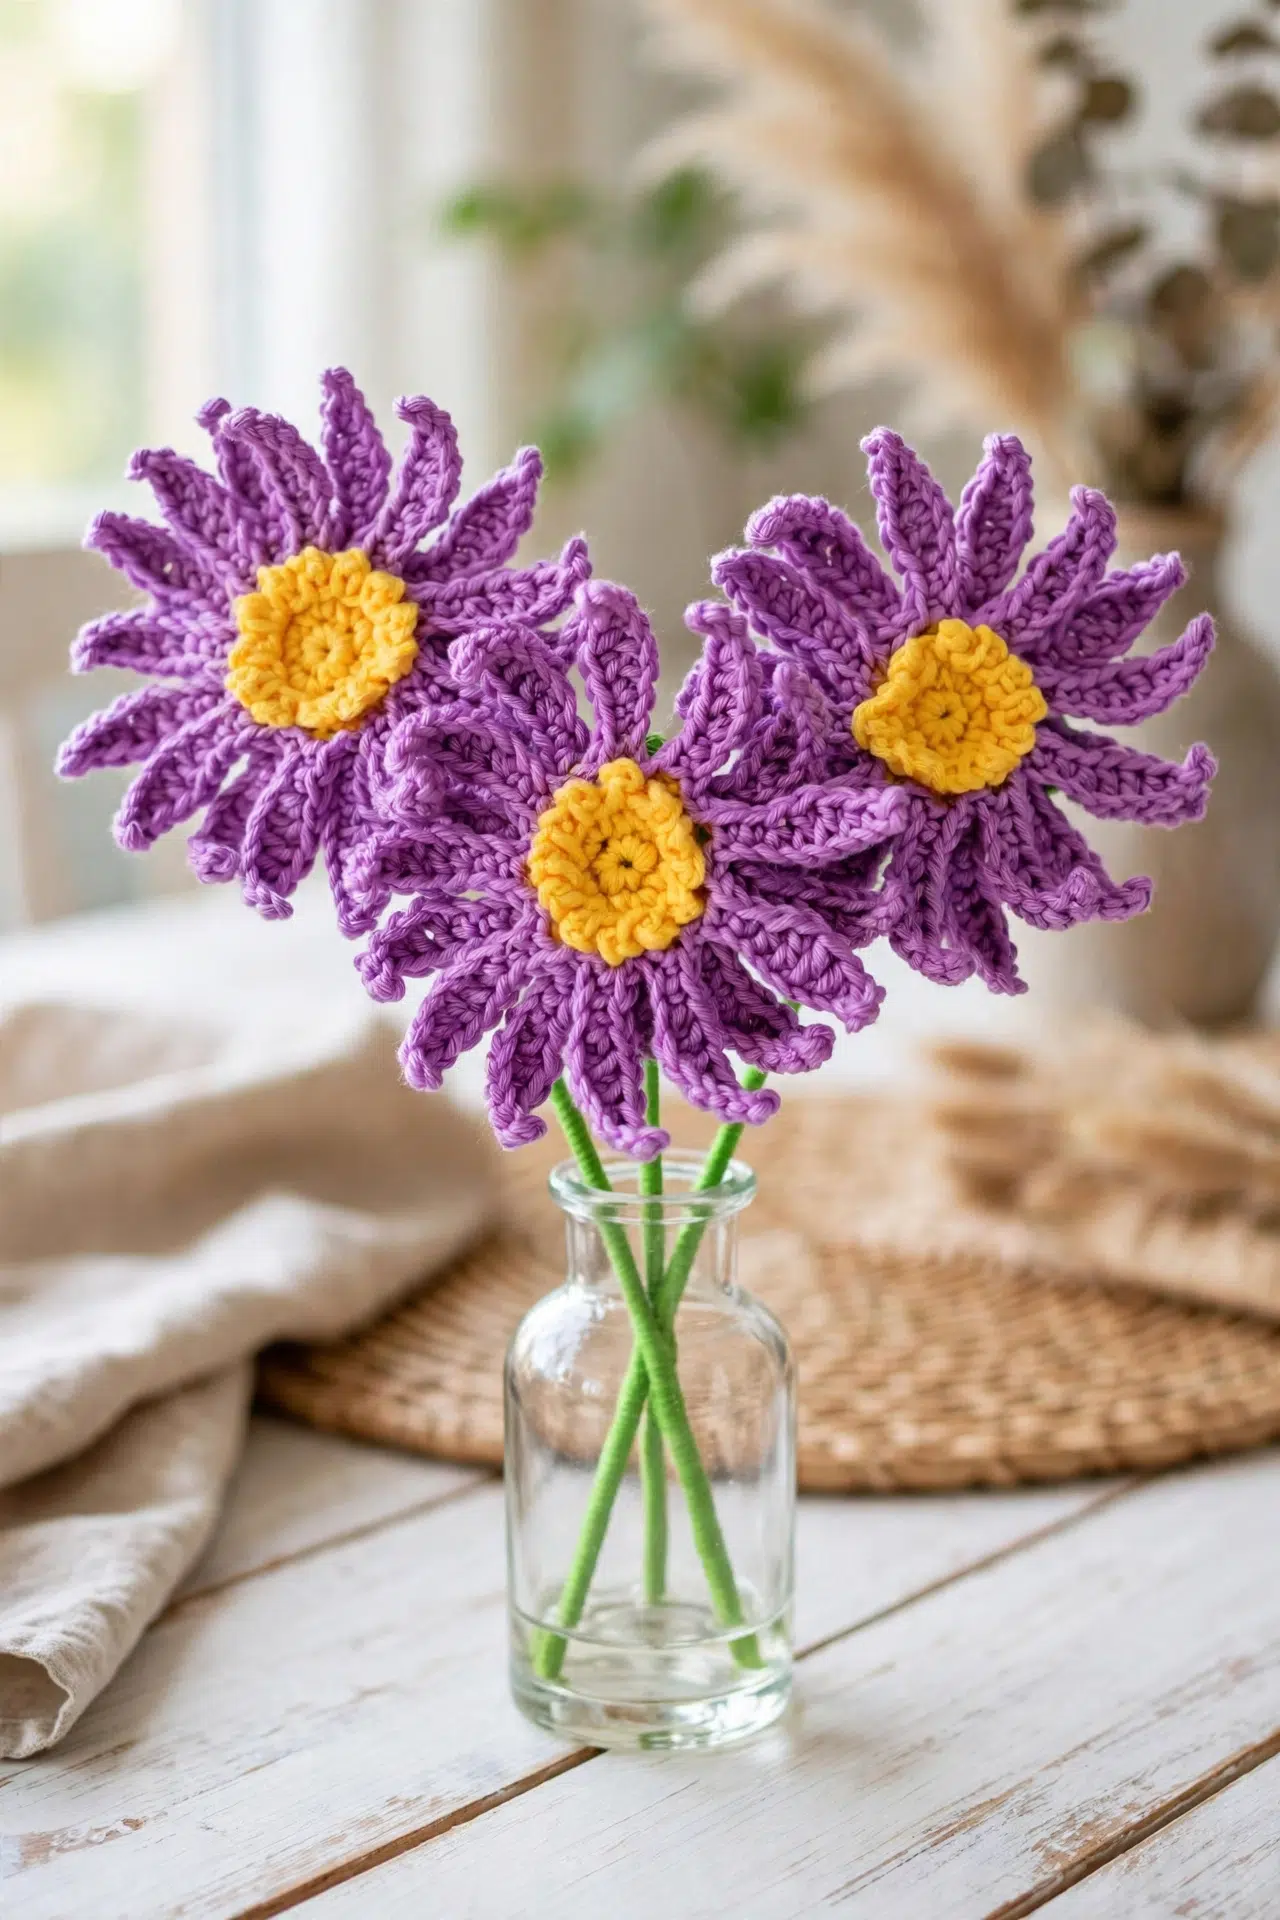
Keep the completed flower as a small decorative accent, or add your preferred sepals and stem assembly before placing it in a vase.
For a larger display, repeat the pattern and group several finished flowers into a bouquet. The flower instructions stay the same for every bloom.
Caring for Your Flower
Follow the care directions on the label of the yarn you chose. If the flower needs refreshing, handle it gently, reshape the petals while damp, and dry it flat. Avoid storing it crushed because that can disturb the blocked placement.
More Crochet Flower Patterns
- Wire-Stem Crochet Daisy
- Purple Crochet Thistle Flower
- Realistic Crochet Daffodils
- Realistic Crochet Sunflower with Stem
- Natural Crochet Roses
Frequently Asked Questions
How many petals does one flower have?
One completed flower has 18 petals. Row 5 creates nine petals in the front loops of Row 4, and Row 6 adds another nine in the remaining back loops. Counting the two-stitch anchors as you work helps both rounds fit evenly around the eighteen-stitch center.
Can I make this flower with a different yarn weight?
Yes, any yarn can be used with a matching crochet hook. Thicker yarn increases the finished diameter and usually requires more yardage, while thinner yarn produces a smaller flower. Keep the hook toward the small end of the suitable range so the stitches remain firm enough to support the petals.
Why are Rows 5 and 6 worked in different loops?
The separate loops provide two attachment paths around the same eighteen stitches. Row 5 occupies the front loops, leaving the back loops available for Row 6. Working through both loops during the first petal round removes the free anchors needed for the second set.
Do I need wire to complete the pattern?
No, wire isn't needed to complete the crocheted flower itself. The instructions finish after the petals are blocked and the ends are woven in. Wire becomes relevant only if you want to add a structured stem, and that assembly method isn't part of this pattern.
Is blocking required?
Yes, blocking is the finishing step that sets the petals into position. Arrange them while following the wetting method recommended for your chosen yarn, then let the flower dry completely. If you skip this step or move it while damp, the petals may not remain stretched into place.
Which yarn colors did you choose, and are you keeping your aster as one flower or making a bouquet? Tell me about it in the comments.



