
When you want a small project to settle into during a quiet evening, this Stuffed Crochet Snail gives your hands a gentle mix of simple rounds, stuffing, and sewing. It’s compact enough to feel manageable while still giving you a complete little toy at the end!

You won’t need complicated stitch combinations or frequent colour changes. Most of the crochet is steady single crochet, with a short increase round and two quick decrease rounds shaping the body.
Jump to:
- Why I Love This Pattern
- Pattern Details
- Yarn and Supplies
- Stitches & Abbreviations
- How to Crochet the Stuffed Snail
- Crochet Tips
- Yarn and Scale Options for Your Mini Snail
- Keeping the Snail Shaping on Track
- Snail Spots Around the Home
- Care Instructions
- More Crochet Animal Amigurumi Patterns
- Frequently Asked Questions
Why I Love This Pattern
- Adaptable materials: You can work with anything from DMC Petra to DK yarn and choose a hook within the suggested range. That gives you control over the finished scale without changing the stitch counts.
- Small crochet pieces: The body and two shell sides use short rounds, so there’s no long foundation chain or large fabric panel to manage.
- Clear stuffing points: The body is stuffed before the final decreases, while the shell is filled as its two sides are sewn together. You’ll have access exactly when you need it.
- Simple shaping: Basic increases take the body from 10 stitches to 15, then sc2tog stitches close the head neatly. It’s a friendly way to practise shaping in the round.
Pattern Details
- Skill Level: Beginner
- Finished Size: Dependent on yarn and hook used.
- Yarn Weight: DK / Light Worsted
- Time to Make: about 2-4 hours
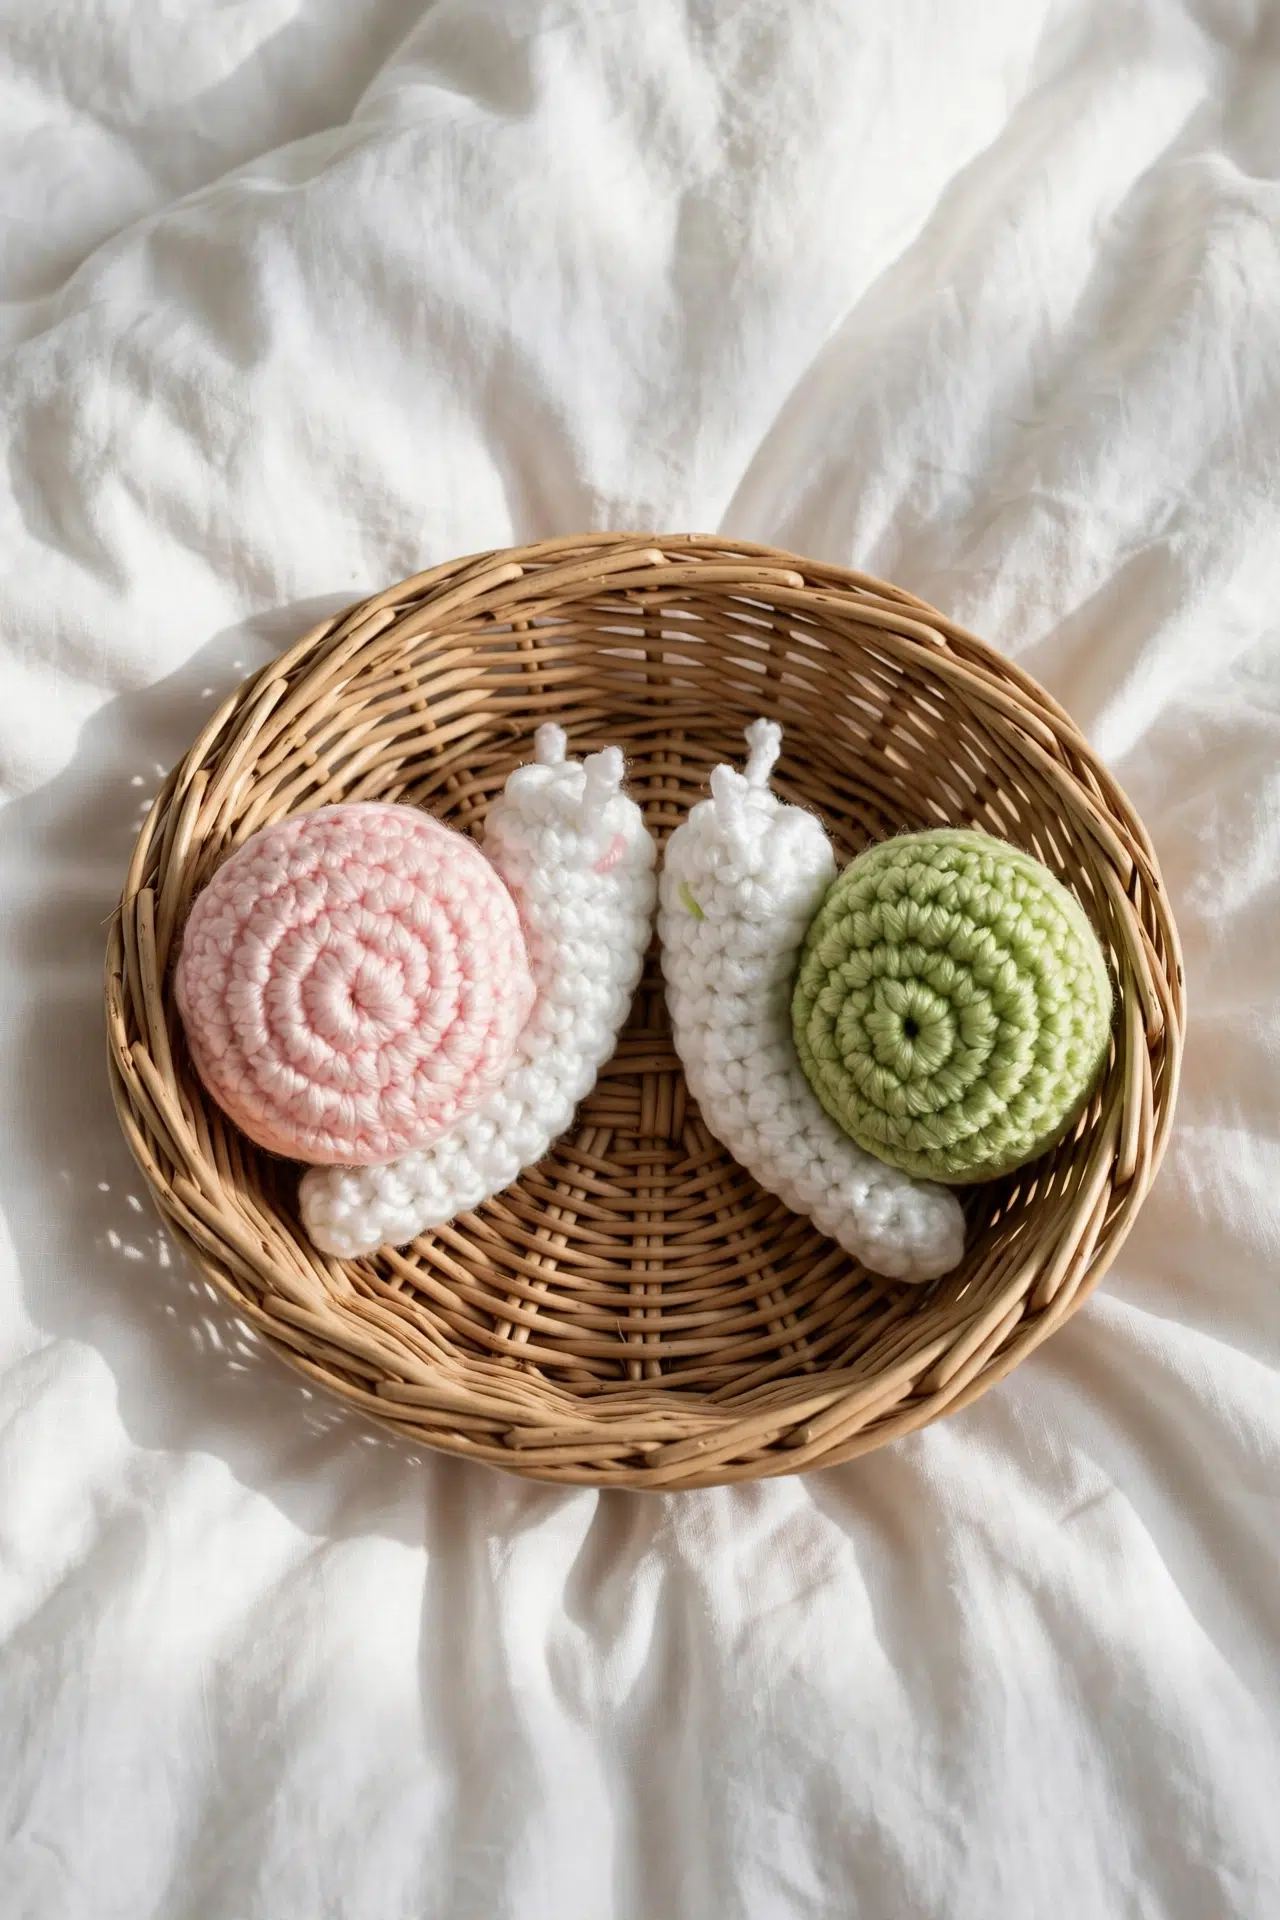
Yarn and Supplies
Gather two yarn colours, a suitable hook, and a small amount of toy stuffing before you begin. You’ll also need a yarn needle and scissors for the assembly and embroidered details.
- Any yarn in 2 colours
- Suggested yarn: DMC Petra through DK / Light Worsted weight yarn
- Any crochet hook
- Suggested hook sizes: 1.4 mm up to 3.5 mm; listed hook size: 3.50 mm
- Yarn needle
- Scissors
- Toy stuffing: Add small pieces gradually so you can fill the narrow body without creating firm lumps.
Stitches & Abbreviations
- ch - chain
- sl st - slip stitch
- sc - single crochet
- sc2tog - single crochet two stitches together
- ea - each
- st - stitch
Magic circle: Work the first-round stitches into an adjustable yarn loop, then pull the loop to tighten.
How to Crochet the Stuffed Snail
Crochet the body first, make two matching shell sides, then stuff and sew the pieces together.
W means white and SC means shell colour. Stitch totals are given at the end of each round. The finished size changes with the yarn and hook used.
Main Body
- Round 1: Using W and your chosen crochet hook, work 10 sc into a magic circle, pull to tighten, sl st to join. (10)
Alternatively, ch 4, sl st in 1st ch to form a loop, then work 10 sc into the loop.
- Rounds 2-11: 1 sc in ea st around. (10)
- Round 12: *1 sc in next st, 2 sc in next st; rep from * around. (15)
- Rounds 13-15: 1 sc in ea st around. (15)
Stuff your snail body at this point.
- Round 16: *sc2tog; rep from * until 1 st remains, 1 sc in last st. (8)
- Round 17: *sc2tog; rep from * around. (4)
- Step 1: Fasten off, leaving enough yarn to sew up the remaining gap. Thread the remaining yarn through the head to the back of the neck.
Shell Side, make 2
- Round 1: Using SC and the same crochet hook, work 10 sc into a magic circle, pull to tighten, sl st to join. (10)
Alternatively, ch 4, sl st in 1st ch to form a loop, then work 10 sc into the loop.
- Round 2: 2 sc in ea st around. (20)
- Rounds 3-4: 1 sc in ea st around. (20)
Finishing
- Step 1: Fasten off and sew the 2 shell sides together using the remaining yarn, making sure to stuff the shell before you close it.
- Step 2: Sew the completed shell onto the snail body, making sure to wrap the body around the shell.
- Step 3: Sew the yarn threaded through the head through the shell and out through the tail.
- Step 4: Using SC or black yarn, sew on the eyes, angling the eye slits downwards.
Eye slits angled upwards can give the face an unintended expression.
- Step 5: Using W, sew a short strand through each side of the snail head and cut each strand to length to make the antennae.
- Step 6: Fasten off and tie in all tails.
Crochet Tips
- Mark the round: Place a removable marker in the first stitch of each round. The rounds are short, and a marker makes it much easier to preserve the listed counts.
- Check Round 12: The increase sequence should be worked five times around, taking the body from 10 stitches to 15. Count before continuing through the straight rounds.
- Stuff before decreasing: Fill the body after Round 15 as directed. Once the sc2tog rounds begin, the opening becomes too narrow for easy, even stuffing.
- Pin the shell first: Position the stuffed shell against the body and hold it with pins or removable markers before sewing. Check that the body wraps around it and that the threaded head yarn can pass through to the tail.
Yarn and Scale Options for Your Mini Snail
- Change the yarn thickness: DMC Petra creates a smaller project than DK yarn. Thicker yarn produces a larger snail and requires more stuffing, while finer yarn makes the stitches and assembly more delicate.
- Adjust the hook: Choose a hook within the suggested 1.4 mm to 3.5 mm range that gives you a firm fabric. Going smaller tightens the stitches; going larger makes a softer fabric but may leave spaces where stuffing can show.
- Rename the colour roles: The pattern uses W for the body and SC for the shell, but your two colours don’t have to follow those names. Assign one yarn to each role before starting and keep that choice consistent during assembly.
- Choose the eye yarn: Use the shell yarn for coordinated embroidered eyes or switch to black for stronger contrast. Either option follows the finishing instructions.
- Trim the antennae last: Leave the antenna strands slightly long while you finish the face, then trim both sides to the length you prefer. Cutting at the end makes it easier to keep them even.
Keeping the Snail Shaping on Track
- Round 12 doesn’t end at 15 stitches: Check that each repeat uses two stitches: one single crochet in the first stitch and two single crochets in the next. Five repeats consume all 10 stitches and create five increases, giving you 15 stitches.
- The body opening won’t close: Confirm that Round 16 ends with eight stitches and Round 17 ends with four. Thread the fastening tail through those remaining four stitches, draw it closed, and secure it before taking the yarn through the head toward the neck.
- The shell shifts during sewing: Hold or pin the stuffed shell against the body before taking permanent stitches. Work around it gradually, checking as you go that the body remains wrapped around the shell rather than being pulled flat to one side.
Snail Spots Around the Home
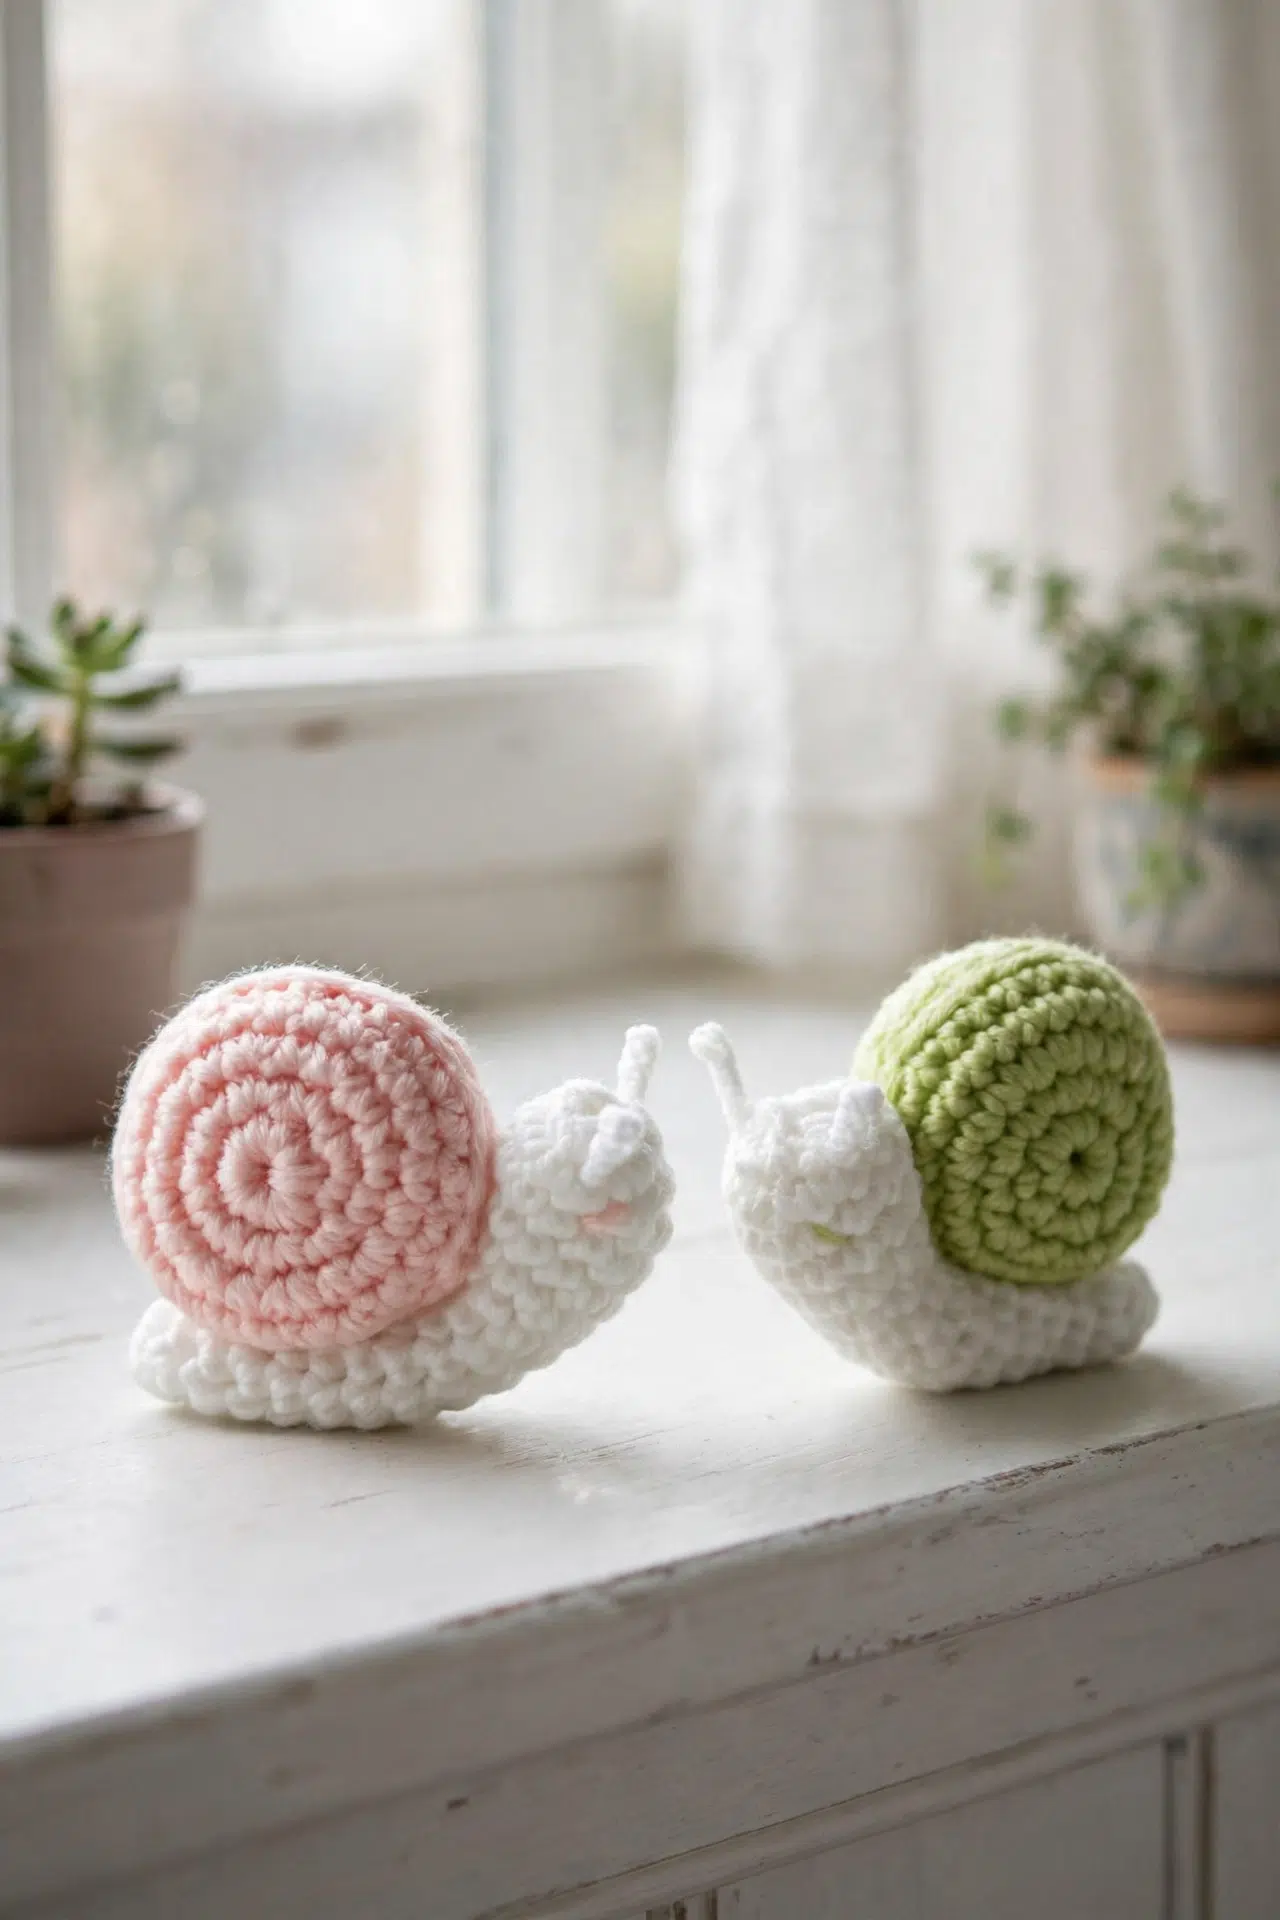
The finished snail can sit on a shelf, desk, or alongside other small crocheted creatures. If you’re giving it as a toy, secure every embroidered detail and yarn tail carefully for the intended recipient.
Care Instructions
Follow the washing directions for the yarn you choose. Since the snail is stuffed and has embroidered details, gentle spot cleaning is the safest option. If both the yarn and stuffing are washable, hand wash carefully, reshape, and dry thoroughly on a flat surface.
More Crochet Animal Amigurumi Patterns
- Crochet Chicken and Chick Set
- Floral Crochet Rabbit Amigurumi
- Black Cat Amigurumi Crochet Pattern
- Leggy Frog Crochet Pattern
- How to Crochet a Super Soft Amigurumi Turtle
Frequently Asked Questions
How large will the finished snail be?
Its size depends entirely on the yarn and hook combination. There’s no fixed gauge or measurement because the pattern allows anything from DMC Petra through DK yarn and hooks from 1.4 mm to 3.5 mm. Finer materials make a smaller snail, while thicker yarn and a larger suitable hook increase its scale.
Can I start without making a magic circle?
Yes, chain 4 and slip stitch into the first chain to form a loop. Work the 10 single crochet stitches into that loop for Round 1. This alternative works for both the body and each shell side, although it can leave a slightly less adjustable centre than a magic circle.
When should I add the stuffing?
Stuff the body after Round 15 and fill the shell before its seam is completely closed. These timings leave enough room for your fingers and stuffing tool. Waiting until after the body decreases or after the shell seam closes makes it much harder to distribute the filling evenly.
Why does Round 16 finish with eight stitches?
Seven sc2tog stitches and one final single crochet leave eight stitches. The round begins with 15 stitches, so the seven decreases consume 14 of them and reduce those pairs to seven stitches. The unpaired last stitch is worked normally, bringing the total to eight.
How are the shell and body joined?
Sew and stuff the two shell sides before attaching the completed shell to the body. Position the body so it wraps around the shell, then sew the pieces together. Finally, take the yarn previously threaded through the head through the shell and out at the tail to help secure the assembly.
Share this pattern with a friend who enjoys making small crocheted creatures. I’d love to hear which yarn and hook combination you chose.



