
I've been on a serious granny square kick lately, and this one has been my favorite to work up so far. The Bean Bobble Granny Square Crochet Pattern takes the classic granny square format and layers in bobble stitches that give it so much more dimension and personality than your average square. It's the kind of project that looks like you put in way more effort than you actually did, which is honestly my favorite kind.

Jump to:
About This Project
What I really love about this one is how the bobbles sit inside the granny square structure. It's not just a bobble stitch thrown onto a flat background. The construction actually works the texture into the rounds themselves, so everything feels intentional and cohesive when it's done. I made a few of these and immediately started thinking about who I could give them to, because they feel like a real little handmade thing, not just a practice square.
This is a home decor project at heart. I see it as a building block for something bigger, a pillow cover, a blanket, a wall hanging, whatever direction you want to take it. But honestly, a single finished square framed or backed and gifted is no trouble at all as a standalone piece. It's a pretty satisfying finish for the amount of time you put in.
Why You Need This on Your Hook
This square makes bobble stitches feel totally approachable inside a familiar granny structure.
- Easy skill level: If you know your basic granny square, you'll have no trouble picking this one up.
- Great technique practice: Working bobbles into rounds is a skill that carries over into a lot of other patterns, so this is actually a fun one to add to your repertoire.
- Fast and repeatable: Each square works up quickly, which makes it really satisfying to batch-make for a larger project.
- Strong gifting potential: A set of these made into a small home decor item is the kind of handmade gift people actually keep and use.
- Stash-friendly sizing: The finished square size makes it easy to plan yardage and use up yarn you already have on hand.
What You'll Need
Three colors and a short notions list — that is really the whole thing.
- DK Weight Yarn (3 Light), 3 Colors: DK weight sits in a nice middle ground for this kind of project: light enough to show stitch definition, but not so fine that it becomes fiddly to work with. The fiber content isn't specified in the pattern, so check your label and go with whatever you have on hand in a DK weight. For a project this size, somewhere around 50 to 75 yards total across all three colors is a reasonable estimate, though your actual usage will depend on how the colors are distributed.
- 4.00 mm Crochet Hook: A 4.00 mm pairs well with DK weight yarn and gives you a fabric that holds its shape without being stiff or difficult to work through.
- Also needed: yarn needle, scissors
Color Sequence & Yarn Changes
The pattern uses Color 1 starting in Round 1, Color 2 joins at Round 2, and the colors continue alternating through Rounds 3 and 4 respectively. Color 3 gets worked in as desired, so there's some flexibility there. Cut and join cleanly at each color change rather than carrying yarn across, since the alternating rounds make carrying impractical and the ends are easier to weave in as you go.
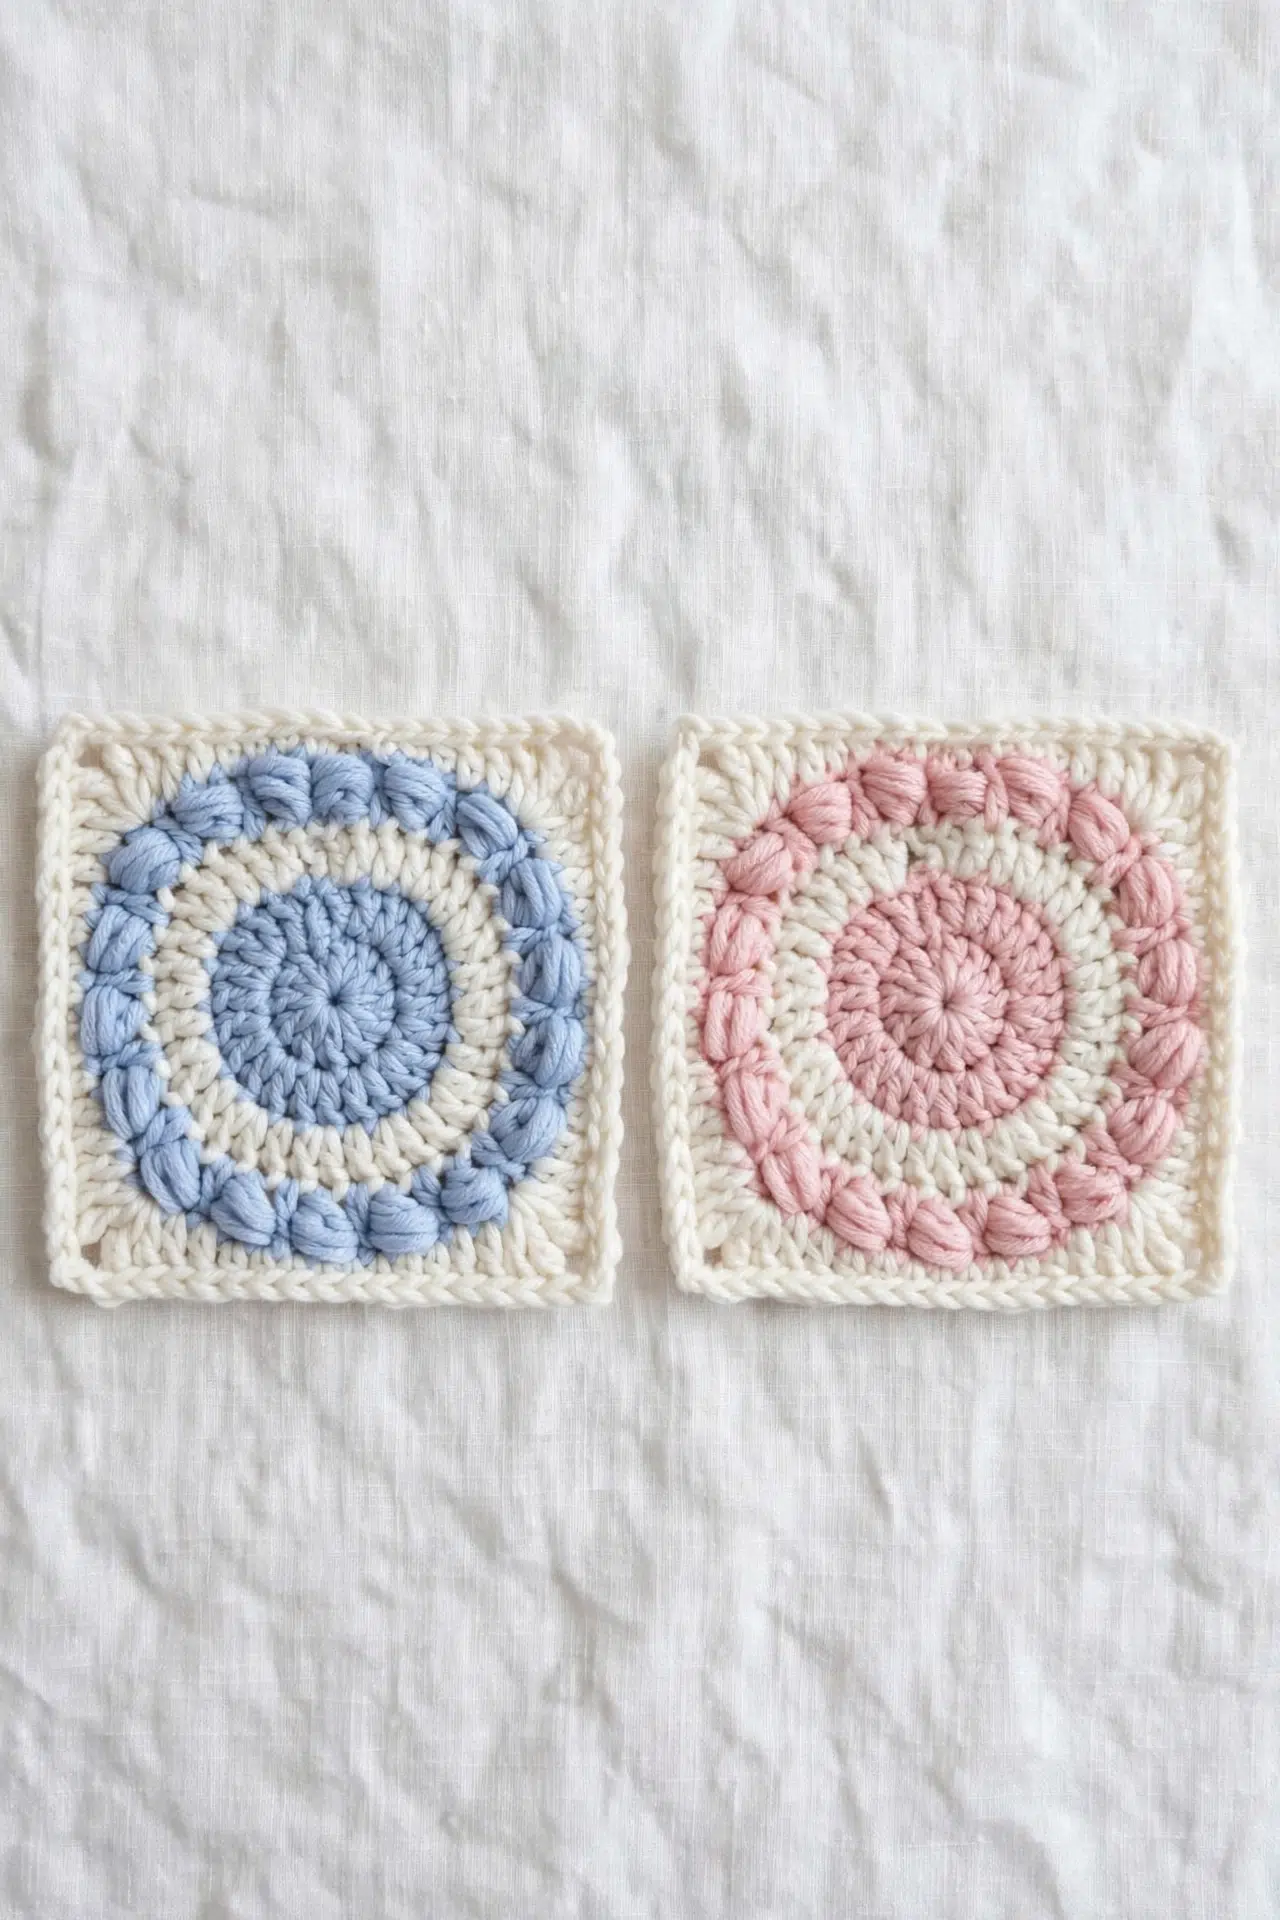
Project Info
A three-color granny square with a bean stitch twist, sized to work up as a coaster, motif, or the start of something much bigger.
| Skill Level | Easy |
| Pattern Gauge | Gauge is not critical for this project. Use a hook size that creates a fabric you like for a granny square and maintains even stitch tension. |
| Finished Size | Approx. 6 in (15 cm) square (estimated based on DK yarn and 4.00 mm hook for a 6-round granny square). |
| Yarn Weight | 3 Light / DK |
| Fiber | Not specified — check the yarn label |
| Terminology | US |
Customizing the Size
Since gauge isn't critical here, your finished square size will shift depending on your hook and yarn. A bulkier yarn and larger hook gives you a bigger square; go down in weight and you'll get something smaller and denser. To make a blanket, just decide on a finished square size you like, make a test square, and calculate how many you need from there. The squares join together after they're finished, so you're not locked into anything until you're ready to assemble.
Abbreviations & Stitches Used
Mostly standard stuff you've probably used before.
- ch = chain
- ch-sp = chain space
- st(s) = stitch(es)
- sl st = slip stitch
- sc = single crochet
- hdc = half double crochet
- dc = double crochet
- tr = treble crochet
- * * = repeat instructions between * as directed
- yo = yarn over
Special Stitches
- Bean st (bean stitch): Yo, insert hook into gap between last 2 stitches, yo and pull up a loop; repeat (yo, insert hook into same gap, yo and pull up a loop) 2 more times; yo and pull through all loops on hook.
The Critical Details
This pattern is beginner-friendly and uses US crochet terminology throughout. You'll be working with 3 colors: Color 1, Color 2, and Color 3. Which colors go where is entirely up to you. The bean stitch is the one technique that might be new if you're just starting out, but the steps above walk through it fully and it clicks pretty quickly once you've done it a couple of times. Work at a tension that feels comfortable and gives you a fabric you like. There's no target gauge to hit.
Bean Bobble Granny Square Crochet Pattern Instructions
Follow these rounds in order and you'll have a finished square with textured bean stitch detail and clean mitered corners.
Building the Granny Square
This square works up in six rounds, starting from a center ring and expanding outward through color changes before the final corner round shapes everything into a square. Have both Color 1 and Color 2 ready before you start — the color swaps happen at the join of specific rounds, so it's easier to have them both within reach.
Round 1: With Color 1, work 12 dc into a magic ring or ch 4 loop; sl st in first dc to join. [12 dc]
Round 2: Ch 3 (counts as dc), 1 dc in same st as previous sl st, 2 dc in each st around; sl st in top of ch 3 with Color 2 to join. [24 dc] The color change happens right at this join — drop Color 1 and pull Color 2 through the final sl st to make the swap clean.
Round 3: Ch 3 (counts as dc), 2 dc in next st, *1 dc in next st, 2 dc in next st* repeat from * to * until end; sl st in top of ch 3 with Color 1 to join. [36 dc] Same approach here — bring Color 1 back through on the closing sl st.
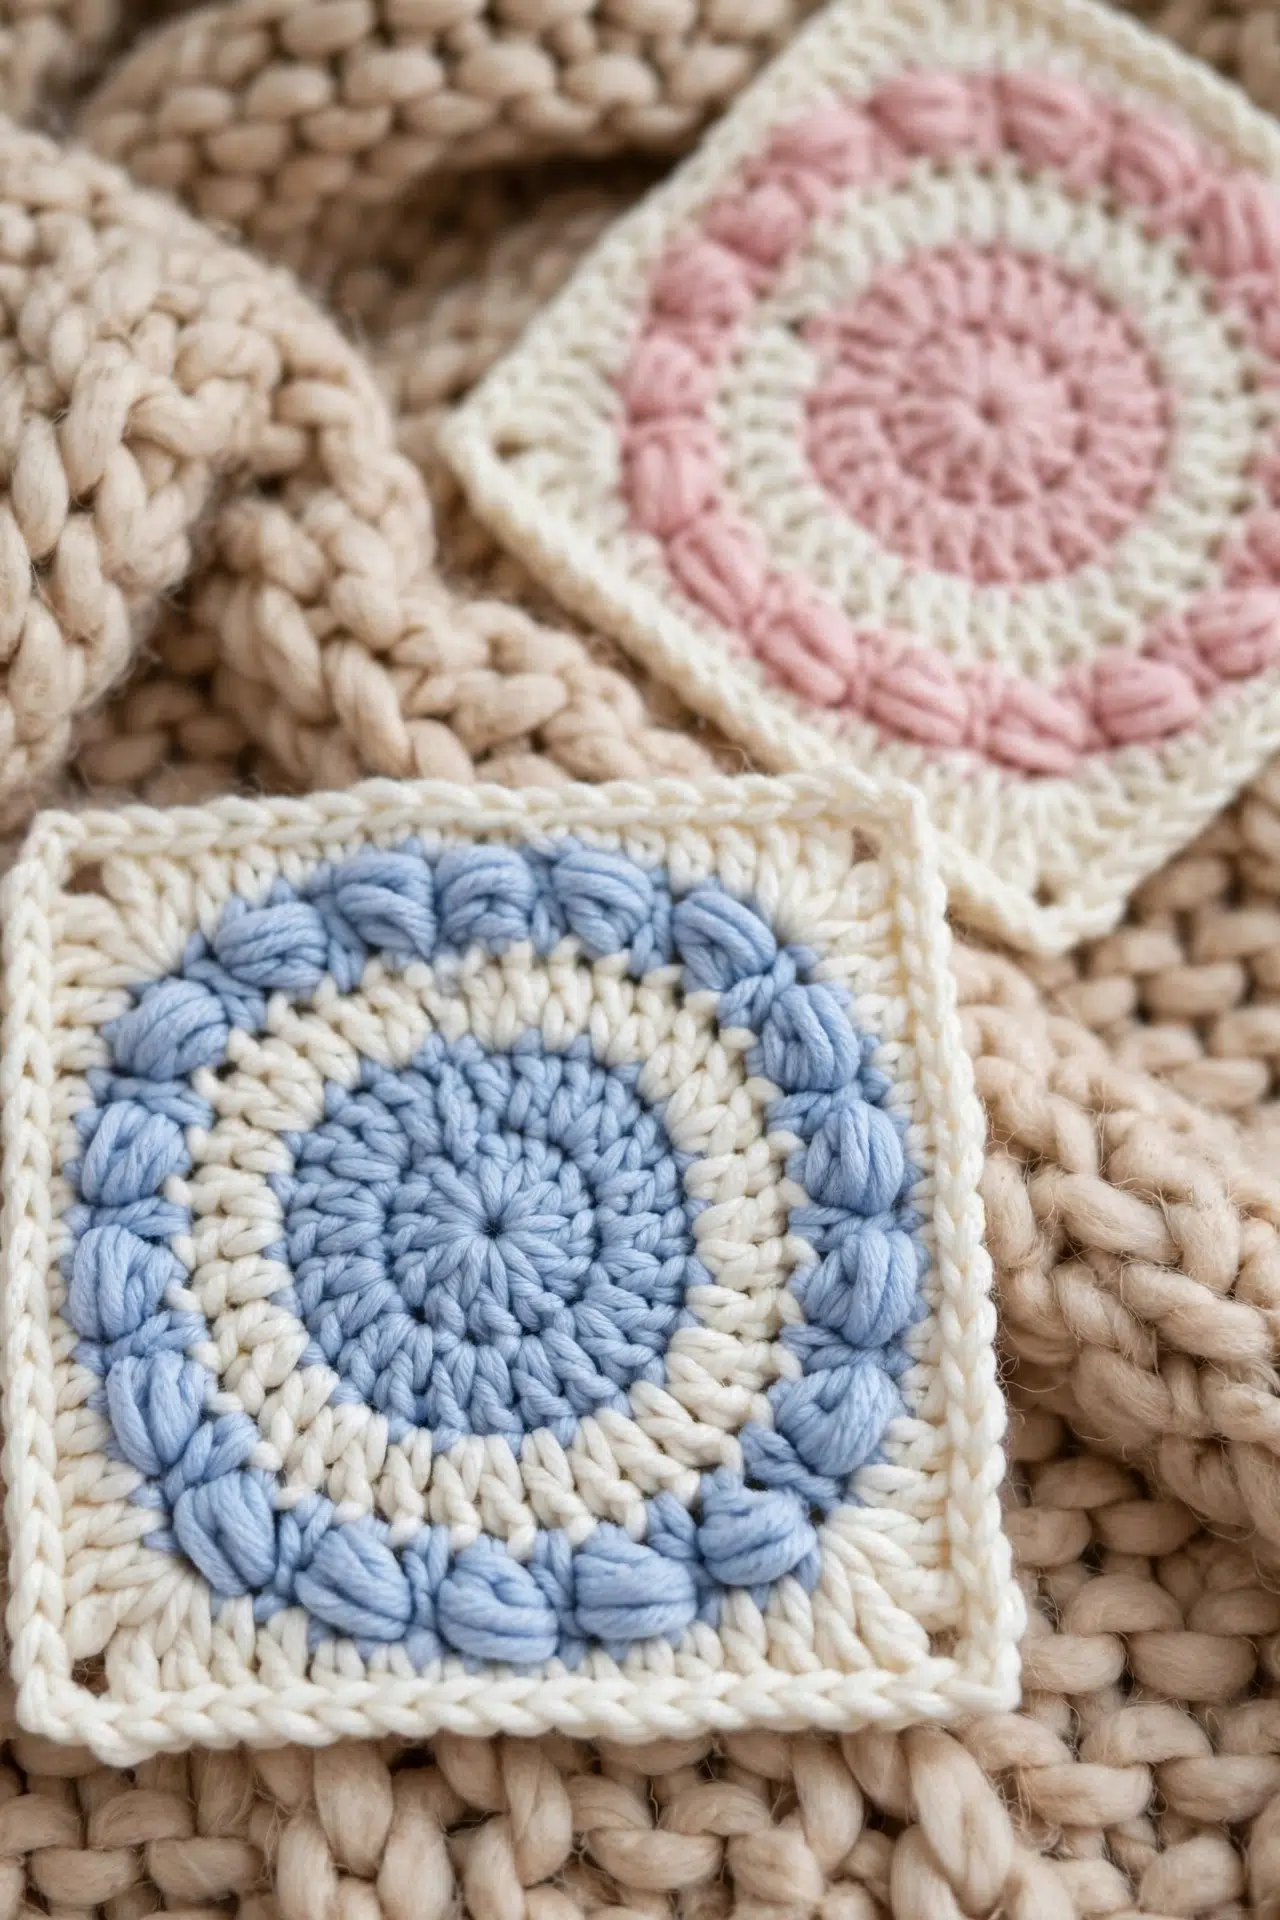
Round 4: Ch 3, 1 dc in next st, 1 bean st between previous chs and dc, *1 dc in next 2 sts, 1 bean st between previous 2 dcs* repeat from * to * until end; sl st in top of ch 3 with Color 2 to join. [54 sts] The bean stitches are worked into the space between the double crochets rather than into a stitch itself, so place your hook in the gap. Keep your tension relaxed here — bean stitches can pull tight if you're not careful.
Round 5: Skip the same st as your previous sl st, *1 sc in next 2 sts, 1 hdc in next 2 sts, 1 dc in next 2 sts, [1 dc, 1 tr, ch 2, 1 tr, 1 dc] in next st, 1 dc in next 2 sts, 1 hdc in next 2 sts, 1 sc in next 2 sts* repeat from * to * until last st; skip last st; sl st in top of ch 3 to join. [72 sts] This is the round that forms the four corners. The bracketed cluster — [1 dc, 1 tr, ch 2, 1 tr, 1 dc] — all goes into a single stitch and creates each corner point. The stitch height graduates from sc up to tr and back down, which is what gives the sides their gentle curve between corners.
Round 6: *Sl st up to ch 2-sp, sl st in next ch, ch 1, sl st in next ch* repeat from * to * end, ending sl st in all remaining sts. Fasten off and weave in all ends. This final round travels around the edge with slip stitches, pausing at each corner ch-2 space to work the ch 1 detail. Keep your slip stitches loose — they can tighten up and distort the edge if you're pulling too firmly.
Fasten off and weave in all ends.
Frequently Asked Questions
The bean stitch is worked between two double crochets rather than into a stitch. In Round 4, after working two dc, you insert your hook between those stitches to create the bean. It sits on the surface like a little raised bump. If you've made a bobble or puff stitch before, the motion feels similar, just positioned differently.
Color 1 starts in Round 1 and rejoins at Round 3. Color 2 joins at Round 2 and again at Round 4. Round 5 and Round 6 don't specify a color change, so you carry on with whatever color you ended Round 4 with. The changes happen at the slip stitch join at the end of each round, so they're easy to manage.
Stitch markers help a lot here. Place one at the start of each corner repeat so you know where you are in the pattern. The repeat itself goes: sc, sc, hdc, hdc, dc, dc, then the corner cluster, then dc, dc, hdc, hdc, sc, sc. Writing it out on a sticky note and ticking off each group as you go makes it much less stressful.
Yes, and it's a natural use for this square. Each finished square comes out to roughly 6 inches, so you can plan your layout from there. A yarn needle is already in the notions list, so a flat slip stitch join or whip stitch join works without needing any extra tools. Just make sure your ends are well woven before you start joining.
It's both. The slip stitches in Round 6 travel up to the corner chain-2 spaces and anchor them, which keeps the corners from pulling or curling. It's a finishing round, but skipping it would leave the corners looking a bit loose. It works up fast since you're not building height, just securing everything in place.
Happy Crocheting
I'd love to see what color combinations you land on for this one. The alternating rounds make it so easy to play around, and some of the most unexpected pairings turn out to be the best ones. If you make a square (or a whole stack of them), tag me on social media or drop a photo in the comments. And if you're saving patterns for later, this one pins really well on Pinterest for when you're ready to sit down with a fresh skein and a quiet afternoon.



