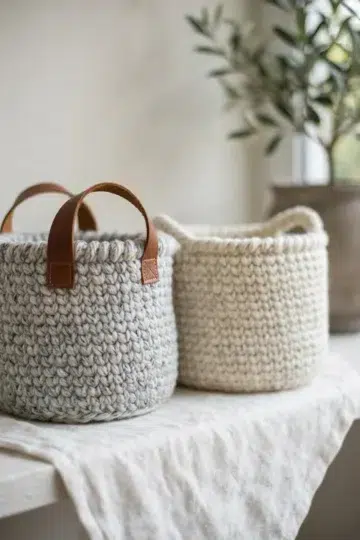
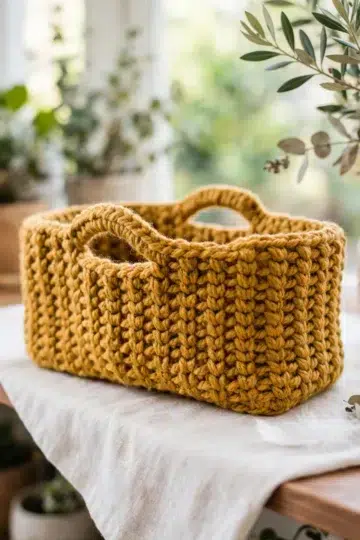
Easter is honestly one of my favorite excuses to make something cute and functional at the same time, and this Easter Bunny Basket Crochet Pattern is exactly that kind of project. It's the kind of thing you pick up, finish faster than you expected, and then immediately want to make three more of for every kid on your list.

Jump to:
The Inspiration
I wanted something that could actually hold things. Not just sit there looking sweet, but work as a real little basket you could tuck Easter eggs into, set on a table, or hand off as part of a gift. That's what drew me to this design. There's something really satisfying about a project that has a clear job to do and does it well.
This one is also just genuinely fun to make. It comes together in a way that feels tidy and intentional, and the finished result has that Easter charm without being over the top. I'd make this for a toddler, sure, but honestly also for a friend who loves a little seasonal decor on their kitchen counter. It suits both.
Why This Pattern Stands Out
A quick, easy make that's actually useful and totally giftable for Easter.
- Skill Level: Rated easy, so this is no trouble at all even if you're still building your crochet confidence.
- Time Investment: This is a fast project, the kind you can realistically finish in one or two sittings before the holiday hits.
- Gifting Potential: Makes a really sweet handmade Easter gift, especially when filled with a few small treats or eggs.
- Make Multiple: The pattern is simple enough that making a few in a row goes pretty quickly, great if you need one for each kid.
- Seasonal Decor: Works just as well as a little decorative accent around the house as it does for actual egg-hunting use.
Gather Your Supplies
Two colors of cord yarn, a handful of notions, and less than 50 g of each color — that is the whole list.
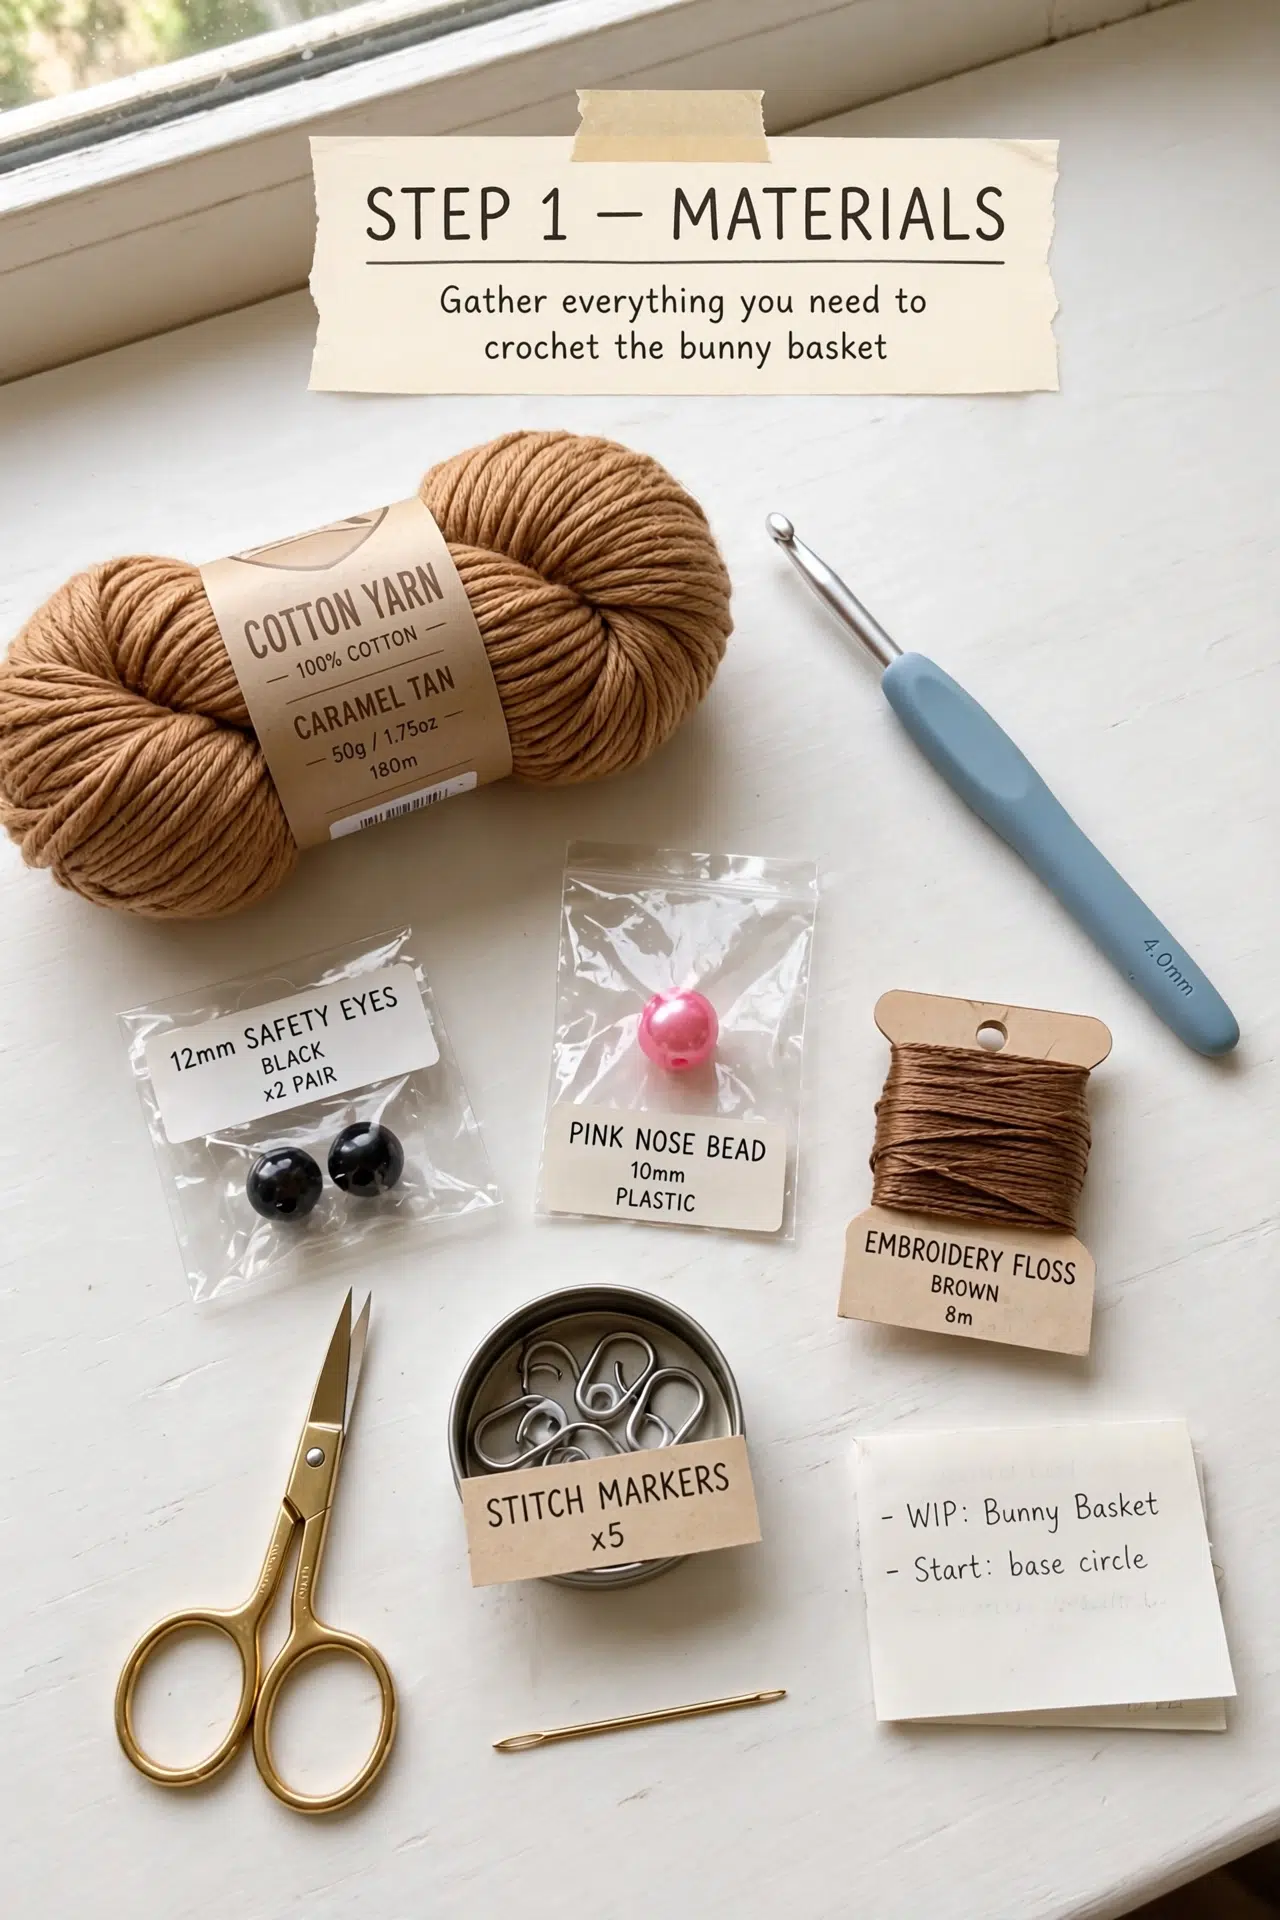
- Bulky Weight Cord Yarn (Colors: Orange and Peach): This basket is worked in a 4 mm thick cord yarn, which is what gives it that firm, structured shape once it's done. A weight 5 bulky cord works best here because thinner yarn won't hold the basket walls upright the way you need them to. You'll need less than 50 g of each color, so this is a good project for small amounts you already have on hand. The fiber content isn't specified in the pattern, so check your label and aim for something with a bit of body rather than something super drapey.
- 7 mm Crochet Hook: The 7 mm pairs well with a 4 mm cord yarn and helps you keep that firm tension the basket needs. Going smaller would make it a real struggle to work through the stitches, and going larger risks a floppy fabric that won't hold its shape.
- 12 mm Black Safety Eyes (1 pair): These are the size used in this pattern. Smaller eyes would get a bit lost on the basket, so stick with 12 mm.
- 15 mm Pink Safety Nose (1): Just the one, and the 15 mm size keeps it proportional to the face.
- Dark Brown Embroidery Thread: Used for the whiskers and mouth. You won't need much at all, just enough to stitch the facial details.
- Orange or Peach Embroidery Thread: This is for sewing the ears on. Using a thread that matches your cord color keeps the stitches from showing.
- Also needed: stitch marker, scissors
Alternative Yarn Suggestions
Cord yarn can be tricky to find in some areas, so if you're substituting, the key thing to prioritize is structure. You want something that crochets up stiff enough to hold the basket shape without blocking or stiffening spray.
- Bulky Cotton Rope Yarn: A tightly twisted bulky cotton rope gives you a similar firmness to cord yarn and tends to be easier to find at craft stores. Look for something around 4-5 mm in diameter and check that it doesn't have too much stretch.
- Macrame Cord (Bulky): A single-strand or 3-ply macrame cord in a bulky weight works well here. It's stiff by nature, holds its shape without any extra effort, and comes in a decent range of colors.
Quick Details
A small crocheted cord basket worked in rounds, just over six inches across when finished.
| Skill Level | Easy |
| Pattern Gauge | Gauge is not critical for this project. Use a hook size that creates a firm fabric appropriate for a basket so it holds its shape. |
| Finished Size | 6 2/8" diameter |
| Yarn Weight | 5 Bulky |
| Terminology | US |
Stitches & Abbreviations
Nothing unusual here — all standard stitches you've probably used before.
- BLO = back loop only
- ch = chain
- dc = double crochet
- dec = decrease (sc2tog)
- FO = fasten off
- hdc = half double crochet
- inc = increase (2 sc in same st)
- MR = magic ring
- sc = single crochet
- sl st = slip stitch
- st(s) = stitch(es)
The Critical Details
This basket is worked with a 4 mm thick cord. Tension matters more than gauge here. You want the fabric to feel dense and sturdy, not floppy. If your finished basket can't hold its shape when empty, go down a hook size and try again. The cord itself does a lot of the structural work, but loose stitches will undermine that pretty quickly. Work firmly throughout.
Easter Bunny Basket Crochet Pattern Instructions
Here's how I work through each piece of this Easter bunny basket, from the base up through the ears.
The Basket Body
This is the main piece, and it does most of the work. I start from a flat circular base and build up the walls, using a back-loop-only round to create a clean ridge where the base meets the sides.
Round 1: 6 sc in MR. [6 sc]
Round 2: inc around. [12 sc]
Round 3: *1 sc, 1 inc* repeat 5 more times. [18 sc]
Round 4: *2 sc, 1 inc* repeat 5 more times. [24 sc]
Round 5: *3 sc, 1 inc* repeat 5 more times. [30 sc]
Round 6: *4 sc, 1 inc* repeat 5 more times. [36 sc]
Round 7: *5 sc, 1 inc* repeat 5 more times. [42 sc]
Round 8: *6 sc, 1 inc* repeat 5 more times. [48 sc]
Round 9: *7 sc, 1 inc* repeat 5 more times. [54 sc]
Round 10: *8 sc, 1 inc* repeat 5 more times. [60 sc]
Round 11: *9 sc, 1 inc* repeat 5 more times. [66 sc]
Round 12: 66 sc BLO. [66 sc] Working into the back loops only here creates a defined fold line between the base and the walls. The unworked front loops will sit as a visible ridge on the outside.
Rounds 13–17: 66 sc. [66 sc] Five straight rounds with no shaping to build up the basket walls.
Round 18: *9 sc, 1 dec* repeat 5 more times. [60 sc] The basket starts to draw in slightly at the top here.
Round 19: *8 sc, 1 dec* repeat 5 more times. [54 sc]
The Handle
The handle is worked directly onto the basket body, so there's no separate piece to sew on later. I attach it, work across the chain, and anchor both ends into the basket wall as I go.
Step 1: Ch 30 and join on the opposite side, on 27 st, with a sl st. Count carefully to find the stitch that sits directly opposite your starting point so the handle sits centered.
Step 2: Turn, 30 sc in the ch sts of the handle, sl st in next st of the basket body.
Step 3: Turn, 30 sc, sl st in next st of the basket body. This second pass reinforces the handle and gives it a neat, double-layered look.
Step 4: FO.
The Ears
Make 2. These are worked from a foundation chain and shaped with a mix of sc, hdc, and dc to give them that pointed bunny ear curve. I fold the lower end before fastening off, which creates the base that gets sewn onto the basket.
Round 1: Ch 10.
Round 2: Turn, 8 sc, 3 sc in last ch, 8 sc on the other side of the chain. [19 sc] You're working around both sides of the foundation chain here, with the 3 sc in the last stitch forming the rounded tip of the ear.
Round 3: Turn, ch 1, 4 sc, 3 hdc, 1 dc, 3 dc in next st, 1 dc, 3 hdc, 5 sc. [21 sts] The stitch height increases toward the center and then back down, shaping the pointed top of the ear.
Round 4: FO, folding the lower end. Fold before you cut the yarn so the base is pinched into position, ready to sew.
Putting It All Together
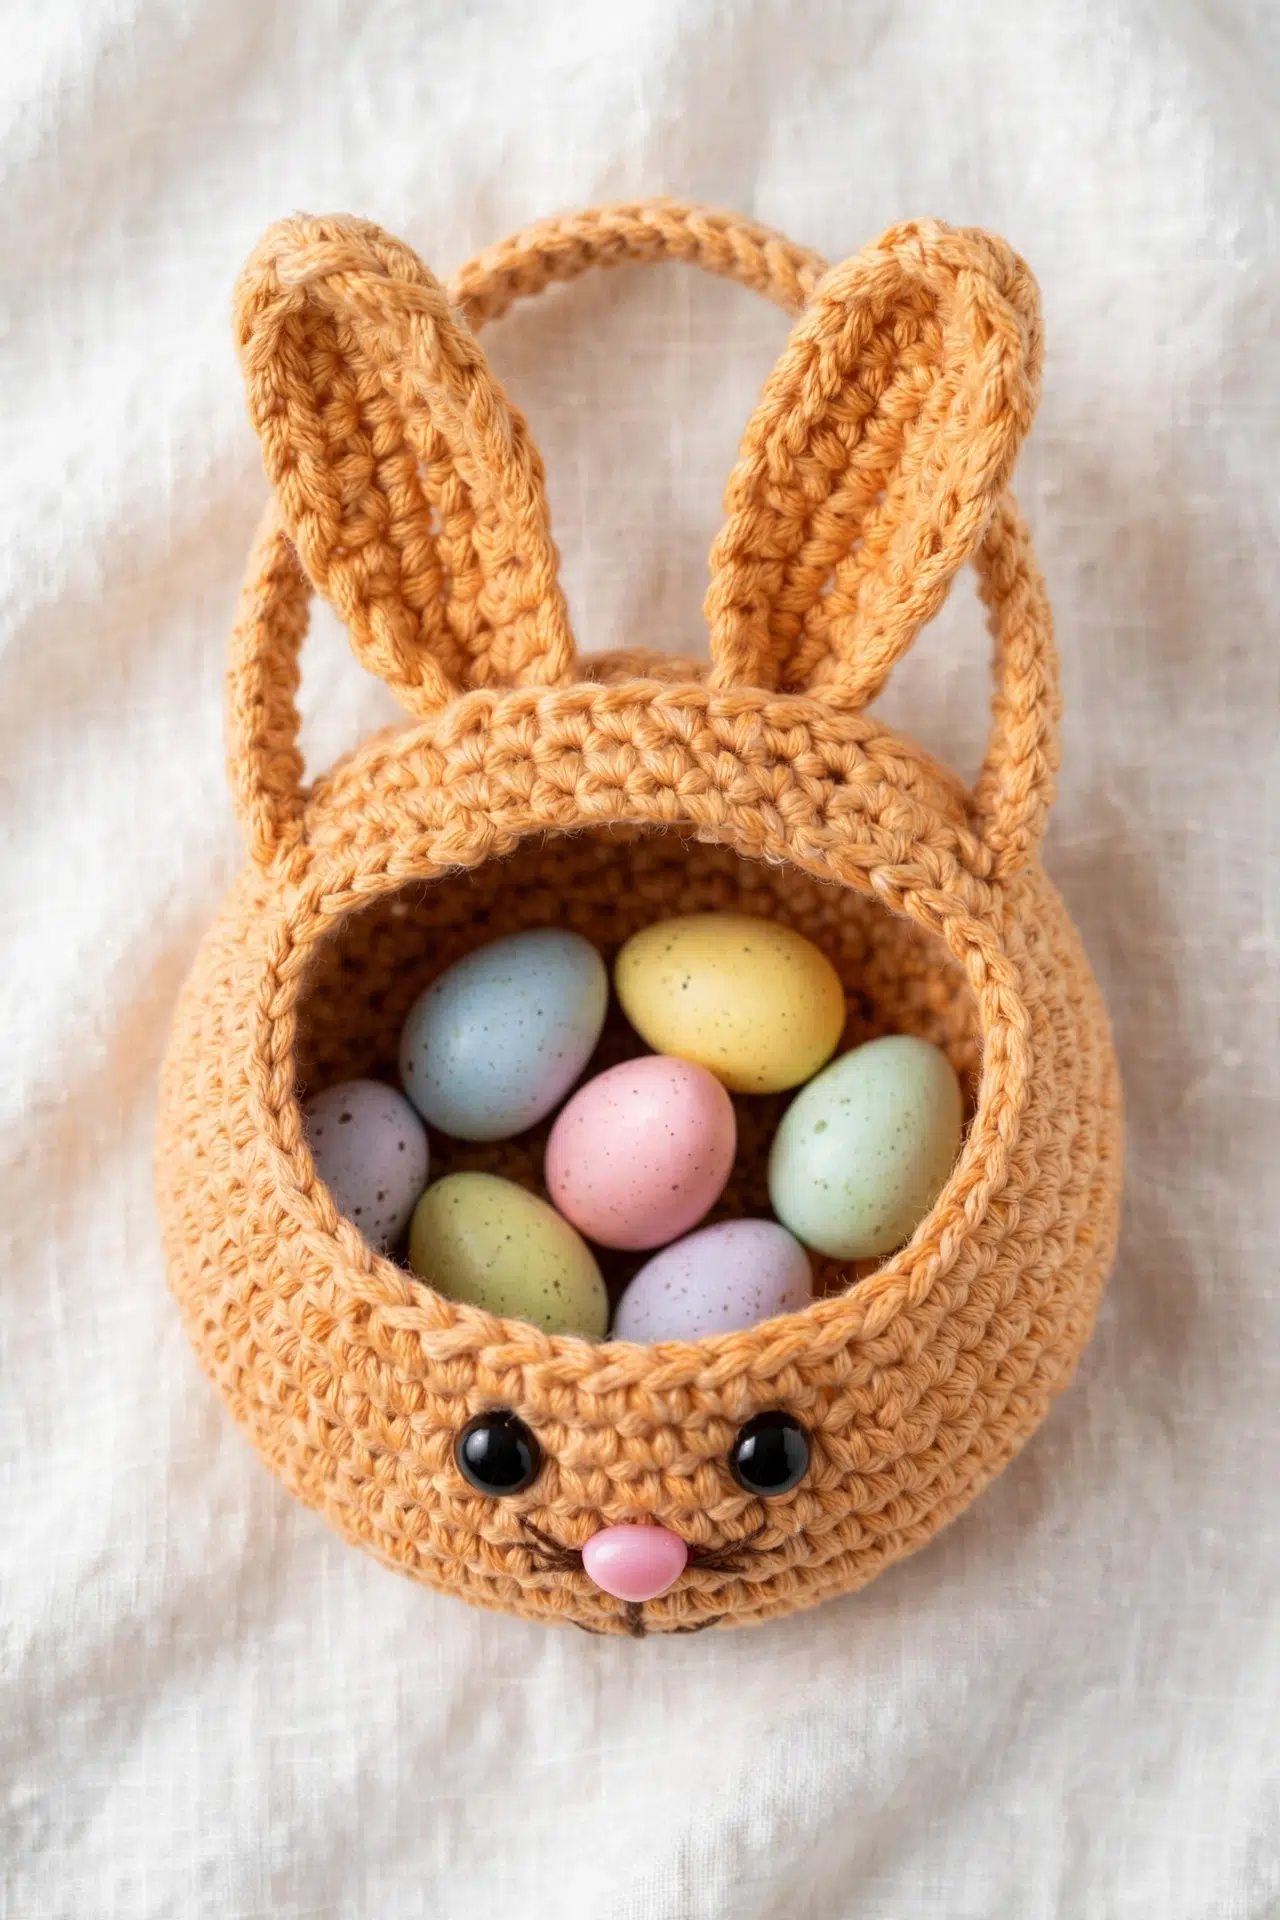
Once both ears are finished and their lower ends are folded, I sew them onto the basket body through the folded base of each ear and into the basket wall. I position them before sewing so I can check the spacing looks even, then stitch through the fold securely on both sides. A few passes through is enough to hold them firm.
Care Instructions
Because this basket is made with cord yarn and holds its shape structurally, I'd skip the washing machine entirely. Spot clean it with a damp cloth if something spills inside. The safety eyes and nose are plastic, so soaking or heat can loosen them over time, especially if the basket gets used regularly for Easter candy or eggs. Store it somewhere it won't get crushed between other things, since the cord fabric does hold its shape well but repeated pressure can flatten the sides.
Baby & Child Safety Notes
This basket uses a 12 mm pair of safety eyes and a 15 mm safety nose, which are small parts. If you're giving this to a young child, make sure those pieces are locked in FIRMLY before handing it over. Safety eyes and noses have a washer that clicks onto the back post, and I always give mine a hard tug after attaching them to make sure they're not going anywhere. For children under three, I'd honestly consider embroidering the face instead of using the hardware pieces at all.
Frequently Asked Questions
Round 12 is worked in the back loops only, and that's what creates the defined ridge that separates the flat base from the basket walls. It's a small thing but it makes a big difference in how the finished basket looks. Without it, the transition from bottom to sides would just blend together without that clean, structured edge.
The ears get sewn on through the folded base of each ear and into the basket wall. Each ear is crocheted flat and the lower end is folded before you attach it, which gives it a little dimension at the base. I use the orange or peach embroidery thread for sewing them on so the stitches blend in with the basket color.
Attach them before you close up the basket completely. The basket does decrease at the top in rounds 18 and 19, so get the eyes and nose positioned and locked in before those rounds make the opening too tight to work inside comfortably. The eyes are 12 mm and the nose is 15 mm, so placement matters for getting the face to look balanced.
Gauge isn't critical here. What matters more is that your tension is firm enough for the basket to hold its shape on its own. If your fabric feels floppy, try going down a hook size. The 7 mm is what I use with the 4 mm cord, but the goal is a sturdy, structured fabric rather than hitting a specific stitch count per inch.
Less than 50 g each of the orange and peach cord yarn. It's a small project. If you already have cord yarn from another project, there's a good chance you have enough sitting in your stash without buying anything new.
Final Thoughts
This little basket is one of those projects that comes together faster than you expect and ends up looking way more put-together than the effort involved. I love that it's functional AND adorable sitting on a shelf or table for Easter. If you make one, I'd love to see it: tag me on Instagram or drop a photo in the comments below. And if you're saving this for later, go ahead and pin it to your Easter crochet board so you can find it again when the season rolls around.