
I made this little guy on a whim one afternoon and honestly could not stop. The Christmas Wreath Charm Crochet Pattern is one of those small projects that just hits right, the kind you finish and immediately want to make six more of. It works up fast, it's beginner-friendly, and it makes the most adorable handmade gift or personal accessory for the holiday season.

Jump to:
About This Project
What I love about this one is how satisfying the construction is for something so small. You're working around a metal ring, which gives the whole thing this really solid, polished feel when it's done. It's not just a flat crocheted shape. It has structure. And there's something genuinely fun about watching stitches pile up around that ring until it starts looking like an actual tiny wreath.
I'd make this for pretty much anyone on my list, honestly. It's the kind of thing you tuck onto a gift bag, attach to a keychain, or clip onto a zipper pull. Sweet without being over the top, and personal in a way that a store-bought charm just isn't.
Why This Pattern Stands Out
A tiny, fast-finish holiday charm that actually makes a meaningful handmade gift.
- Beginner friendly: If you can work basic stitches around a ring, you can make this with no trouble at all.
- Fast to finish: This is a sit-down-and-finish-it-in-one-go kind of project, which makes it perfect for last-minute gifting.
- Great for gifting: Small, handmade, and seasonal. It's the kind of add-on gift that people actually keep.
- Yarn stash friendly: You only need a tiny amount of yarn, so this is a perfect scrap buster during the holiday season.
- Make multiples easily: Once you've made one, the second and third go even faster. Great for batch-making for ornament swaps or craft fairs.
Your Supply List
You will need a hot glue gun for this one, so dig it out before you start.
- Fine Weight Wool Yarn (Weight 2), in Green, Red, and White: Fine weight wool is a good fit here because it works up tightly around the metal ring without gaps or bulk. Wool has just enough grip to stay in place as you crochet, and it holds its shape well once the wreath is finished. You won't need much of any color for a project this small. A small amount of each color should do it, roughly 5 to 15 meters per color is a reasonable estimate, but having a bit extra on hand never hurts.
- 2.5 mm Crochet Hook: This size pairs well with a fine weight yarn and keeps the stitches snug enough that the metal ring underneath doesn't show through.
- Metal Ring: The whole wreath is worked directly around this, so the size of your ring determines the size of your finished wreath. Make sure it's sturdy enough to hold its shape as you crochet around it.
- Keychain Hardware/Hook: This attaches after the wreath is finished and gives you a way to hang or clip it. It's a small piece but easy to forget until the end.
- Hot Glue Gun or Craft Glue: Used to attach the bow once it's made. A low-temp hot glue gun works well here and sets quickly.
- Also needed: scissors, tapestry needle
Color Sequence & Yarn Changes
The three colors each have a distinct job: green covers the ring, red forms the ring base, and white makes up the bow that gets attached at the end. You'll work with one color at a time rather than carrying multiple strands, so the changes are clean and straightforward.
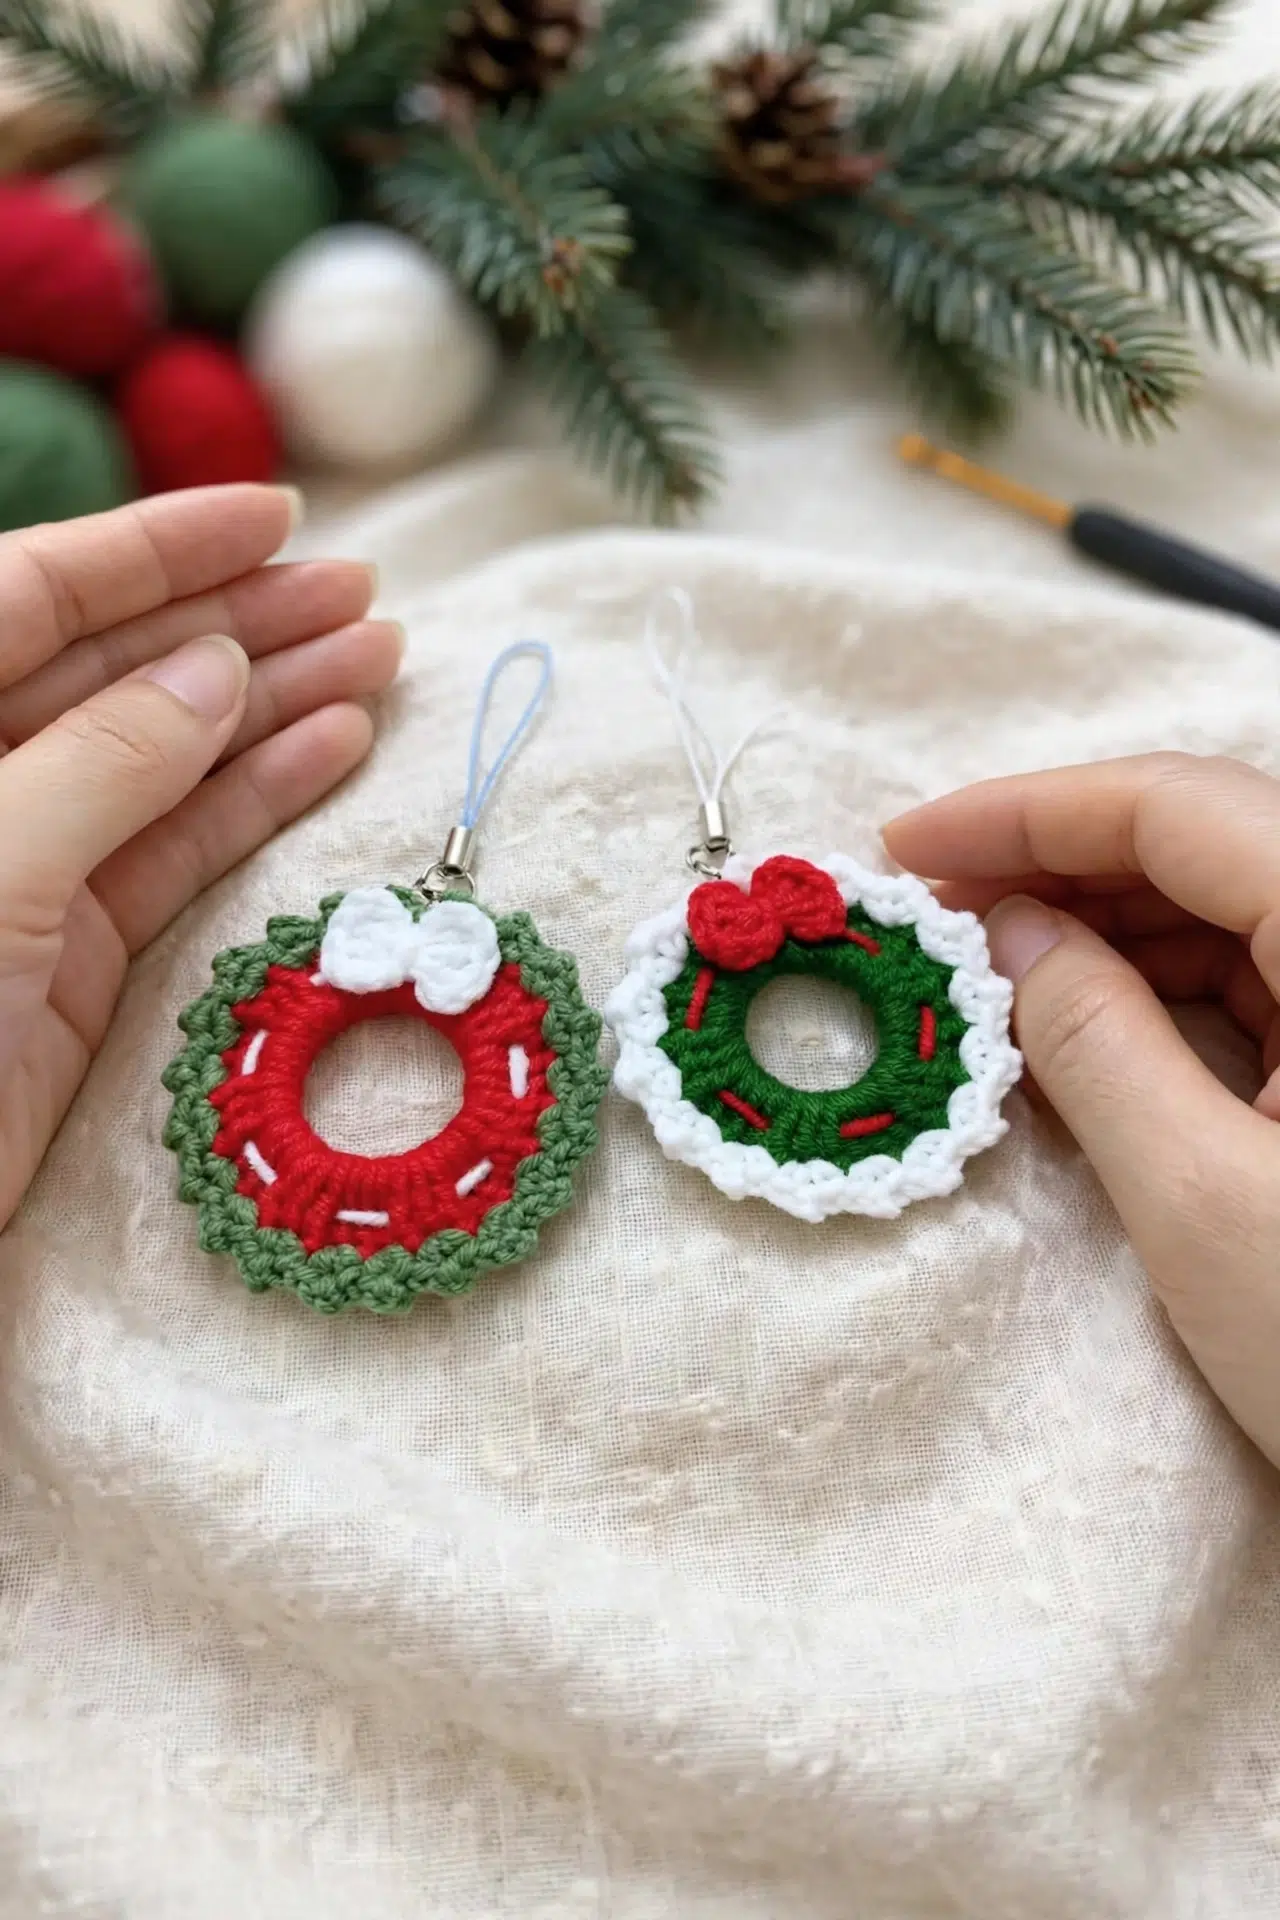
Quick Details
A tiny crocheted wreath worked directly around a metal ring, finished with a bow and clipped onto a keychain.
| Skill Level | Beginner |
| Pattern Gauge | Gauge is not critical for this project. Use a hook size that creates a tight, firm fabric so the stitches sit neatly around the metal ring. |
| Finished Size | Approx. 1.5–2 inches across (estimated based on typical small metal ring keychain charms and 2.5 mm hook). |
| Yarn Weight | 2 Fine |
| Fiber | Wool |
| Terminology | US |
Abbreviations & Stitches Used
Short list for this one. All standard stitches you've probably used before.
- ch = chain
- sc = single crochet
- dc = double crochet
- sl st = slip stitch
- hdc = half double crochet
Before You Begin
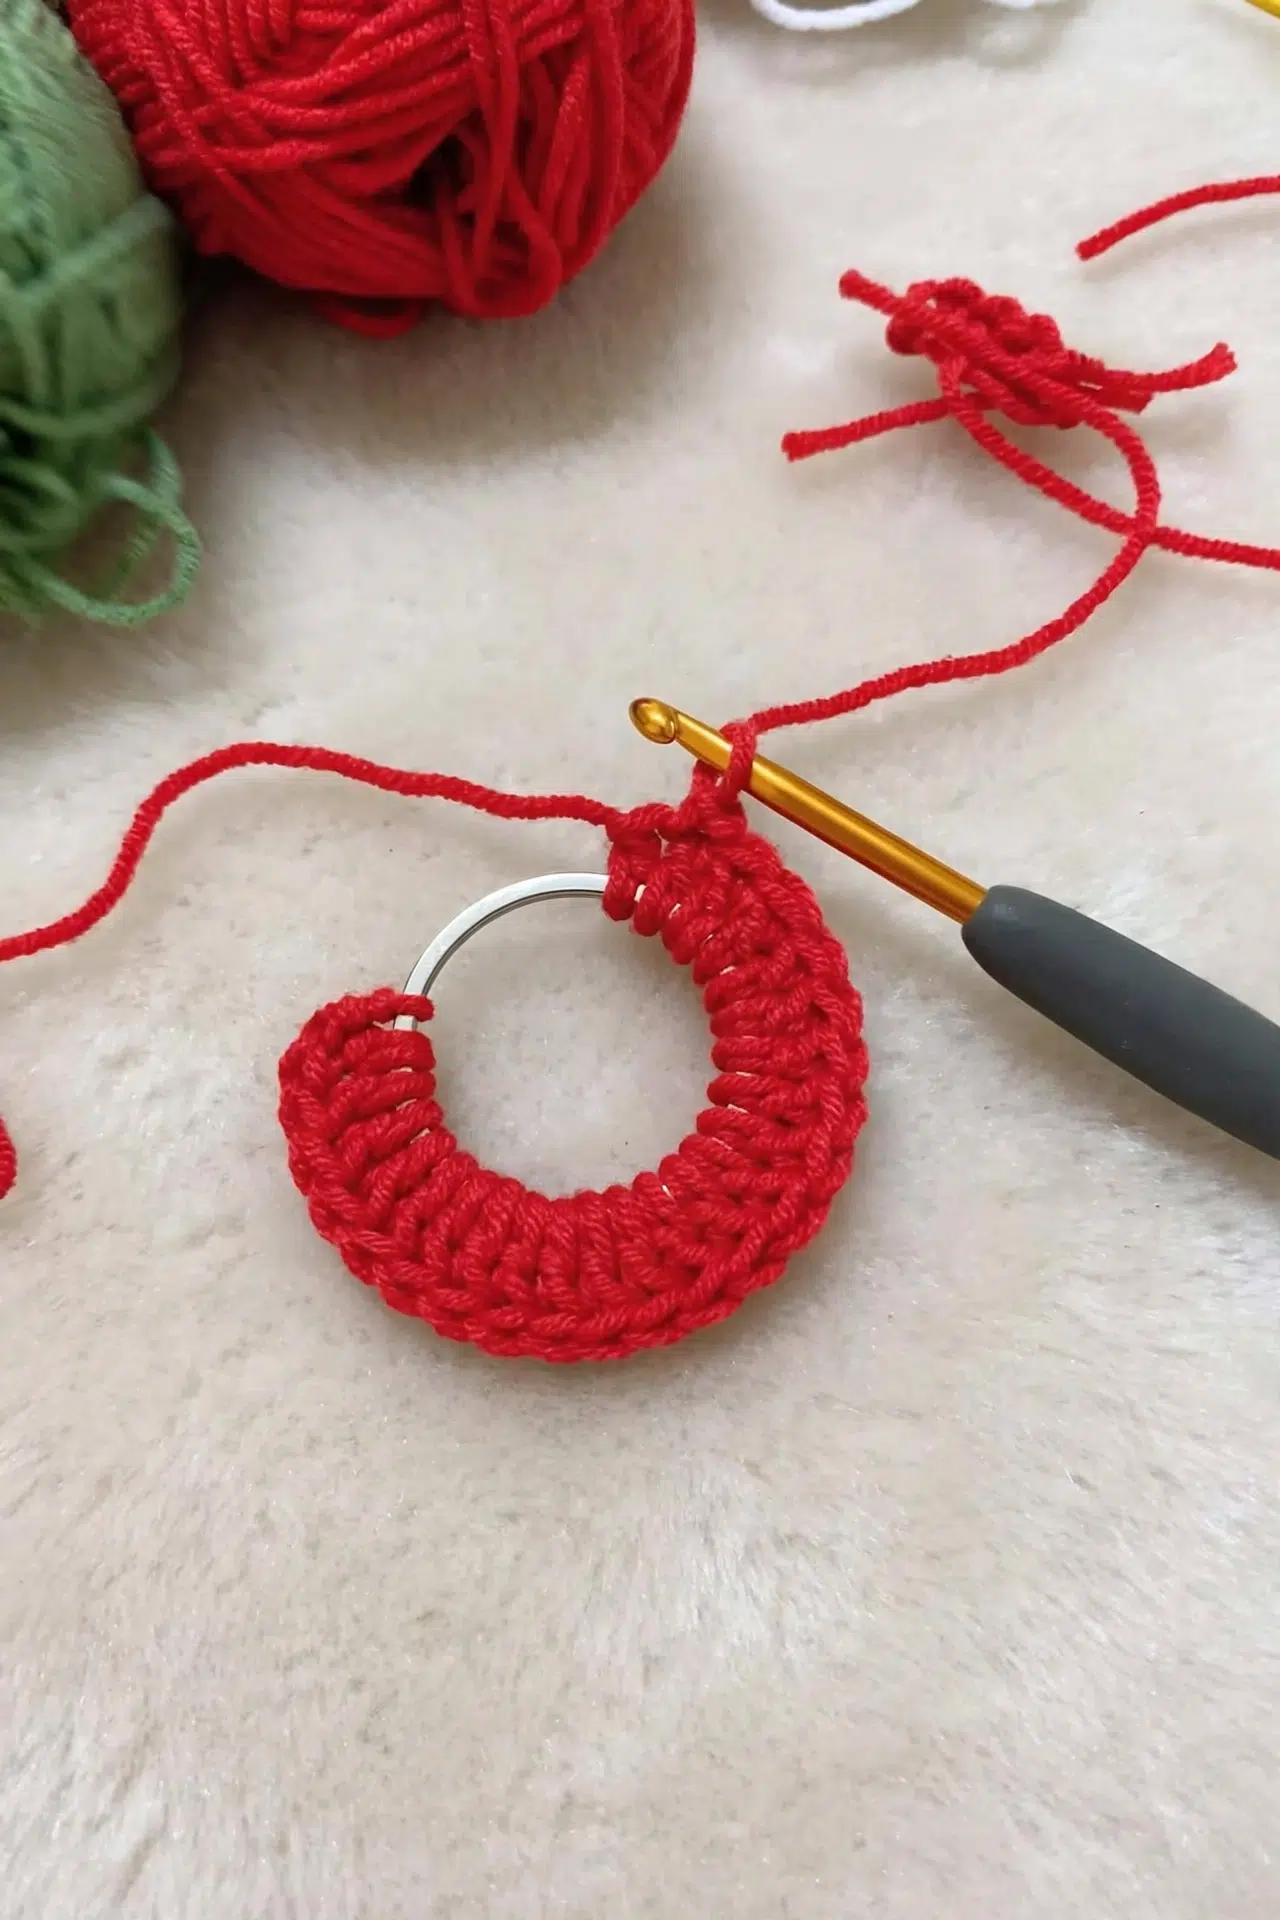
The wreath is worked directly around a metal ring. You attach the yarn to the ring and crochet right over it, covering it completely as you go. The first round is half double crochet, worked as one continuous pass around the ring. No separate base piece, no joining two halves together. Just yarn on a ring.
You'll use three colors: green for the main body of the wreath, red worked onto the ring itself, and white for the bow. The bow is made separately and attached with hot glue or craft glue once everything else is done. A tapestry needle handles weaving in ends and any surface embroidery details you want to add. Keychain hardware clips on at the end.
Keep your tension snug. Loose stitches on a small ring like this tend to slide around and won't sit flat. If the fabric feels floppy, go down a hook size.
Let's Make the Christmas Wreath Charm Crochet Pattern
Here's how I work through this Christmas Wreath Charm Crochet Pattern from start to finish.
Building the Wreath
This section takes you through the full construction of the charm as a single piece, starting from the ring and working the hdc round directly onto it.
Step 1: Attach the yarn to the ring.
Step 2: Work the round as a single piece using the first round of hdc after attaching the yarn to ring. Make sure your hdc stitches sit snugly and evenly around the ring before moving on.
Fasten off, weave in ends.
Care Instructions
Because this wreath is crocheted around a metal ring, I'd skip soaking it entirely. The ring can rust if it stays wet, and the keychain hardware won't thank you for it either. If the wool picks up any dust or fuzz over time, a very lightly damp cloth dabbed over the surface is enough. Store it somewhere it won't get crushed, since the little bow can lose its shape if something heavy sits on top of it for too long.
Frequently Asked Questions
Just wrap the yarn around the ring and work your first hdc directly over it. The stitches lock the yarn in place as you go, so there's no separate slip knot or foundation chain needed. Make sure your starting tail is long enough to weave in securely at the end, since there's no seam to hide it in.
The bow is glued on using a hot glue gun or craft glue. I find hot glue holds better and dries faster, but regular craft glue works too if you let it cure fully before handling the charm. Press it down firmly for a few seconds and let it set completely before attaching the keychain hardware.
Three: green for the leaves, red for the ring, and white for the bow. The amounts are small enough that scraps work perfectly here. If you've been hoarding those little leftover bits of fingering weight wool, this is exactly the kind of project they were waiting for.
A small metal ring sized to give you a finished charm of roughly 1.5 to 2 inches across. Craft stores typically carry these near the jewelry-making supplies. The ring is what the whole wreath is crocheted around, so the ring size directly controls the finished size of the charm.
Cotton or acrylic at a similar weight will work, though wool has a slight natural grip that helps the stitches stay snug around the metal ring. With a slicker fiber, you may find the stitches slide around a bit more while you're working. Not a dealbreaker, just something to be aware of.
Now It's Your Turn!
I'd love to see how your Christmas Wreath Charm turns out, so if you make one, tag me on social media or drop a photo in the comments below. These little charms make such good last-minute gifts and stocking stuffers, and I have a feeling once you make one you'll end up making a whole batch. If you want to save this pattern for later, go ahead and pin it to your holiday crochet board on Pinterest so it's easy to find when the season rolls around again.



