
I've been on a bit of a cottagecore kick lately, and this Mushroom House Bag Crochet Pattern is honestly one of my favorite things I've made all year. It's one of those projects that feels special to carry around, and every single time I've brought it out, someone has stopped me to ask about it. It works up at an intermediate level, so there's enough going on to keep things interesting without being overwhelming.

Jump to:
The Inspiration
I wanted to make something that felt genuinely whimsical without crossing into novelty territory. You know what I mean. Something you'd actually use on a regular basis, not just pull out for a themed event. This bag really does hit that balance. The construction is what got me hooked on the design. It's the kind of project where the pieces come together in a way that feels a little like a puzzle, and when it clicks, it's SO satisfying.
It's also a really solid gift option. I'm already planning to make a second one. If you know someone who's into fairy tales, foraging, or just has a soft spot for anything that looks like it belongs in an enchanted forest, this is the one.
Why This Pattern Stands Out
This bag is a functional everyday carry that looks like pure magic.
- Skill level fit: Intermediate crocheters will find this engaging without hitting any frustrating walls.
- Strap flexibility: You choose the strap length, so it works as a crossbody or a handbag depending on what you need.
- Gifting potential: It's one of those makes that photographs beautifully and feels genuinely special to give.
- Technique value: The construction introduces some really satisfying shaping and assembly techniques worth adding to your skill set.
Your Supply List
Six colors are in play for this one, so a quick yarn pull before you start will save you some hunting mid-project.
- Worsted Weight Yarn (4 Medium), Six Colors: Worsted weight is the right call here because the bag needs enough structure to hold its shape without being stiff. A smooth worsted acrylic works well since it gives you clean stitch definition, which really matters when you're adding the door, windows, and embroidered details. Yardage isn't specified in the original pattern, but for a bag this size with six colors, budgeting around 150 to 200 yards for your main bag color (brown) and 20 to 50 yards each for pink, white, green, dark brown, and orange should get you through comfortably. You'll need: pink for the top, brown for the bag body, white for the spots, green for the grass, dark brown for the door, and orange for the doorknob.
- 5.5 mm Crochet Hook: This size pairs well with worsted weight yarn and produces a fairly tight fabric, which is exactly what you want for a bag that needs to keep its structure and not stretch out under the weight of your things.
- Fabric Lining (optional): If you plan to actually carry this bag around, a simple fabric lining is worth the extra step. It keeps smaller items from poking through the stitches and adds a bit of durability over time.
- Fabric Yarn with Larger Hook (optional): Swapping to fabric yarn and sizing up your hook is an option if you want a sturdier, more structured bag. It changes the look quite a bit, so it's more of a design decision than a necessity.
- Also needed: darning needle, scissors
Color Sequence & Yarn Changes
The brown is your main working color for the bag body, so that stays on your hook the longest. The remaining five colors are mostly used for smaller details and embellishments, so you can weave them in as you go rather than carrying them along. Keeping each color on a small bobbin or loose butterfly wrap will stop them from tangling while they wait.
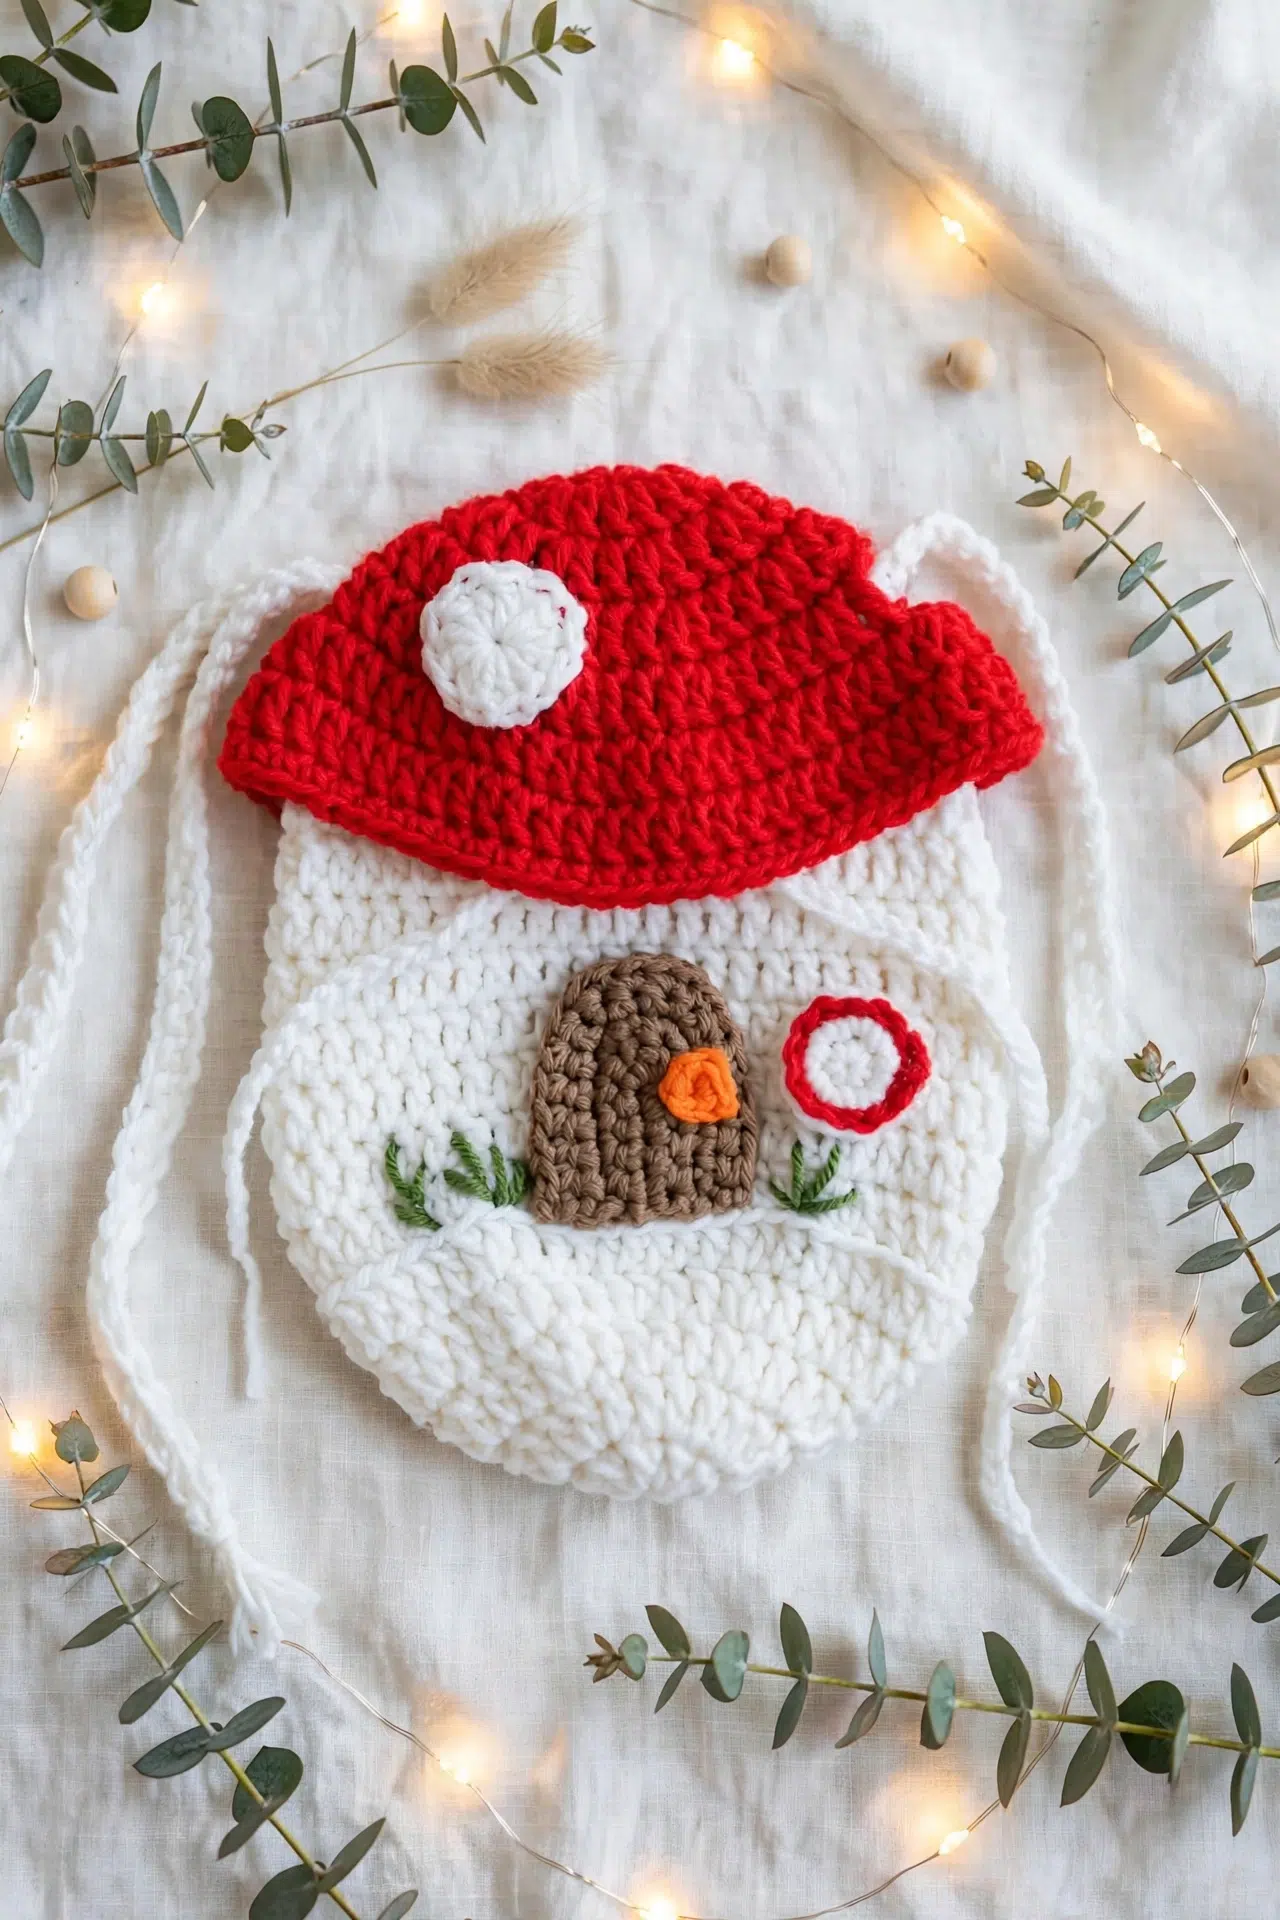
At a Glance
A little cottage bag with a drawstring closure, embroidered details, and a toadstool mushroom cap on the front.
| Skill Level | Intermediate |
| Pattern Gauge | Gauge is not critical for this project. Use a hook size that creates a firm fabric appropriate for a bag so the stitches are dense and the bag holds its shape. |
| Finished Size | Strap length varies (crossbody purse or handbag depending on strap length you choose to crochet). |
| Yarn Weight | 4 Medium / Worsted |
| Fiber | Not specified — check the yarn label |
| Terminology | US |
Stitches & Abbreviations
Short list, all familiar stitches.
- BLO = back loop only
- ch = chain
- dc = double crochet
- inc = increase (2 stitches in same stitch or space)
- MR = magic ring
- sc = single crochet
- sl st = slip stitch
Special Stitches
- MR (magic ring): Wrap yarn into a loop, work stitches into the loop, then pull tail to tighten.
Important Notes
The strap length determines how you'll carry this bag. Crochet it shorter for a handbag or longer for a crossbody. That's the only real sizing decision you're making here.
The front of the bag features embroidered grass, a flower, a toadstool mushroom cap, a door, and windows. Those decorative elements are added after the main bag is complete. The closure is a drawstring.
Two optional upgrades worth knowing about: you can add a fabric lining to keep smaller items from slipping through the stitches, and if you want a sturdier result overall, fabric yarn with a larger hook is a solid swap for standard worsted.
How to Make the Mushroom House Bag Crochet Pattern
Here's everything you need to get started on this mushroom house bag, from materials to stitch definitions.
Materials and Stitch Reference
Before picking up your hook, I like to get all the materials sorted and the abbreviations clear. This section covers both — the supplies you'll need and exactly what each stitch term means throughout the pattern.
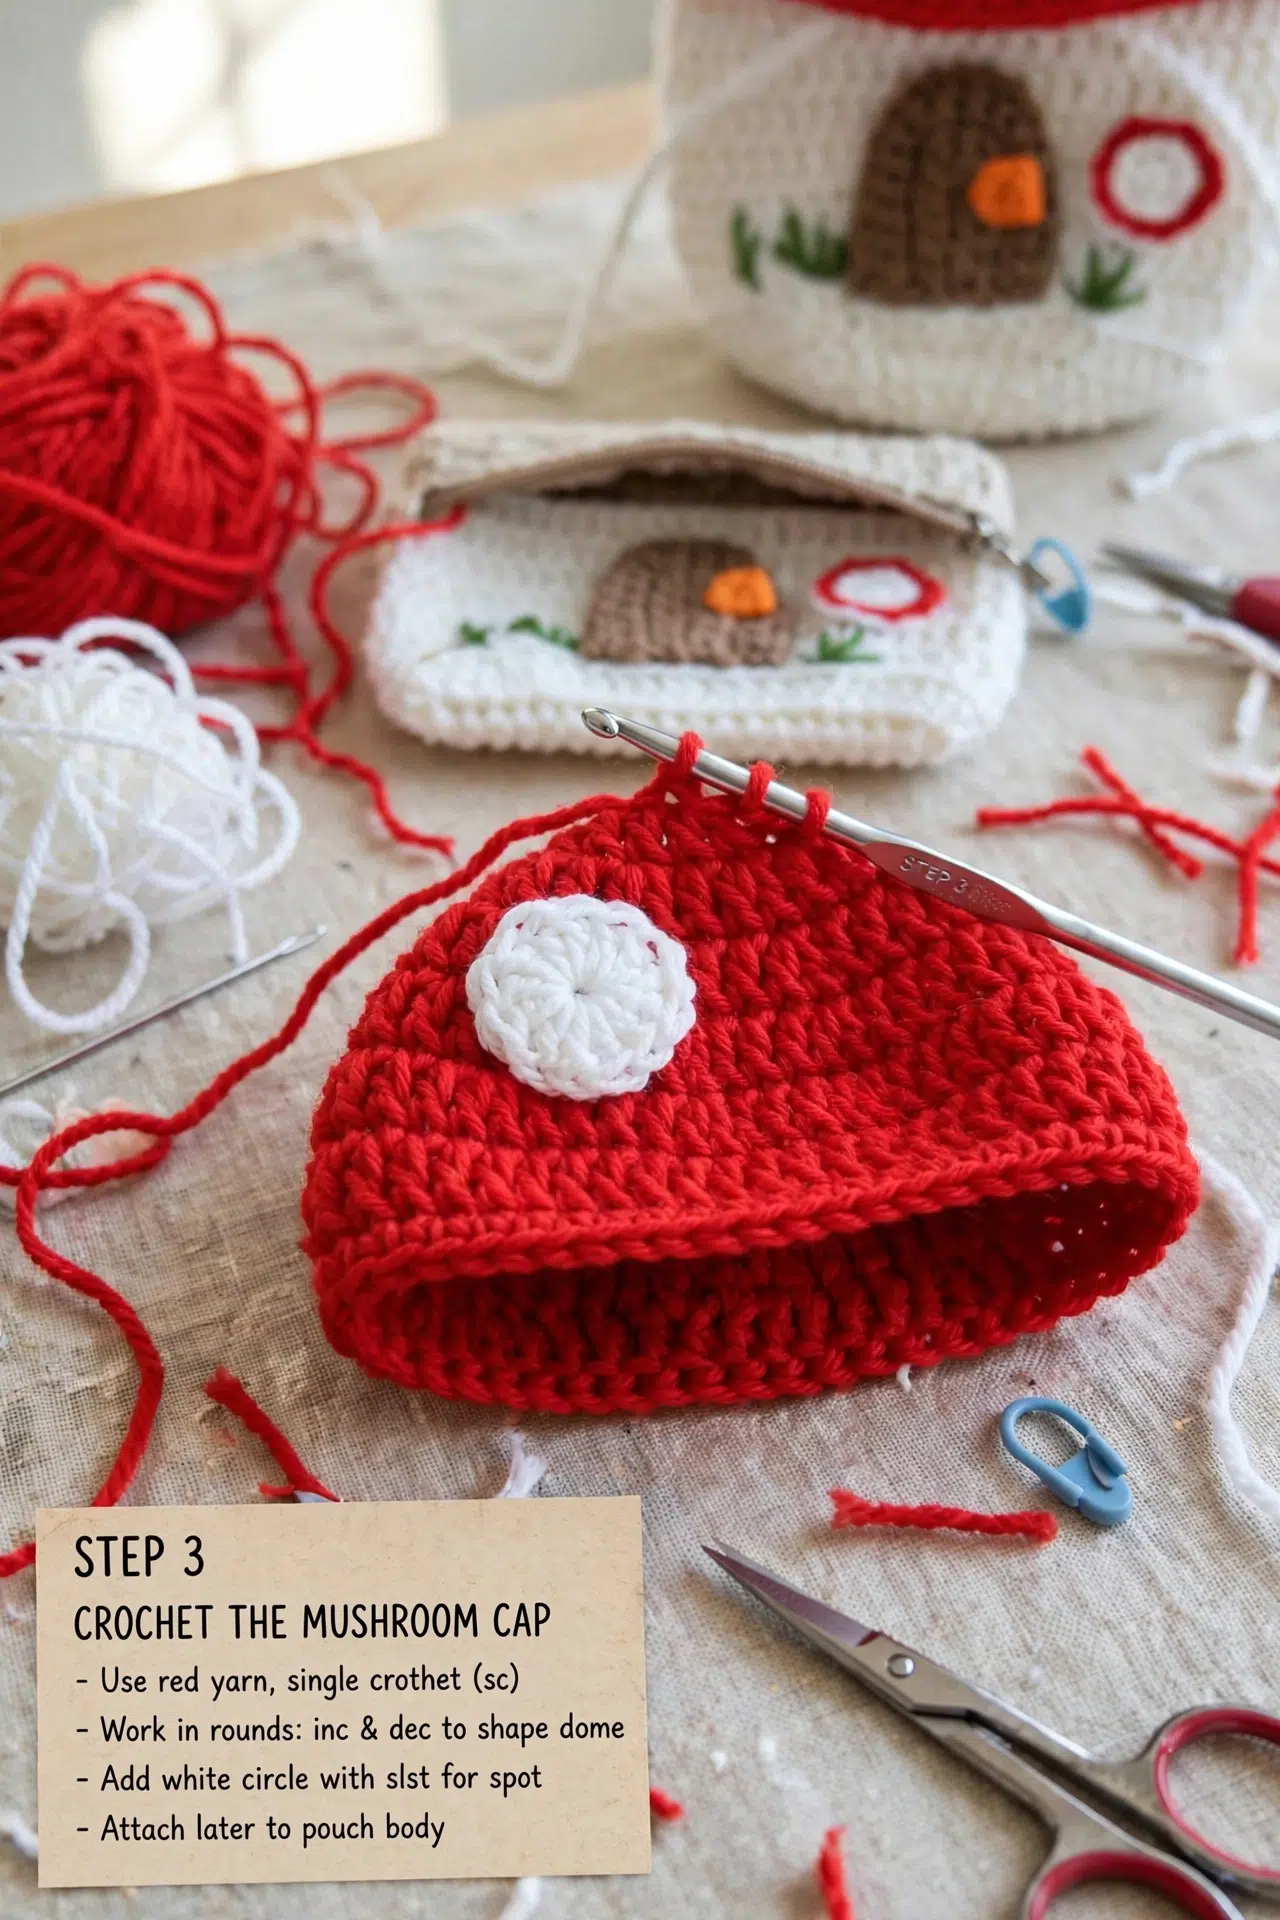
Step 1: Yarn: Six colors — pink (top), brown (bag), white (spots), green (grass), dark brown (door), orange (doorknob); category 4 recommended.
Step 2: Crochet hook: 5.5 mm or a size suitable for the yarn used.
Step 3: Darning needle.
Step 4: Scissors.
Step 5: Optional: Fabric yarn and a larger hook for sturdy bags. If you want a bag that holds its shape well and takes some wear, fabric yarn is worth considering — just size up your hook to match.
Step 6: MR: Wrap yarn into a loop, crochet into it, then pull the tail to tighten. This is the magic ring, and it's how most of the circular pieces in this pattern begin. Pull the tail firmly so there's no gap at the center.
Step 7: Slip knot: Make a loop, pull yarn through to form an adjustable starting knot.
Step 8: dc: Yarn over, insert hook, pull up loop, yarn over, pull through 2 loops twice.
Step 9: sc: Insert hook, yarn over, pull up loop, yarn over, pull through both loops.
Step 10: sl st: Insert hook, yarn over, pull through stitch and loop on hook in one motion.
Step 11: inc: Work two stitches into the same stitch or space to widen the fabric.
Step 12: ch: Yarn over, pull through loop on hook to form the base chain.
Step 13: BLO: Insert hook into the back loop only, then complete stitch normally. Working BLO leaves the front loop free, which creates a visible ridge — useful for defining edges and transitions in this pattern.
Care Instructions
Spot-cleaning is the way to go with this bag. A damp cloth with a little mild soap handles most dirt without putting stress on the strap attachments or distorting the embroidered grass and door details. If you added a fabric lining, that's actually doing a lot of the heavy lifting to keep the inside clean, so you may not need to wash the exterior often at all. When you're storing it, stuff the inside loosely with tissue paper to help the bag hold its shape between uses.
Frequently Asked Questions
The bag works fine without a lining, but adding one makes a real difference if you plan to carry small items like lip balm, coins, or earbuds. Without a lining, smaller things can slip through the stitch gaps. A basic cotton fabric sewn in by hand is all you need. The pattern lists it as optional, so it's completely your call.
Fabric yarn is actually listed as an option in the pattern, paired with a larger hook. It produces a much sturdier bag, which is great if you want something that holds its shape and handles more daily use. Just know the finished look will be chunkier and the mushroom details may read differently at a larger scale.
It depends on whether you want a crossbody or a handbag. A longer strap turns it into a crossbody purse you can wear across your body, while a shorter one gives you a handheld bag. I'd measure a bag you already own and love carrying before you start crocheting the strap, so you're not guessing.
Most of the colors are used for separate pieces or surface embroidery rather than mid-row color changes, so it's not as complicated as it might look. The pink cap, brown bag body, and green grass are the main sections. The white spots, door, and doorknob are smaller add-ons. Keeping your yarn ends organized as you go saves a lot of frustration at the finishing stage.
You need to be comfortable with working in the round, increasing, and changing colors cleanly. The magic ring is used here, so if that's new to you, practice it a few times before starting. The embroidery details for the grass and flower are straightforward but do require a darning needle and some patience with placement.
Before You Go
I really do think this mushroom house bag is one of those projects that looks impressive but comes together in a way that feels manageable once you get going. If you make one, I'd love to see how yours turns out, especially if you went with a different color palette or tried the fabric yarn version. Tag me on Instagram or drop a photo in the comments below. And if you're saving this for later, pinning it to your crochet projects board is a great way to keep it handy for when you're ready to cast on.



