
He's tiny, he's got that perpetually chill capybara face, and he comes together so fast you could realistically make one on a lunch break. This little guy stitches up in about 35 to 40 minutes from start to finish, and because every single piece — ears, arms, legs — gets crocheted directly onto the body, there's no sewing involved anywhere except closing up the final opening at the end. That makes him a great option for market prep, last-minute gifts, or a keychain you can whip up between other projects.
Quick Overview

This pattern makes one small amigurumi capybara worked in continuous rounds, starting at the front of the head and working back toward the body. The head and body are one seamless piece, and the ears, arms, and legs are all attached directly into the body as you go rather than crocheted separately and sewn on later — which is what makes this a true no-sew pattern.
Finished time: Roughly 35–40 minutes for an experienced crocheter.
Great to know: This little capybara also works up beautifully in cotton or acrylic yarn if velvet isn't your thing, and he's a fun size for keychains as well as shelf decor.
Materials
- Bulky weight yarn in dark brown (for the head, ears, arms, and legs) and light brown (for the body) — a plush velvet-style bulky yarn gives him that soft, huggable texture, though any bulky weight yarn you like will work
- 5mm crochet hook
- Yarn needle (for closing the opening at the end)
- 10mm plastic safety eyes
- Polyester stuffing
- Scissors
- A stitch marker, or a small scrap of contrasting yarn to mark your rounds
If you'd like a printable adoption certificate to pair with him as a gift, or want a written PDF version of this pattern with photo references, those are available from the designer as a companion to this video — worth checking the video description for.
Stitch Abbreviations
- ch – chain
- sc – single crochet
- inc – increase (work 2 single crochets into the same stitch)
- dec – decrease (single crochet 2 stitches together)
- sl st – slip stitch
- yo – yarn over
- st / sts – stitch / stitches
- rnd – round
Step-by-Step Pattern
Head & Body (worked as one continuous piece, starting at the front of the head)
Rnd 1: Using dark brown yarn, ch 2. In the 2nd chain from hook, work 8 sc. (8 sts)
Rnd 2: Increase in every stitch around (2 sc in each of the 8 sts). (16 sts)
Switch to light brown yarn here. A simple way to change colors mid-round: work the last stitch of the previous round until two loops remain on your hook, then finish that stitch by pulling the new color through. Once you've worked a round or two in the new color, you can push the piece so the right side faces out.
Rnd 3: Sc around. (16 sts)
Rnd 4: Sc around. (16 sts)
Rnd 5: Sc around. (16 sts)
By the end of round 5 you'll start to see a nice rounded, 3-dimensional shape forming.
Rnd 6: Sc 14. In the last 2 stitches, work an increase in the front loop only (2 sc in the front loop of each stitch). (18 sts)
Rnd 7: Increase in the front loop of each of the next 2 stitches (the same 2 stitches you increased into at the end of round 6). Sc 14. Increase in the last 2 stitches. (22 sts)
Rnd 8: Increase twice, then sc 20 (the remaining stitches of the round). (24 sts)
This round is what forms the little chest protrusion — you'll see it pop out as you work it.
Rnds 9–12: Sc around (no increases or decreases). Work all four rounds plain. (24 sts each round)
Attach the safety eyes now, before closing up the body. Place them between rounds 4 and 5 (counting from the front of the face), positioning each eye out to the side. Folding the piece flat helps you find the center of the face so both eyes land evenly, then secure the backings once you're happy with the placement.
Rnd 13: Sc 16, then decrease 4 times. (20 sts)
Rnd 14: Decrease all the way around (10 decreases total). (10 sts)
Rnd 15: Decrease twice, leaving the remaining stitches unworked. (6 sts remain unworked)
Fasten off, leaving a long tail — you'll use this later to sew the opening closed.
Ears (worked directly into the head — make 2)
Find round 7 of the head and count in 7 stitches from the beginning of that round. This is where your ear will attach — it only takes up a single stitch. Aim to place each ear just slightly higher than the eyes, and check that both ears line up evenly with each other before you start.
Pull dark brown yarn through the chosen stitch, leaving a starting tail long enough to weave in later. Then:
- Yarn over, insert your hook into the same stitch, yarn over, and pull up a loop.
- Repeat this two more times into that same stitch (3 repetitions total).
- Yarn over and pull through all the loops on your hook.
- Chain 1 to close off the puff.
- Slip stitch into the same stitch.
Fasten off with a decent length of tail (too short and it may unravel). Pull both the starting and ending tails into the body, and knot them together tightly on the inside for extra security.
Repeat the same steps for the second ear, working into the matching stitch in round 7 on the other side, level with the first ear.
Front Legs (worked directly into the body — make 2)
Front legs attach across two stitches in rounds 7 and 8 together (inserting your hook underneath both stitches at once) rather than into a single stitch — this makes the leg wider and plumper. Check your placement before starting: positioning the legs slightly out to the side rather than close to center will help your capybara stand more steadily.
Pull dark brown yarn through the two chosen stitches, leaving a starting tail. Then:
- Yarn over, insert your hook under the same two stitches, yarn over, pull up a loop.
- Repeat this three more times into the same two stitches (4 repetitions total — you'll end up with 9 loops on your hook).
- Yarn over and pull through all 9 loops.
- Chain 1 to close off the loop.
- Slip stitch into the same two stitches.
Fasten off with a long tail, pull both starting and ending tails into the body, and knot them tightly inside.
Repeat for the second front leg, again spanning rounds 7 and 8 on the opposite side of the body.
Hind Legs (worked directly into the body — make 2)
Before making the hind legs, stuff the amigurumi first. Stuffing the body lets it take on its proper shape, which makes it much easier to see exactly where the hind legs should sit — line them up with the front legs for a balanced stance.
Hind legs are worked the same way as the front legs, but across rounds 11 and 12 instead of rounds 7 and 8:
- Pull dark brown yarn through the two chosen stitches, leaving a starting tail.
- Yarn over, insert your hook under the same two stitches, yarn over, pull up a loop. Repeat a total of 4 times (9 loops on your hook).
- Yarn over and pull through all 9 loops.
- Chain 1 to close.
- Slip stitch into the same two stitches.
Fasten off with a long tail, pull the tails into the body, and knot them tightly inside. Repeat for the second hind leg on the opposite side.
Finishing
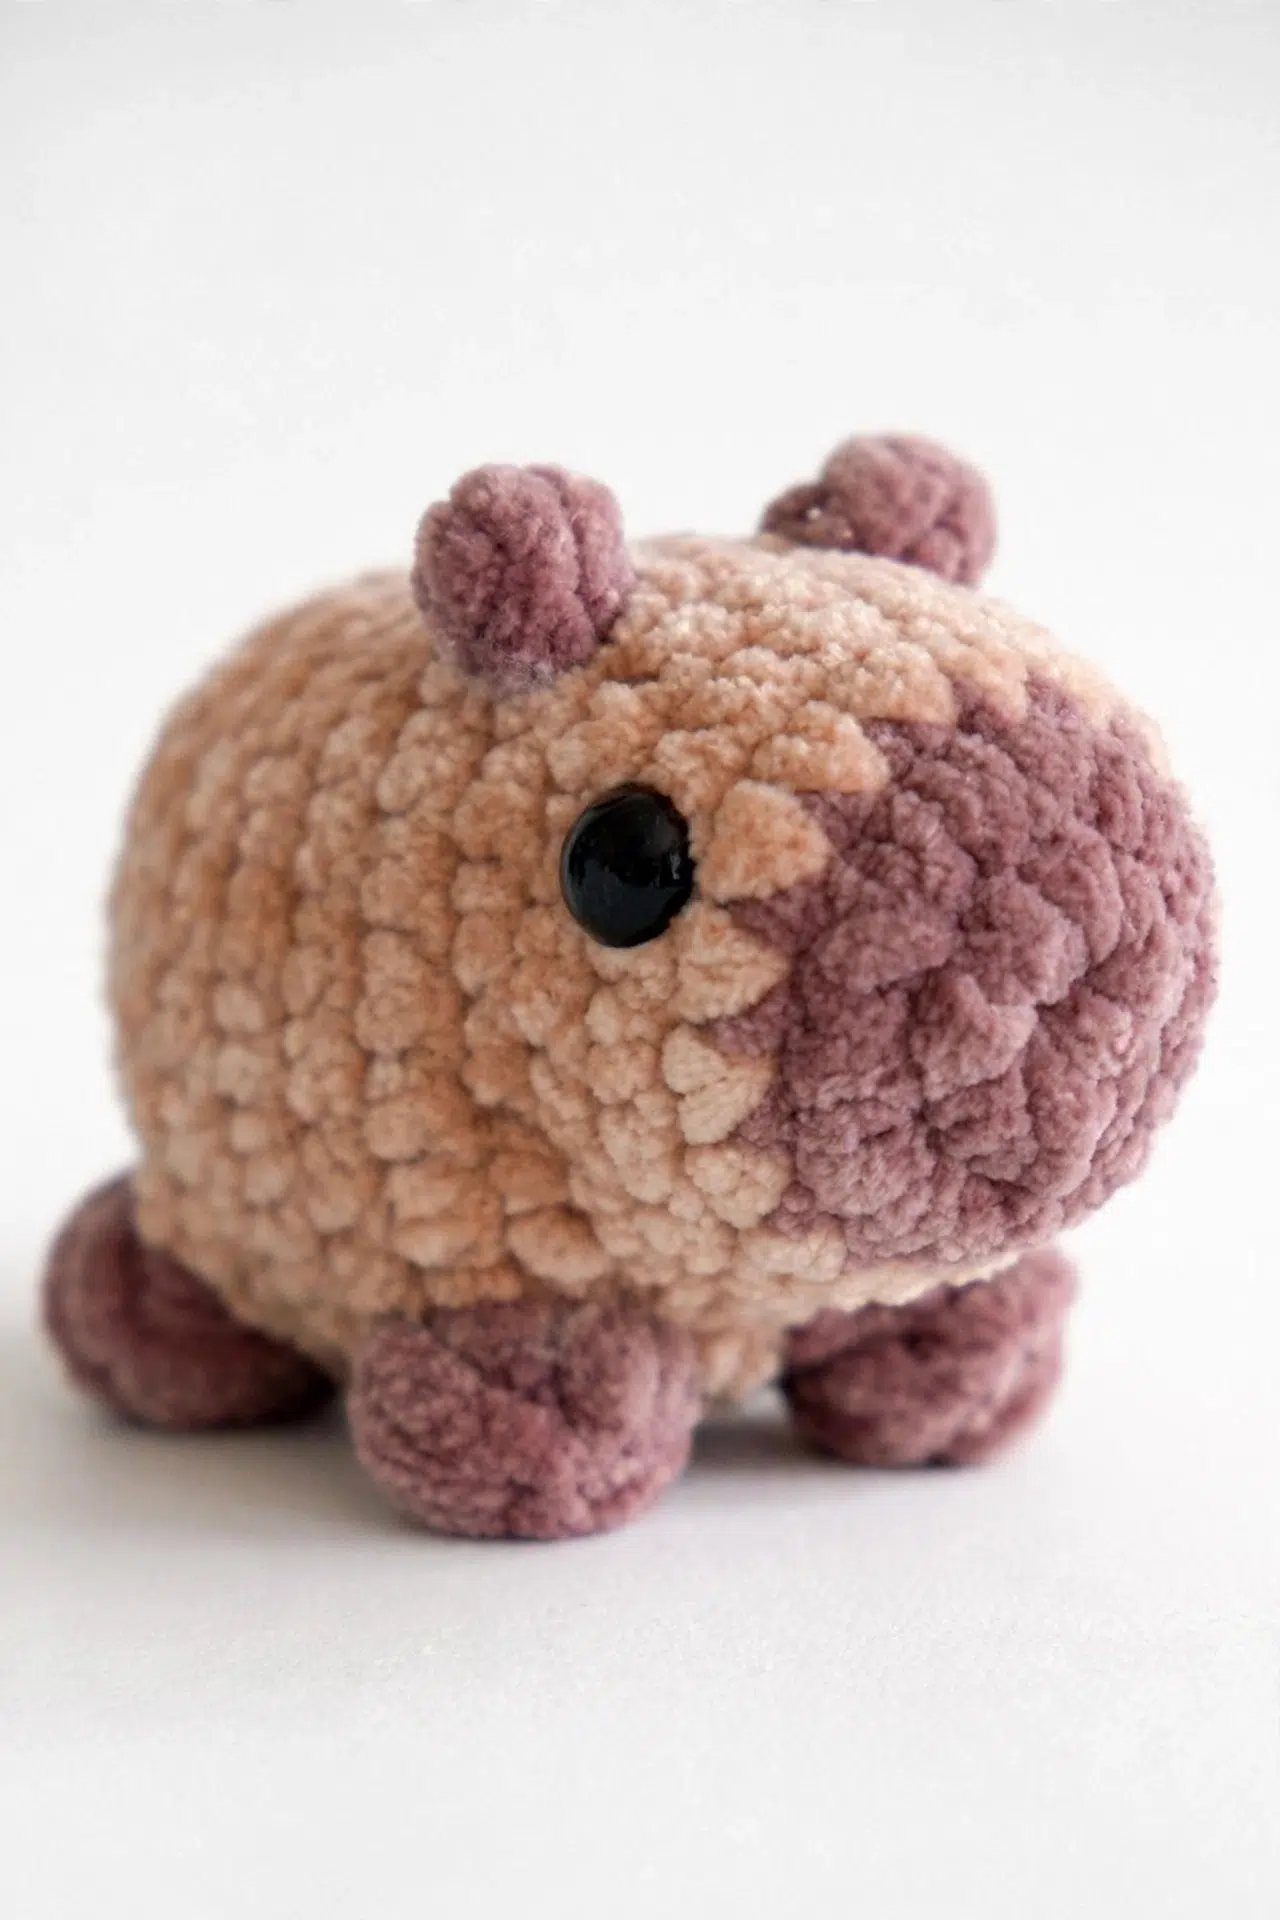
With all four legs and both ears attached, finish stuffing the body if you haven't already (don't overstuff — you want it firm but not distorted).
Thread your long fastening-off tail onto a yarn needle. Close the opening with a running stitch through the front loops only of the last round: in one front loop, out the next, all the way around. Once you've gone all the way around, pull the tail tight to cinch the opening closed.
Weave the remaining tail in through the body with a few small stitches, being careful not to pull too tightly or you'll distort the shape. You can also use the needle to gently poke and redistribute stuffing inside the body while you do this, so everything fills out evenly. Snip the end and tuck it inside.
That's it — your pocket capybara is done, and ready for a keychain clip, a market table, or just a spot on your shelf.



