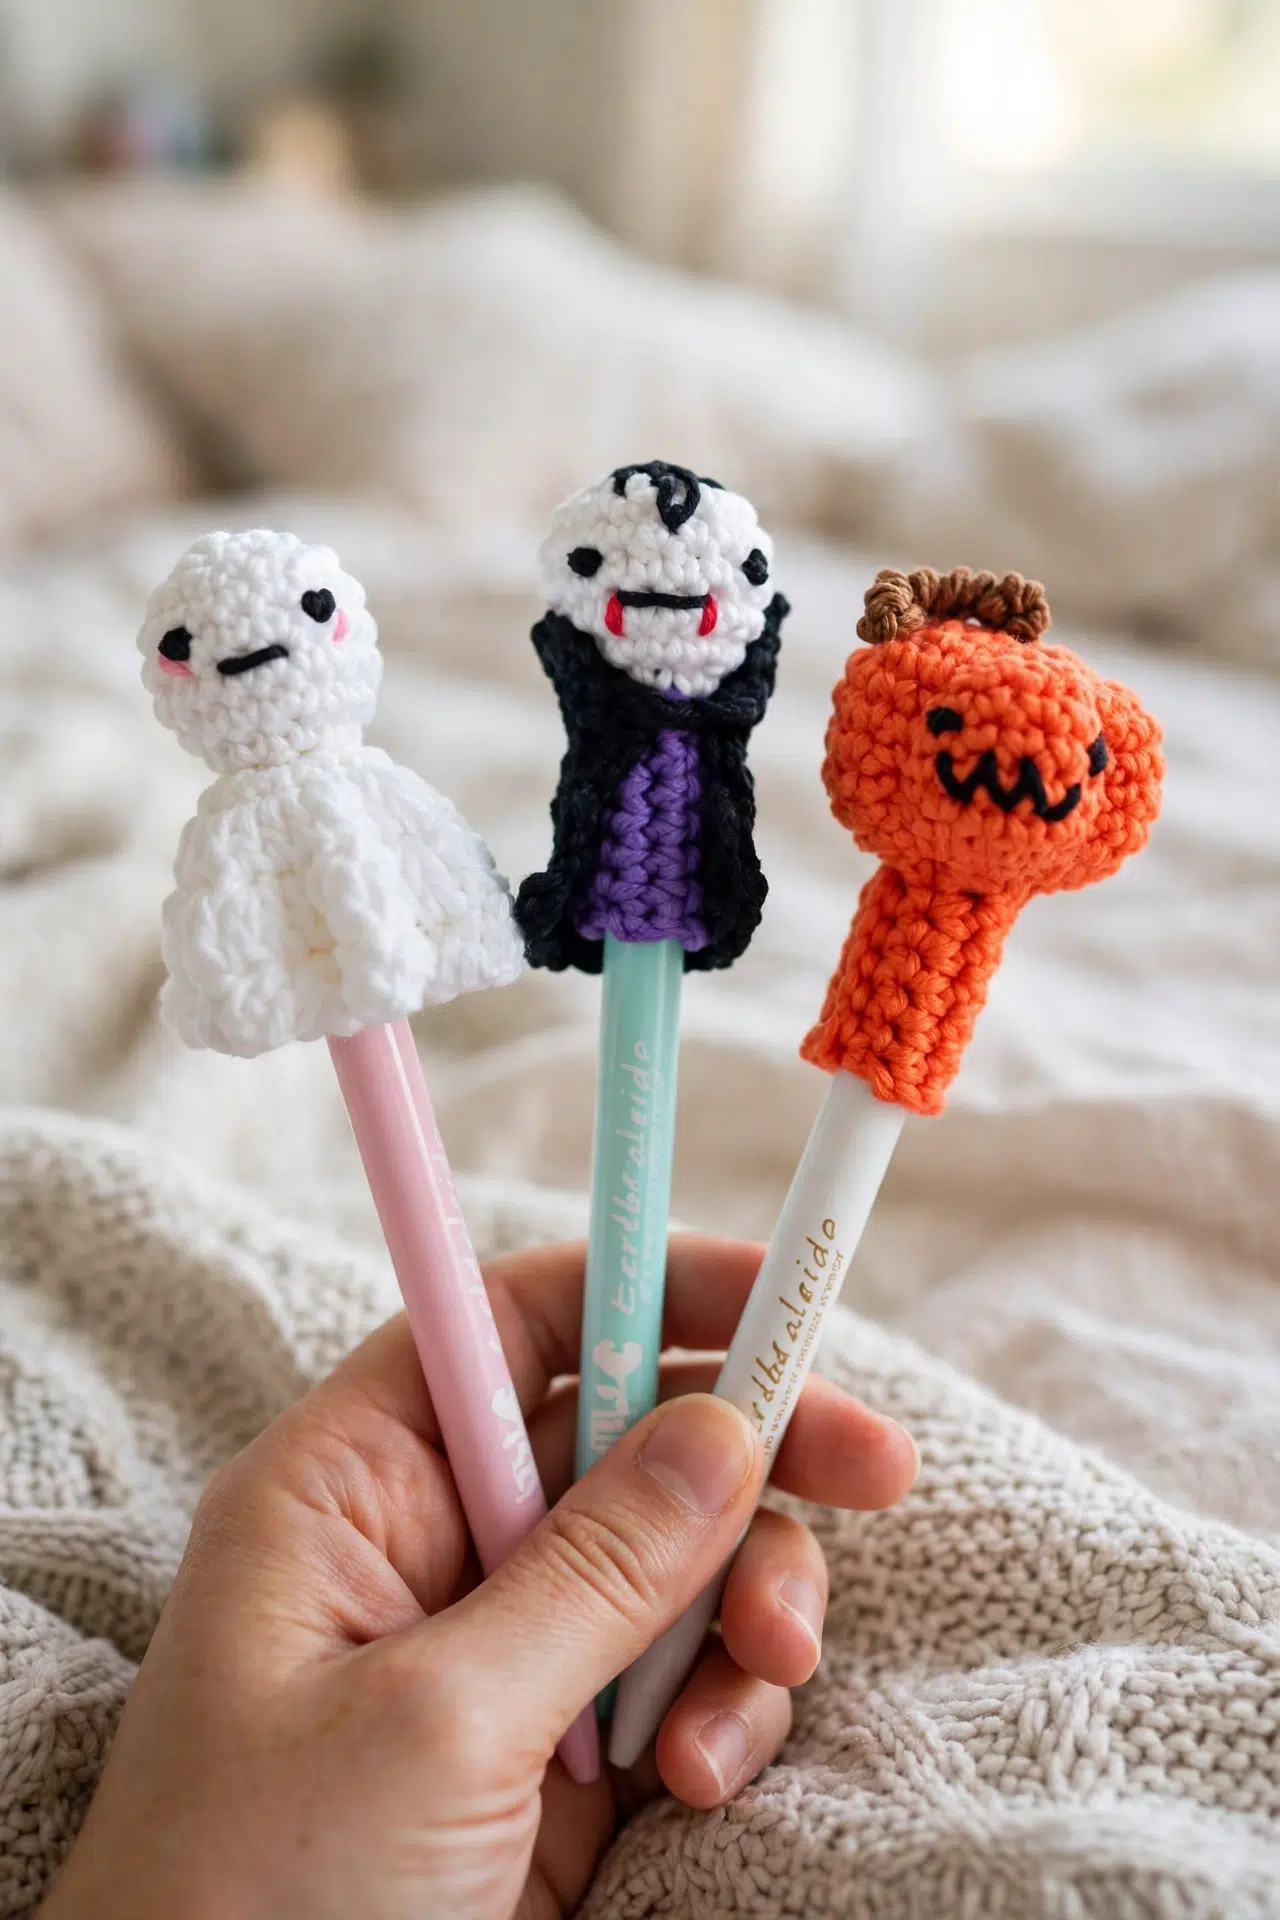
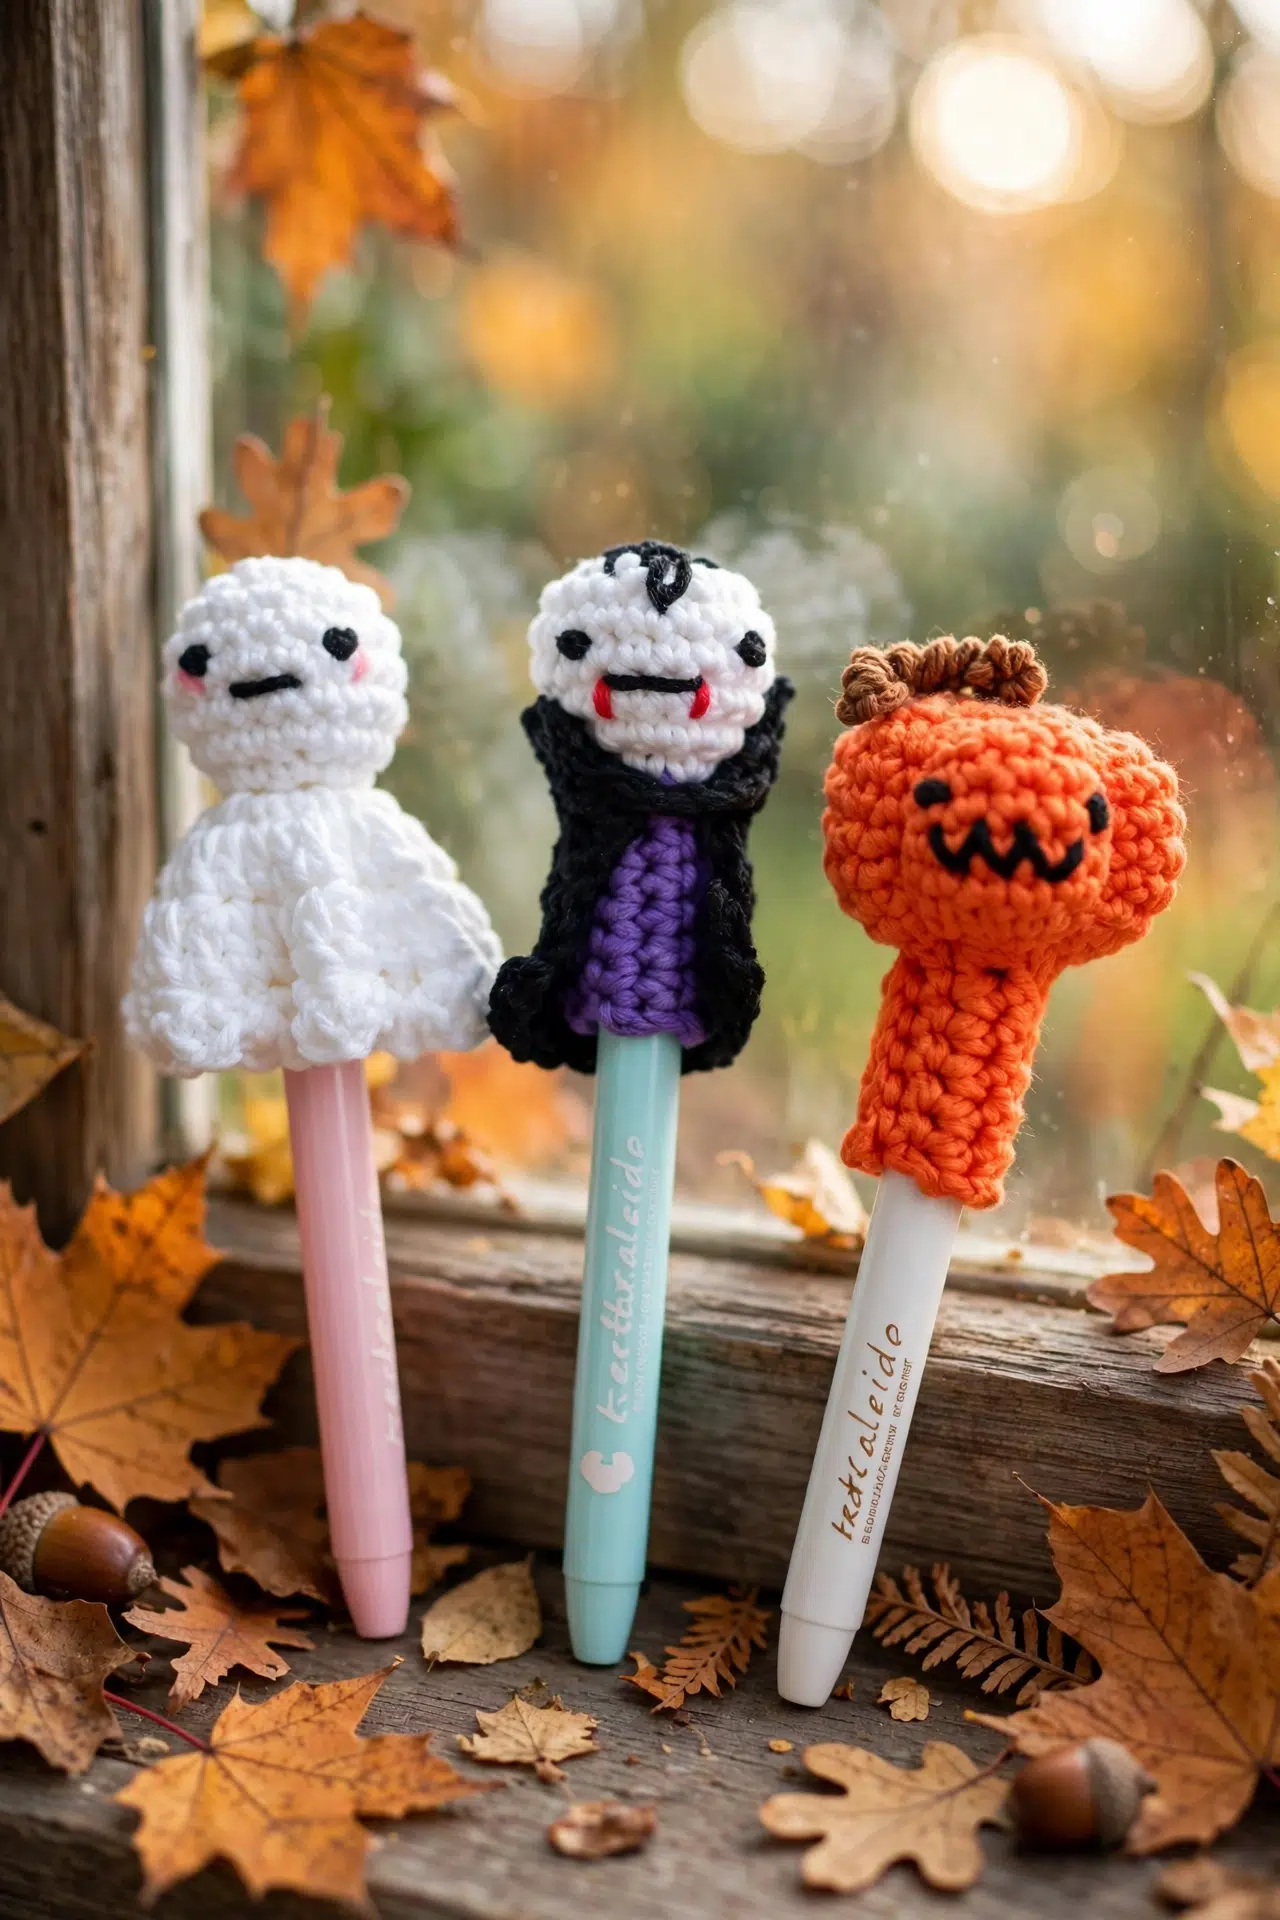
Those waiting balls of sport-weight yarn are a cheerful excuse to start the Spooky Crochet Pen and Pencil Toppers between larger projects. You can make Dracula, a ghost, a pumpkin, or settle in for the complete trio!

Once you've woven in the ends, you'll have three seasonal toppers fitted to the pens or pencils you actually use. Keep them together or let each one claim a different spot in your supplies.
Jump to:
- What Makes This Pattern Work
- Pattern Details
- What You'll Need
- Stitches & Abbreviations
- How to Crochet the Spooky Pen and Pencil Toppers
- Tips for Success
- How to Keep the Yarn-Knot Eyes Secure
- Ways to Adapt Your Crochet Toppers
- Fixing Fit, Counts, and Stuffing
- Where Your Toppers Can Join the Fun
- Caring for Your Toppers
- More Crochet Patterns for a Spooky Halloween
- Frequently Asked Questions
What Makes This Pattern Work
- A fit you can check as you go: Each design begins with a six-stitch strip that wraps into a tube. If your pen or pencil needs more room, you can add rows before making the join instead of relying on a fixed size.
- Familiar shaping throughout: The heads grow through regular increases and close with straightforward decreases. You won't face complicated construction, and the stated counts give you useful checkpoints.
- Three distinct finishes: Dracula gets a sewn cloak and fringe, the ghost has a shaped lower edge, and the pumpkin is drawn into segments with its sewing tail. Those finishing choices make each version an interesting little project in its own right.
Pattern Details
- Skill Level: Beginner, Intermediate
- Yarn Weight: Sport/Baby
- Time to Make: about 5-8 hours for all three
What You'll Need
Gather your hook, sport or baby weight yarn, stuffing, and basic finishing tools before you begin. The listed colors cover all three versions.
- Sport/baby weight yarn (2) in white, black, red, purple, orange, brown, and pink: A different yarn and hook combination will work, but it will change both the topper's size and the firmness of the fabric. Aim for stitches that hold the stuffing securely.
- 3.00 mm crochet hook
- Yarn needle
- Scissors
- Toy stuffing: Only a small amount belongs in each head. Keep it away from the lower tube so the topper can still slide onto its pen or pencil.
Stitches & Abbreviations
- ch - chain
- st(s) - stitch(es)
- sc - single crochet
- sc2tog - single crochet 2 stitches together for decrease
- dc - double crochet
- sl st - slip stitch
dc2tog: Double crochet 2 stitches together for decrease.
How to Crochet the Spooky Pen and Pencil Toppers
Choose your first character, test the tube around its intended pen or pencil, and then continue into the shaped head.
The toppers are customizable to fit any size pen or pencil. The tube may require more rows than Rows 2-7 to fit around the chosen pen or pencil. The project is categorized as Seasonal > Halloween and Seasonal > Back to School.
Dracula
- Row 1: With purple yarn, ch 7. Sc in second ch from hook and in each of the remaining 5 ch. Ch 1, turn. (6)
- Rows 2-7: Sc in each st across. Ch 1, turn. (6)
Crochet more rows if needed to fit around your pen or pencil.
- Row 8: Fold the piece in half and sl st in each st across, joining it to the beginning ch row to form a tube. Ch 1. (6)
- Round 9: Crochet 6 sc neatly around the top opening and sl st in first sc to join. Ch 1 with white yarn. (6)
- Round 10: Starting in same st as previous sl st, work 2 sc in each st around and sl st in first sc to join. Ch 1. (12)
- Round 11: Starting in same st as previous sl st, *sc in next st, 2 sc in next st; rep from * around. Sl st in first sc to join. Ch 1. (18)
- Rounds 12-14: Starting in same st as previous sl st, sc in each st around and sl st in first sc to join. Ch 1. (18)
- Round 15: Starting in same st as previous sl st, *sc in next st, sc2tog; rep from * around. Sl st in first sc to join. Ch 1 with black yarn. (12)
Stuff at this point.
- Round 16: Starting in same st as previous sl st, sc2tog around and sl st in first sc to join. Fasten off, leaving a long tail. Sew the remaining opening closed, then sew a small lazy daisy stitch as a pointy fringe. Use the remaining tail to sew on a mouth. (6)
Dracula Features
- Step 1: For each eye, cut a short length of black yarn and tie 2 knots on top of each other in the center. Sew each tail end into the head and secure it, leaving the knot outside to form the eye.
Cloak
Work the cloak separately, then sew it to Dracula after the shaped rows are complete.
- Row 1: With black yarn, ch 11. Starting in second ch from hook, dc2tog, dc in next 6 ch, and dc2tog. Ch 1, turn. (8)
- Row 2: Dc2tog, dc in next 4 sts, and dc2tog. Ch 1, turn. (6)
- Row 3: Work 2 dc in first st, dc in next 4 sts, and 2 dc in last st. Ch 1, turn. (8)
- Row 4: Work 2 dc in first st and dc in remaining 7 sts. Ch 1, turn. (9)
- Row 5: Work 2 dc in first st and dc in remaining 8 sts. Fasten off and sew the cloak onto the body. Tie in all ends. (10)
Ghost
- Row 1: With white yarn, ch 7. Sc in second ch from hook and in each of the remaining 5 ch. Ch 1, turn. (6)
- Rows 2-7: Sc in each st across. Ch 1, turn. (6)
Crochet more rows if needed to fit around your pen or pencil.
- Row 8: Fold the piece in half and sl st in each st across, joining it to the beginning ch row to form a tube. Ch 1. (6)
- Round 9: Crochet 6 sc neatly around the top opening and sl st in first sc to join. Ch 1. (6)
- Round 10: Starting in same st as previous sl st, work 2 sc in each st around and sl st in first sc to join. Ch 1. (12)
- Round 11: Starting in same st as previous sl st, *sc in next st, 2 sc in next st; rep from * around. Sl st in first sc to join. Ch 1. (18)
- Rounds 12-14: Starting in same st as previous sl st, sc in each st around and sl st in first sc to join. Ch 1. (18)
- Round 15: Starting in same st as previous sl st, *sc in next st, sc2tog; rep from * around. Sl st in first sc to join. Ch 1. (12)
Stuff at this point.
- Round 16: Starting in same st as previous sl st, sc2tog around and sl st in first sc to join. Fasten off, leaving a long tail, and sew the remaining opening closed. (6)
- Round 17: Rejoin white yarn around the neck, crochet 7 sc evenly around the neck, and sl st in first sc to join. Ch 1. (7)
- Round 18: Starting in same st as previous sl st, work 2 sc in each st around and sl st in first sc to join. Ch 1. (14)
- Round 19: Starting in same st as previous sl st, work 2 dc in each st around and sl st in first dc to join. Ch 1. (28)
- Round 20: Starting in same st as previous sl st, *dc in next st, 2 dc in next st; rep from * around. Sl st in first dc to join. (42)
- Round 21: Starting in same st as previous sl st, *sc in next st, [dc, sc] in next st, sl st in next st; rep from * around. Sl st in first sc to join. Fasten off, leaving a long tail. Fold every other shell edge to the body of the pencil topper and sew it in place. Tie in all ends.
Ghost Features
- Step 1: For each eye, cut a short length of black yarn and tie 2 knots on top of each other in the center. Sew each tail end into the head and secure it, leaving the knot outside to form the eye.
- Step 2: Use black yarn to sew on a mouth.
- Step 3: Sew on blushies with pink yarn.
Pumpkin
- Row 1: With orange yarn, ch 7. Sc in second ch from hook and in each of the remaining 5 ch. Ch 1, turn. (6)
- Rows 2-7: Sc in each st across. Ch 1, turn. (6)
Crochet more rows if needed to fit around your pen or pencil.
- Row 8: Fold the piece in half and sl st in each st across, joining it to the beginning ch row to form a tube. Ch 1. (6)
- Round 9: Crochet 7 sc neatly around the top opening and sl st in first sc to join. Ch 1. (7)
- Round 10: Starting in same st as previous sl st, work 2 sc in each st around and sl st in first sc to join. Ch 1. (14)
- Round 11: Starting in same st as previous sl st, *sc in next st, 2 sc in next st; rep from * around. Sl st in first sc to join. Ch 1. (21)
- Round 12: Starting in same st as previous sl st, *sc in next 2 sts, 2 sc in next st; rep from * around. Sl st in first sc to join. Ch 1. (28)
- Rounds 13-16: Starting in same st as previous sl st, sc in each st around and sl st in first sc to join. Ch 1. (28)
- Round 17: Starting in same st as previous sl st, *sc in next 2 sts, sc2tog; rep from * around. Sl st in first sc to join. Ch 1. (21)
- Round 18: Starting in same st as previous sl st, *sc in next st, sc2tog; rep from * around. Sl st in first sc to join. Ch 1. (14)
Stuff at this point.
- Round 19: Starting in same st as previous sl st, sc2tog around and sl st in first sc to join. Fasten off, leaving a long tail. Sew the remaining opening closed, then sew from top to bottom a few times around the pumpkin to form segments. Pull the yarn a little tightly to draw in the pumpkin. (7)
Pumpkin Features
- Step 1: For each eye, cut a short length of black yarn and tie 2 knots on top of each other in the center. Sew each tail end into the head and secure it, leaving the knot outside to form the eye.
- Step 2: Use black yarn to sew on a mouth.
Yarn and Hook Options
You can use any yarn and hook for this project. Choose a hook that gives you a firm fabric, and check the tube against the intended pen or pencil as you work.
Tips for Success
- Check the tube before joining: Wrap the strip around the pen or pencil after Row 7. Add rows if needed, but stop when the edges meet without stretching hard or leaving a loose gap.
- Mark the first stitch: The joined rounds begin in the same stitch as the previous slip stitch. A removable marker helps you identify that stitch and keeps the increase and decrease patterns aligned.
- Stuff at the stated round: Add stuffing after the first decrease round, before the final opening becomes too narrow. Shape it with your fingers, keeping the tube below the head empty.
- Protect the long tails: Don't trim the closing tails early. Dracula needs one for the fringe and mouth, while the pumpkin uses its tail to form the segments.
How to Keep the Yarn-Knot Eyes Secure
Tie 2 knots on top of each other at the center of each short black strand. Leave both yarn ends long enough to sew into the head separately, with the knot resting on the outside.
Secure the ends inside the stuffed head before trimming them. This keeps the knot from pulling through the crochet fabric while leaving the small stitched feature in place.
Ways to Adapt Your Crochet Toppers
- Change the yarn and hook together: You can use another yarn weight when you pair it with a suitable hook. Thicker yarn creates a larger topper and may need fewer tube rows, while finer yarn creates a smaller one and may need more.
- Adjust the tube depth: Repeat the straight rows until the strip wraps around your chosen pen or pencil. This changes the circumference of the tube without changing the six-stitch height of the strip.
- Choose only your favorite characters: There's no construction requirement to make the complete set. Each topper is worked independently, so you can repeat one design or make any combination of Dracula, Ghost, and Pumpkin.
- Try another color plan: The listed colors guide the character details, but you can exchange them for yarn you already have. Keep enough contrast between adjacent embroidered details if you want those stitches to remain easy to distinguish.
- Use yarn scraps as light filling: Short, clean yarn ends can replace some toy stuffing in a pinch, but cut them evenly and add them gradually. Dense or tangled scraps can make a small head feel lumpy and heavier than standard stuffing.
Fixing Fit, Counts, and Stuffing
- The tube slips off: The foundation strip has too many rows for that pen or pencil, or your tension loosened as you worked. Before joining Row 8, remove rows until the edges meet closely around the barrel without squeezing it.
- The round count is off: Check that you began in the same stitch as the previous slip stitch and didn't work into the joining slip stitch at the end. Marking the first stitch makes the repeated increases and decreases much easier to verify.
- The head feels uneven: Redistribute the stuffing before working the final decrease round. Small pieces added gradually will fill the edges more evenly than one compact clump, and the lower tube should remain unstuffed.
Where Your Toppers Can Join the Fun
Slip the finished toppers onto pens or pencils at your desk, beside a notebook, or among your seasonal craft supplies. Because the tube is fitted as you crochet, each one can have its own regular writing tool.
A topper also makes a small handmade addition to a notebook or pencil bundle. Keep the set together for Halloween, then store it with your other seasonal pieces when you're ready to rotate your desk accessories.
Caring for Your Toppers
Follow the washing directions on your yarn label because the fiber content isn't specified. For small marks, gently spot-clean the topper and let it dry fully before returning it to a pen or pencil. Avoid hard rubbing around the knotted eyes, embroidery, and sewn pumpkin segments.
More Crochet Patterns for a Spooky Halloween
- Black Cat Amigurumi Crochet Pattern
- Monster Plushie Crochet Pattern
- Pumpkin Vines Home Decor Crochet Pattern
Frequently Asked Questions
How many extra tube rows can I add?
Add as many repeats of the straight row as needed before Row 8. The correct number depends on the circumference of your pen or pencil and your tension. Wrap the strip around the barrel as you work, stopping when the first and last edges meet comfortably without a loose gap.
When should I put in the stuffing?
Stuff Dracula and the ghost after Round 15, and stuff the pumpkin after Round 18. At those points, the heads have already begun to decrease but the openings are still wide enough for controlled filling. Waiting until the final round makes it harder to distribute the stuffing evenly.
Why does the pumpkin begin its head with 7 stitches instead of 6?
The pumpkin uses 7 stitches around its top opening so its later increases reach 14, 21, and 28 stitches evenly. Dracula and the ghost begin with 6 and increase to 18. Keep each character's stated Round 9 count rather than applying one version's count to all three.
Do I need to sew down the ghost's entire lower edge?
No, sew every other shell edge to the body as instructed in Round 21. Alternating the attachment points secures the edging while leaving the remaining sections free. Sewing every section down would change how that final round sits against the topper.
Can I use the same pattern for a thick pen?
Yes, provided you adjust the number of straight tube rows before joining. The strip's length wraps around the barrel, so extra rows provide the needed circumference. Test the fit below any clip or raised grip that could prevent the finished tube from sliding into place.
Share this pattern with a crochet friend who enjoys small seasonal projects or dressing up their desk supplies. Tell me in the comments which topper you're making first.