
I have a thing for small projects that feel like a big deal, and this Flower Chain Bracelet Crochet Pattern is exactly that. It's a quick make, totally wearable, and honestly one of those patterns I keep coming back to when I want something that feels special without taking up my whole afternoon.

Jump to:
About This Project
What I really like about this one is how the construction works. Each little flower links into the next to build the chain, so the bracelet kind of assembles itself as you go. There's something satisfying about that, watching the whole thing come together flower by flower instead of just crocheting a strip and calling it done.
I'd make this for pretty much anyone. It's a great gift, the kind of thing that looks like you put in way more effort than you actually did. Birthdays, holidays, a just-because for a friend who loves handmade stuff. It works.
Why You Need This on Your Hook
A handmade bracelet that actually looks like jewelry, not a craft project.
- Beginner friendly: This is rated easy, so if you know your basic stitches you're good to go.
- Fast to finish: Small accessories like this are great for a single sit-down session, no long-haul commitment.
- Perfect for gifting: It's the kind of handmade piece people actually wear, which makes it a really solid gift option.
- Scrap yarn friendly: You don't need much at all, so this is a great way to use up small amounts of yarn you already have.
- Technique practice: Working small flowers in sequence is a nice way to build confidence with motif construction without a huge time investment.
Your Supply List
One color, one hook, and you probably need less than 30 yards of thread total.
- Size 10 Lace Weight Crochet Cotton Thread: Fine mercerized cotton thread is the right call here because it holds a crisp, defined shape at this tiny scale. The mercerization gives it a slight sheen and keeps the petals from going limp or fuzzy, which really does matter when each flower is only about an inch across. You'll need approximately 20–30 yards in deep slate teal, which is a small amount. This is a thread project, not a yarn project, and that distinction matters when you're shopping.
- US Steel 7 (1.65 mm) Crochet Hook: Steel hooks in this size range are built for thread work, and the 1.65 mm gives you enough control to keep the stitches firm and tidy without fighting the thread. Loose stitches at this scale make the flowers look sloppy, so you want a hook that encourages a snug tension.
- Button (approx. 18–20 mm): The button is the closure, so the size matters here. Something in the 18–20 mm range sits right with the scale of the flowers and actually fits through the loop without being annoying to fasten.
- Sewing thread: Optional, but if you want the button really locked in place, a few passes with sewing thread through the shank before you weave in your cotton tail is worth the extra minute.
- Also needed: yarn/tapestry needle, scissors, measuring tape
Alternative Yarn Suggestions
Size 10 crochet cotton thread is pretty standard and widely available, but the specific weight and fiber type are not negotiable here. That said, there are a few directions you can go if your local shop has limited options.
- Size 10 Mercerized Cotton Thread (any brand): Any size 10 mercerized cotton in a comparable weight will work. Look for thread labeled "crochet cotton" or "bedspread weight." Yardage per ball varies, but a single ball is almost always far more than you need for this project.
- Size 3 Perle Cotton: Perle cotton has a slightly rounder, more twisted structure than standard crochet thread, and it gives the flowers a little more dimension. It's lace weight, works well on a steel hook in this size range, and comes in a wide range of colors. Just check that your gauge lands close to 1 inch per flower before committing to the full bracelet length.
Project Info
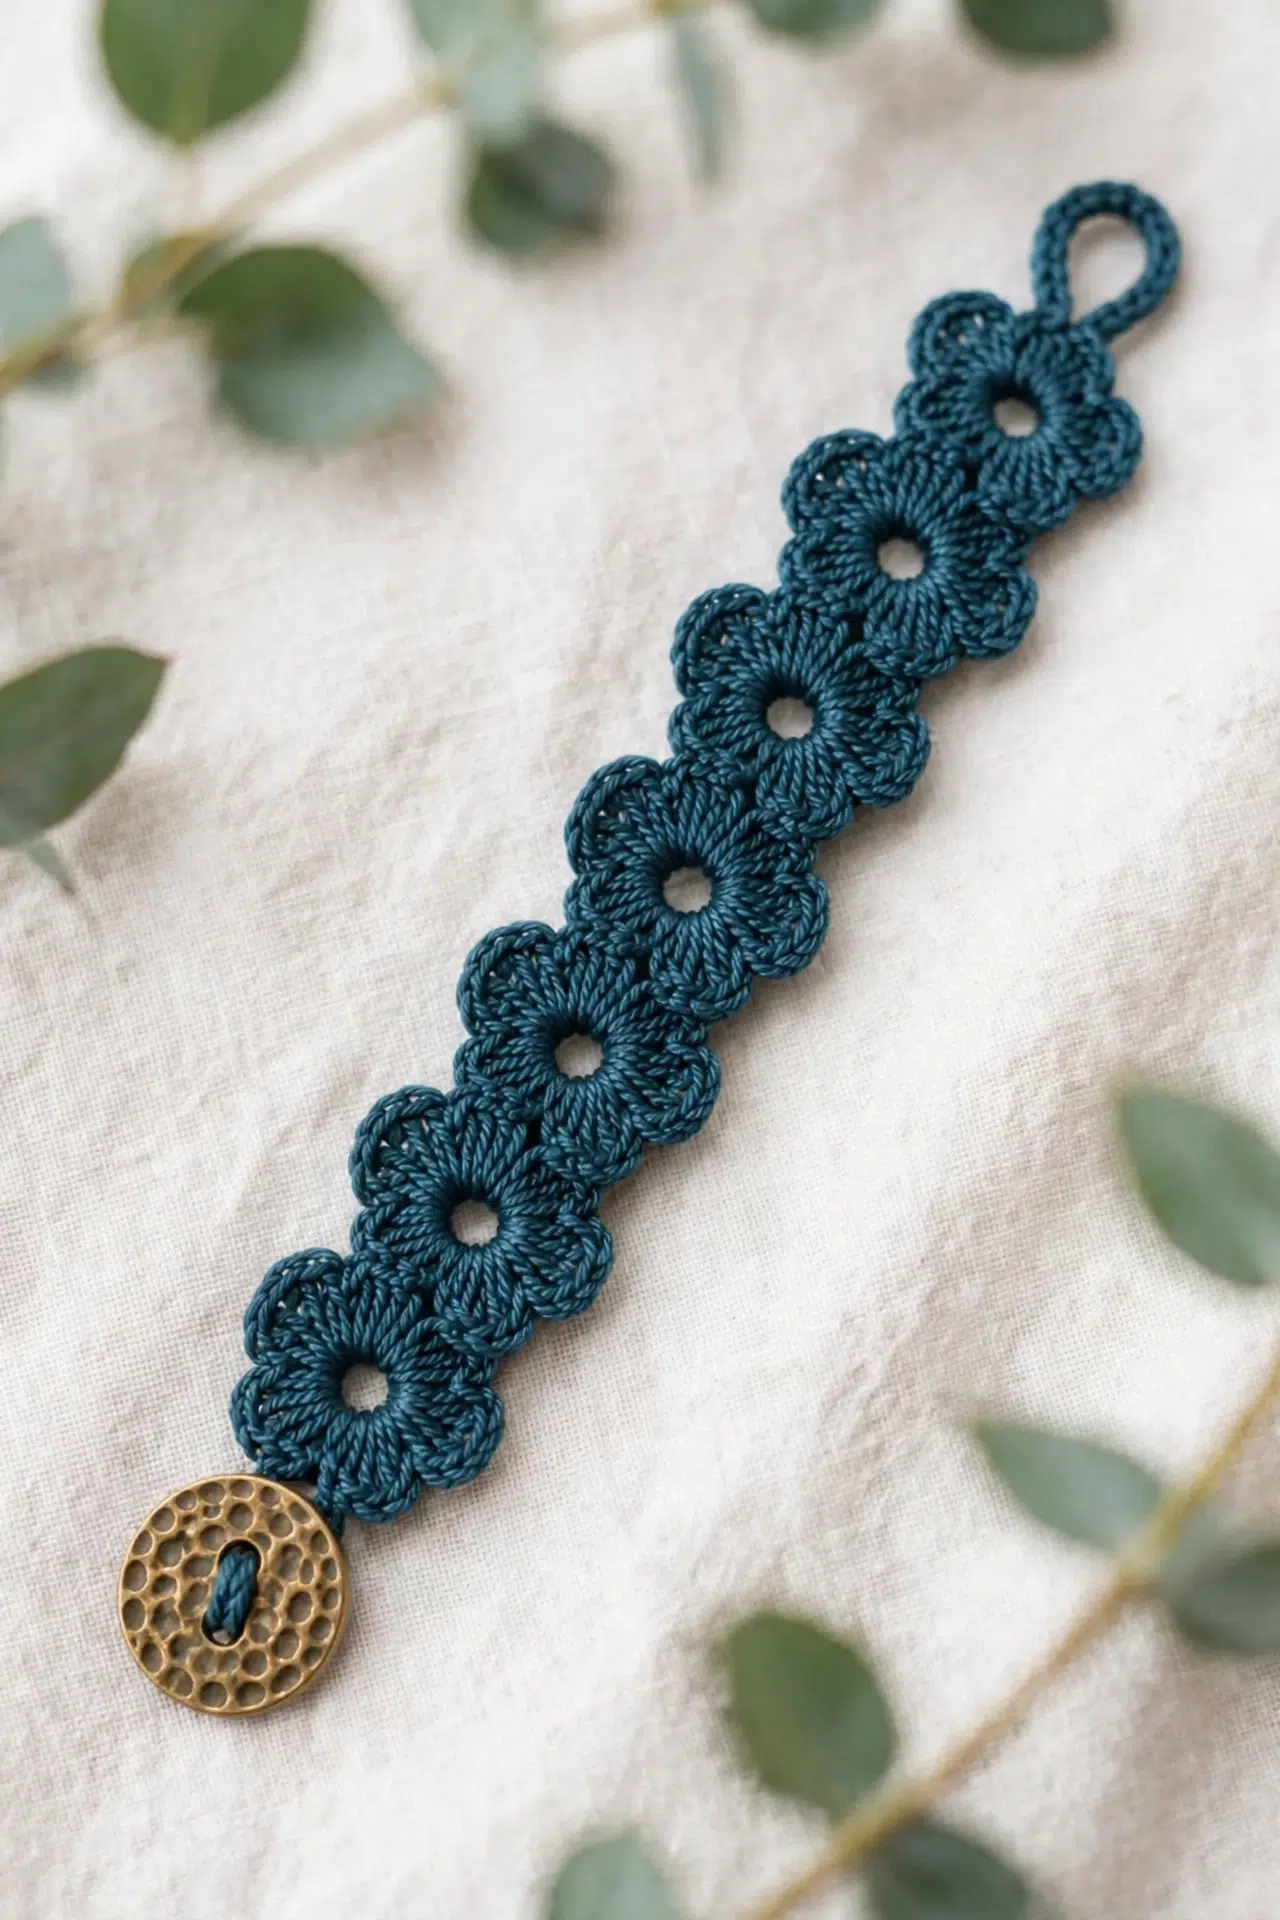
Six tiny thread flowers, joined as you go into a bracelet that closes with a button loop.
| Skill Level | Easy |
| Pattern Gauge | Gauge is not critical for this project. Each flower should measure about 1 in (2.5 cm) across in size 10 thread. Adjust hook size for firm, tidy stitches. |
| Finished Size | Approx. 7 in (18 cm) including closure, with 6 flowers. |
| Yarn Weight | 0 Lace / Thread |
| Fiber | Cotton (size 10 crochet cotton thread; fine mercerized cotton) |
| Terminology | US |
Customizing the Size
Measure your wrist snugly and add about ½ in (1.5 cm) of ease. Each flower contributes roughly 1 in to the total length, and the button loop closure adds another inch. For a 6.5 in wrist, 6 flowers is usually right. Go up to 7 flowers for a larger wrist, or drop to 5 for a smaller one. Test-wrap the strip against your wrist as you go rather than counting on the math alone.
Stitches & Abbreviations
All standard stitches here, nothing unusual.
- ch = chain
- sc = single crochet
- dc = double crochet
- sl st = slip stitch
- st(s) = stitch(es)
- sp = space
- MR = magic ring
- rep = repeat
Important Notes
This pattern uses US crochet terminology throughout. The bracelet is a strip of flower motifs worked in joined rounds. Each flower starts from a magic ring and is worked in the round. As you complete each new flower, you join it to the previous one at two petal tips, which keeps the strip straight and flat without any sewing afterward. There's no separate assembly step. Hook size is US steel 7 (1.65 mm), or whatever size gives you firm, tidy stitches. Thread crochet can get floppy fast if the tension is too loose, so err on the snug side. Stitch counts appear in parentheses throughout the pattern.
Step-by-Step Instructions
Here's how I work through this flower chain bracelet crochet pattern, from the first flower to the button closure.
The First Flower
This is the anchor flower for the whole bracelet. Getting the center right matters here — you want it open enough to read as a flower, not cinched into a tight knot.
Round 1: MR, ch 1, 12 sc into ring, pull ring snug but leave a small open center (do not cinch fully closed), join with sl st to first sc. (12 sts)
Round 2: Work 6 petals as follows: sl st in next st, ch 2, 3 dc in next st, ch 2. Rep 6 times, join with sl st to the base of the first petal. (6 petals) Each petal uses two stitches from Round 1 — one for the sl st base and one for the 3-dc cluster — so you'll move around the ring evenly.
Fasten off, leaving a tail to weave in.
Flowers 2 Onward (Join-as-you-go)
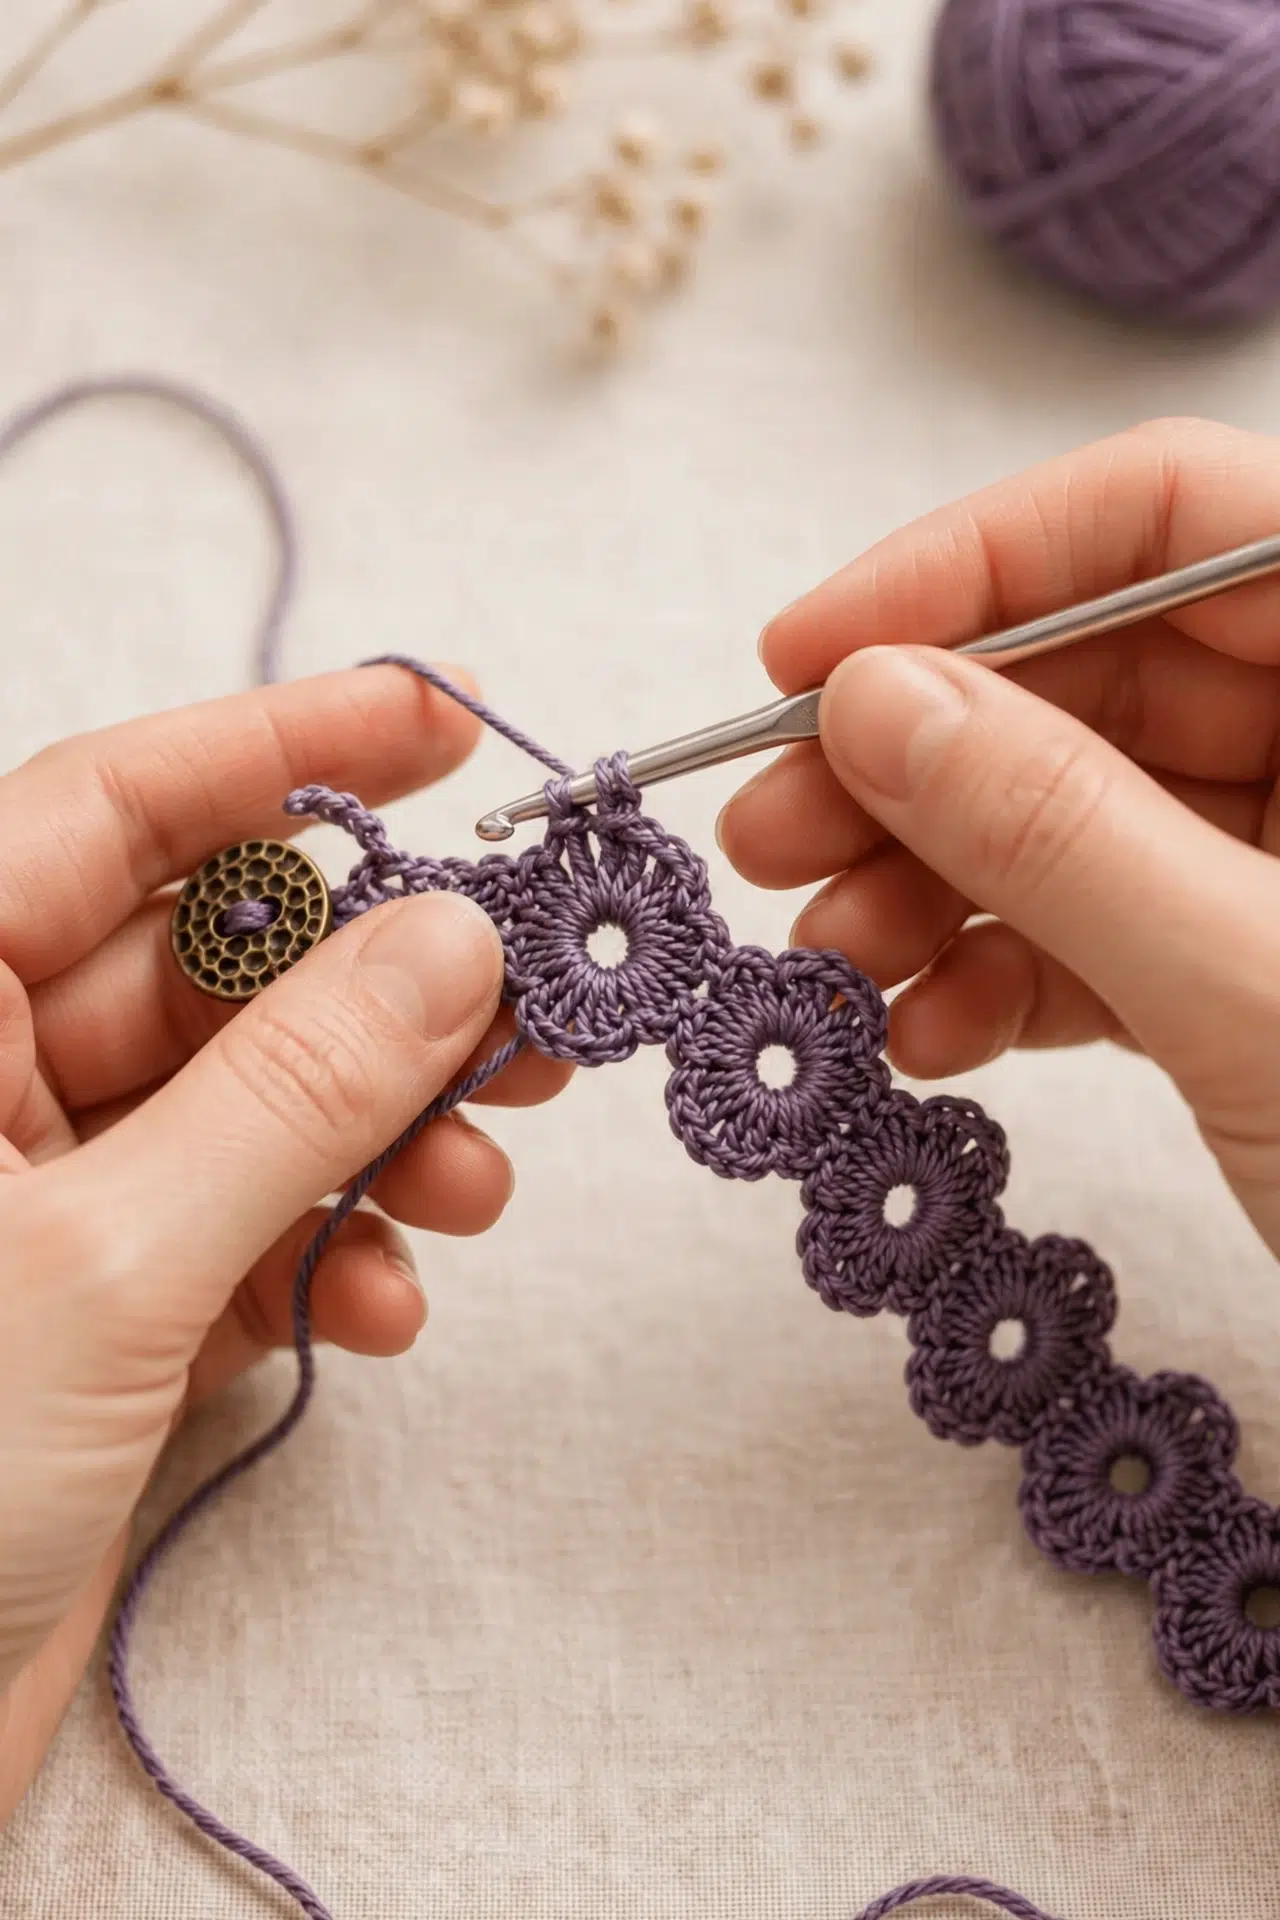
Every flower after the first follows the same construction through Round 1 and the first 4 petals of Round 2. On Petals 5 and 6, I join to the previous flower as follows. I keep adding flowers and test-wrapping the bracelet around my wrist until it reaches snug-plus-½ in. — that's the right length before the button and loop take up the rest. Fasten off each flower, or carry on.
Step 1: Petal 5: ch 2, 3 dc in next st, ch 1, sl st into the ch-2 sp of a petal on the previous flower, ch 1 (this replaces the closing ch 2), sl st in next st of current flower. The ch-1, sl st, ch-1 sequence is doing the work of the original ch 2 while locking the two flowers together at that petal tip.
Step 2: Petal 6: ch 2, 3 dc in next st, ch 1, sl st into the ch-2 sp of the adjacent petal on the previous flower, ch 1, join with sl st to the base of the first petal. This second join lands on the petal right next to the first join, so the two flowers share two connection points and sit flat against each other.
The Button Loop
The loop needs to be firm enough to hold a button under daily wear, so I don't rush the reinforcement round. Join thread at the outer petal tip of the last flower — specifically the petal directly opposite the joined side.
Step 1: Ch 12–14, sl st back into the same petal tip to form a loop. The chain length depends on your button size — test it before moving on.
Step 2: Work 18–20 sc over the chain loop to reinforce it into a firm ring.
Fasten off and weave in.
The Button
This is the last piece of the bracelet, and it's just hand-sewing — no hook needed from here.
Step 1: Sew the button to the outer petal tip of the first flower, opposite the loop, stitching through the button holes and the petal several times. For daily wear, doubled sewing thread under the crochet thread adds security.
Care Instructions
Size 10 cotton thread holds up well to hand washing, and that's how I'd clean this bracelet every time. Swish it gently in cool water with a little mild soap, rinse it well, and lay it flat to dry. The button is the part that needs the most attention: if you used sewing thread underneath the crochet thread when attaching it, it'll stay put through regular wear, but it's worth checking the button now and then just to be sure. Don't wring the bracelet or toss it in the dryer.
Frequently Asked Questions
Test-wrap as you go. You want the strip to reach snug around your wrist, plus about ½ in of ease. Each flower adds roughly 1 in, and the button-plus-loop closure adds another inch. For most wrists in the 6.5 in range, 6 flowers hits the mark, but I'd measure rather than assume.
Each new flower is worked the same as the first through Round 1 and the first four petals. On petals 5 and 6, instead of closing the ch-2 space normally, you work ch 1, slip stitch into the corresponding petal tip of the previous flower, then ch 1 to complete it. Those two join points keep the strip straight and flat as you build.
Gauge isn't critical here, so there's some room. I use a US steel 7 (1.65 mm) and aim for flowers that measure about 1 in across. If your stitches are coming out loose and floppy, go down a hook size. The goal is firm, tidy stitches, not a specific gauge number.
Chain 12 to 14, then slip stitch back into the same petal tip to form the loop. After that, work 18 to 20 single crochets over the chain to reinforce it into a firm ring. Before you fasten off, test it with your actual button. If the button slips through too easily or won't pass through at all, adjust your chain count on the next try.
Around 20 to 30 yards covers a standard 6-flower bracelet in size 10 crochet cotton. That's a small amount, so this is a good use for leftover thread from another project. If you add extra flowers for a larger wrist, budget a little more.
Now It's Your Turn!
I'd love to see which button you chose for yours, because that one little detail really does change the whole look of this bracelet. Drop a photo in the comments or tag me on social media so I can see it. And if you're saving patterns for later, this one pins well on Pinterest, just saying. Happy stitching!



