
Okay so I have been sitting on this Monster Plushie Crochet Pattern for a while now and I'm so glad I finally got around to sharing it. This is one of those projects that's just genuinely fun to make, and the finished toy has this goofy, lovable quality that makes it really hard to put down once it's done.

Jump to:
About This Project
I made this one because I wanted a crochet toy that felt a little different from the usual cute animals and sweet little characters. There's something about a monster plushie that hits differently. It's playful without being babyish, which means it actually works for a wider range of people than you'd expect. Kids love them, sure, but honestly so do teenagers and adults who just want something fun sitting on a shelf.
What I really like about this one is how satisfying the construction is. Everything comes together in a pretty logical order and the finished result feels really solid and complete. It's the kind of project you'd happily make more than once, maybe in different color combinations, and gift to basically anyone.
Why This Pattern Stands Out
A beginner-friendly toy pattern that actually makes a gift people keep.
- Beginner Accessible: No complex stitch work here, so newer crocheters can finish this without getting stuck.
- Great for Gifting: Works as a birthday, holiday, or just-because gift for kids and adults alike.
- Quick Time Investment: It's a compact project, so you're not committing to weeks of work to see a finished result.
- Yarn Stash Friendly: A small project like this is a perfect way to use up yarn you already have sitting around.
- Technique Building: Crocheting in the round and basic amigurumi shaping are both covered here, which are genuinely useful skills to have.
Materials You'll Need
Three colors and a short notions list — that is genuinely all there is to gather here.
- Worsted Weight Milk Cotton Yarn (3 colors: green, white, black): Milk cotton is a cotton blend that has a slight softness to it that pure cotton lacks, so the finished piece feels nice without being stiff or scratchy. It holds stitch definition well, which matters for amigurumi since you want each stitch to show cleanly. You only need small amounts of all three colors here, so this is a good project for using up leftovers — even a partial skein of each will be more than enough.
- 5 mm crochet hook: A 5 mm pairs well with worsted weight cotton blends. It keeps the fabric tight enough that the stuffing won't show through the stitches, and it doesn't make the work so stiff that it's unpleasant to crochet.
- Two 6 mm black safety eyes: These are the specific size used in this pattern. Get them before you start — you'll need to attach them before the head closes up and there's no going back once that section is done.
- Fiberfill stuffing: The pattern calls for stuffing the legs and lower body firmly, and you'll keep adding stuffing as you go rather than waiting until the end. Have a decent amount on hand so you're not scrambling mid-round.
- Craft glue: Used for securing the facial embroidery or any finishing details that need a little extra hold. A basic craft glue works fine.
- Also needed: tapestry needle, scissors, stitch markers
Alternative Yarns
Milk cotton is widely available, but if you can't find it or prefer something different, any worsted weight cotton blend will behave similarly. The main thing to keep is the weight — going lighter or heavier will change the finished size and the stitch tension.
- Worsted weight cotton: 100% cotton at worsted weight is the most straightforward swap. It's a little less soft than a milk cotton blend but holds its shape well and is easy to find. Most worsted cotton comes in around 100–200 meters per 50 g ball, so one ball of green is plenty.
- Worsted weight cotton-acrylic blend: A cotton-acrylic blend adds a bit more stretch and drape than pure cotton, and it tends to be slightly softer to work with. Yardage varies by brand but is typically in the same 100–200 meter range per 50 g. Works well here and is often easier on the hands for longer sessions.
The Quick Stats
This little amigurumi toy works up fast and stays beginner-friendly the whole way through.
| Skill Level | Beginner |
| Pattern Gauge | Gauge is not critical for this project. Use a hook size that creates a tight, firm fabric so stuffing does not show through. |
| Finished Size | Approx. 8 in (20 cm) tall |
| Yarn Weight | 4 Medium / Worsted |
| Fiber | Milk cotton (cotton blend) |
| Terminology | US |
Abbreviations & Stitches Used
Standard amigurumi stitches throughout, nothing unusual here.
Important Notes
The legs are made separately before the body is joined. Fasten off after the first leg, but do not cut the yarn after the second leg. You'll use that live yarn to continue into the body. Stuff the legs and lower body firmly as you go rather than waiting until the end. Trying to stuff a nearly closed piece is frustrating, so keep the fiberfill close and pack it in as each section builds up.
Crochet Instructions
Here's how I put this Monster Plushie Crochet Pattern together, from the face details all the way to the finishing touches.
Bringing the Monster to Life: Face, Details, and Horns
This section covers everything that gives Dudu his personality. The embroidery work here is what makes the difference between a plain amigurumi and something with real character, so take your time with placement before committing to anything.
Step 1: Step 1: Eyes: Position the 6 mm safety eyes on the face. Get them where you want them before locking the washers on the back. Once those washers are on, they're not coming off.
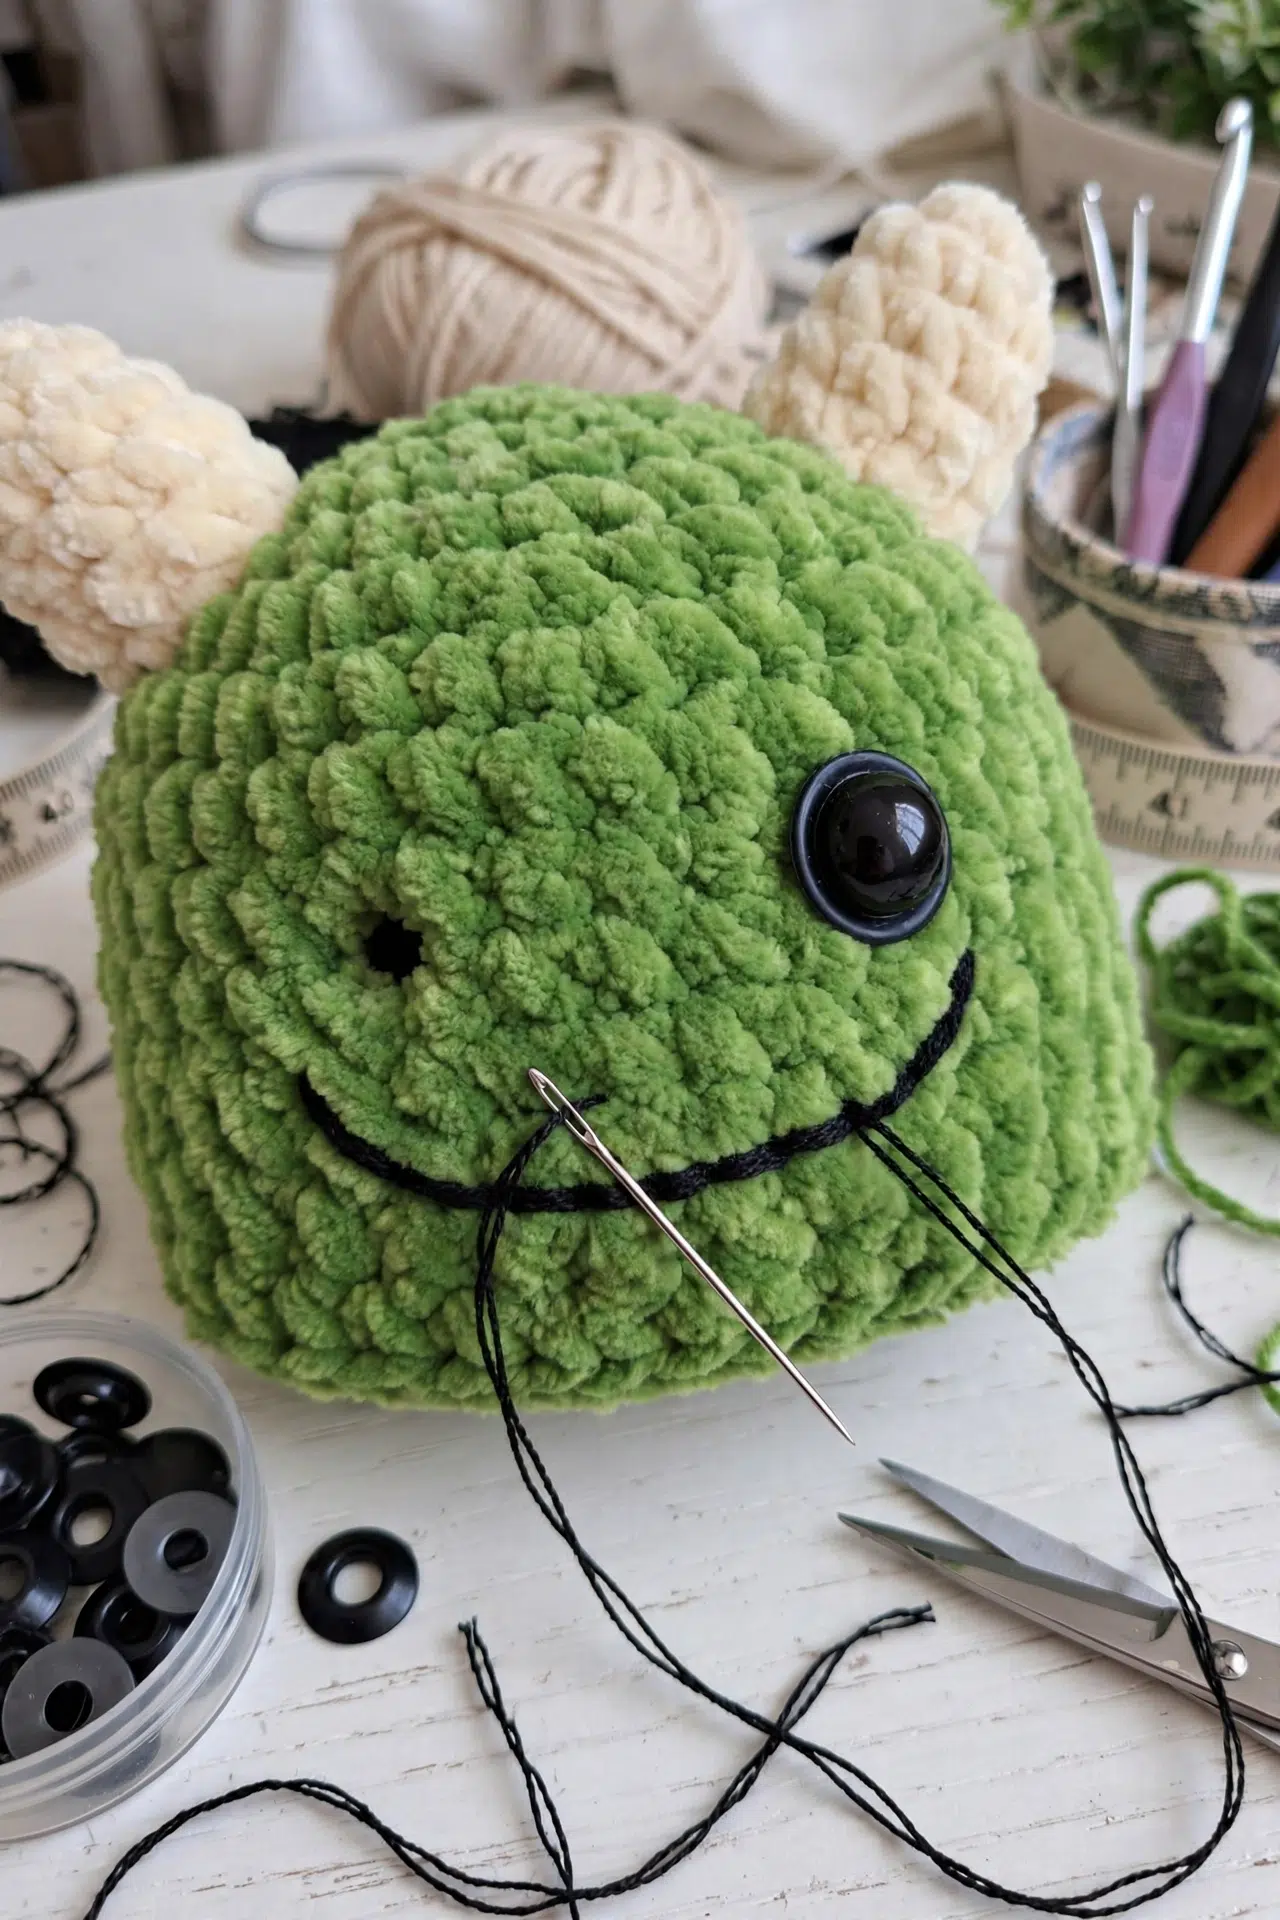
Step 2: Step 2: Face Details: Use white yarn to embroider a small "V" shape or straight lines around the eyes to create a "healing" or "tough" expression. Use black thread to embroider a small downward-curving mouth to give him that "Dudu" grumpy-but-cute look.
Step 3: Step 3: Use white yarn to embroider a small "V" shape or straight lines around the eyes to create a "healing" or "tough" expression.
Step 4: Step 4: Use black thread to embroider a small downward-curving mouth to give him that "Dudu" grumpy-but-cute look. A single strand of black embroidery floss gives you the most control here. Anchor it well on the inside so it doesn't pull or pucker.
Step 5: Step 5: Horns: Sew the two horns to the top of the head.
Step 6: Step 6: Finish: You can add a small loop to the top if you'd like to use him as a bag charm. A simple slip stitch loop through the top of the head works well, or you can attach a small keyring finding before weaving in your final ends.
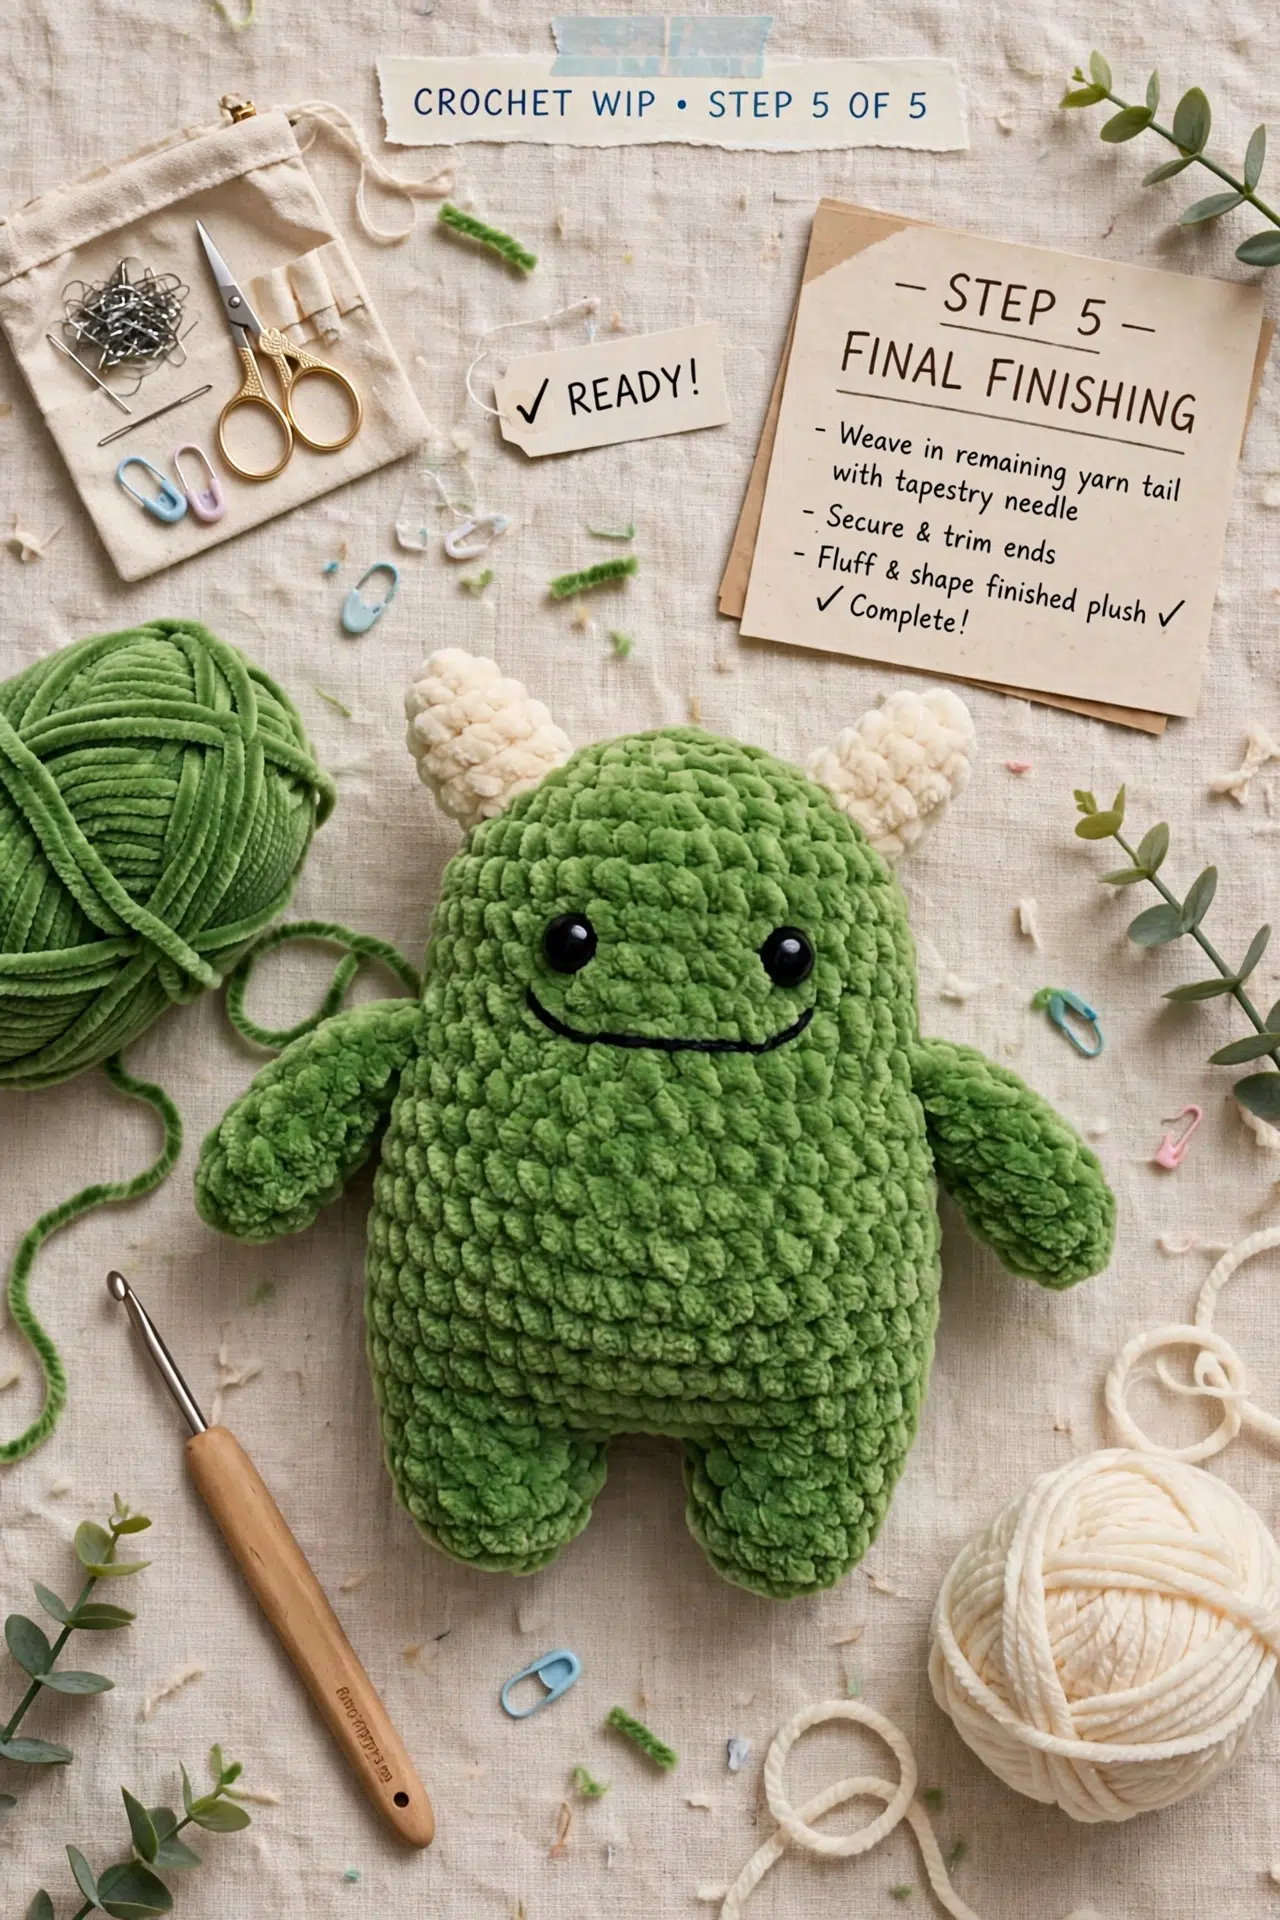
Fasten off, weave in ends.
Finishing
The main assembly step here is sewing the two horns to the top of the head. I pin them in place first to check the spacing and angle before sewing them down. Use the yarn tail from each horn to stitch through several stitches on the head, pulling firmly so they sit upright and don't flop. Weave the tails well into the inside of the head so nothing works loose over time.
Care Instructions
Hand washing is the safest option for this little guy. Milk cotton can hold up to a gentle machine cycle, but the safety eyes are the part I'd be careful about. Hot water and tumbling can loosen the washers on the back over time, so I'd stick to cool water and a light squeeze rather than wringing. Lay him flat to dry so the stuffing doesn't bunch up to one side.
Baby & Child Safety Notes
The 6 mm safety eyes in this pattern are secured with plastic washers on the inside of the fabric, but they can still be pulled free by determined little hands. If this monster is going to a child under three, I'd skip the safety eyes entirely and embroider the eyes instead using black yarn. The horns are sewn on, so check those seams before gifting and reinforce them if there's any give.
Frequently Asked Questions
Insert the safety eyes before you close up the head. Once the opening is too small to get your hand inside, you can't get the washer on the back. I position mine when there are still several rounds left and the face is easy to see and adjust.
Stuff the legs and lower body firmly. The pattern calls this out specifically, and it matters for how the finished monster sits and holds its shape. Understuffed legs tend to fold or look deflated. I add stuffing as I go rather than trying to pack it all in at the end.
Fastening off the first leg lets you set it aside cleanly. You leave the yarn attached on the second leg so you can join them together and continue working the body in one piece without an extra seam or join. Cutting the yarn on the second leg by mistake is one of the easier things to do wrong here, so it's worth marking that step.
Yes, the pattern includes an optional step for adding a small loop to the top. It's a nice little detail if you want to clip him onto a bag or zipper pull. Just make sure the loop is secure before you attach it to anything that gets daily use.
The expression comes from two things: white yarn embroidered in a small V shape or straight lines around the eyes, and a downward-curving mouth in black. The downward curve is what gives him that grumpy-but-cute look. Keep the mouth small. A large curve can make him look more sad than grumpy, and the whole character shifts.
Final Thoughts
There's something about a grumpy little monster that just gets people. I've made a few of these now and every single one has ended up claimed before I could even photograph it properly. If you make yours, I'd love to see how the face embroidery turns out, because that's the part that really makes him. Tag me on Instagram or drop a photo in the comments. And if you're saving this for later, the Pinterest button is right below.



