
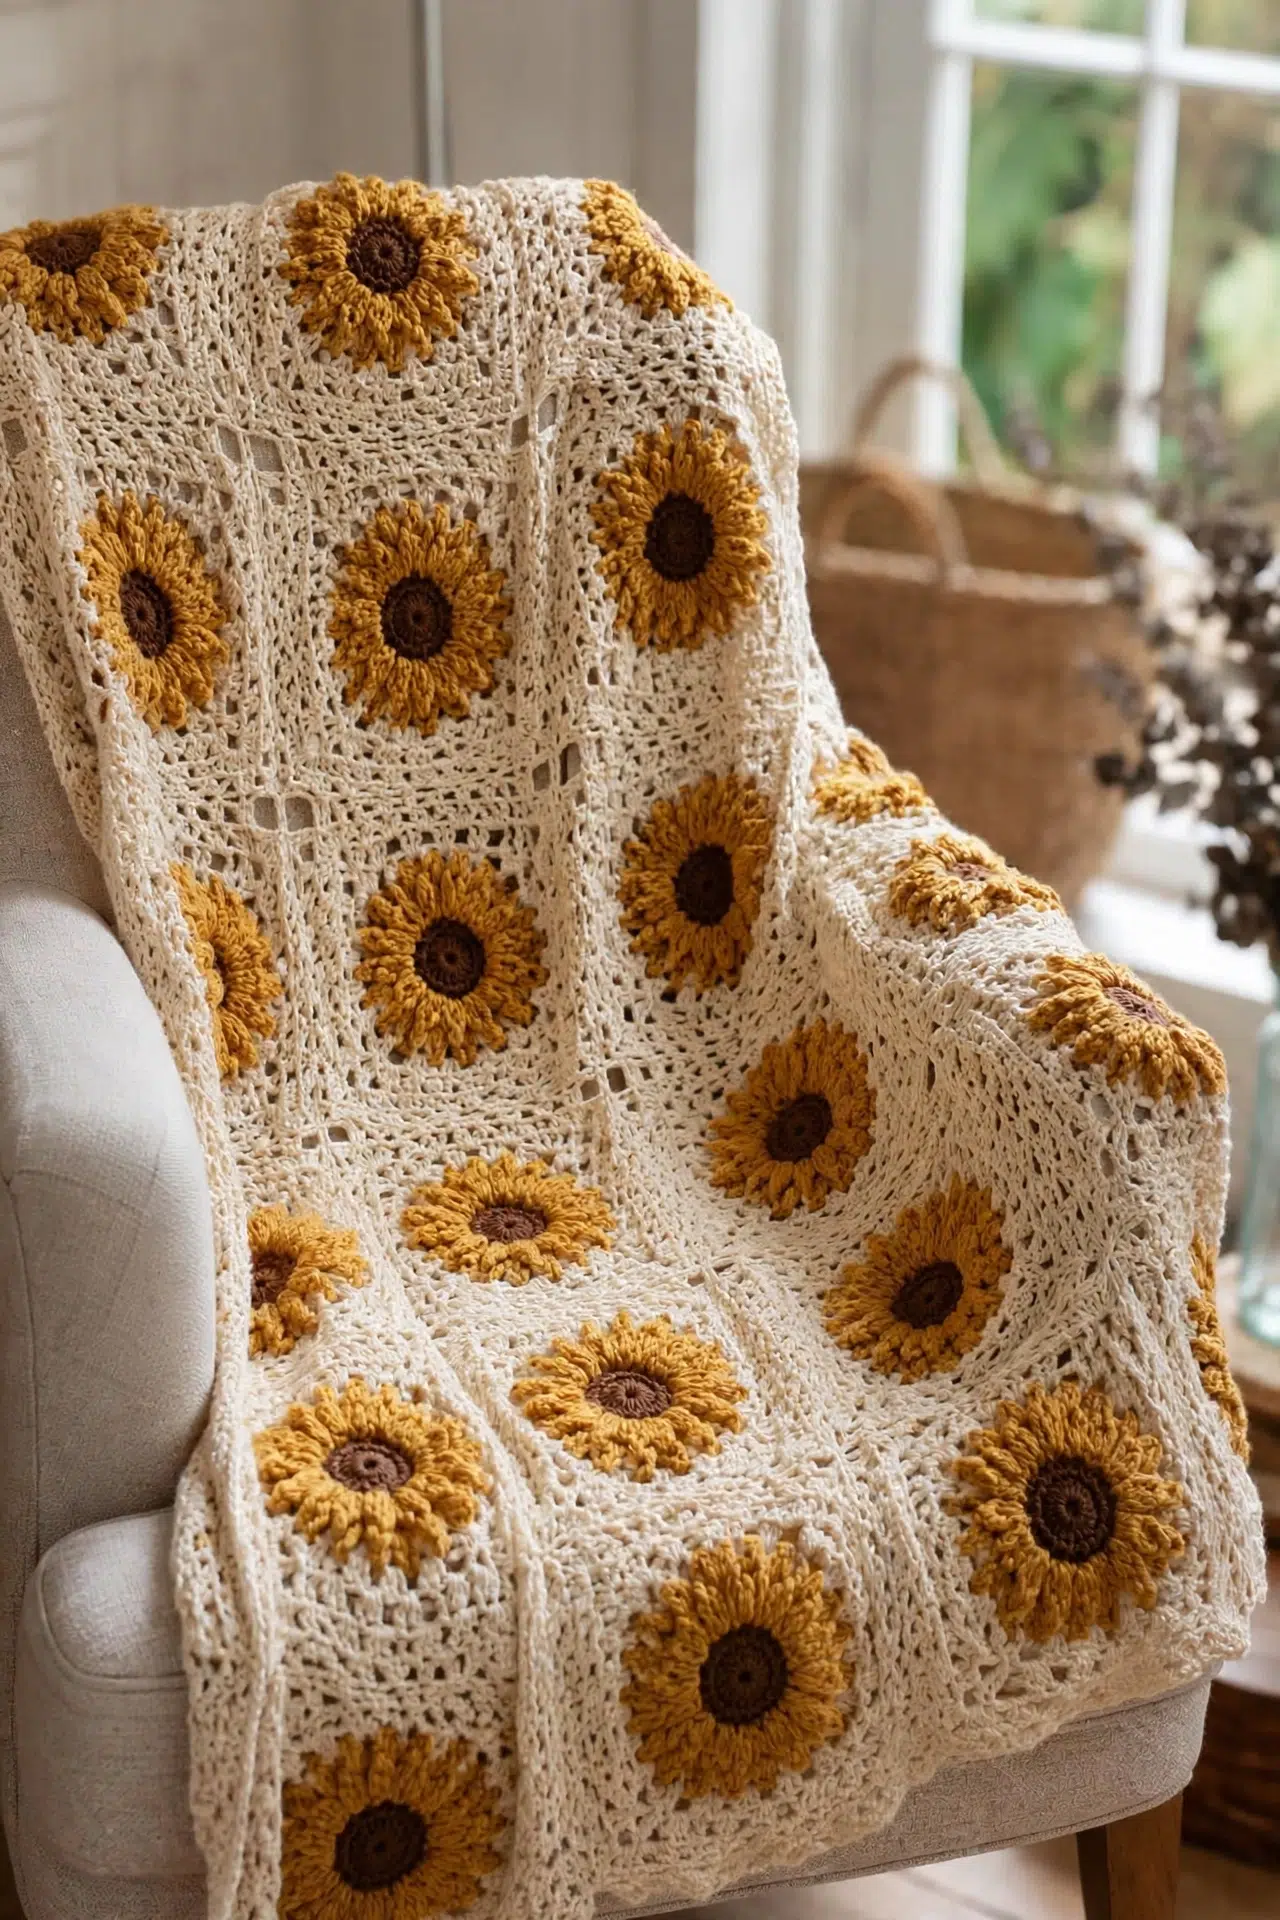
I've been sitting on this one for a while, and I'm so glad I finally wrote it up. This Sunflower Granny Square Blanket Crochet Pattern is genuinely one of my favorite things I've made in a long time. It's a granny square project at heart, but it comes together in a way that feels a little more intentional than your average patchwork throw. If you've been looking for a project that's actually worth the time you put into it, this is pretty much it.

Jump to:
The Inspiration
Granny squares have been around forever, obviously. But I kept coming back to this idea of building something that felt cohesive and intentional rather than just a bunch of squares stitched together. The sunflower motif really does pull the whole thing into focus. Each square works as its own little unit, which is what I love about modular construction: you're never staring down one enormous project. You're just making one more square.
I'd make this for someone who deserves something handmade and meaningful. It's the kind of blanket that suits a housewarming, a graduation, a new baby's nursery, or honestly just your own couch. The sizing options mean you can actually match it to a real need, which makes it a lot more practical as a gift than most blanket patterns.
Why You'll Love This Pattern
Modular construction makes a big blanket actually feel manageable.
- Multiple size options: Three finished sizes mean you can make a lap blanket, a throw, or a full bed topper from the same pattern.
- Intermediate-friendly build: It's not beginner territory, but if you've made granny squares before, you'll have no trouble at all picking this up.
- Great for gifting: The sizing flexibility and the cohesive motif make this one of those patterns you'll come back to for every occasion.
- Satisfying progress: Working square by square means you always have a clear stopping point, which really does help on a project this size.
- Technique value: You'll get solid practice with motif construction and joining methods, both of which carry over into a ton of other projects.
What You'll Need
Three colors, one hook, and a solid yarn stash — that is really the whole list.
- Worsted weight yarn, three colors: Worsted weight is the right call here. The squares work up at a consistent 6 inches, the fabric has enough body to hold its shape without blocking forever, and the stitch definition on those layered petals stays readable. Fiber is up to you — check your label and go with whatever feels good in your hands, whether that is a smooth acrylic, a wool blend, or a cotton mix. For yardage: cream (main color) takes the most by far, around 1,300 yards for a throw, 1,900 for lap/twin, or 2,600 for full/queen. Golden mustard runs about 550 (800, 1,100) yards, and dusky brown or plum sits at roughly 220 (320, 440) yards.
- 5 mm (US H-8) crochet hook: This size pairs well with worsted weight and gives you a fabric that is firm enough to keep the squares flat without being stiff. If your tension runs loose, size down to a 4.5 mm. If it runs tight, try a 5.5 mm.
- Blocking mats and pins: The squares really do need a block before joining. Six-inch squares can come off the hook a little uneven, and pinning them out flat while damp makes the whole blanket look intentional. You will want enough mats to block several squares at a time.
- Also needed: tapestry needle, scissors, measuring tape
Color Sequence & Yarn Changes
Each square follows the same color order every time: dusky brown or plum in Round 1, golden mustard in Rounds 2 and 3, then cream takes over for Rounds 4 through 6 and handles all the joining, border, and finishing. Colors change at the slip stitch join at the end of each round, so you fasten off as you go rather than carrying yarn up. It is a little more ends to weave, but the color changes stay clean and the squares are easy to pick up and put down.
Project Summary
A granny-square blanket with a layered floral center, built square by square and joined into your chosen size.
| Skill Level | Intermediate |
| Pattern Gauge | One finished 6-round square = 6 in / 15 cm. |
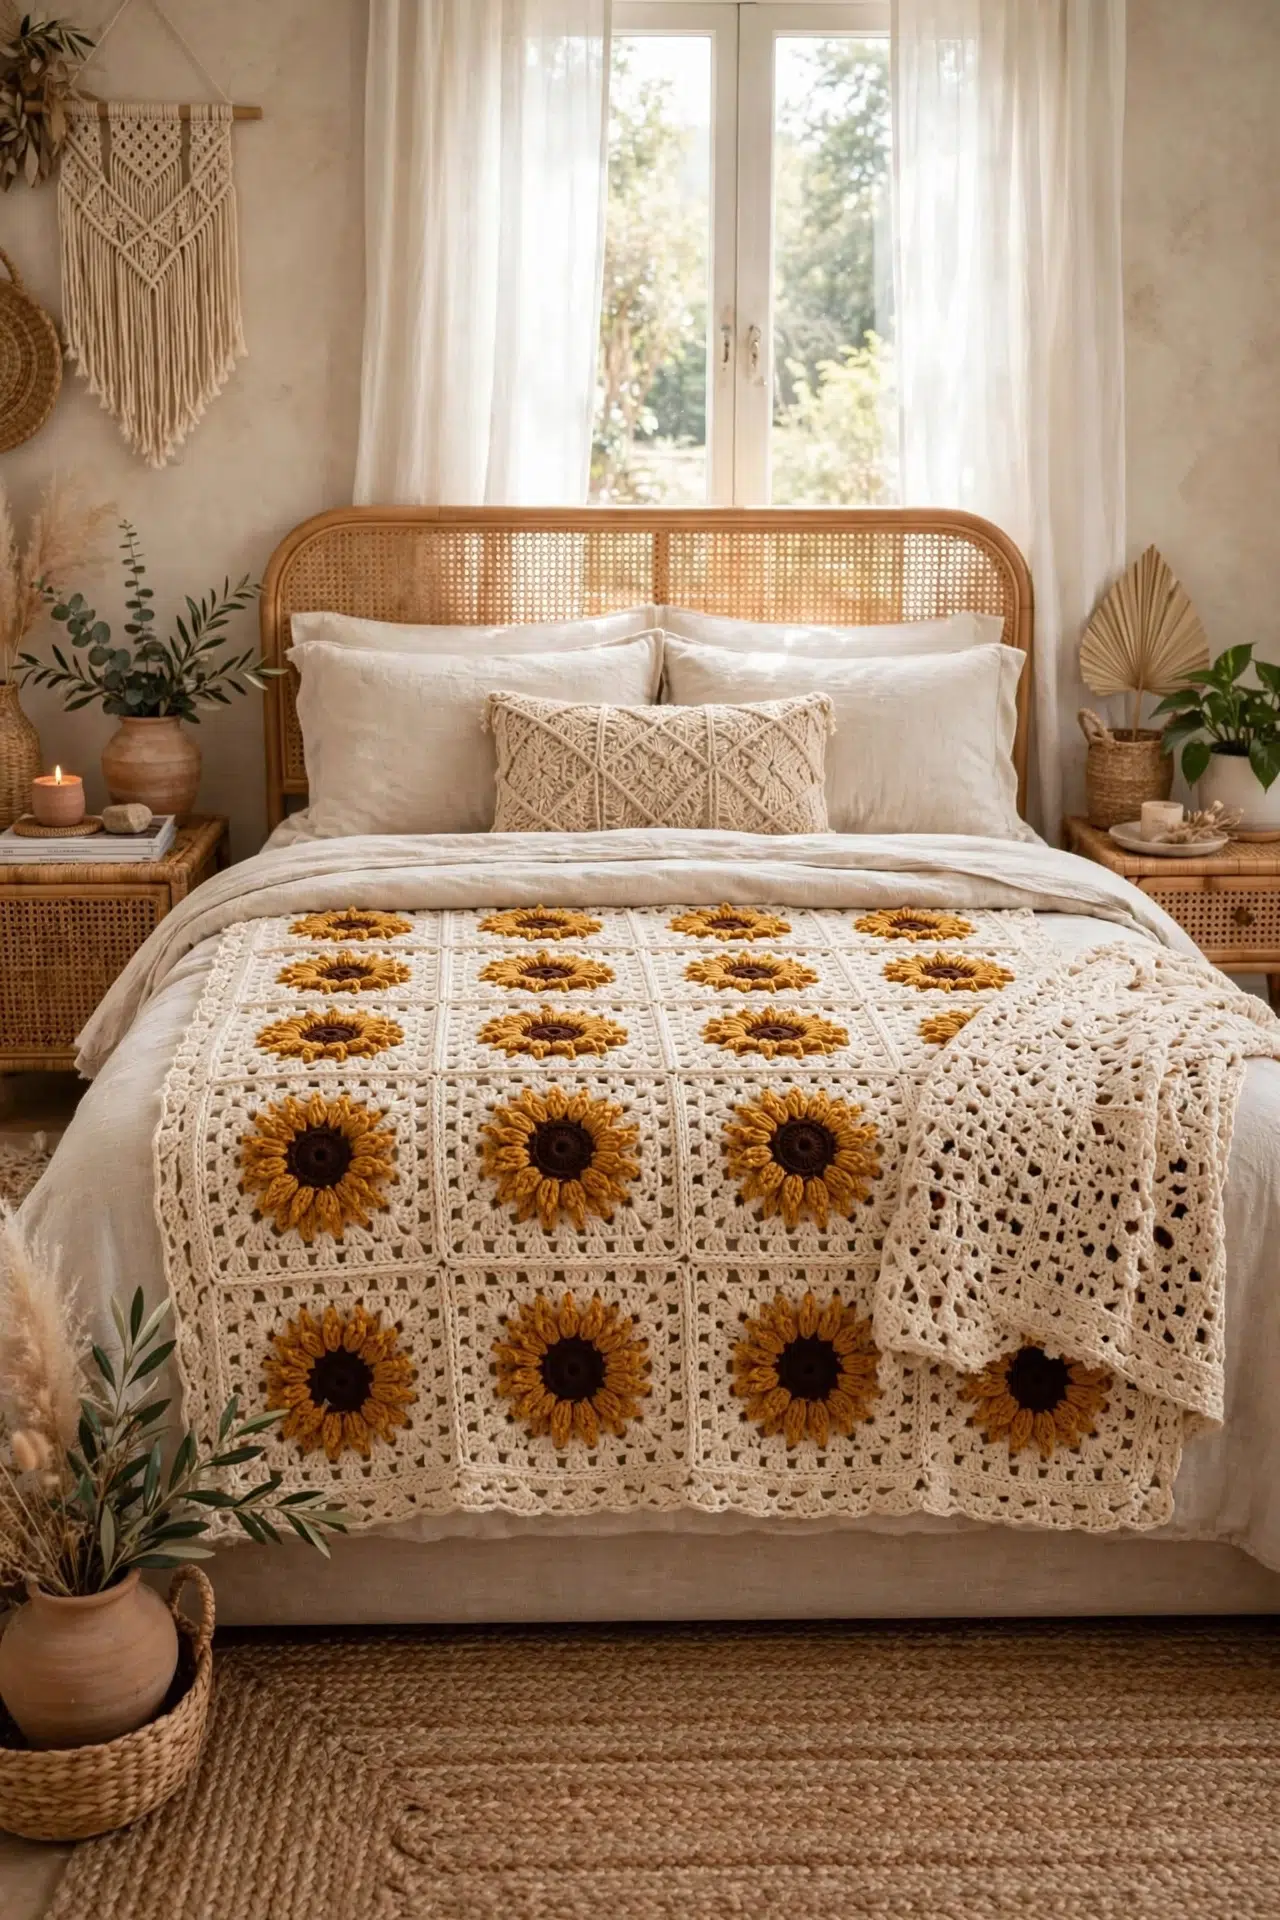
| Finished Size | Throw: 7 x 9 = 63 squares → approx. 46 x 58 in (117 x 147 cm) Lap/Twin-topper: 8 x 11 = 88 squares → approx. 52 x 70 in Full/Queen: 10 x 13 = 130 squares → approx. 64 x 82 in |
| Yarn Weight | 4 Medium / Worsted |
| Fiber | Not specified — check the yarn label (examples given: Lion Brand Heartland, Paintbox Simply Aran, Stylecraft Special Aran) |
| Terminology | US |
Customizing the Size
The blanket is a grid of 6-inch squares plus a border that adds roughly 2 inches all around. To change the size, just change how many squares you make and how you arrange them. The three sizes listed use a 7:9 ratio (close to standard throw proportions), but you can go wider or longer by adjusting the grid. Add squares in multiples of one column or one row at a time, and recalculate your yarn accordingly. Gauge matters here more than it does on a lot of projects — if your squares are coming out at 5.5 inches instead of 6, your finished blanket will be noticeably smaller than expected, so swatch first.
Stitches & Abbreviations
Mostly familiar territory — nothing here that'll stop you cold.
- MR = magic ring
- ch = chain
- sc = single crochet
- dc = double crochet
- sl st = slip stitch
- sp = space
- st(s) = stitch(es)
- flo = front loop only
- blo = back loop only
- Rnd = round
Special Stitches
- Cluster: 3 dc in the same sp.
The Critical Details
This pattern is written in US terminology throughout. Each square is worked in joined rounds with the right side always facing — you never flip the work. Colors change in the joining slip stitch at the end of a round, and each color is fastened off before the next begins. Stitch counts appear in brackets at the end of each round so you can catch mistakes early rather than at the border.
The detail that makes this square worth the extra attention is the two-layer petal construction at the center. Round 2 petals are worked into the front loops of Round 1 only, which leaves the back loops free. Round 3 then works into those free back loops, producing a second set of petals that sit behind and slightly offset from the first. The result is a layered floral center that looks more complex than it actually is once you understand what's happening. Read through Rounds 1 through 3 before you start so the flo/blo logic is clear in your head going in.
The Pattern
Here's how I work each piece of this sunflower granny square blanket, from the center of the flower out to the finished border.
Sunflower Granny Square
Make the number of squares required for your chosen size. Each square is worked in rounds, building from a brown center disk outward through two layers of mustard petals before the cream granny square frame takes shape around them.
Round 1: Round 1 (brown): In a MR, ch 3 (counts as dc), 15 dc. Join to the top of the ch 3; pull the ring tight. [16 dc]
Fasten off brown.
Round 2: Round 2 (mustard — front petals): Join mustard in the front loop of any st. Working in flo this round: in the front loop of each st work (sl st, ch 3, 2 dc, ch 3, sl st), moving to the next front loop each time. Join. [16 front-loop petals] Working into the front loops only here leaves the back loops of Round 1 free for the next round — don't skip that detail or you won't have anywhere to anchor the back petals.
Round 3: Round 3 (mustard — back petals): Working in the back loops of Round 1: join mustard in any back loop, and in each back loop work (sl st, ch 4, 2 dc, ch 3, sl st). Join and fasten off. [16 back-loop petals] The ch 4 here (versus ch 3 in Round 2) offsets the back petals so they sit between the front ones rather than directly behind them.
Round 4: Round 4 (cream — establish the square): Join cream in any petal gap at the outer edge. Ch 3, then dc evenly around the flower to create a 32-dc base ring, placing 4 corner markers as you space it: work (2 dc in one gap) at 4 evenly spaced points and 1–2 dc in the gaps between. Aim for 32 dc total with 4 marked corner stitches. Join. [32 dc] Place stitch markers in those 4 corner stitches before moving on — you'll need them in Round 5.
Round 5: Round 5 (cream): Join/continue in a corner st. (3 dc, ch 2, 3 dc) in the corner st, ch 1, [3 dc in the next marked third, ch 1] to the next corner; repeat around so each side has a corner plus 2 clusters. Join. [12 clusters]
Round 6: Round 6 (cream): Sl st to a corner sp. (3 dc, ch 2, 3 dc) in the corner, ch 1, [cluster in the next ch-1 sp, ch 1] 3 times; repeat around. Join and fasten off, leaving a 15 in (38 cm) tail for joining. [20 clusters] That long tail is what I use to seam the squares together, so don't trim it short.
Joining the Squares
Once all the squares are finished and blocked, it's time to assemble them into the blanket grid. Take your time with the corner alignment here — it makes the finished blanket look clean.
Step 1: Block every square to a uniform 6 in.
Step 2: Lay squares out in your size's grid.
Step 3: Join with cream using the whip-stitch-through-back-loops method (or your favorite): join all squares into rows first (left edge of one to right edge of the next), then join the long row seams, matching corners precisely.
Step 4: Work corner-to-corner along each edge, one cluster meeting one cluster.
Border
The border ties the whole blanket together with three rounds of cream, finishing with a simple shell-and-scallop edge.
Round 1: Round 1 (cream): Join cream at any corner. Sc evenly around the entire blanket, working 3 sc in each outer corner and a sc in each st and ch-1 sp along the edges. Join.
Round 2: Round 2 (cream): Ch 1, sc in the next st, skip 1, 5 dc in the next st, skip 1; repeat around, adjusting at corners to keep them flat with a 7-dc corner shell. Join. The stitch count going into this round needs to be divisible by the repeat unit — if your Round 1 count is slightly off, adjust by adding or dropping a stitch or two in a seam area where it won't show.
Round 3: Round 3 (cream): Ch 1, sc in each st around, 3 sc in each corner shell's center. Join and fasten off.
Finishing
Just a few final steps to get the blanket ready.
Step 1: Weave in all remaining ends along matching-color stitches.
Step 2: Give the joined blanket a final gentle steam block, squaring the whole rectangle and flattening the seams.
Step 3: Wash per your yarn's care label before gifting.
Fasten off, weave in ends.
Putting It All Together
The squares are the only separate pieces in this blanket, and seaming them is what transforms a pile of individual motifs into a single cohesive rectangle. I join all squares into rows first, working left edge to right edge along each row, then seam the rows together lengthwise, matching corner clusters precisely where four squares meet. I use the whip-stitch-through-back-loops method with the long cream tails I left on each square, but any flat joining method you prefer will work. The key is keeping one cluster meeting one cluster all the way across each seam edge so the grid stays even.
Blocking
Blocking every square before you join is the step that makes the whole blanket come together neatly. I pin each one to a blocking mat to a uniform 6 inches and either wet block or steam block depending on the yarn I'm using. If you're working with an acrylic like Lion Brand Heartland or Stylecraft Special Aran, steam blocking works well: hover the iron just above the surface and let the steam do the work without pressing down. For natural fibers or blends, wet blocking gives a more relaxed, even result. Once the squares are dry and uniform, the whip stitch seams line up far more cleanly at the corners. After joining, I give the whole blanket one more light steam to flatten the seams and square up the rectangle.
Care Instructions
Always check your yarn label first, since the care instructions depend entirely on the fiber you used. Blankets this size get heavy when wet, so support the full weight when you move it from the wash to avoid stretching the seams. Lay it flat to dry rather than hanging it. If the blanket is a gift, I'd wash it once before handing it over so it's already broken in and the recipient doesn't have to worry about that first wash.
Frequently Asked Questions
Round 2 petals are worked into the front loops of Round 1, which leaves the back loops free. Round 3 then works into those free back loops to create a second set of petals that sit slightly behind and offset from the first layer. You end up with 16 petals in front and 16 behind, giving the flower real depth without any extra pieces.
For the throw (63 squares), I use approximately 1,300 yards of cream, 550 yards of golden mustard, and 220 yards of the dusky brown or plum for the centers. That's the minimum I'd have on hand. I always buy a little extra of the cream since it covers Rounds 4 through 6, all the joining, and the entire border.
Block every square individually before joining. The goal is a consistent 6-inch square across all of them, and that's nearly impossible to achieve after everything is joined. Skipping this step means your seams will pull and your corners won't line up. It takes time, but it's what keeps the grid looking tidy.
That 15-inch tail is left specifically for the whip stitch joining. Rather than cutting a separate length of yarn for each seam, the tail from Round 6 does the work. It's just enough to join one edge of a square to its neighbor, so don't trim it short by accident before you get to assembly.
Round 2 of the border uses a 7-dc corner shell instead of the standard 5-dc shell used along the sides. That extra width at each corner is what keeps the border from pulling in. If you find your corners are still lifting slightly, try going up half a hook size for the border rounds only.
The color placement matters more than the specific colors. The center (Round 1) needs to contrast with the petal color (Rounds 2 and 3) so the two layers read as distinct. The cream background in Rounds 4 through 6 works because it's neutral enough to let the flower pop. Swap the colors freely, but keep that contrast between center and petals.
Before You Go
I'd love to see how your color choices turn out, especially if you went with something unexpected for the petals. Tag me on Instagram or drop a photo in the comments below. And if you're saving this for later, the Pinterest button is right below this post. I always find myself coming back to granny square projects when I want something I can work on in pieces without losing my place, and this one has been sitting on my couch arm in various stages of completion for longer than I'd like to admit.



