
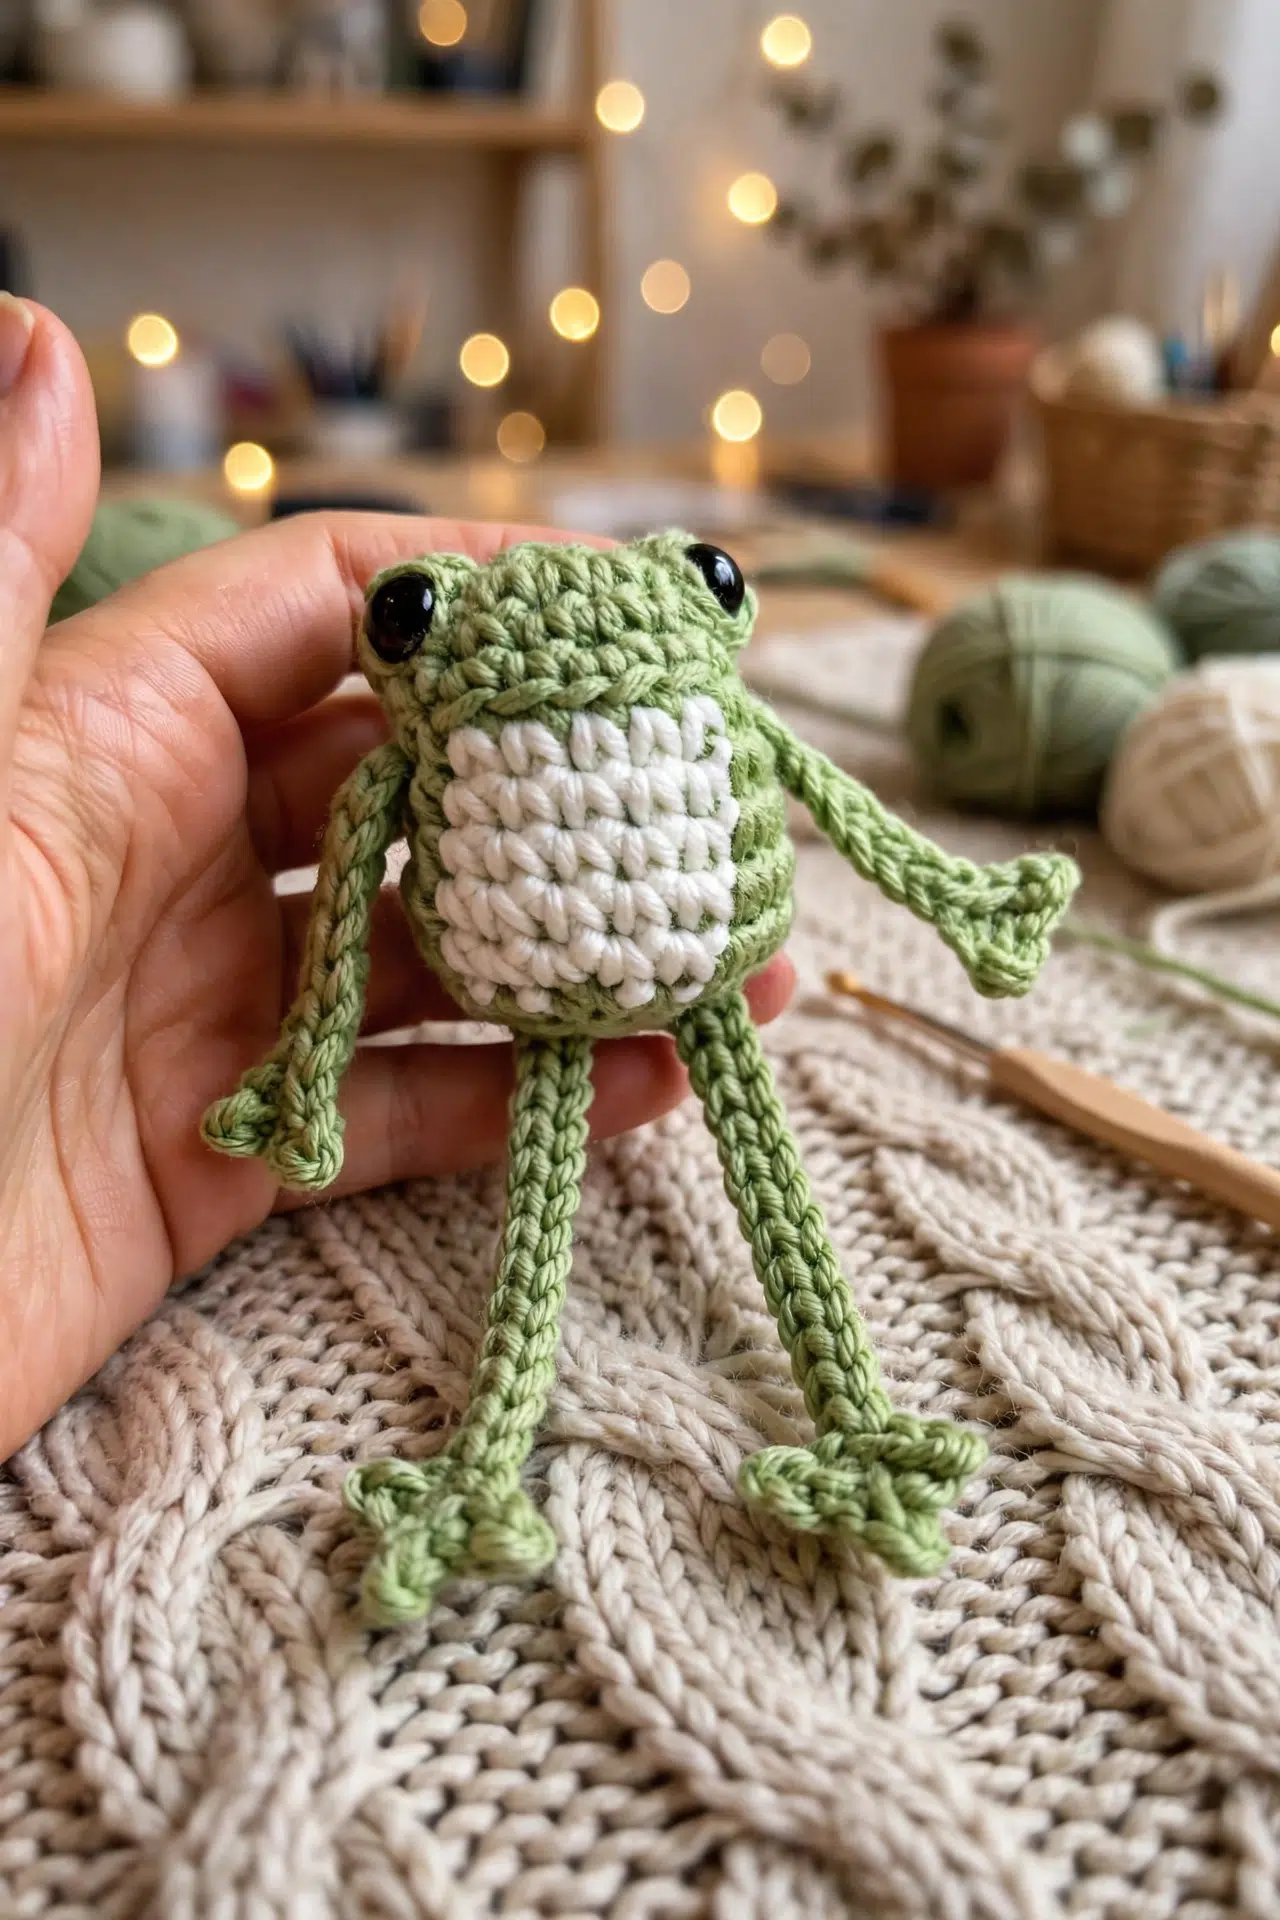
Okay so I have been on a serious amigurumi kick lately, and this Leggy Frog Crochet Pattern is honestly one of my favorite things I've made in a while. There's something about a frog with ridiculously long legs that just gets me every time. It's a pretty simple project, easy skill level, and the finished result is SO worth it.

Jump to:
About the Design
What I really love about this one is the legs. They're the whole personality of the project, and figuring out how to get them to hang and pose just right was actually a fun little puzzle. It's the kind of amigurumi where the construction feels straightforward but the finished piece looks like you put in way more effort than you did.
I'd make this for a kid without hesitation, but honestly it's just as much a desk toy for an adult who's into cute stuff. No particular season required. It just works.
What Makes This Pattern Special
Those signature long legs make this frog instantly charming and totally unlike any basic amigurumi.
- Beginner friendly: Easy skill level means you can finish this without getting stuck or frustrated.
- Quick to complete: Amigurumi at this size and complexity is a great weekend project, no long-term commitment needed.
- Great gift potential: This is the kind of handmade gift people actually keep on their shelf and show people.
- Yarn flexibility: Bulky yarn gets you a bigger finished frog, so you can size it up or down depending on what you have on hand.
Materials You'll Need
Three colors and a pretty short notions list — that is genuinely all you are working with here.
- Worsted Weight Acrylic Yarn (two colors: green and cream): Worsted weight acrylic is the right call for amigurumi this size. It holds its shape well, takes stuffing without going lumpy, and washes up without any fuss. Yardage isn't specified in the pattern, but for a small stuffed figure like this, plan on roughly 50-80 yards of your main green and maybe 15-20 yards of cream for the belly contrast rounds.
- 4.5 mm Crochet Hook: A 4.5 mm hook with worsted acrylic gives you a tighter fabric than you would get working at the yarn's "recommended" gauge, and that tighter fabric is exactly what keeps the polyfill from poking through. If you go up a size, the stuffing will show. Worth sticking with 4.5 mm here.
- Polyfill Stuffing: A standard bag of polyfill works fine. Stuff as you go once the body starts closing up — it is much easier than trying to push it in at the end through a small opening.
- 8 mm Safety Eyes: The pattern uses 8 mm, so that is the size to grab. Anything larger will throw off the proportions on the head.
- Also needed: tapestry needle, scissors
Color Sequence & Yarn Changes
Green is your main color and runs through most of the project: the head, body, arms, and legs. Cream comes in only for rounds 5 through 9 on the body to create the belly contrast, then you switch back to green. Since it is a short stretch of cream, you can just carry the green loosely or drop it and pick it back up — either works for a section that small.
Key Information
A few quick details about this amigurumi before you dig in.
| Skill Level | Easy |
| Pattern Gauge | Gauge is not critical for this project. Use a hook size that creates a tight, firm fabric so stuffing does not show through. |
| Finished Size | If you use bulky yarn it will be roughly 8 inches tall. |
| Yarn Weight | 4 Medium / Worsted |
| Fiber | 100% Acrylic |
| Terminology | US |
Abbreviations & Stitches Used
Pretty standard list for amigurumi, with one textured stitch thrown in.
- mr = magic ring
- ch = chain
- sc = single crochet
- sl st = slip stitch
- inc = increase (2 sc in same st)
- dec = decrease (sc2tog)
- blo = back loop only
- bobble st = bobble stitch
- yo = yarn over
- st = stitch
- sts = stitches
Special Stitches
- Bobble stitch: *yo, insert hook in indicated st, yo, pull up a loop, yo, pull through 2 loops* repeat 3 more times (5 loops on hook total), yo, pull through all 5 loops.
The Critical Details
This pattern is worked in rounds, either continuous or joined depending on what the instructions specify at each section. I'd keep an eye on those notes as you go rather than assuming one method throughout. There's minimal sewing involved, which keeps finishing pretty painless.
For yarn and hook, worsted weight with a 4.5 mm hook is the sweet spot. You want a tight, firm fabric so the stuffing doesn't peek through the stitches. If your tension runs loose, size down. Bulky yarn will work but the finished piece comes out noticeably larger. The pattern uses US terminology throughout.
Crochet Instructions
Here's how I work through this leggy frog crochet pattern, section by section.
Head and Body
The head and body are worked in one continuous piece from the top down, so the frog comes together quickly. The bobble stitches form the eye bumps early on, and the cream color panel runs down the front belly.
Round 1: Using green yarn, make a mr and work 6 sc in the ring. Alternative: ch 2, work 6 sc in 2nd ch from hook. [6 sc]
Round 2: inc in each sc around. [12 sc]
Round 3: bobble st in next st, sc in next 5 sts, bobble st in next st, sc in next 5 sts. [12 sc] The two bobble stitches sit directly opposite each other and will become the raised eye mounds on the top of the frog's head.
Round 4: *inc, sc* repeat around. [18 sc]
Round 5: Sc 4 in green; on the last sc, change color to cream to finish the stitch. In blo, sc 5 in cream; on the last sc, change color to green to finish the stitch. Sc 9 in green. [18 sc] Changing color on the last pull-through of the previous stitch keeps the color transition clean. Working the cream stitches in the back loop only creates a subtle ridge along the belly edge.
Note: The cream stitches should be between the bobble stitches in the front of the frog. Note: Add the eyes to the front-facing sides of the bobble stitches now.
Rounds 6–9: In green, sc 4; change to cream and sc 5; change back to green and sc 9. [18 sc] Work this same color sequence for all four rounds, keeping the cream panel aligned directly above the belly section established in Round 5.
Round 10: With green yarn only, *dec, sc* repeat around. [12 sc]
Fasten off cream yarn.
Round 11: dec around. [6 sc]
Note: Stuff the frog now if you have not already.
Fasten off and sew the bottom closed. Weave in ends.
Legs
Make 2. These are worked flat as a chain with slip stitches, forming the toes and the leg length in one pass — no joining required.
Step 1: With green yarn, ch 15.
Step 2: Sl st in 2nd ch from hook, sl st in next ch.
Step 3: *Ch 2, sl st in 2nd ch from hook, sl st in same ch as last sl st before ch-2* repeat once more. Each repeat of this sequence creates one additional toe. The instruction says "repeat once more," so you'll work this sequence a total of two times, giving the leg three toes altogether including the one formed in Step 2.
Step 4: Sl st in each remaining ch to the end.
Arms
Make 2. The arms follow the same slip-stitch construction as the legs but on a shorter chain, with a single toe at the end.
Step 1: With green yarn, ch 10.
Step 2: Sl st in 2nd ch from hook, sl st in next ch.
Step 3: Ch 2, sl st in 2nd ch from hook, sl st in same ch as last sl st before ch-2. Unlike the legs, this step is worked only once, so each arm has a single toe.
Step 4: Sl st in each remaining ch to the end.
Finishing
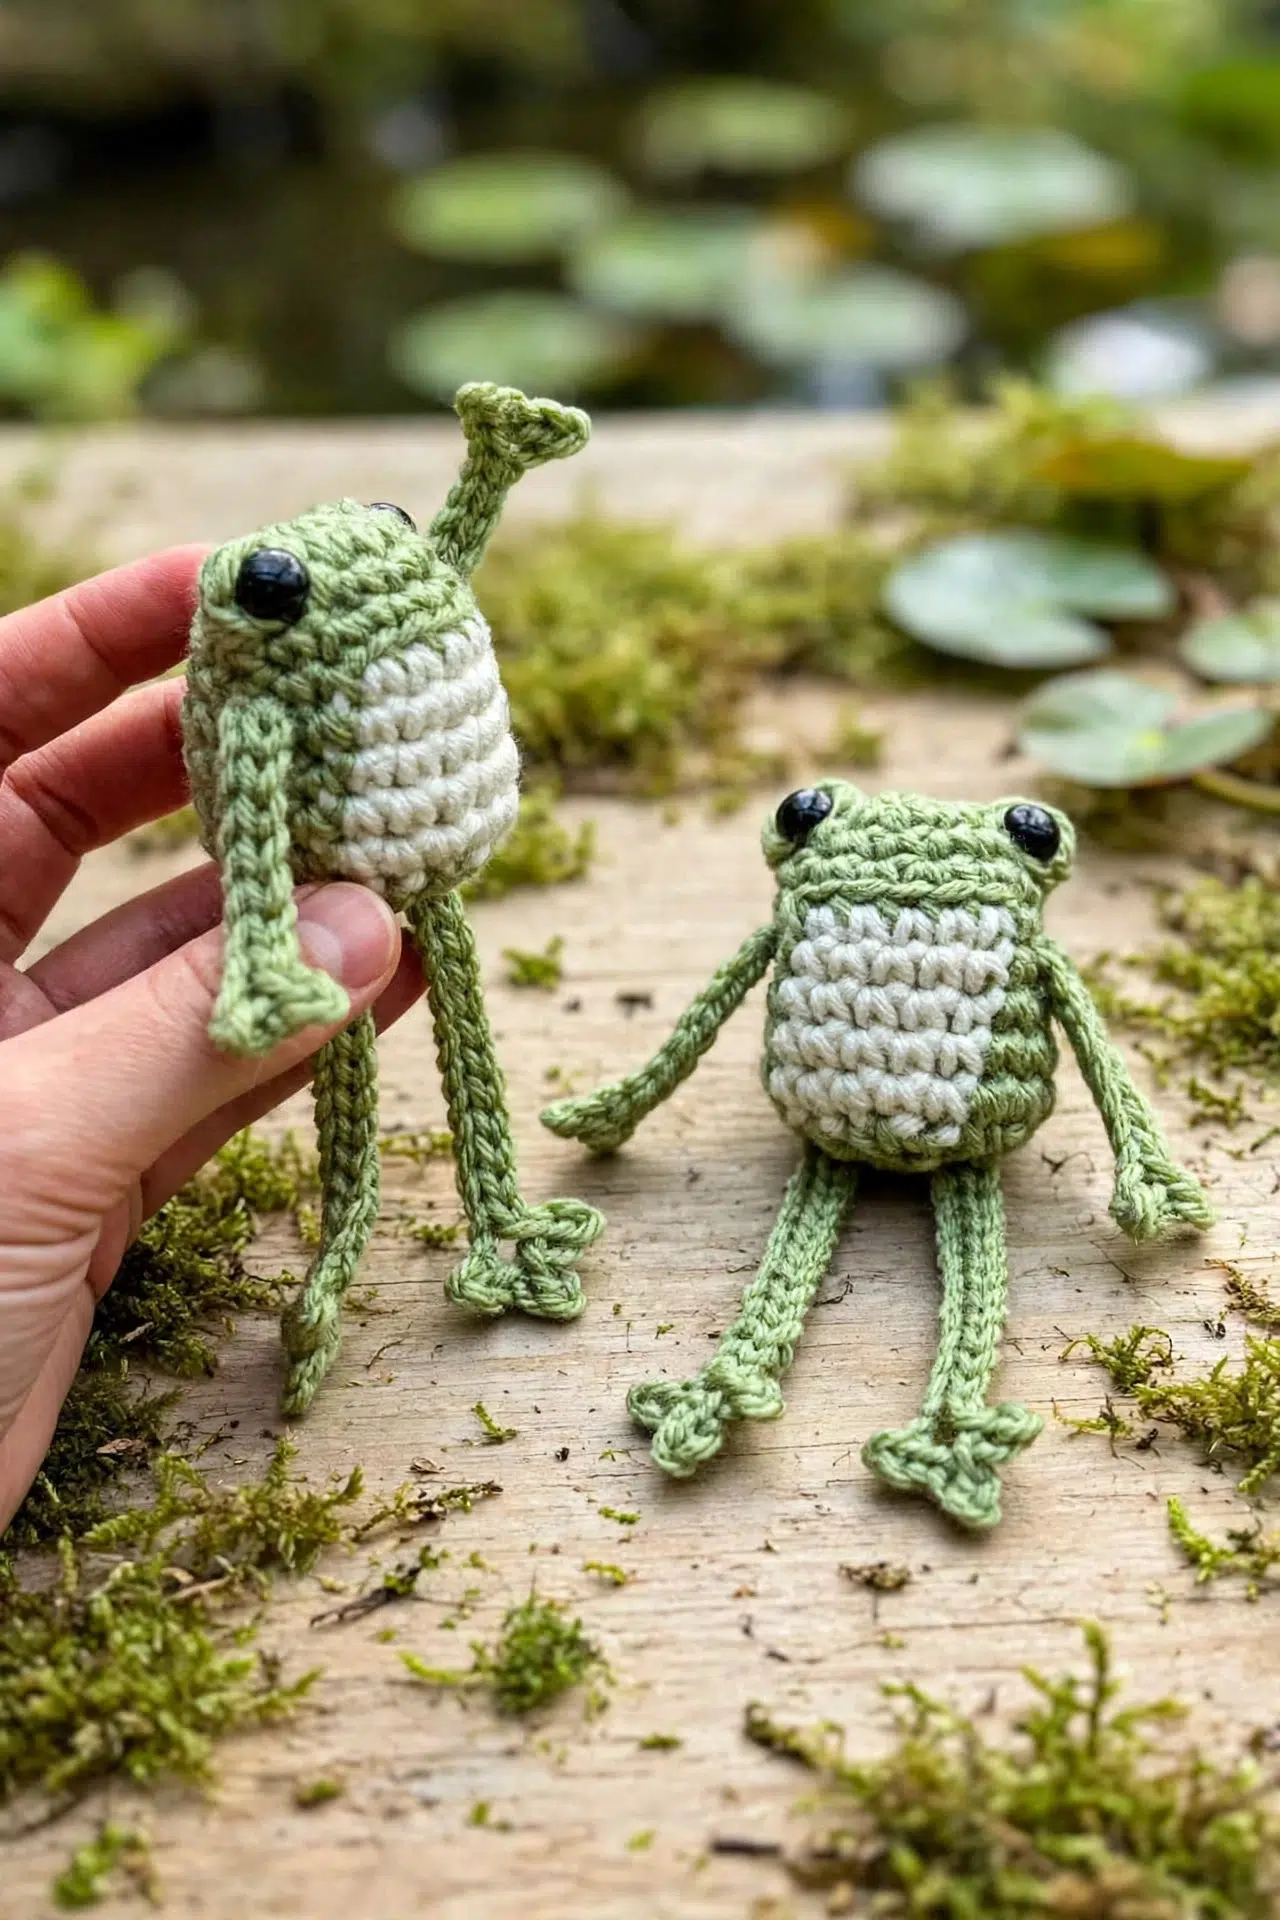
Once all the pieces are complete, it's time to attach the limbs to the body. I sew the arms 2 rounds below the eye, 2 green stitches from the cream stitches on both sides of the body. For the legs, I sew them to the second-to-last round on the bottom. Positioning the legs on the underside of the body at that second-to-last round keeps them angled outward the way a frog naturally sits. Weave in any remaining ends once everything is secured.
Care Instructions
Since this frog is 100% acrylic, machine washing on a gentle cycle works fine. I'd skip the dryer though. The heat can warp the safety eyes or cause them to sink unevenly into the stuffing, and it's just not worth it. Lay him flat to air dry and he'll keep his shape. If the polyfill shifts around after a wash, just give the body a gentle squeeze and reshape it while it's still damp.
Baby & Child Safety Notes
This pattern uses 8 mm safety eyes, which are small enough to be a choking hazard for babies and toddlers. If you're making this frog for a young child, make sure the safety eyes are locked in firmly before you close up the head. I always give them a hard tug after attaching them just to be sure. For children under three, consider embroidering the eyes with yarn instead. Also check the seams after stuffing. The legs and arms are sewn on, so run your finger along each attachment point and make sure nothing is pulling loose.
Frequently Asked Questions
Attach the eyes at the end of Round 5, before you continue crocheting. The pattern is specific about this: the eyes go on the front-facing sides of the bobble stitches. Once you've worked a few more rounds, the opening gets too small to position them properly, so don't skip ahead.
Stuff before you close Round 11. The pattern notes it right there in the round, so it's easy to catch. I like to stuff pretty firmly so the body holds its shape and doesn't look deflated, but that's personal preference. Just make sure you do it before the opening gets too small to fit your hand through.
Rounds 5 through 9 use both green and cream yarn. You carry the color not in use loosely and switch by completing the last pull-through of a stitch in the new color. The cream section is always 5 stitches wide, sitting between the bobble stitches at the front. It sounds fiddly but the same color placement repeats every round, so it gets easy fast.
The arms go 2 rounds below the eyes, 2 green stitches out from the cream belly section on each side. The legs attach to the second-to-last round on the bottom of the body. Getting the arms symmetrical is the part that takes the most fiddling. I pin both sides before sewing to make sure they sit evenly.
Using bulky yarn bumps the finished height up to roughly 8 inches. The proportions stay the same, but everything reads bigger and a little chunkier. If you go that route, size up your hook to match the yarn so the fabric isn't too stiff. The bobble stitches especially will look more pronounced with a heavier weight.
Final Thoughts
This little frog is one of those projects I keep coming back to because it's fast, the construction is clever, and the finished result is just SO satisfying for the time it takes. The bobble eyes, the cream belly, those ridiculous little legs. He's got a lot of personality for such a small amount of yarn. If you make one, I'd love to see it. Tag me on Instagram or drop a photo in the comments below. And if you're saving this for later, pin it to your amigurumi board so you can find it when the urge to make a tiny frog strikes at 11pm.



